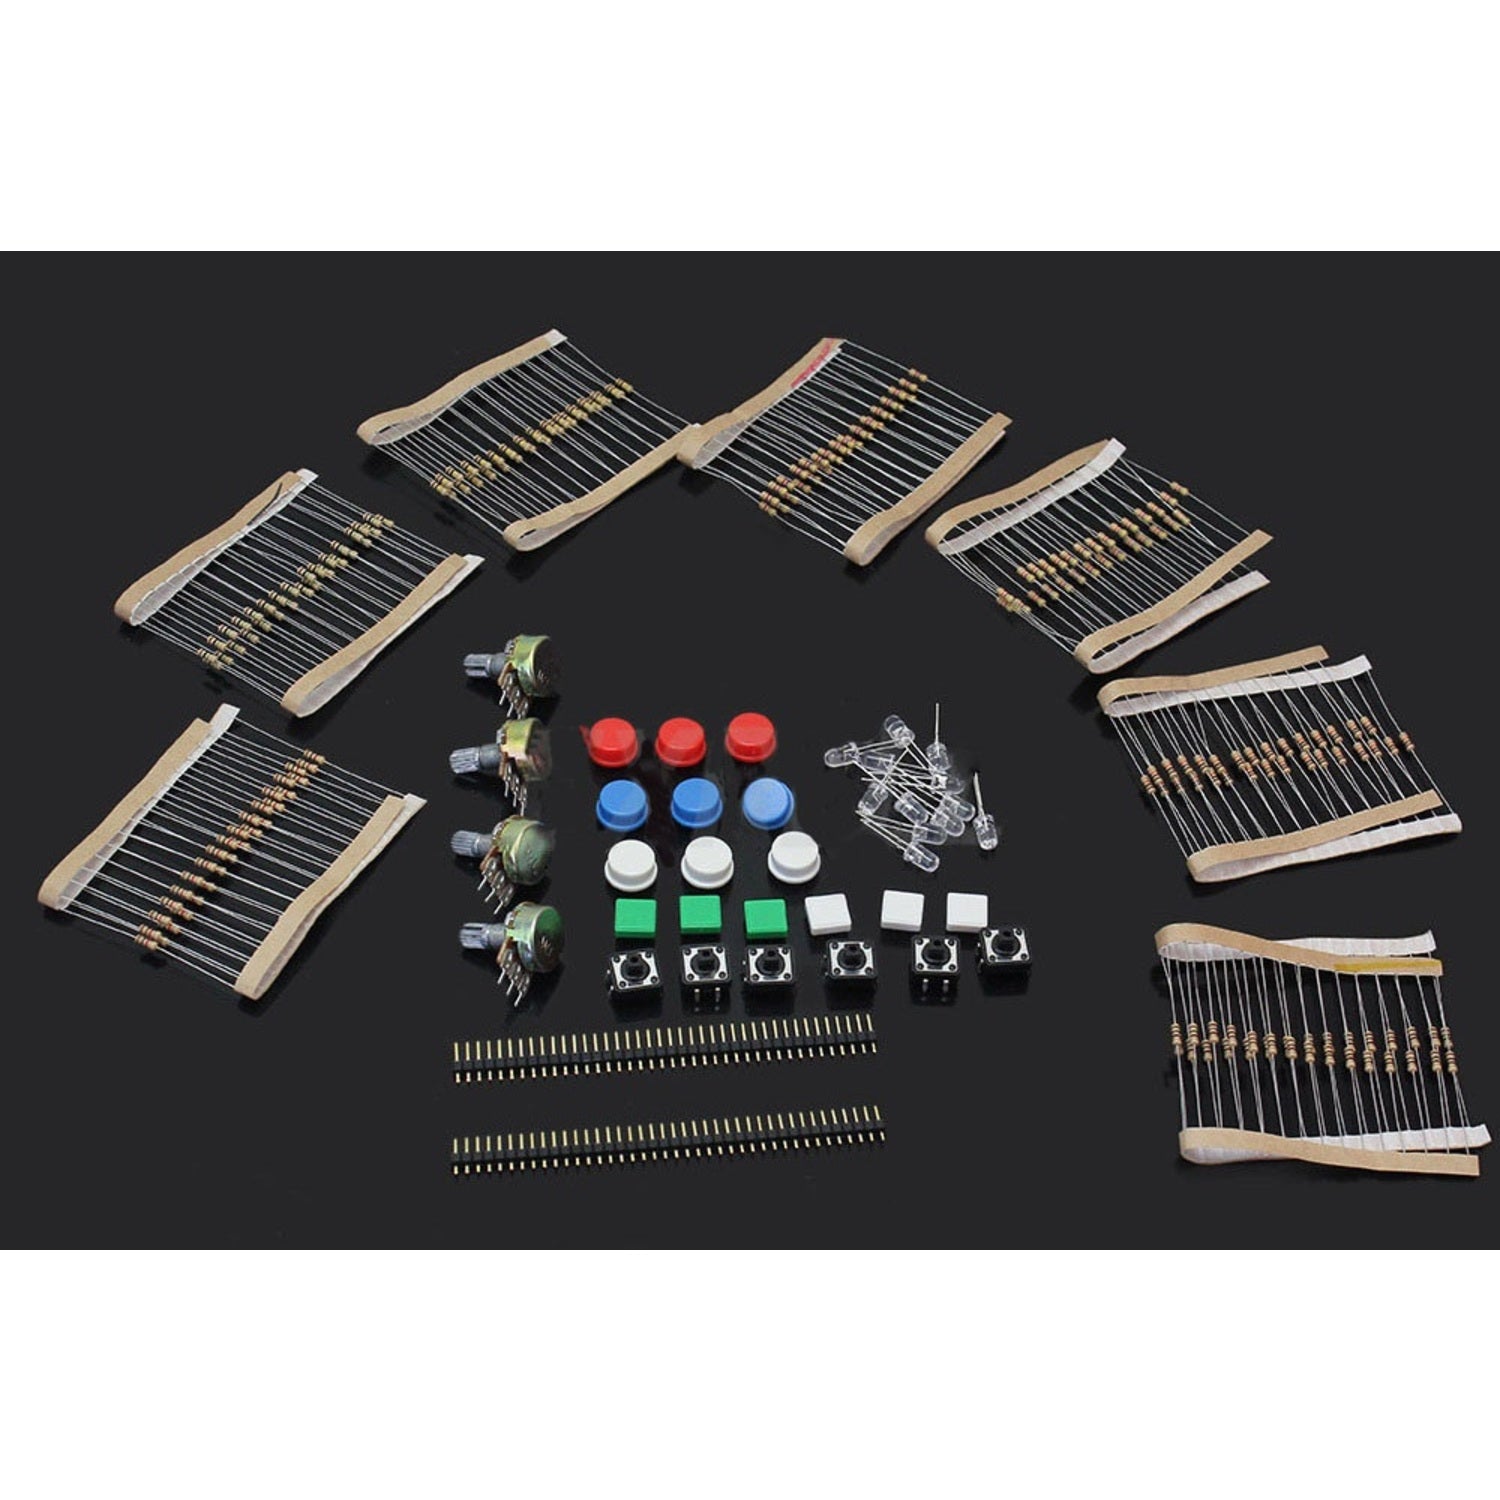
This amazing kit is fully compatible with Arduino, crafted specifically for use with your Arduino board. It's a dream - come - true for first - time users as it has everything required to connect your computer to Arduino. Plus, it comes with many of the most sought - after accessories for DIY projects. You'll find a breadboard, jumper wires, color LEDs, resistors, a buzzer, and more. All these components are neatly packed in a handy box, making transportation a breeze and keeping clutter to a minimum.
**Package list**
- 30 X 100Ω Resistors
- 30 X 1 kΩ Resistors
- 30 X 4.7 kΩ Resistors
- 30 X 10 kΩ Resistors
- 30 X 47 kΩ Resistors
- 30 X 100 kΩ Resistors
- 30 X 1 MΩ Resistors
- 2 X 3 - pin 15mm B10k Rotary Potentiometer
- 2 X 3 - pin 15mm B100k Rotary Potentiometer
- 3 X Red 5mm LED
- 3 X Yellow 5mm LED
- 3 X Green 5mm LED
- 3 X White 5mm LED
- 6 x 4 - pin 12x12mm Tactile Switch
- 3 x 12x12mm Round Tactile Button Cap (blue)
- 3 x 12x12mm Round Tactile Button Cap (red)
- 3 x 12x12mm Round Tactile Button Cap (white)
- 3 x 12x12mm Square Tactile Button Cap (white)
- 3 x 12x12mm Square Tactile Button Cap (green)
- 2 x 40 - pin 2.54mm single - pin male

Using this component kit for Arduino E3 is super easy. First, connect your Arduino board to your computer using the included components. For example, use the jumper wires to link different parts of the circuit on the breadboard. The resistors are there to control the flow of electricity, so pick the right one according to your project needs. LEDs can add a visual element to your projects; just connect them to the right power source. When using the tactile switches and button caps, press them gently to activate the circuit.
Here are some important things to note. Don't force any of the components into place, as this could damage them. Also, make sure your hands are dry when handling the components to avoid short - circuits. And always double - check your connections before powering up your project.
To keep this kit in good shape, after each use, put all the components back into the handy box. This will not only keep things organized but also protect the components from dust and damage. If you're not using the kit for a long time, store it in a cool, dry place.