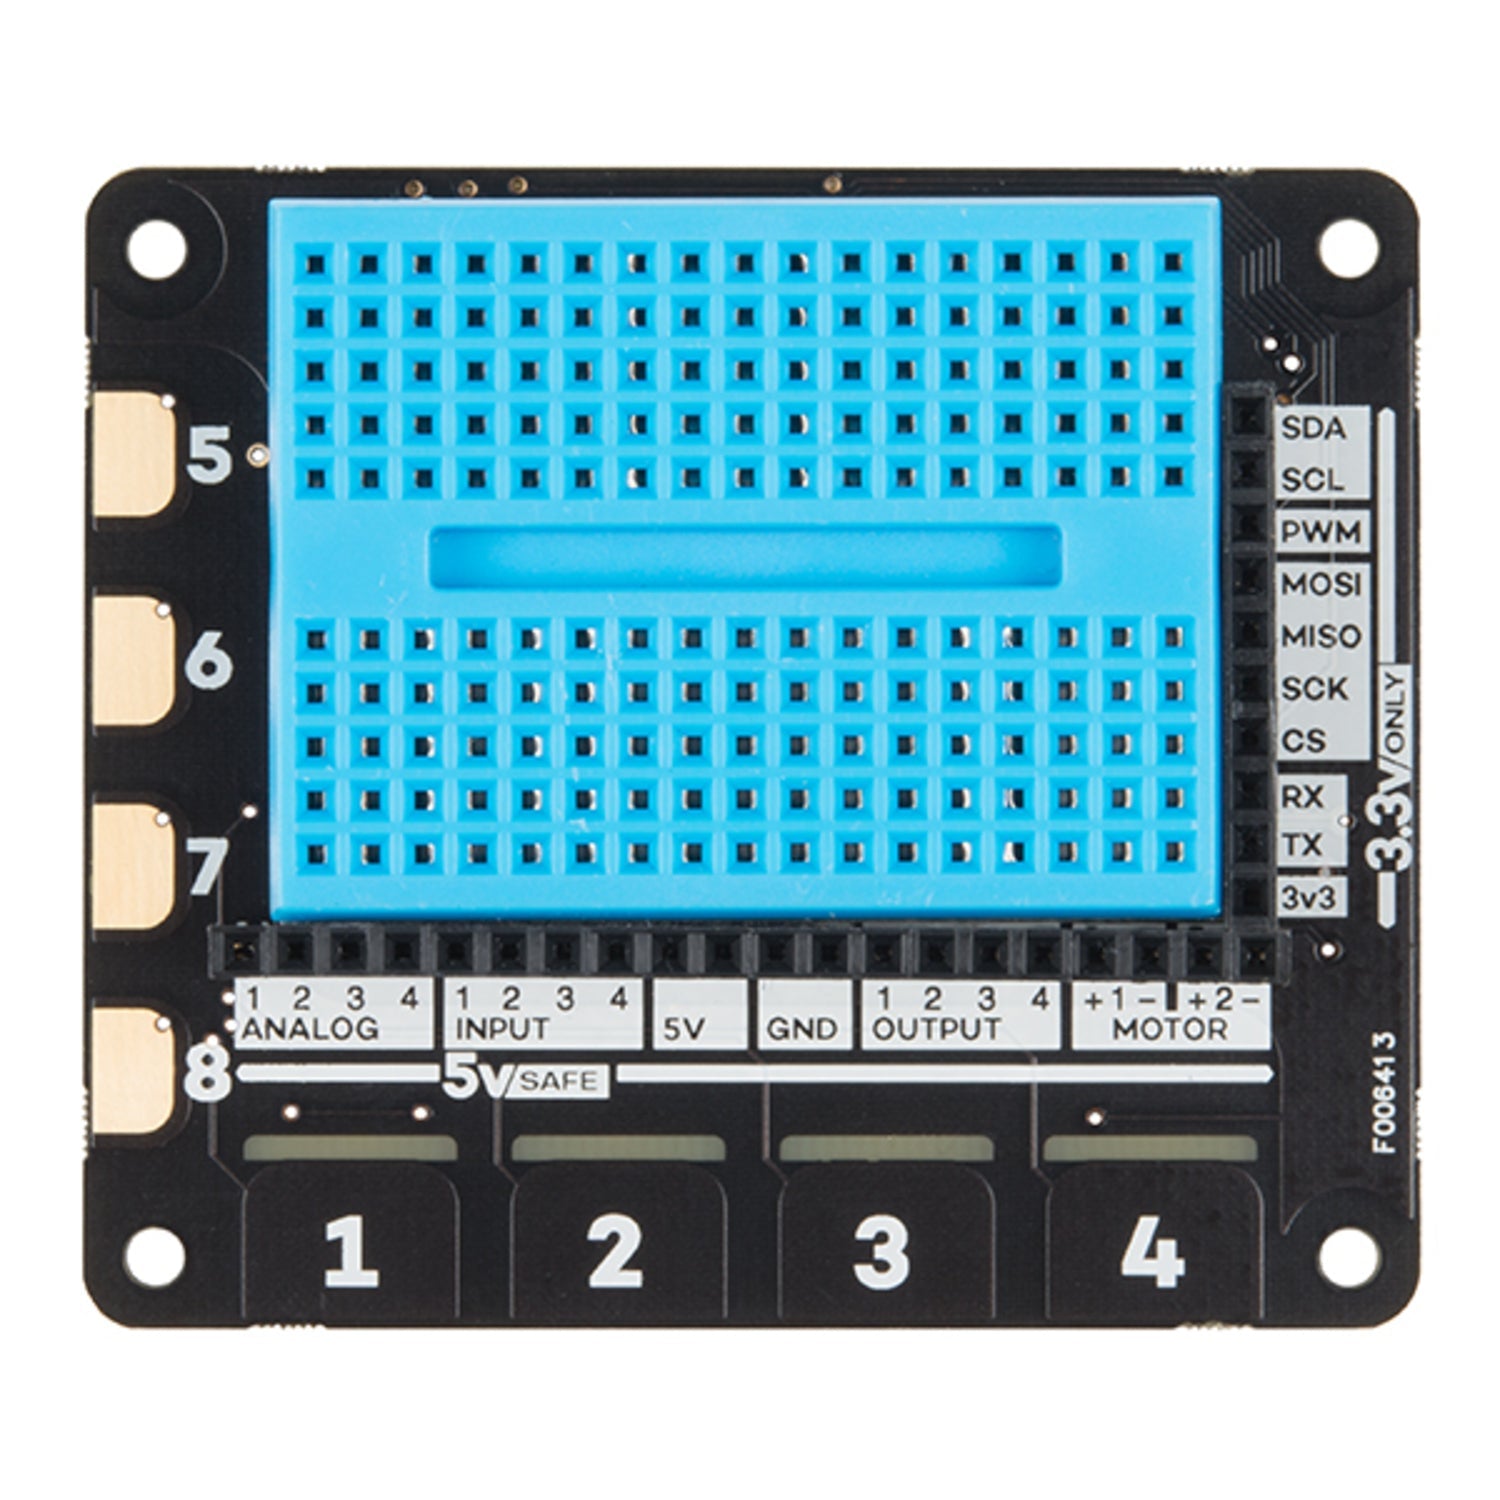
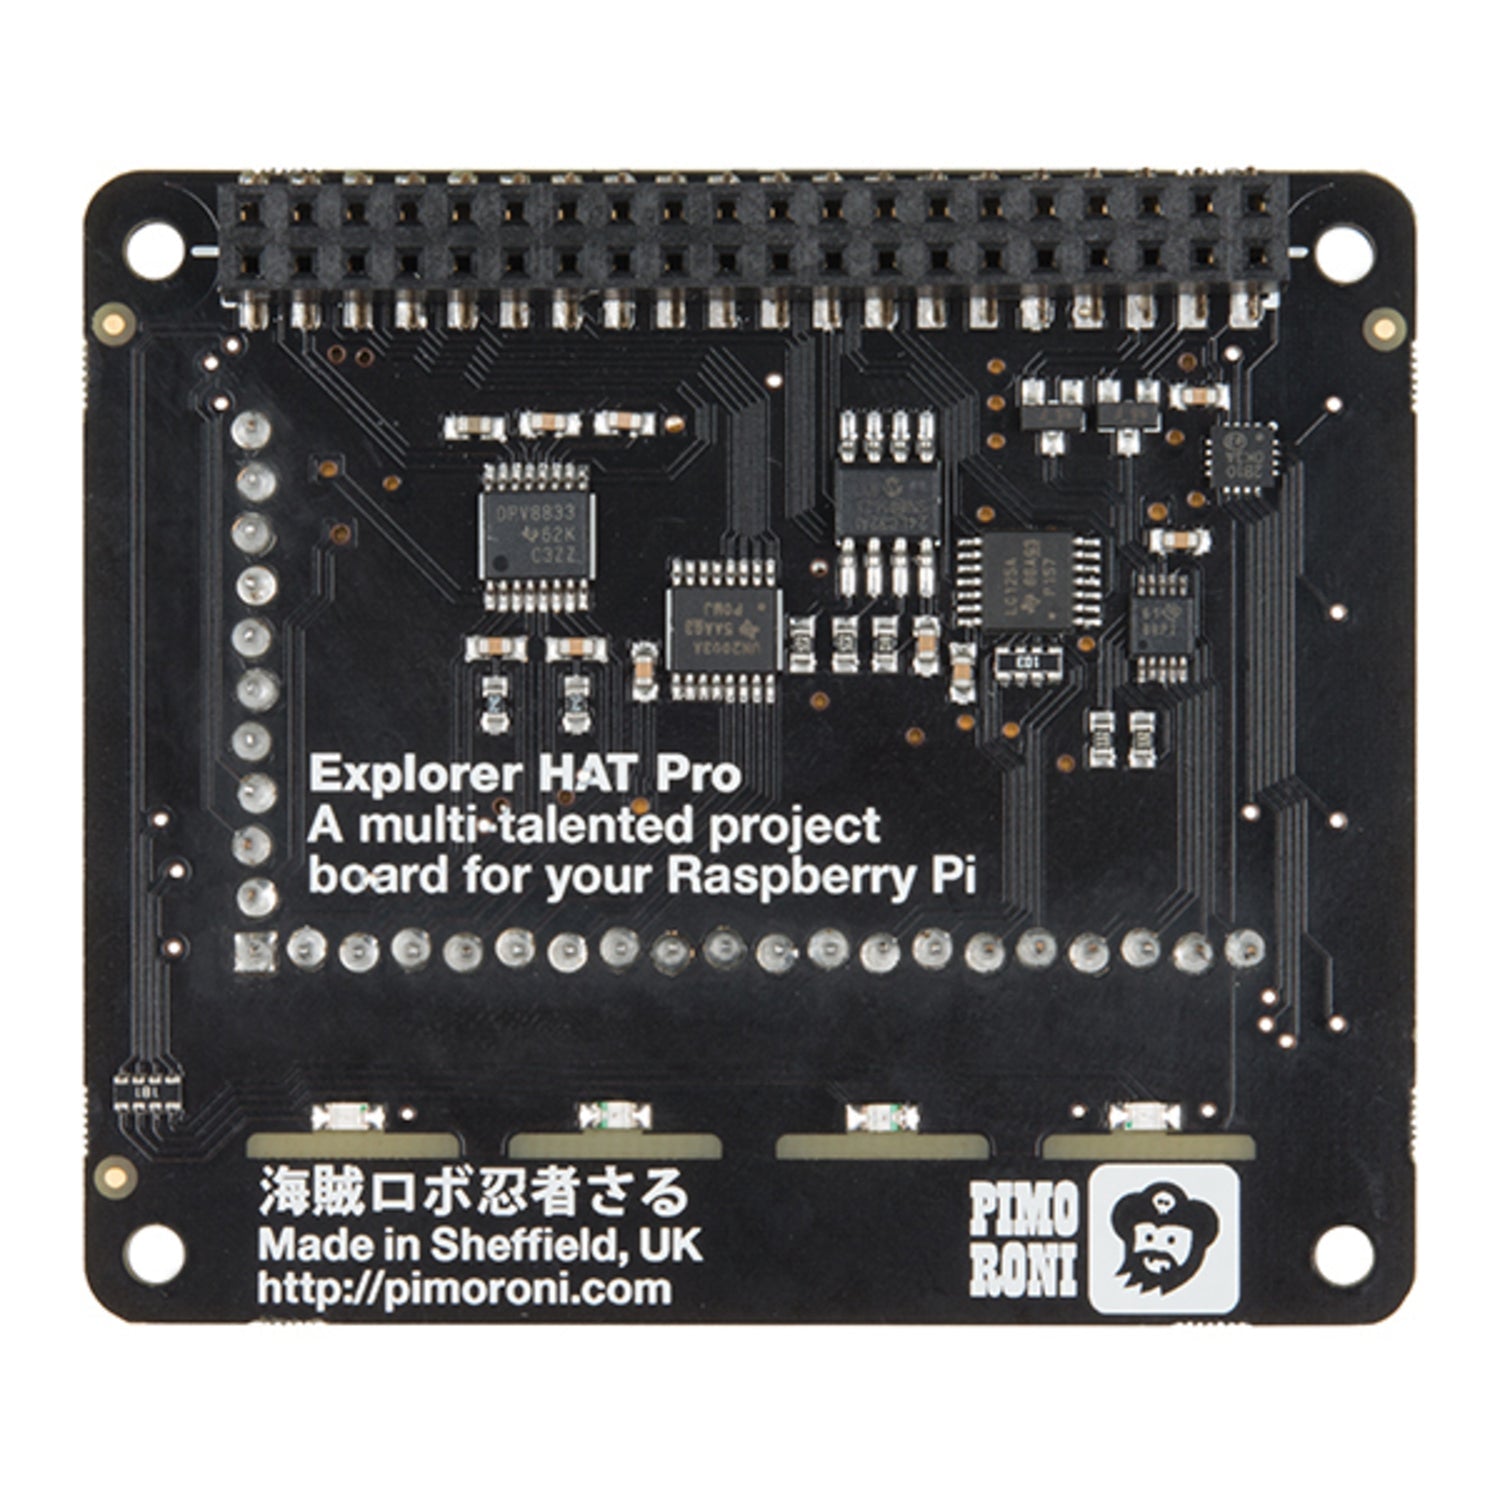
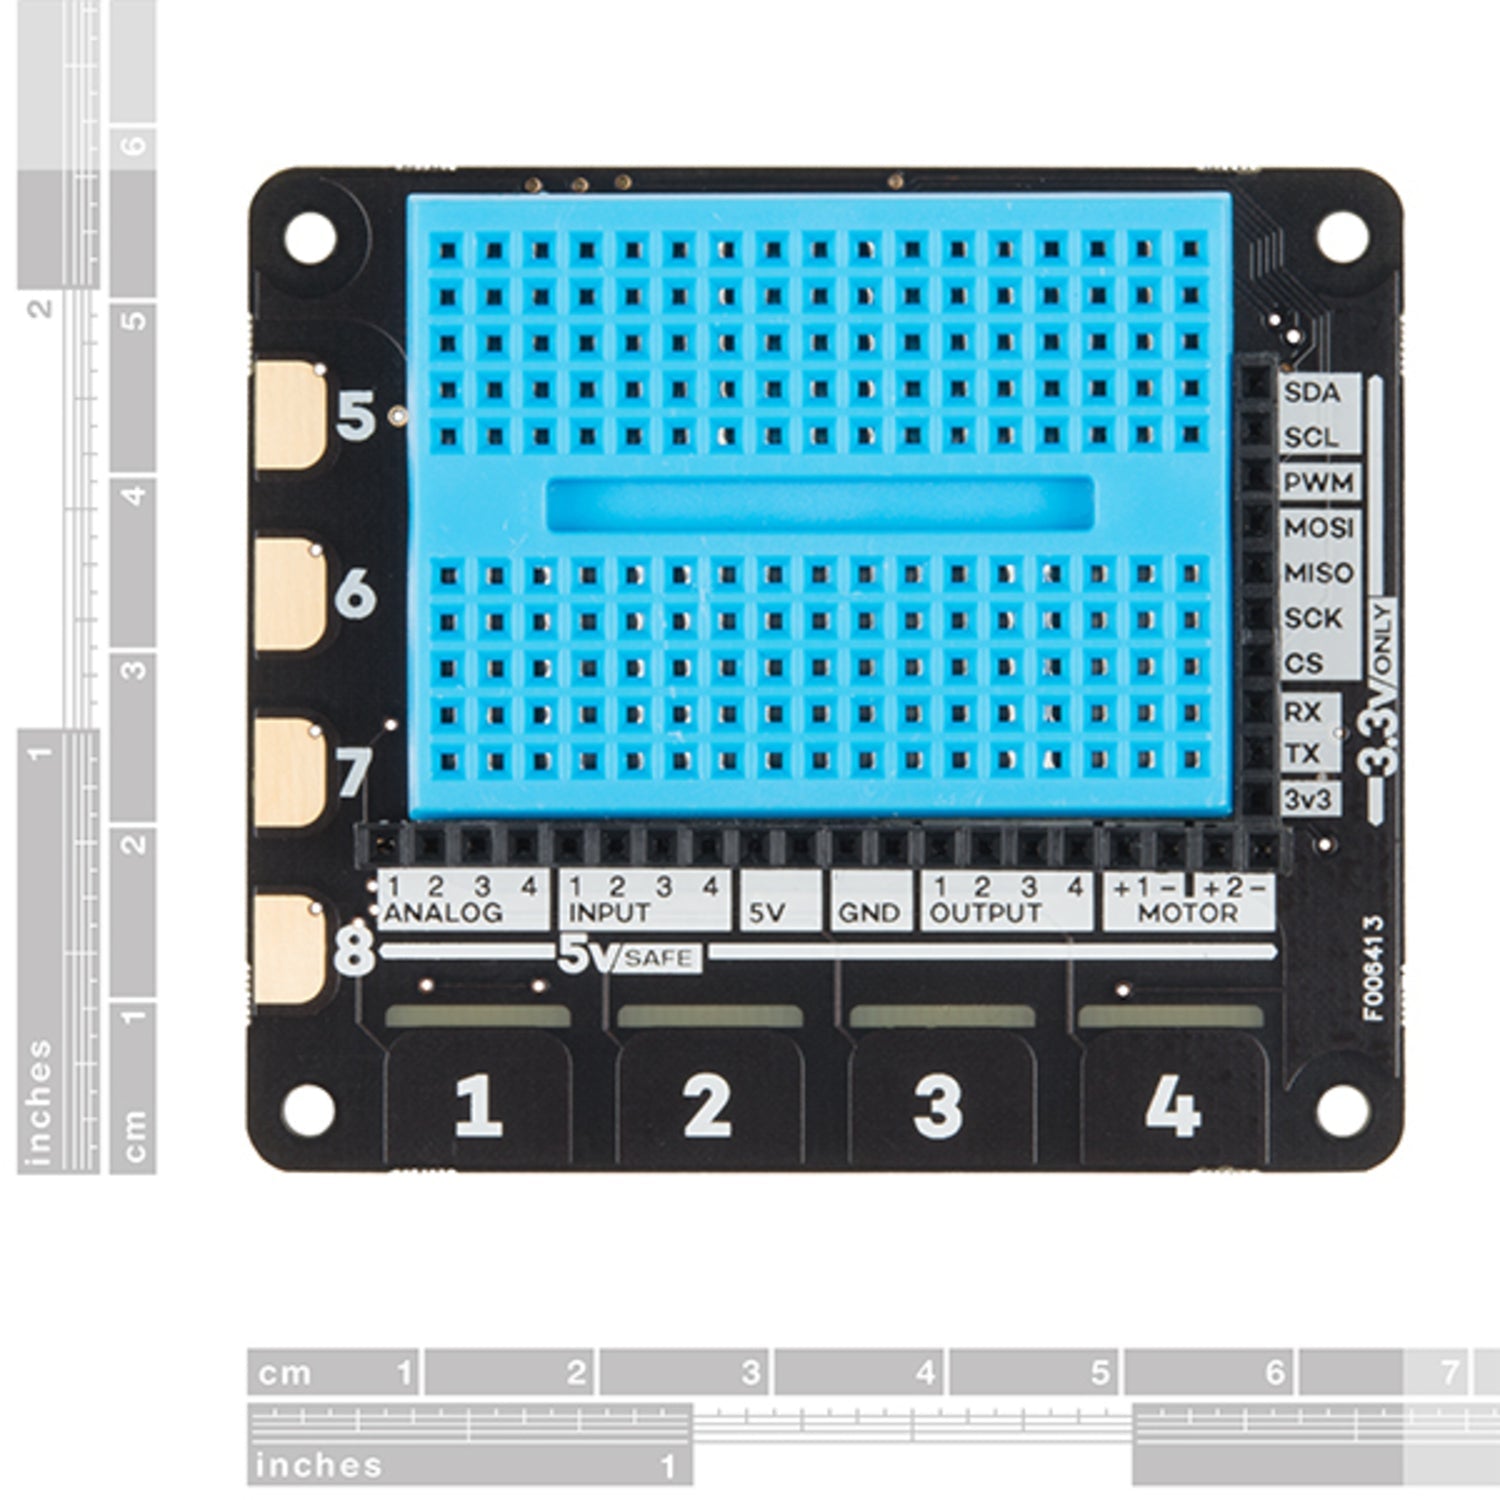
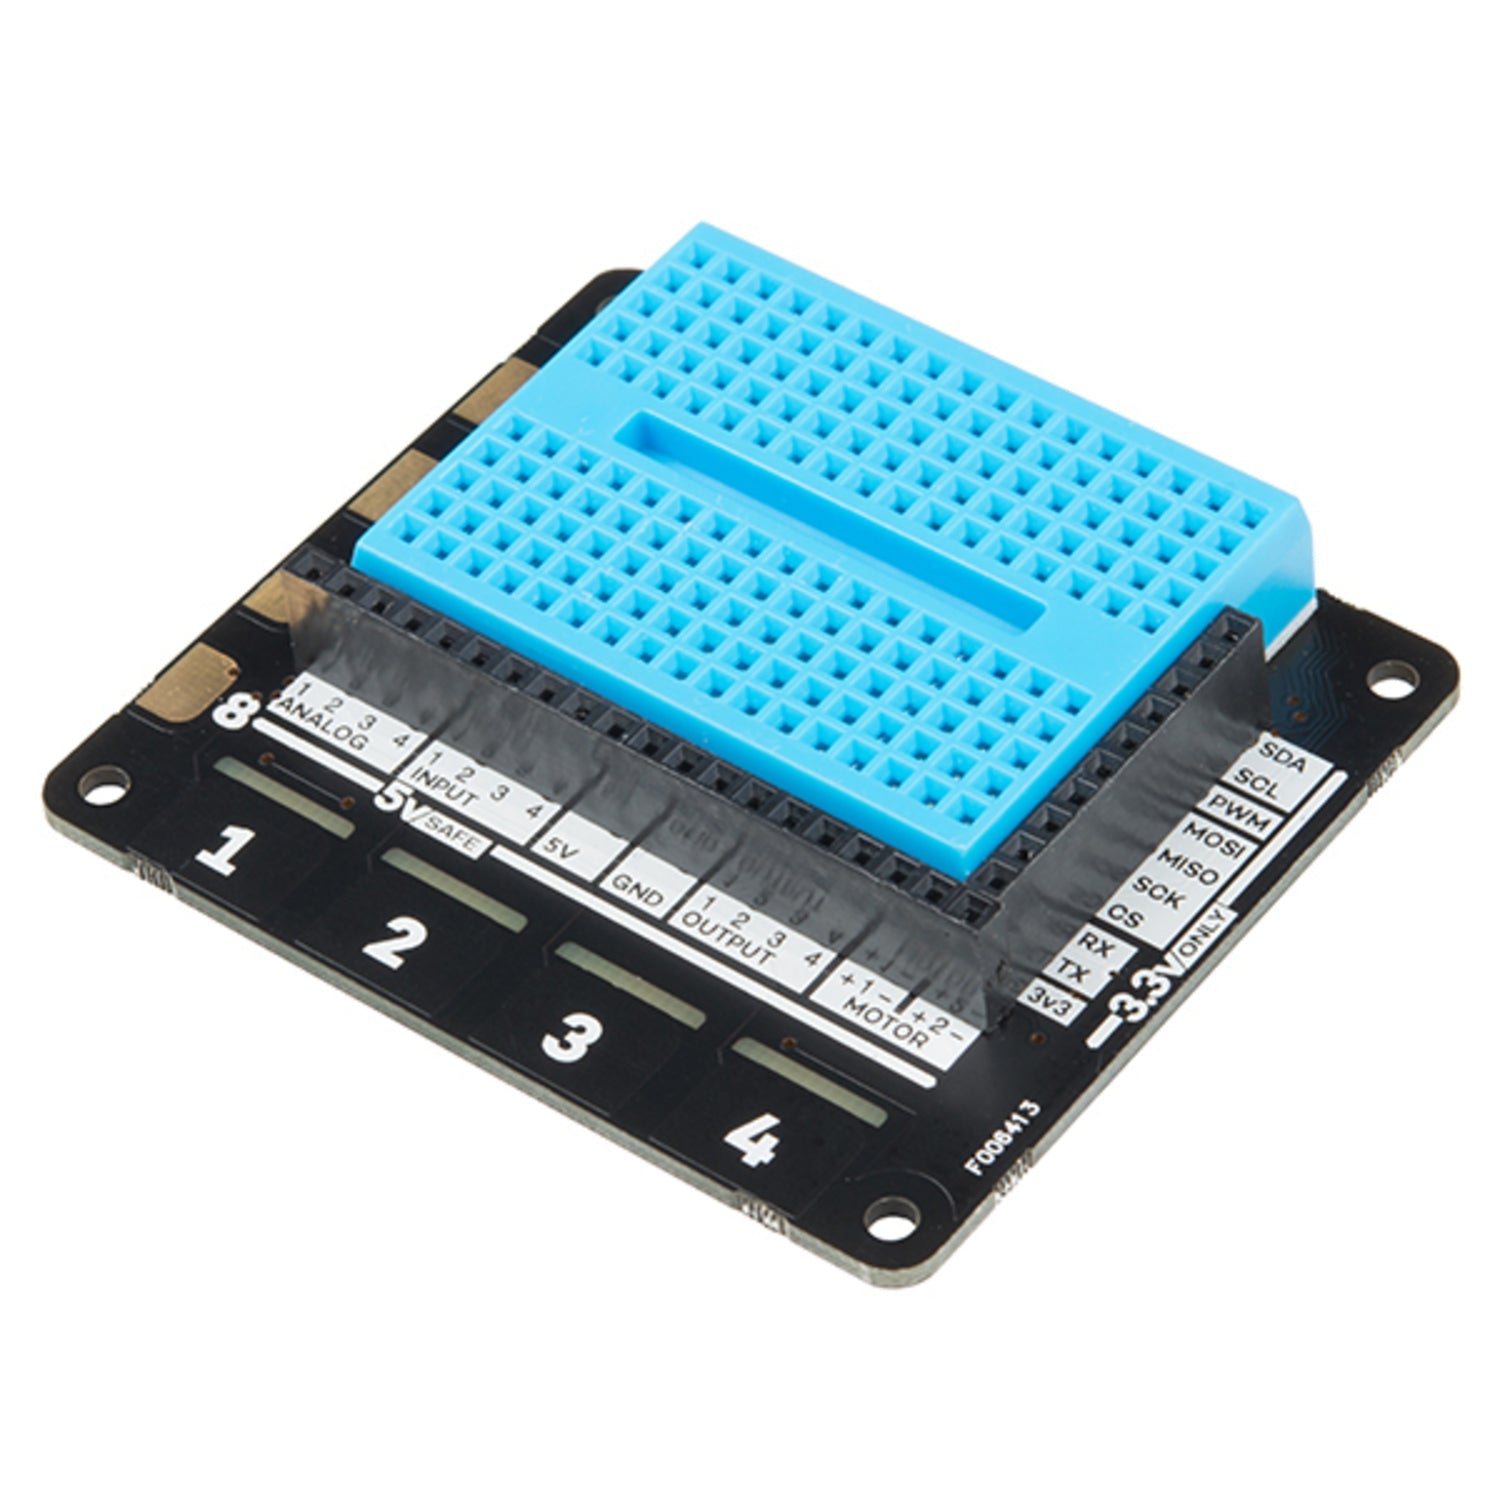
The Pimoroni Pro Explorer HAT is a fantastic 'shield' for the Raspberry Pi. It serves as the perfect sidekick for your Pi prototyping needs. With a wide range of useful input and output options, this add - on board can take your Raspberry Pi projects to new heights. It's great for driving motors, using analog sensors, connecting with 5V systems, and even creating touch interfaces, including those based on fruit! Each Pimoroni Pro Explorer HAT easily attaches to a Raspberry Pi with a 40 - pin (2x20) GPIO. Pimoroni has a GitHub repository with Explorer software and examples in an easy - to - use Python module, so you can start prototyping right away. Features include four buffered 5V tolerant inputs, four powered 5V outputs (up to 500mA), four capacitive touch pads, four capacitive crocodile clip pads, four 4 - colored LEDs, four analog inputs, two H - bridge motor drivers, useful (unprotected) 3v3 goodies from the GPIO, and a mini breadboard on top. There are also useful documents like the Python Library, Explorer HAT 8 - bit Shift Register, Event - Driven Lights Out Game, Alarm System With PIN Entry, and Making a Minecraft Thermometer.


Using the Pimoroni Pro Explorer HAT is easy. First, make sure your Raspberry Pi has a 40 - pin (2x20) GPIO. Then, simply snap the Explorer HAT on top. To start using it, head over to the GitHub repository and download the Explorer software along with the examples in the Python module. This will give you a good start for your prototyping. When using the 5V outputs, keep in mind that the maximum current is 500mA, so don't overload them. For the touch pads and crocodile clip pads, be gentle when making connections. To maintain your Explorer HAT, keep it clean and free from dust. If you're not using it for a long time, store it in a dry place. The mini breadboard on top is a great addition, but make sure to insert components carefully to avoid damaging it. Enjoy creating amazing Raspberry Pi projects with your Explorer HAT!