Hey! Check out this super cute little display for your Raspberry Pi. It's a 3.5-inch display with 480x320 16-bit color pixels and a resistive touch overlay. It's a bit larger than our popular original model. It uses the high-speed SPI interface on the Pi and can be used as a console, X window port, for displaying images or videos. And the best part? It plugs right on top of your Pi! This 3.5-inch PiTFT is designed to fit nicely on the Pi 1 Model A or B, but it also works fine with the Raspberry Pi Zero, 3, 2 Model B, Pi Model A+ or B+ (though the PCB will overhang the USB ports by 5mm). If you want a version for the Pi Zero / 3 / 2 / A+ / B+, check out the PiTFT Plus 3.5-inch. It uses the hardware SPI pins (SCK, MOSI, MISO, CE0, CE1), GPIO #25 and #24. You can use GPIO #18 to PWM dim the backlight. There's a 2x13 header at the bottom where you can connect a standard Pi GPIO cable. It comes fully assembled and ready to plug into your Pi. You can use it for running the X interface or pygame, and you can also connect an HDMI display separately. There are four mounting ears that can be used to attach the display and Pi to a bezel, or you can snap them off for a sleek look. We've made a custom kernel package based on Notro's great framebuffer work. You can install it over your existing Raspbian (or derivative) images in just a few commands. Our tutorial will show you how to install the software, calibrate the touchscreen, display images from your PiCam and more!
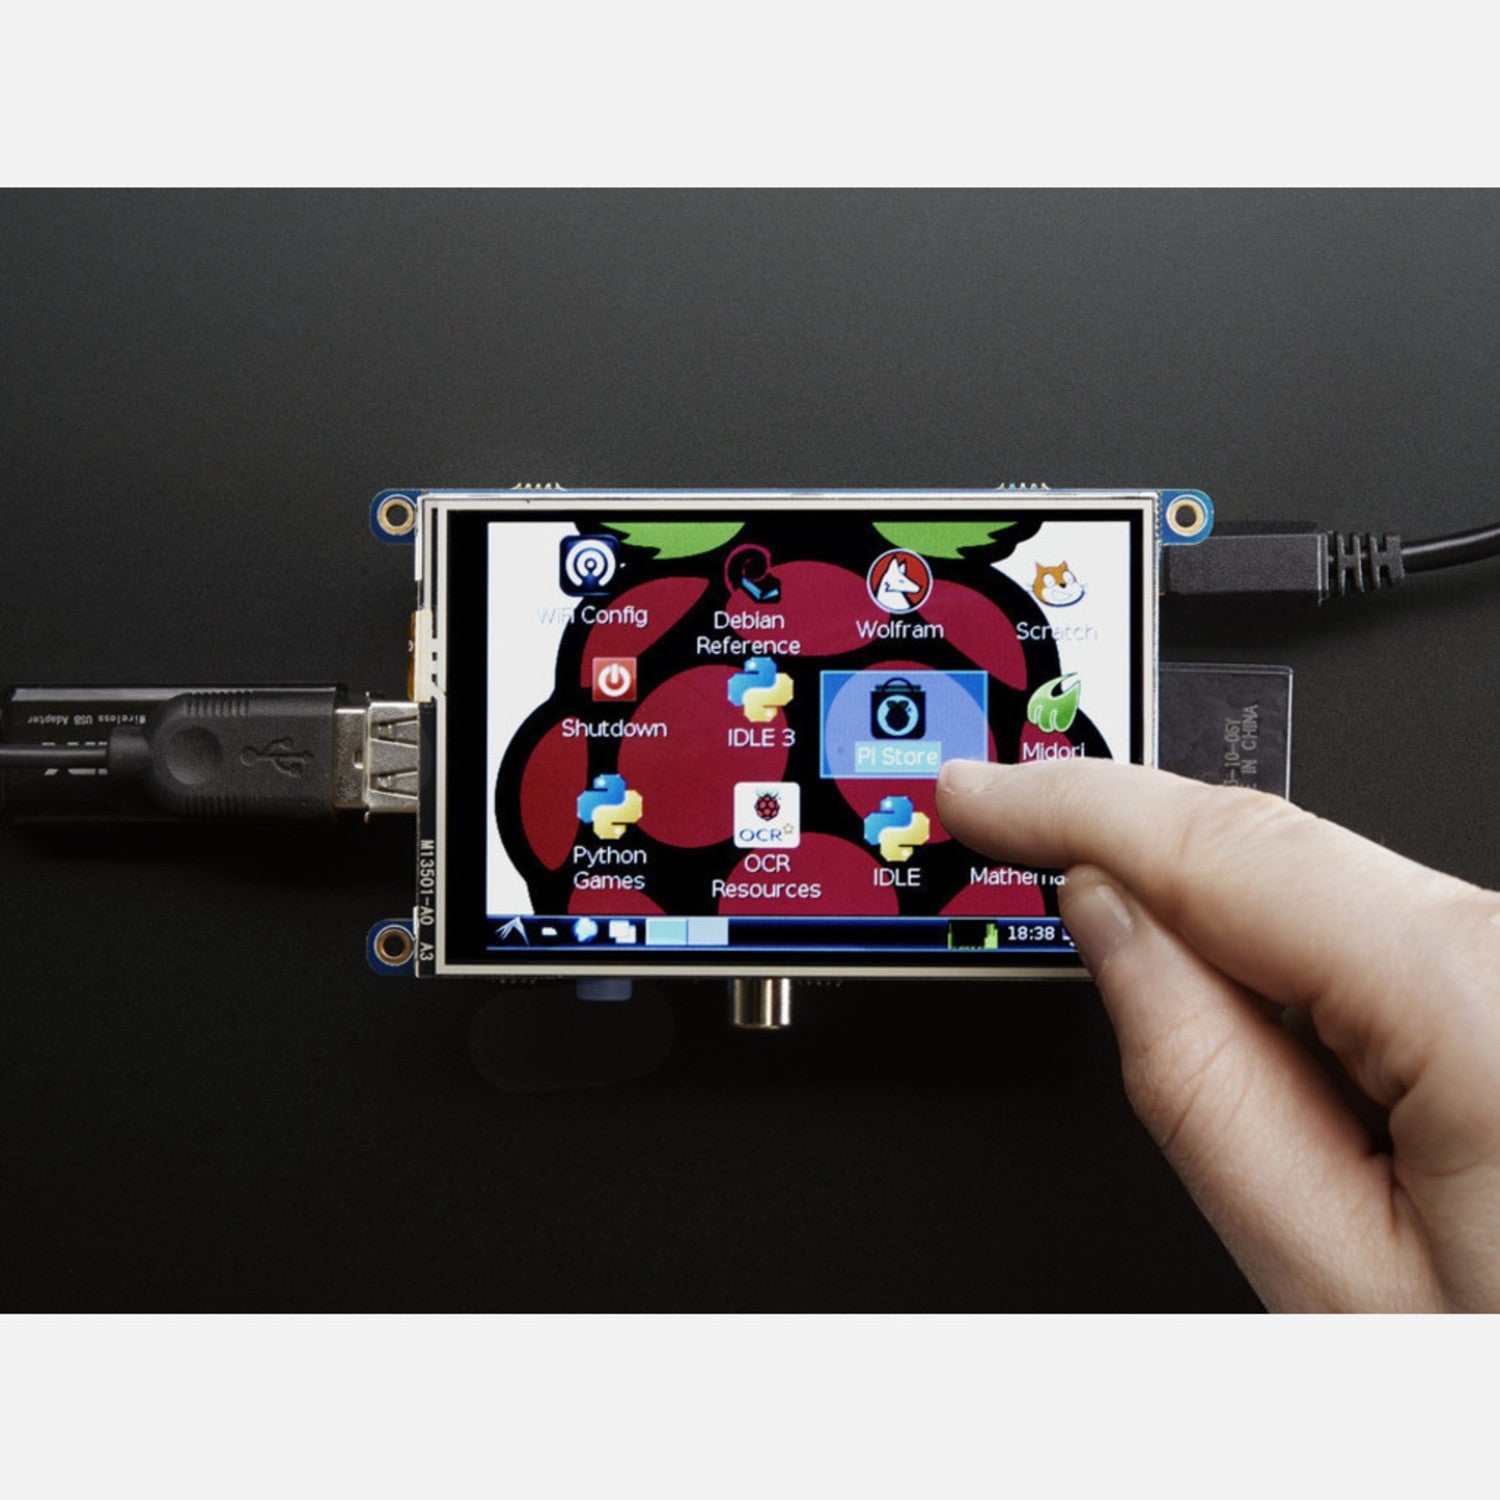

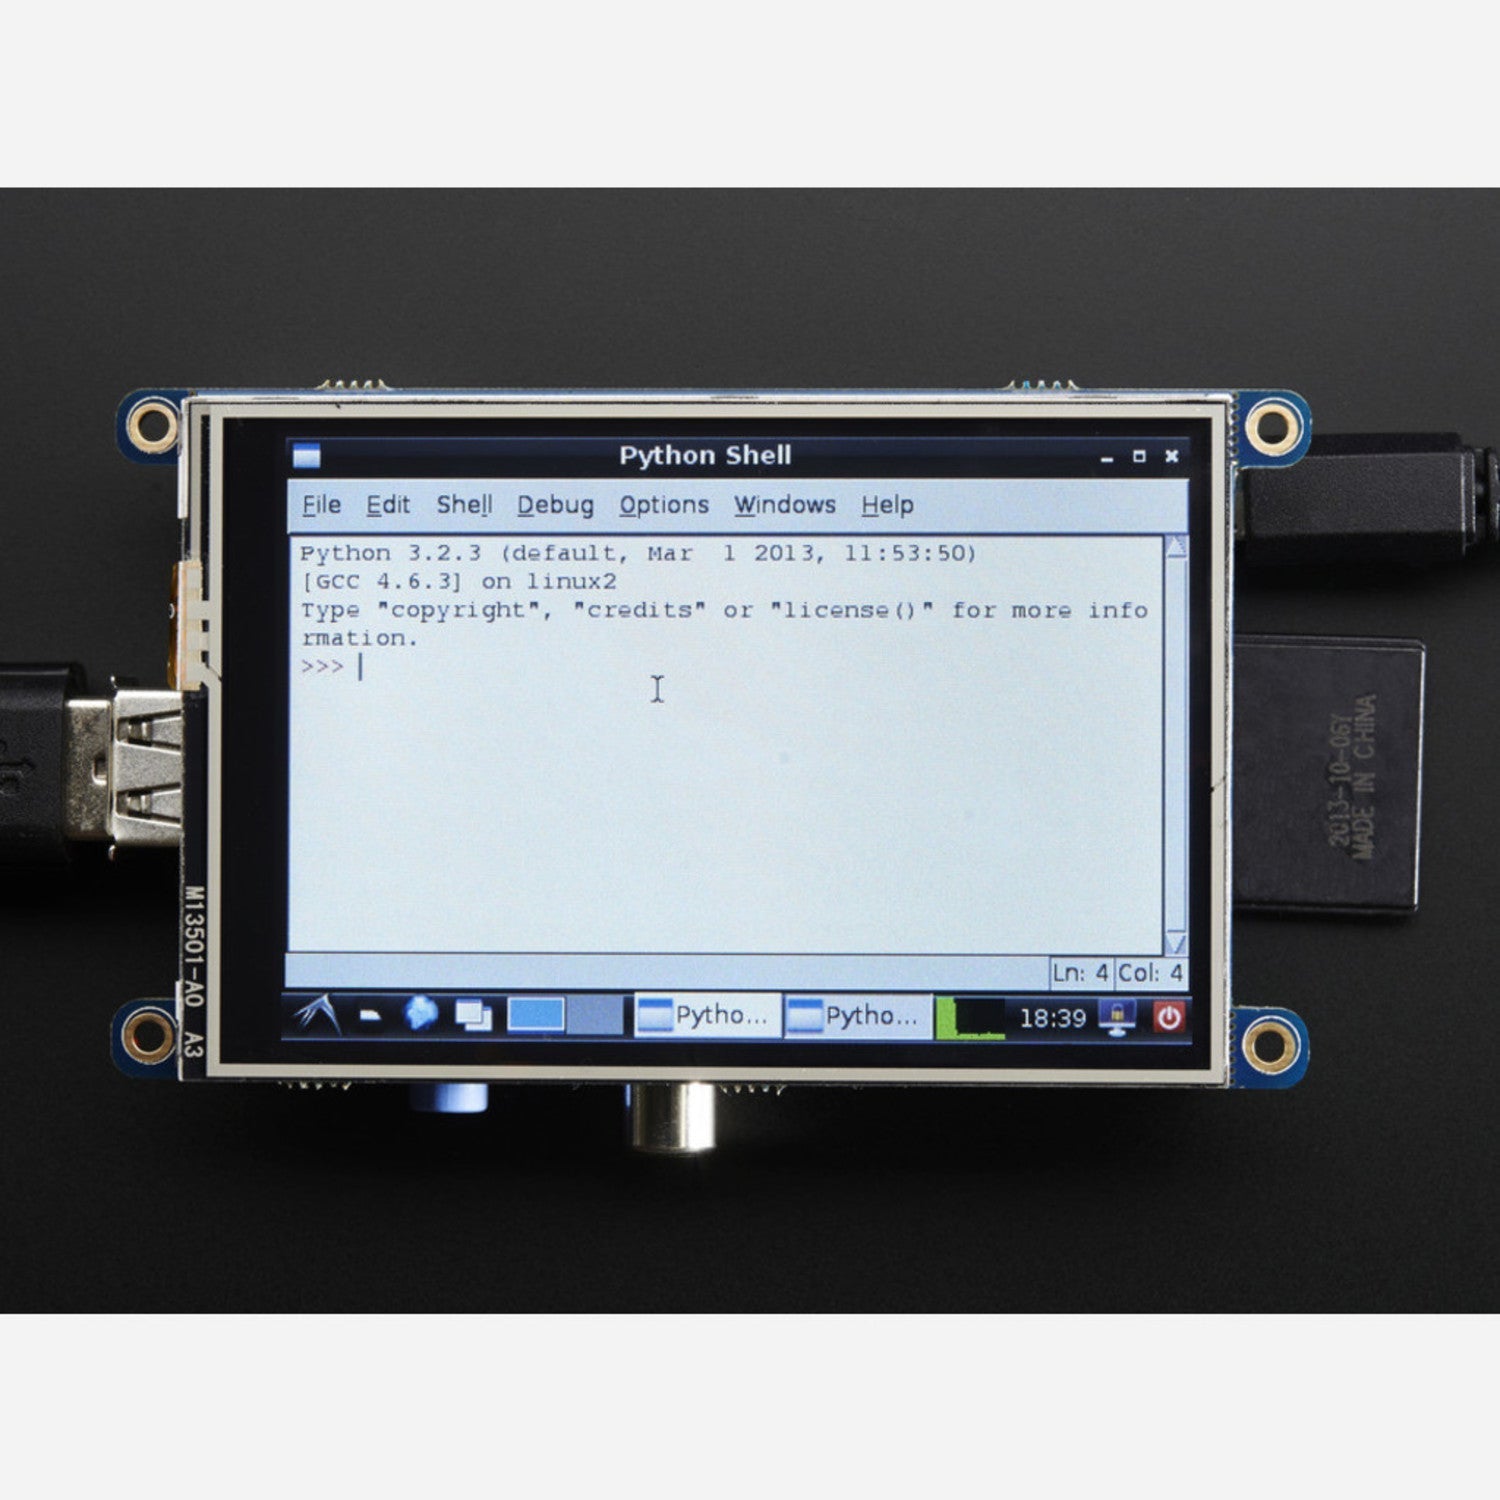
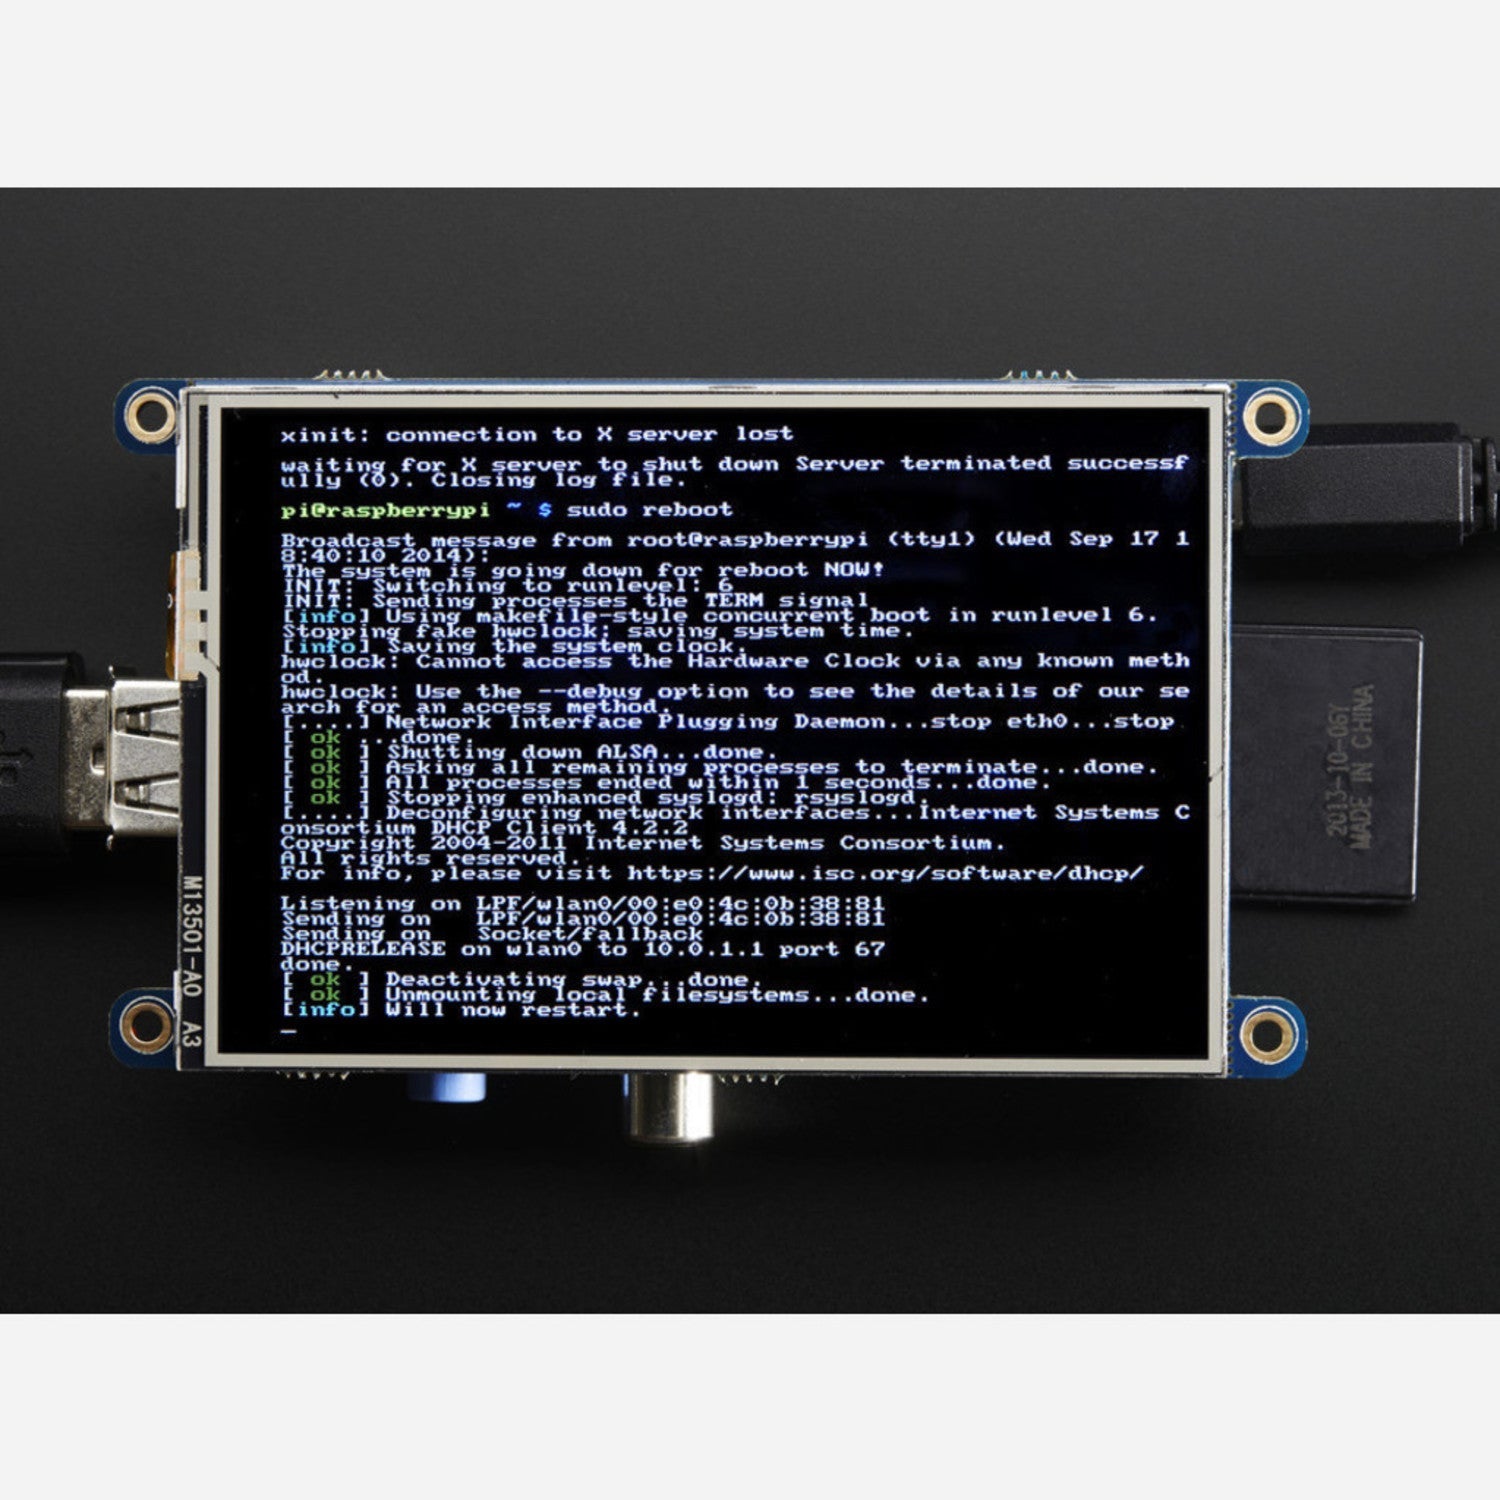
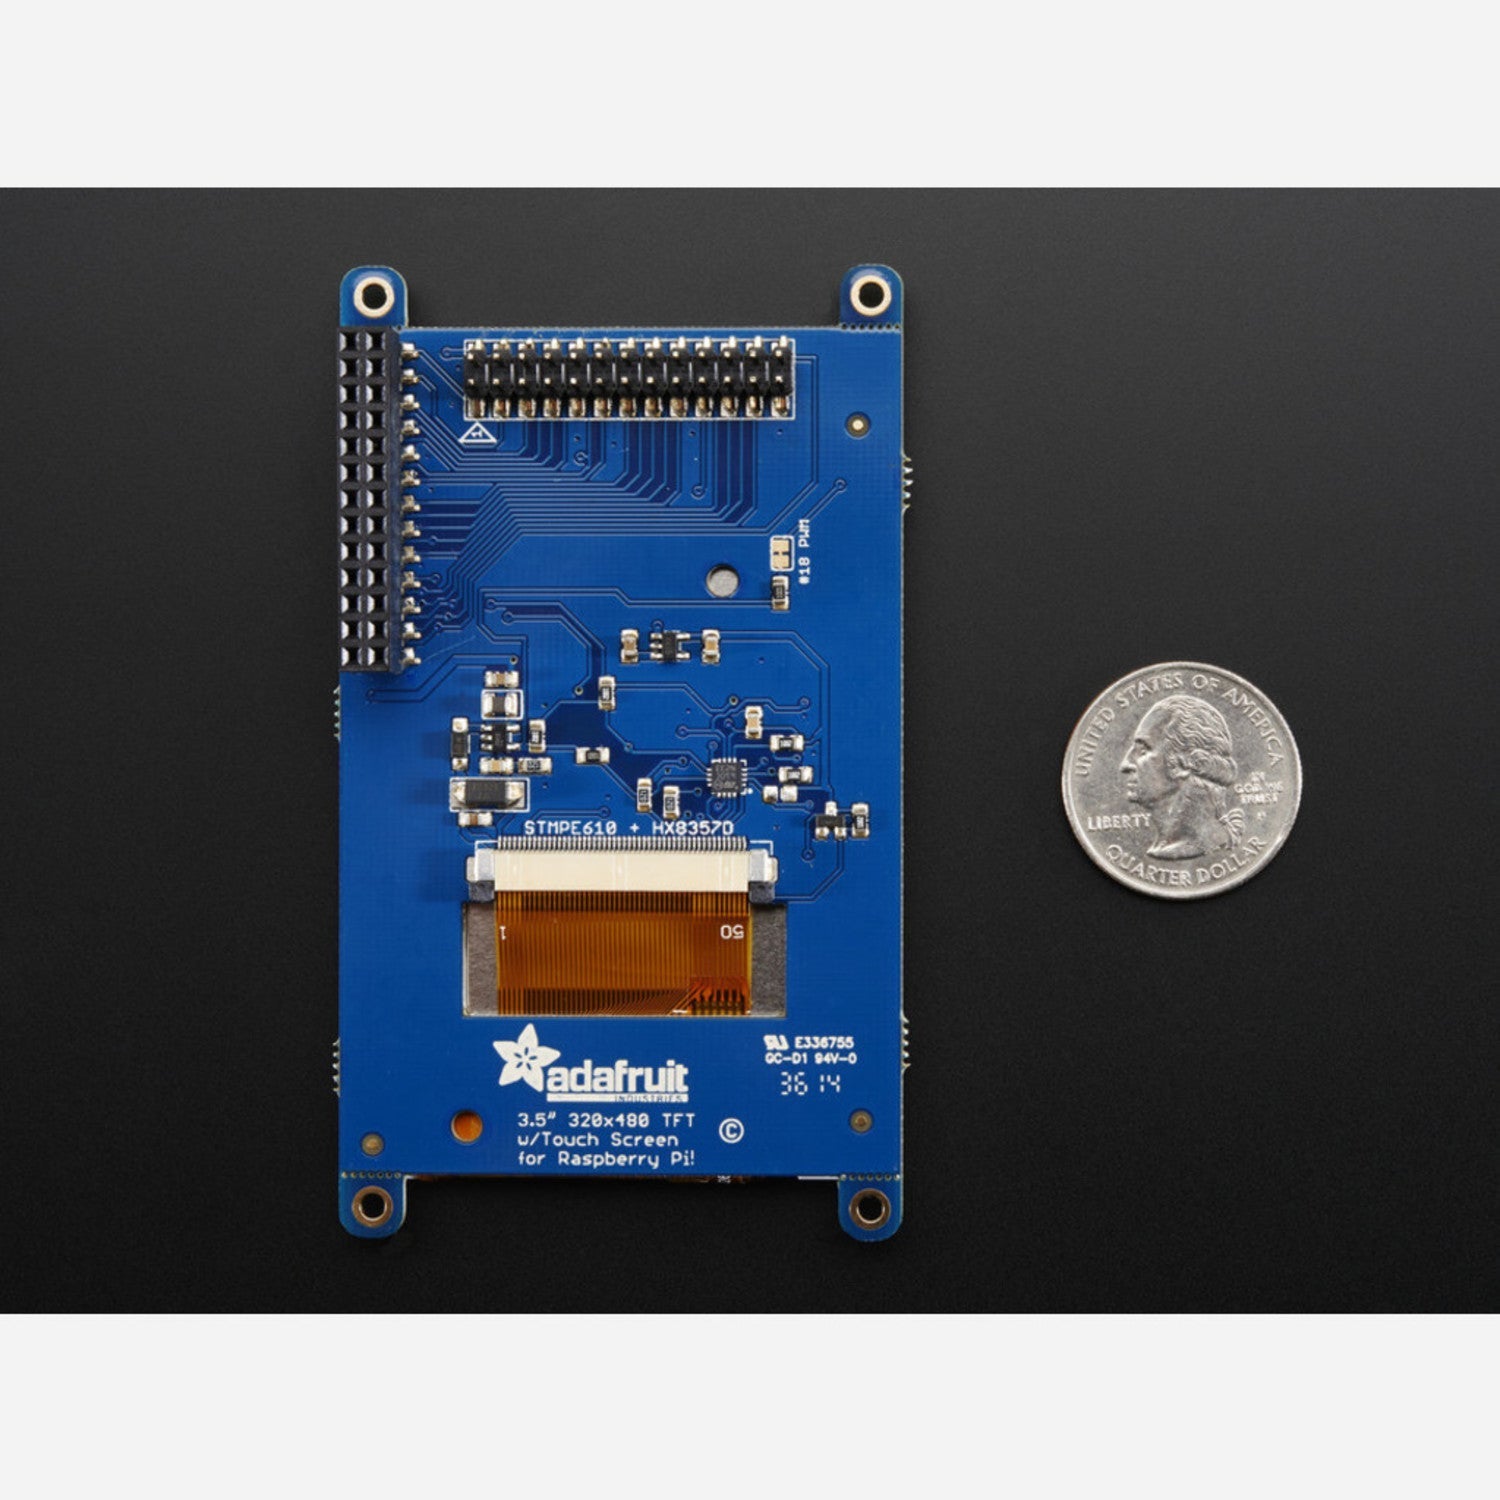
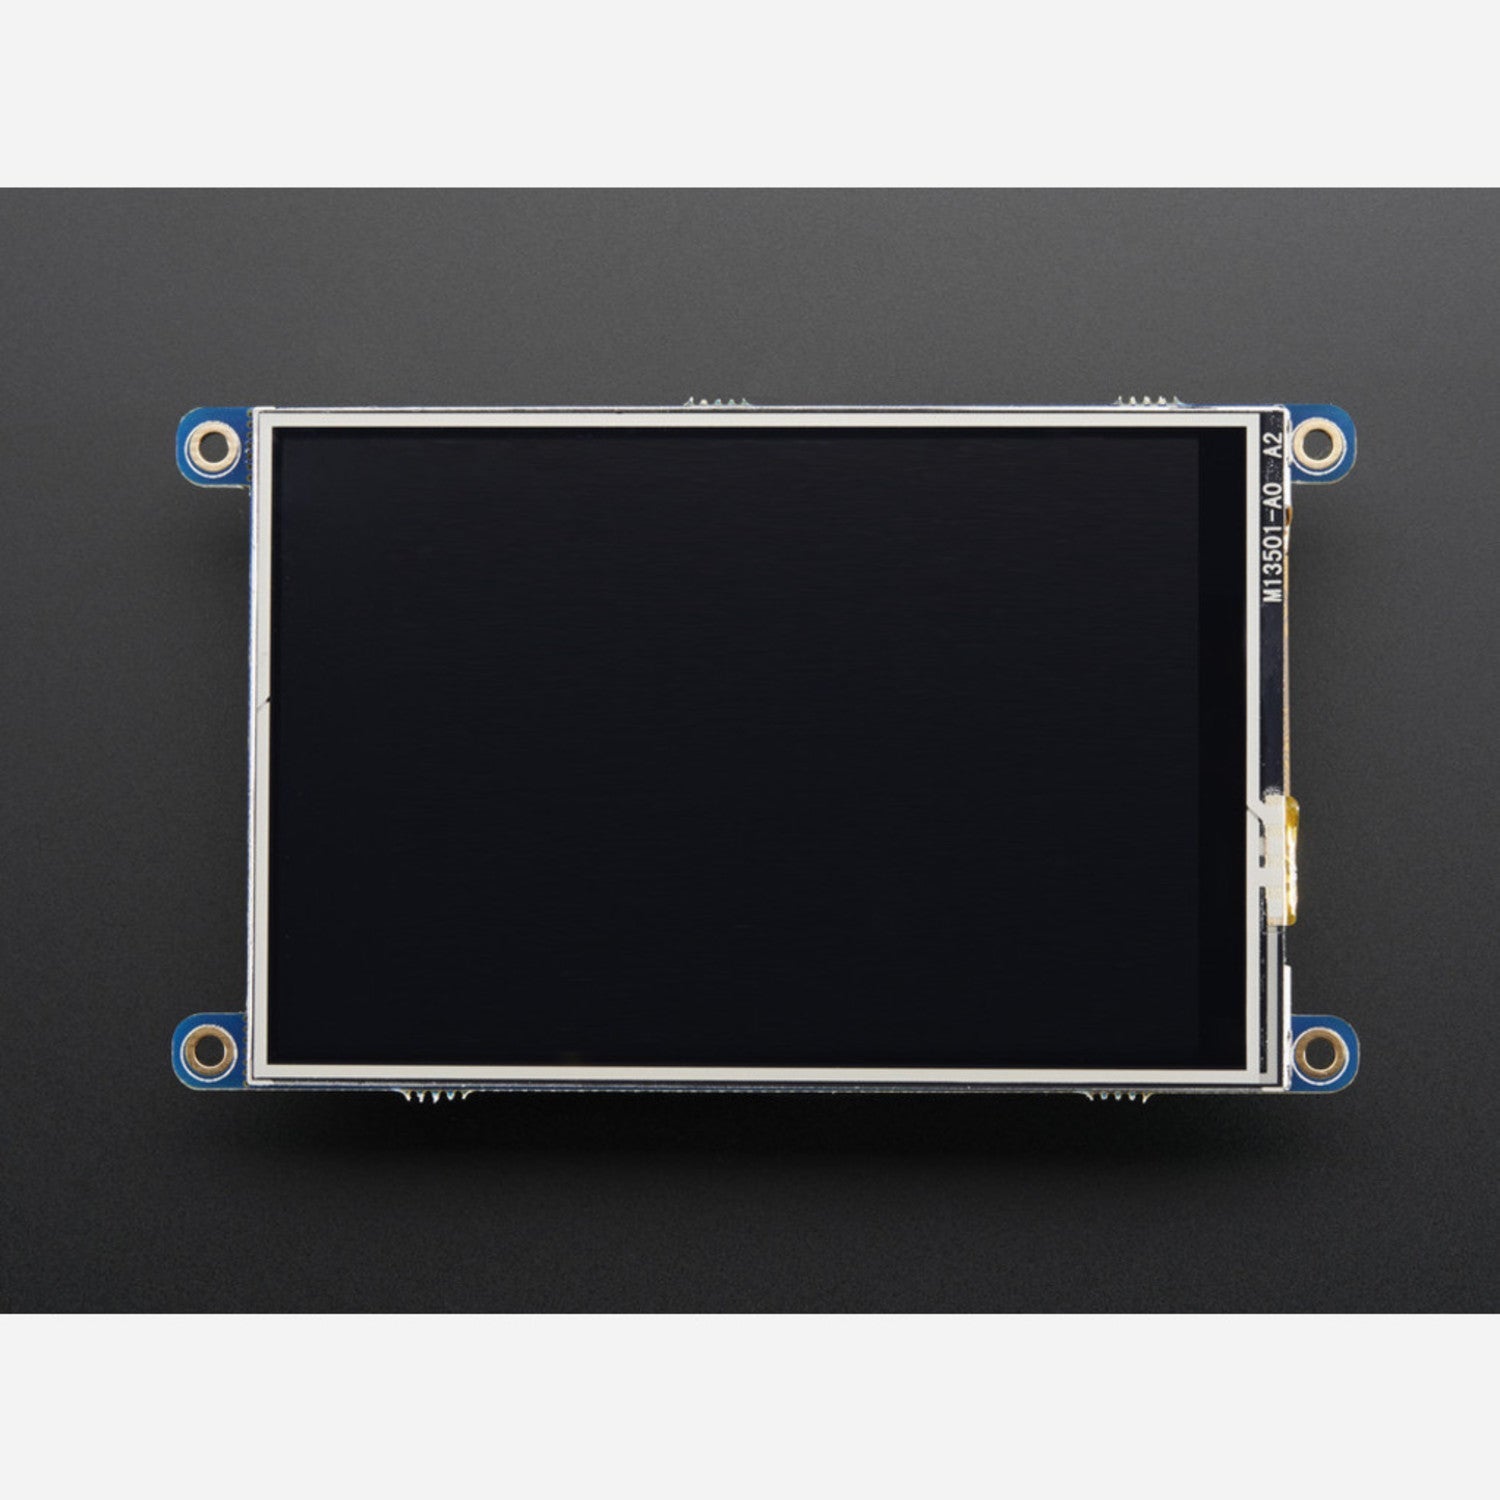
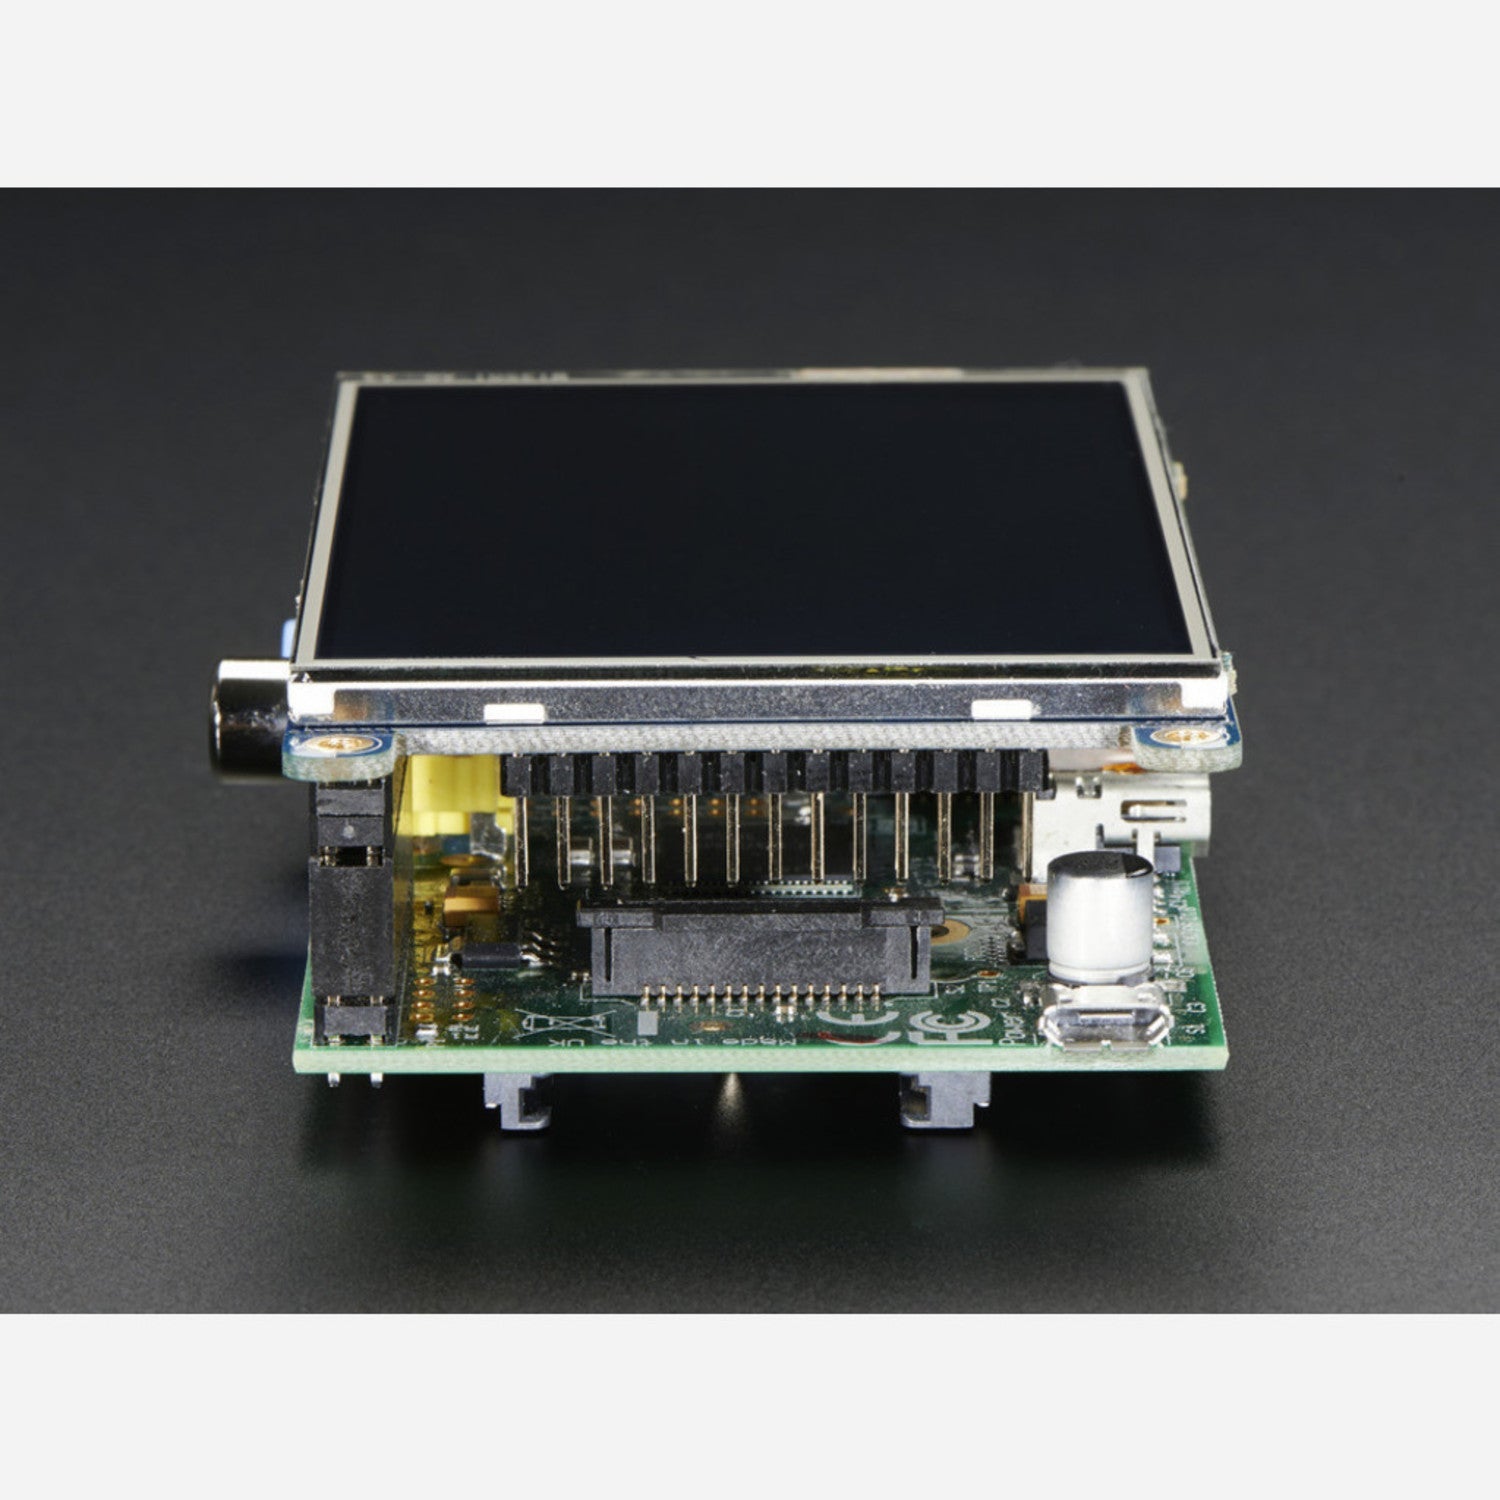
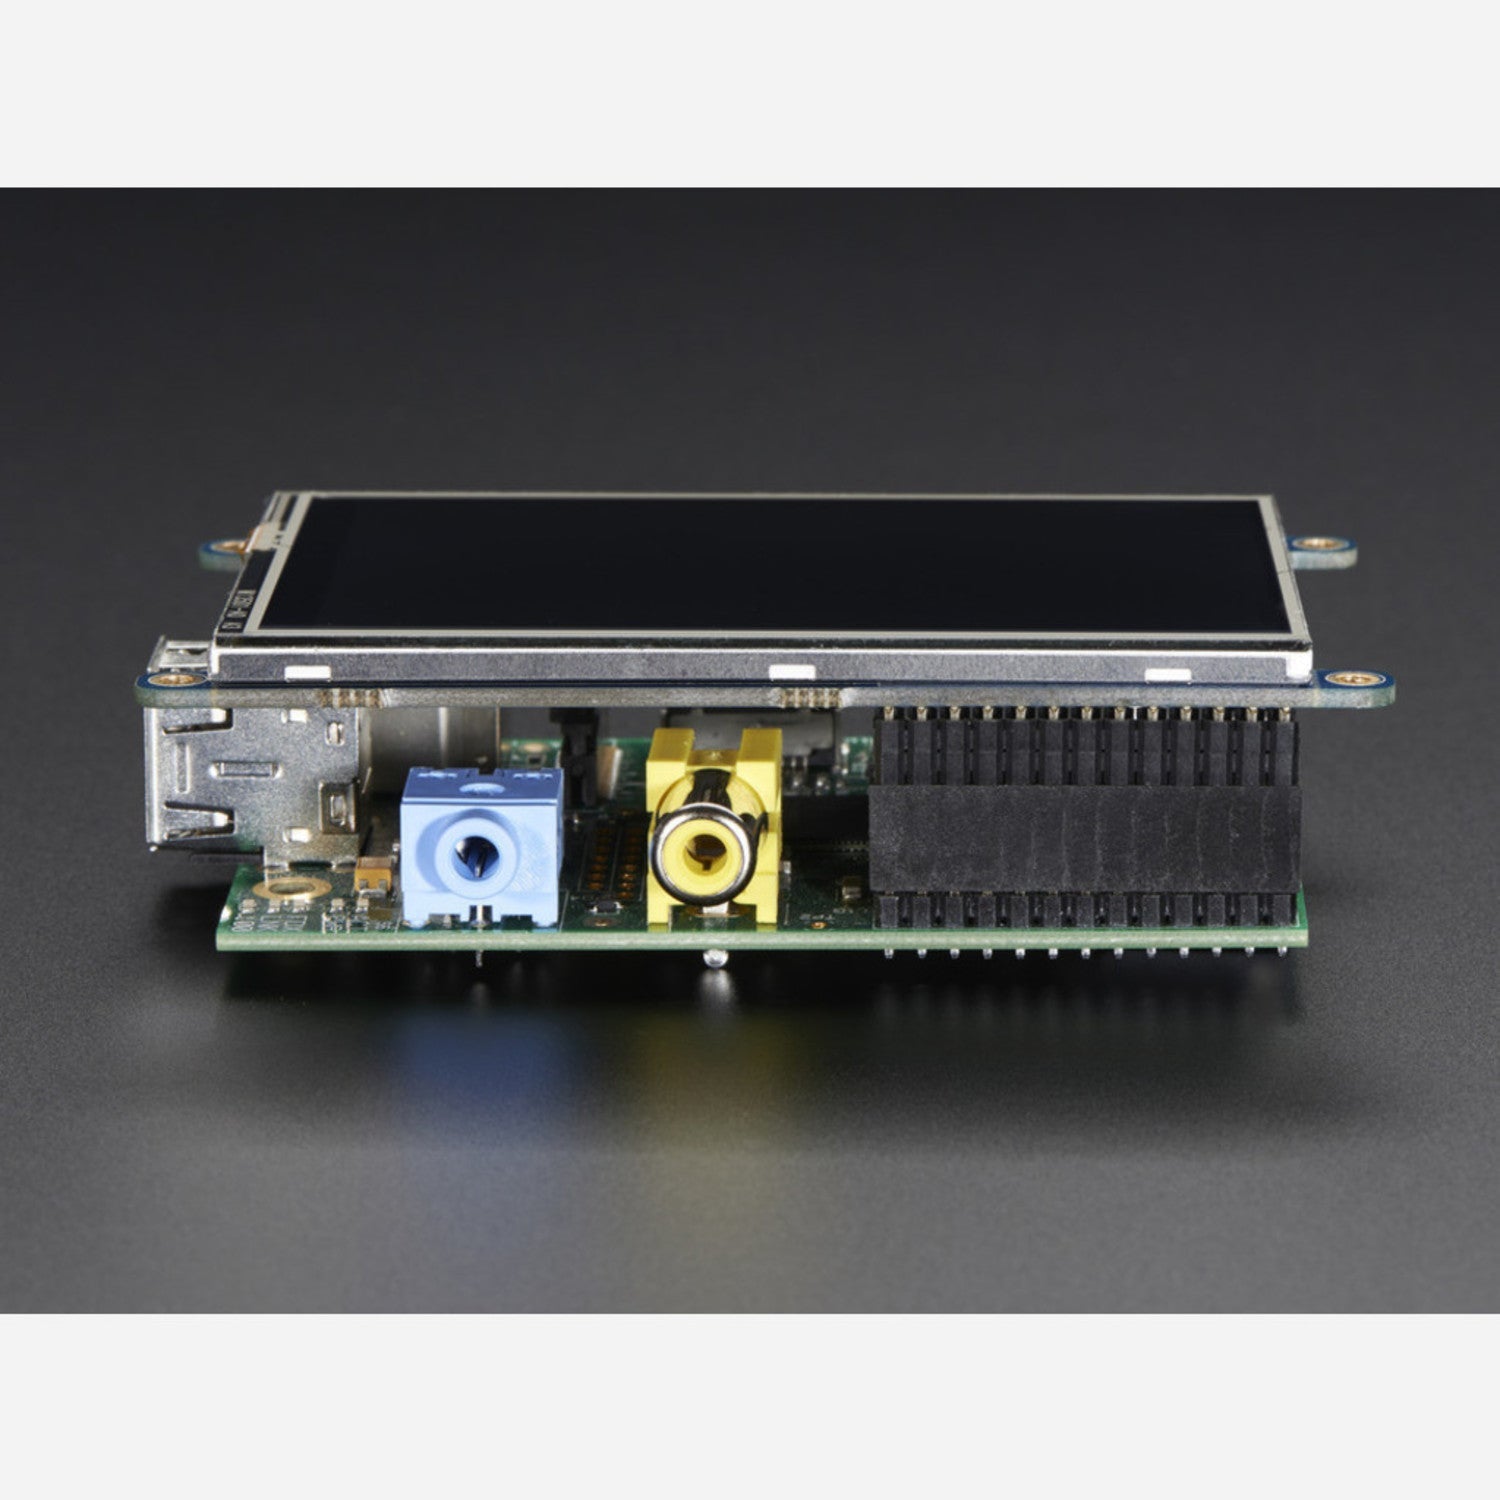
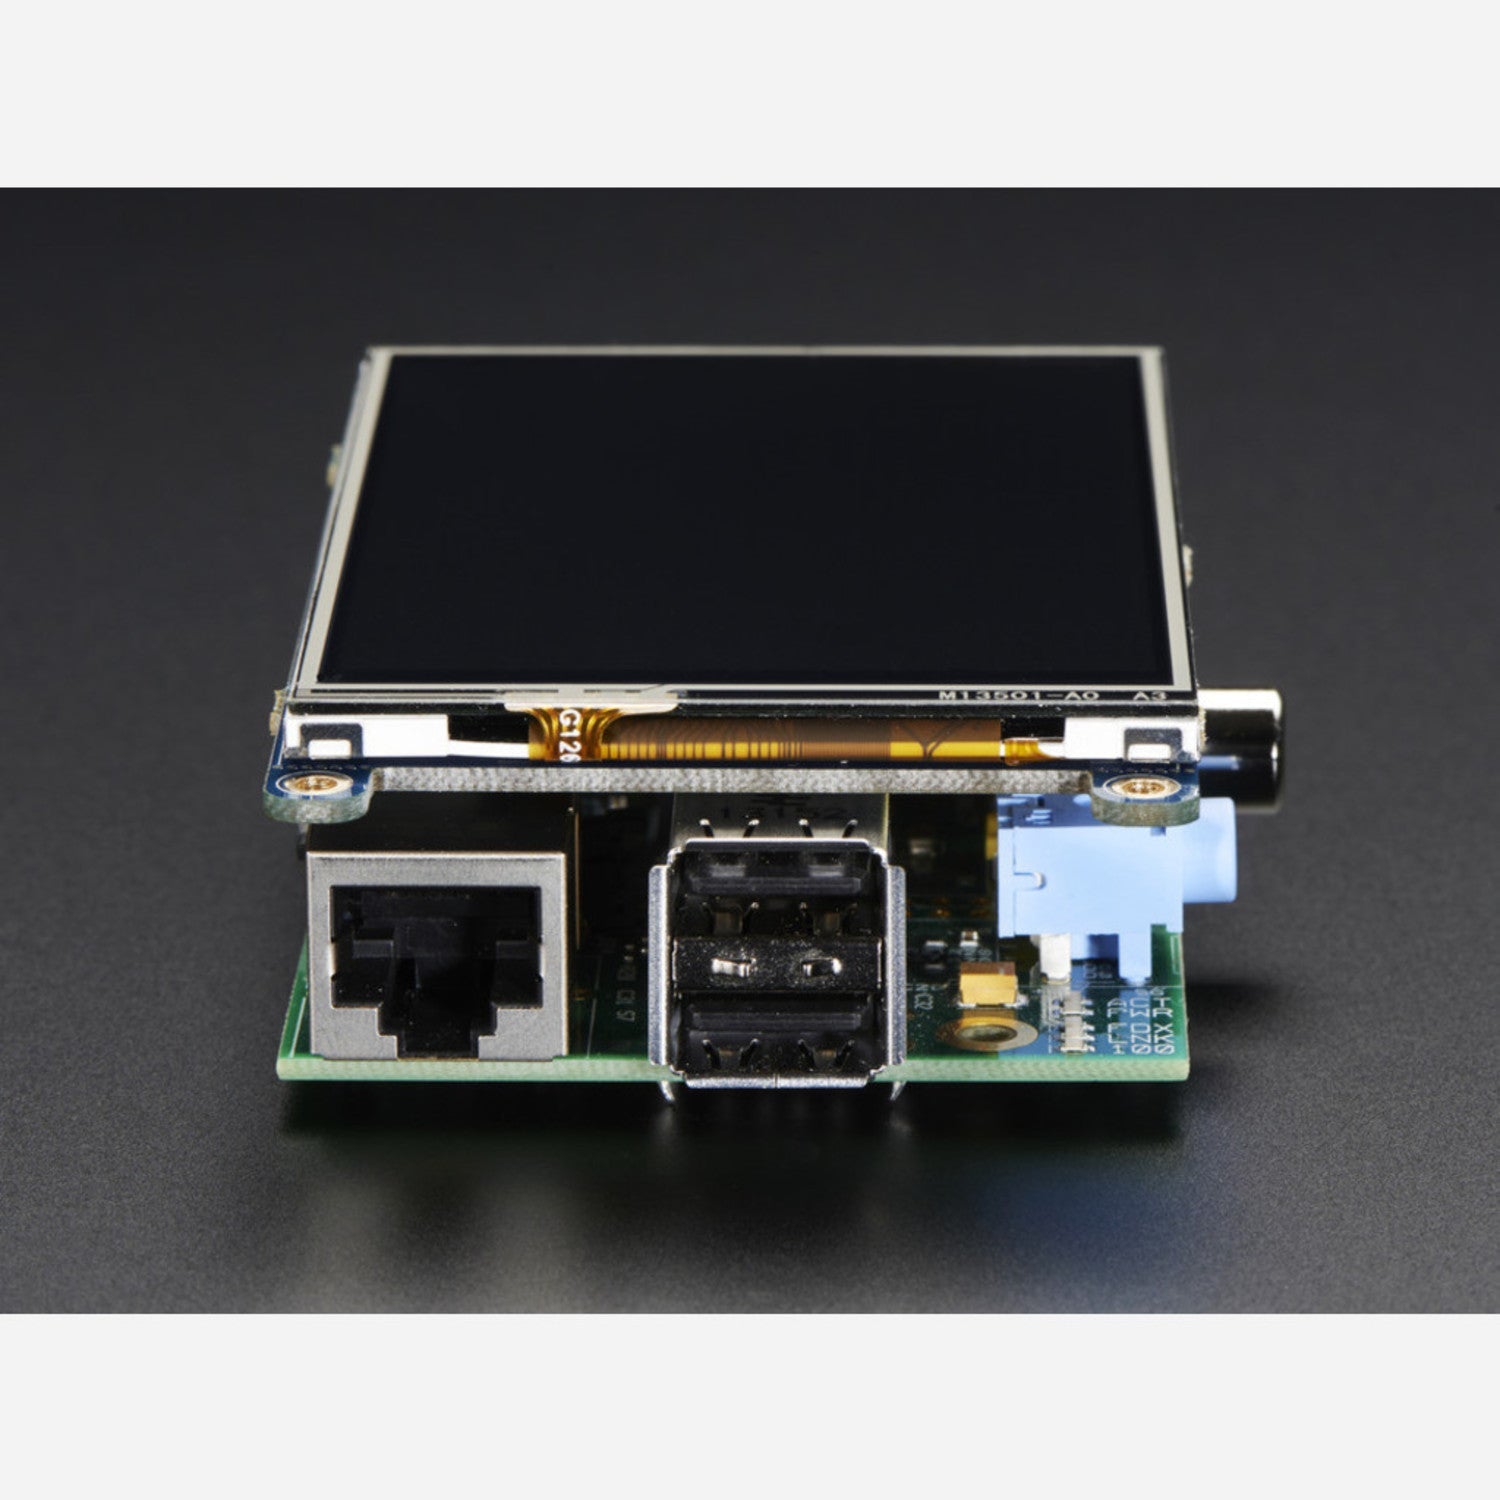
Using this product is easy. First, plug the fully - assembled display right on top of your Raspberry Pi. It's designed to fit Pi 1 Model A or B well, and also works with other models like Pi Zero, 3, 2 Model B, A+ or B+ (be aware of the 5mm PCB overhang on USB ports). You can use the hardware SPI pins and other specified GPIO pins as needed. For example, use GPIO #18 if you want to dim the backlight. Connect a standard Pi GPIO cable to the 2x13 header at the bottom to access other pins. You can use this display for running the X interface or pygame, and you can even connect an HDMI display separately. When it comes to software, we've created a custom kernel package. Just follow our tutorial to install it over your existing Raspbian (or derivative) images in a few commands. Also, use the tutorial to calibrate the touchscreen and display images from your PiCam. As for maintenance, keep the display clean. If you don't need the mounting ears, you can snap them off with pliers for a nicer look.


