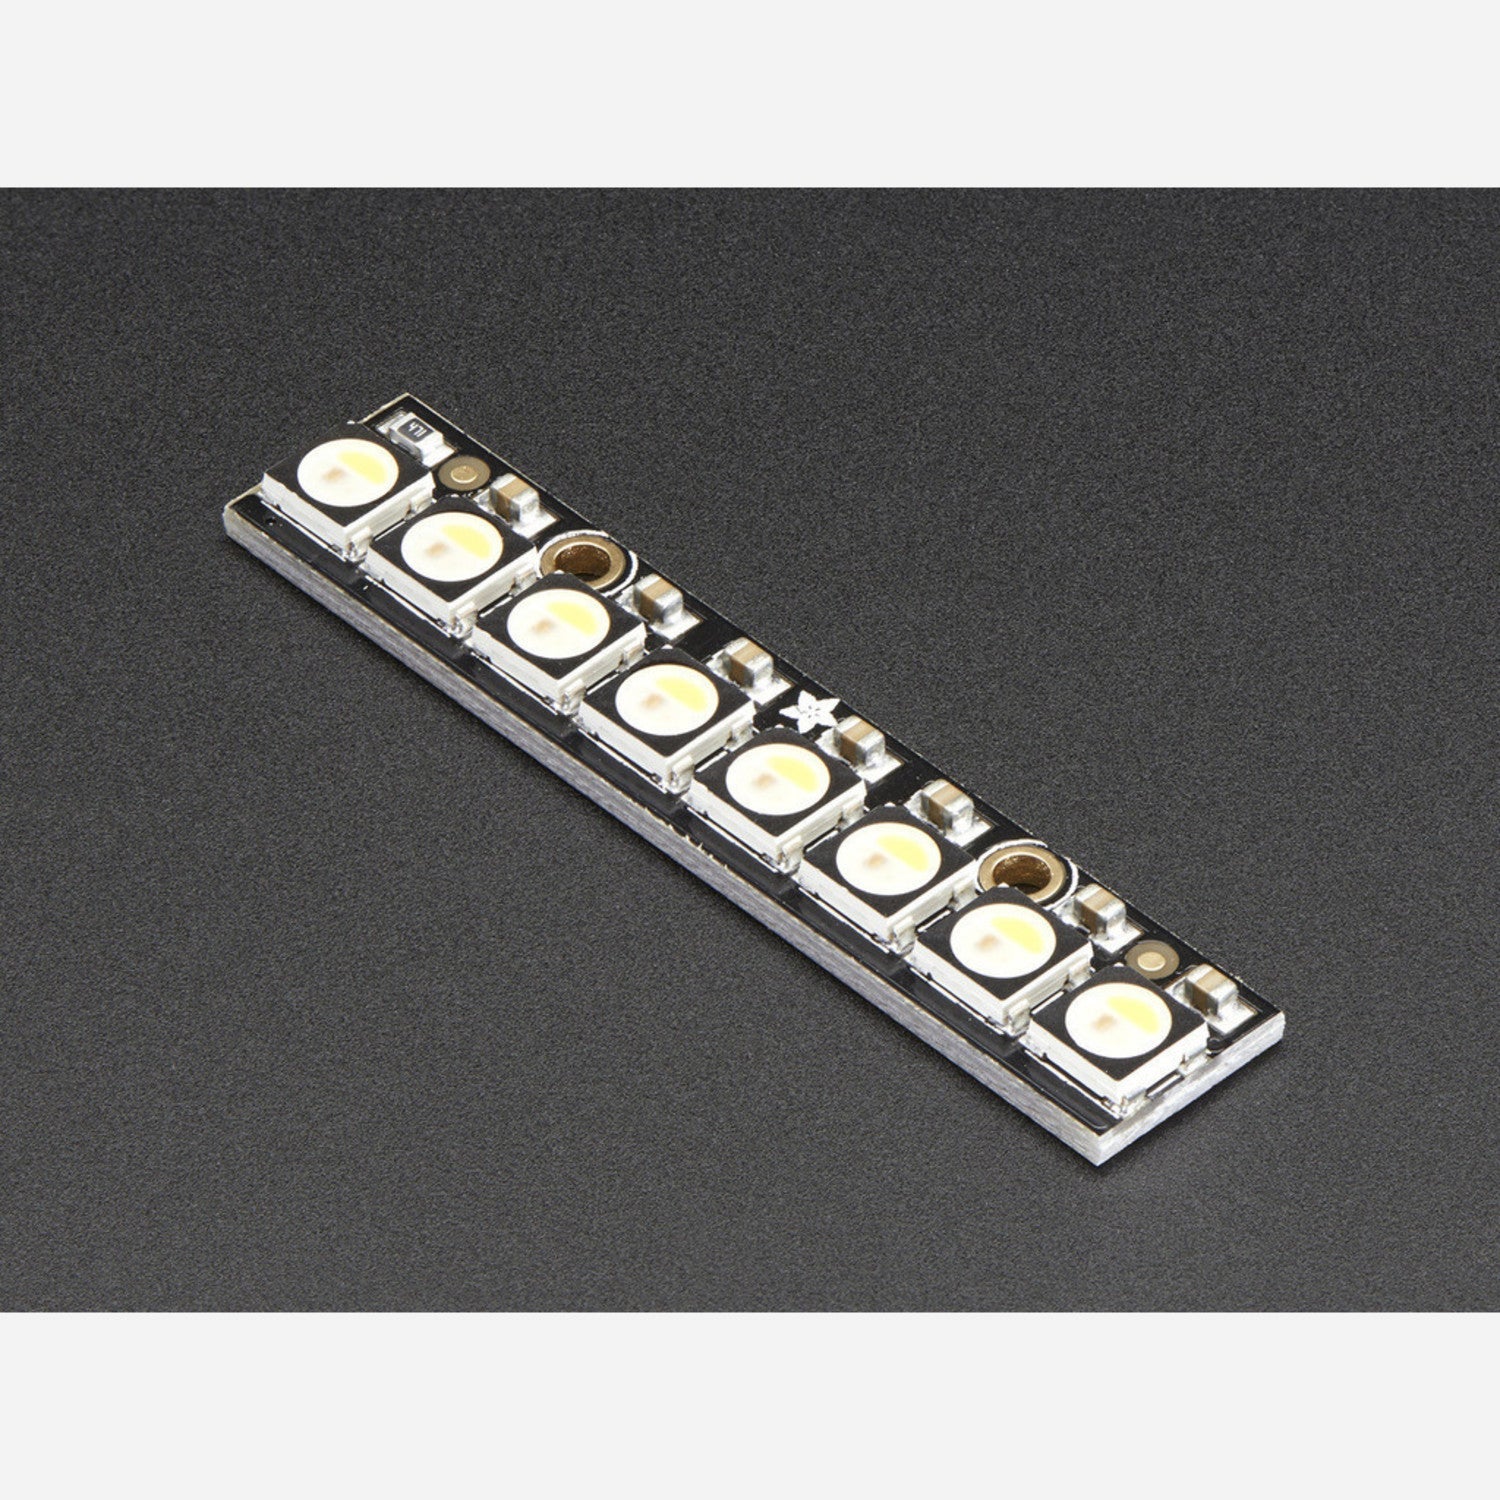
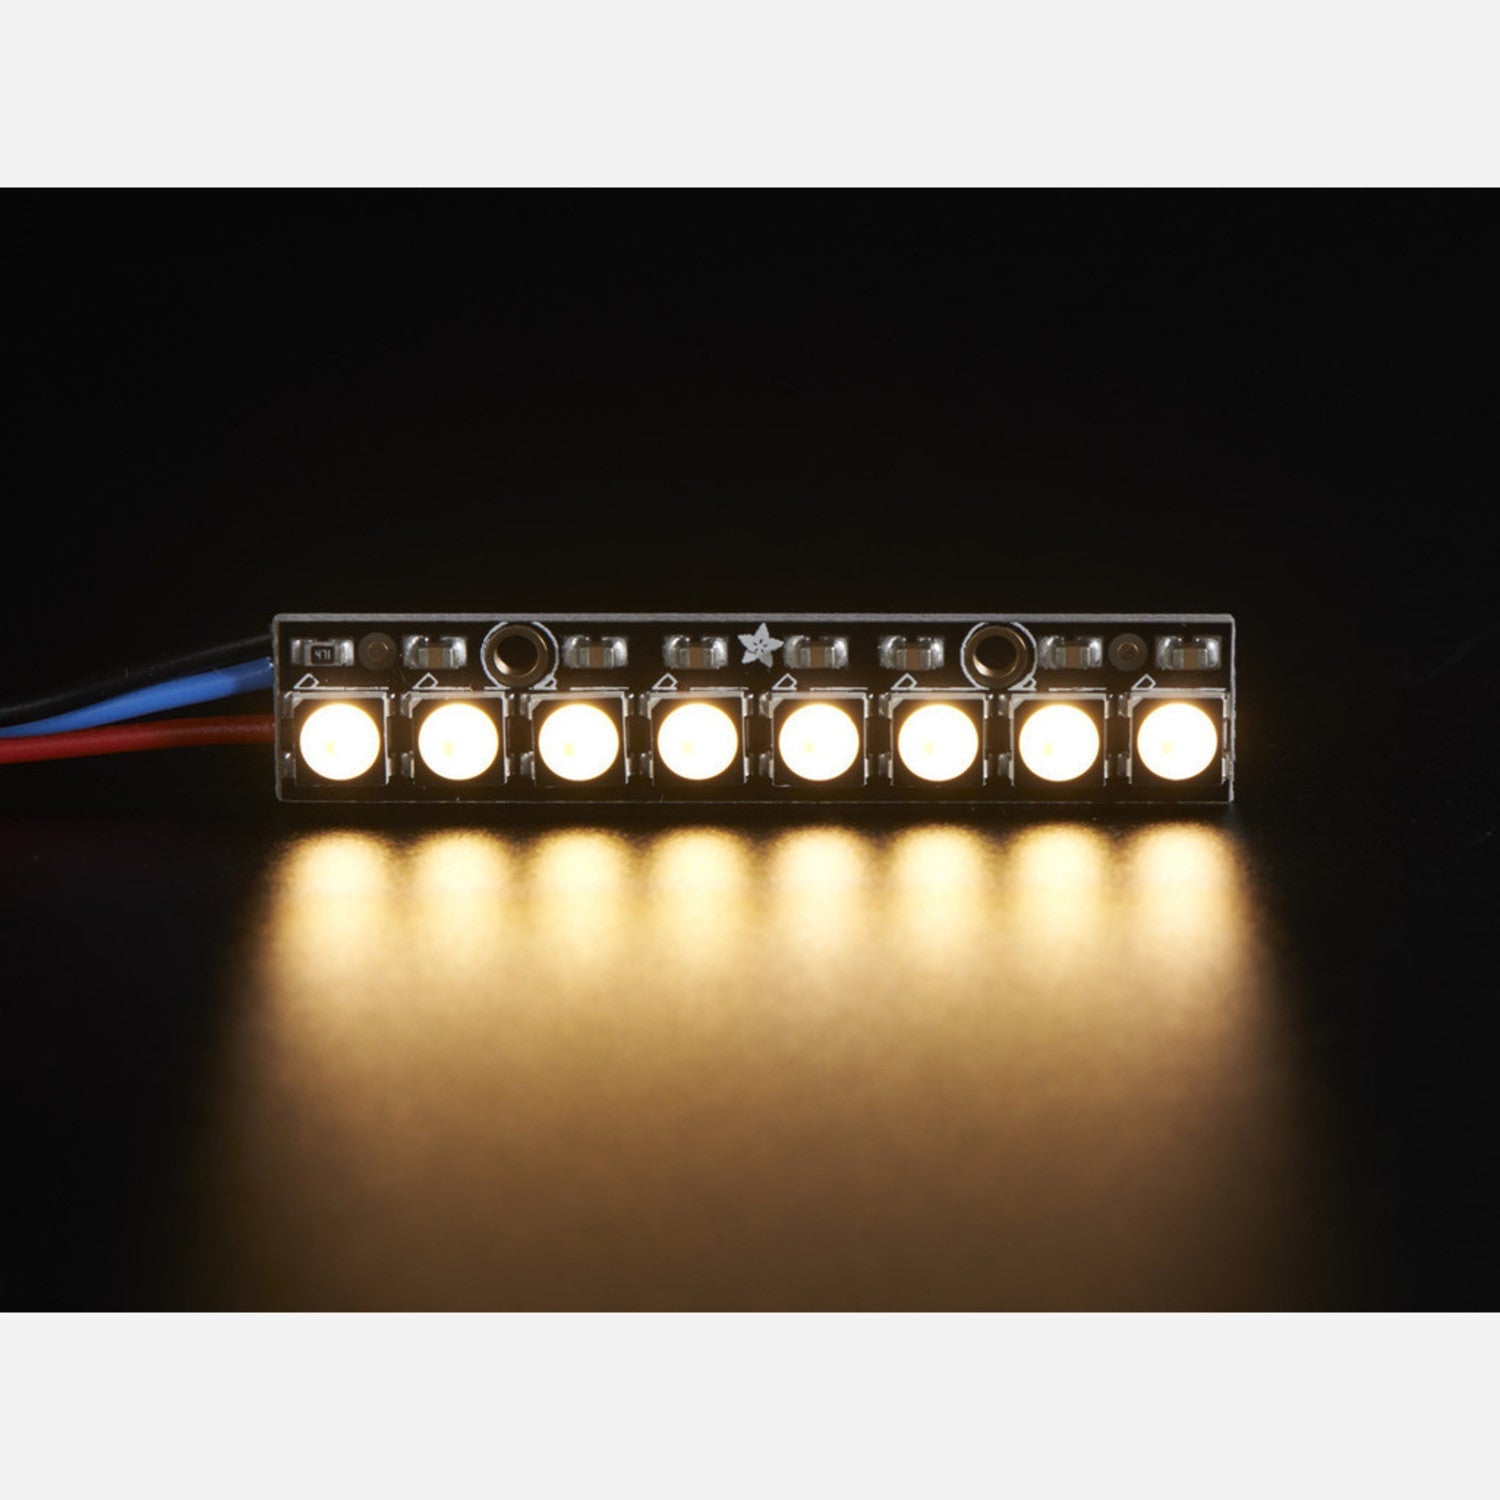
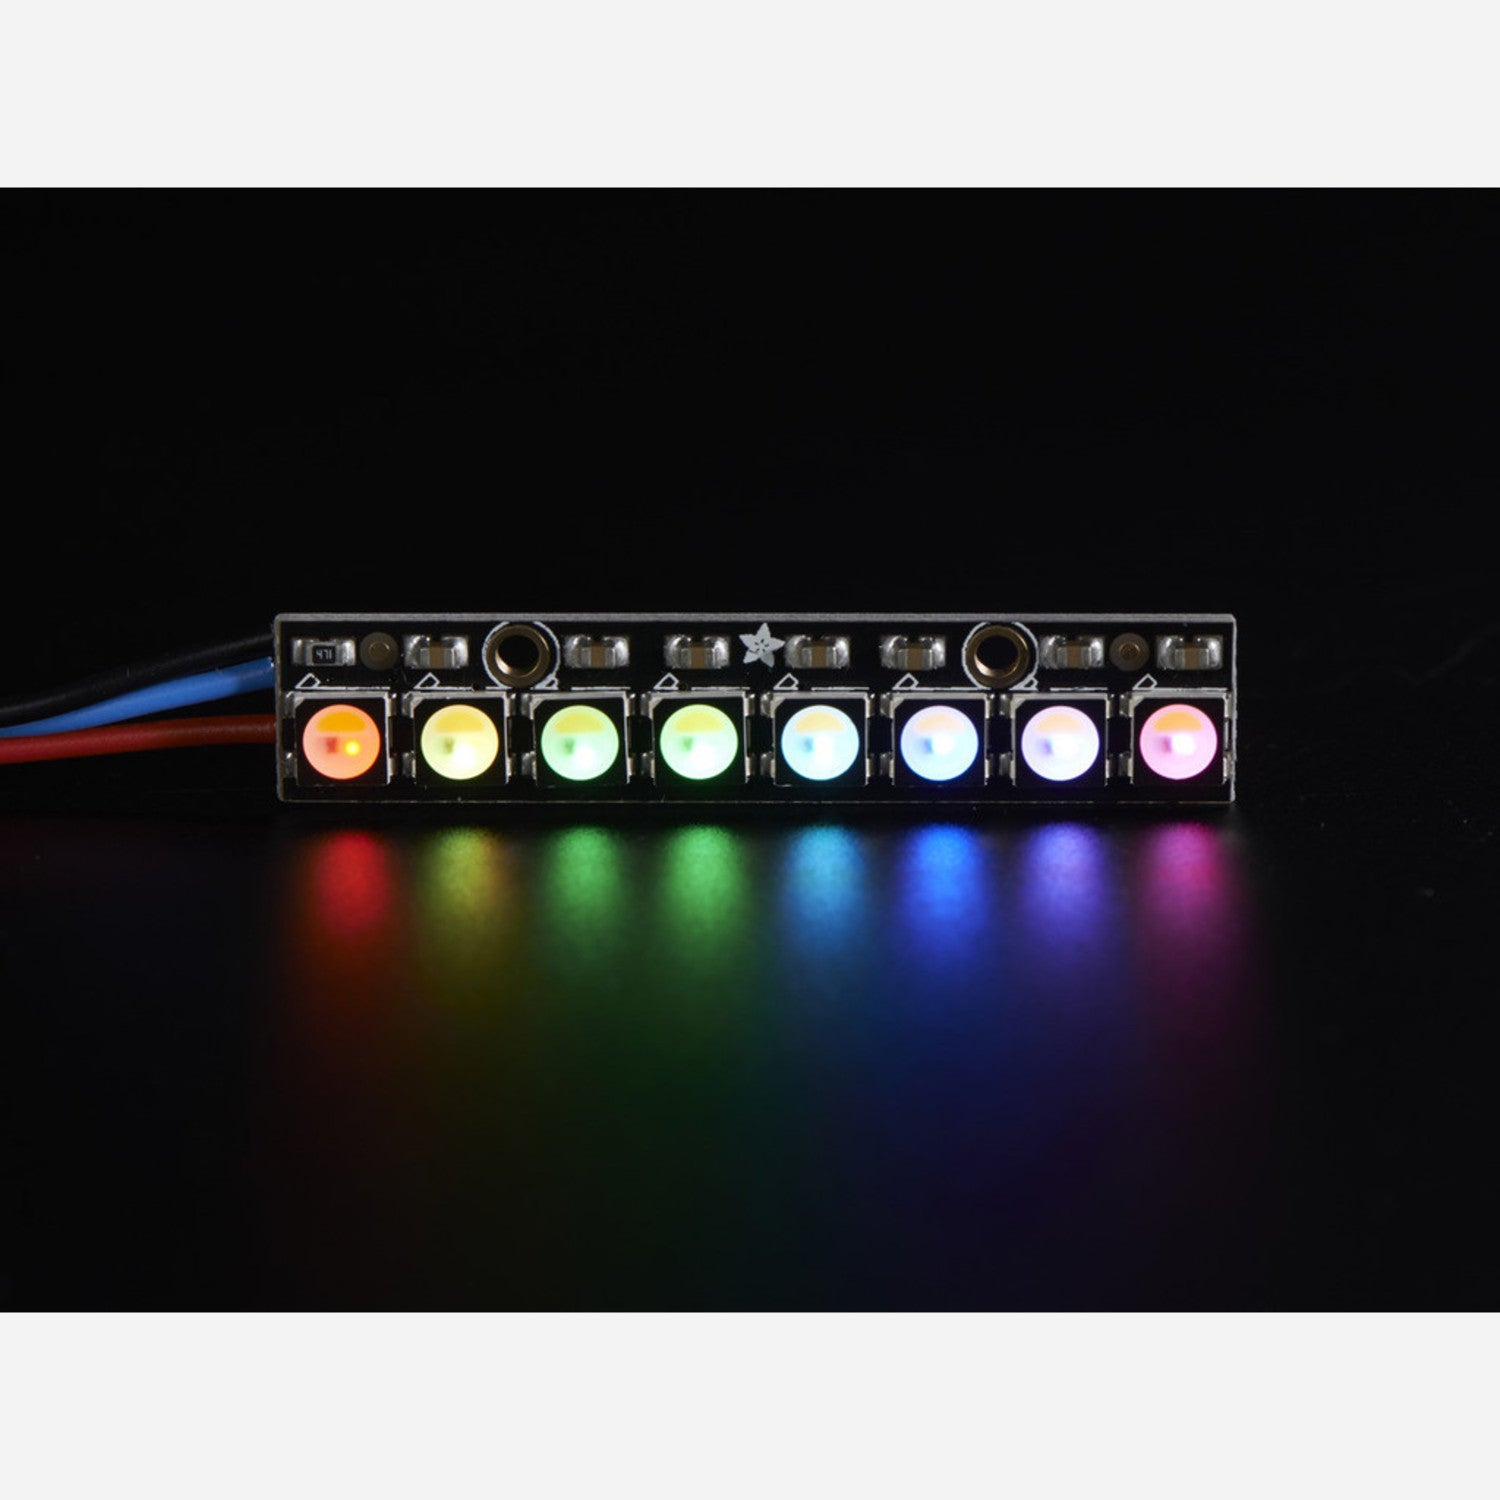
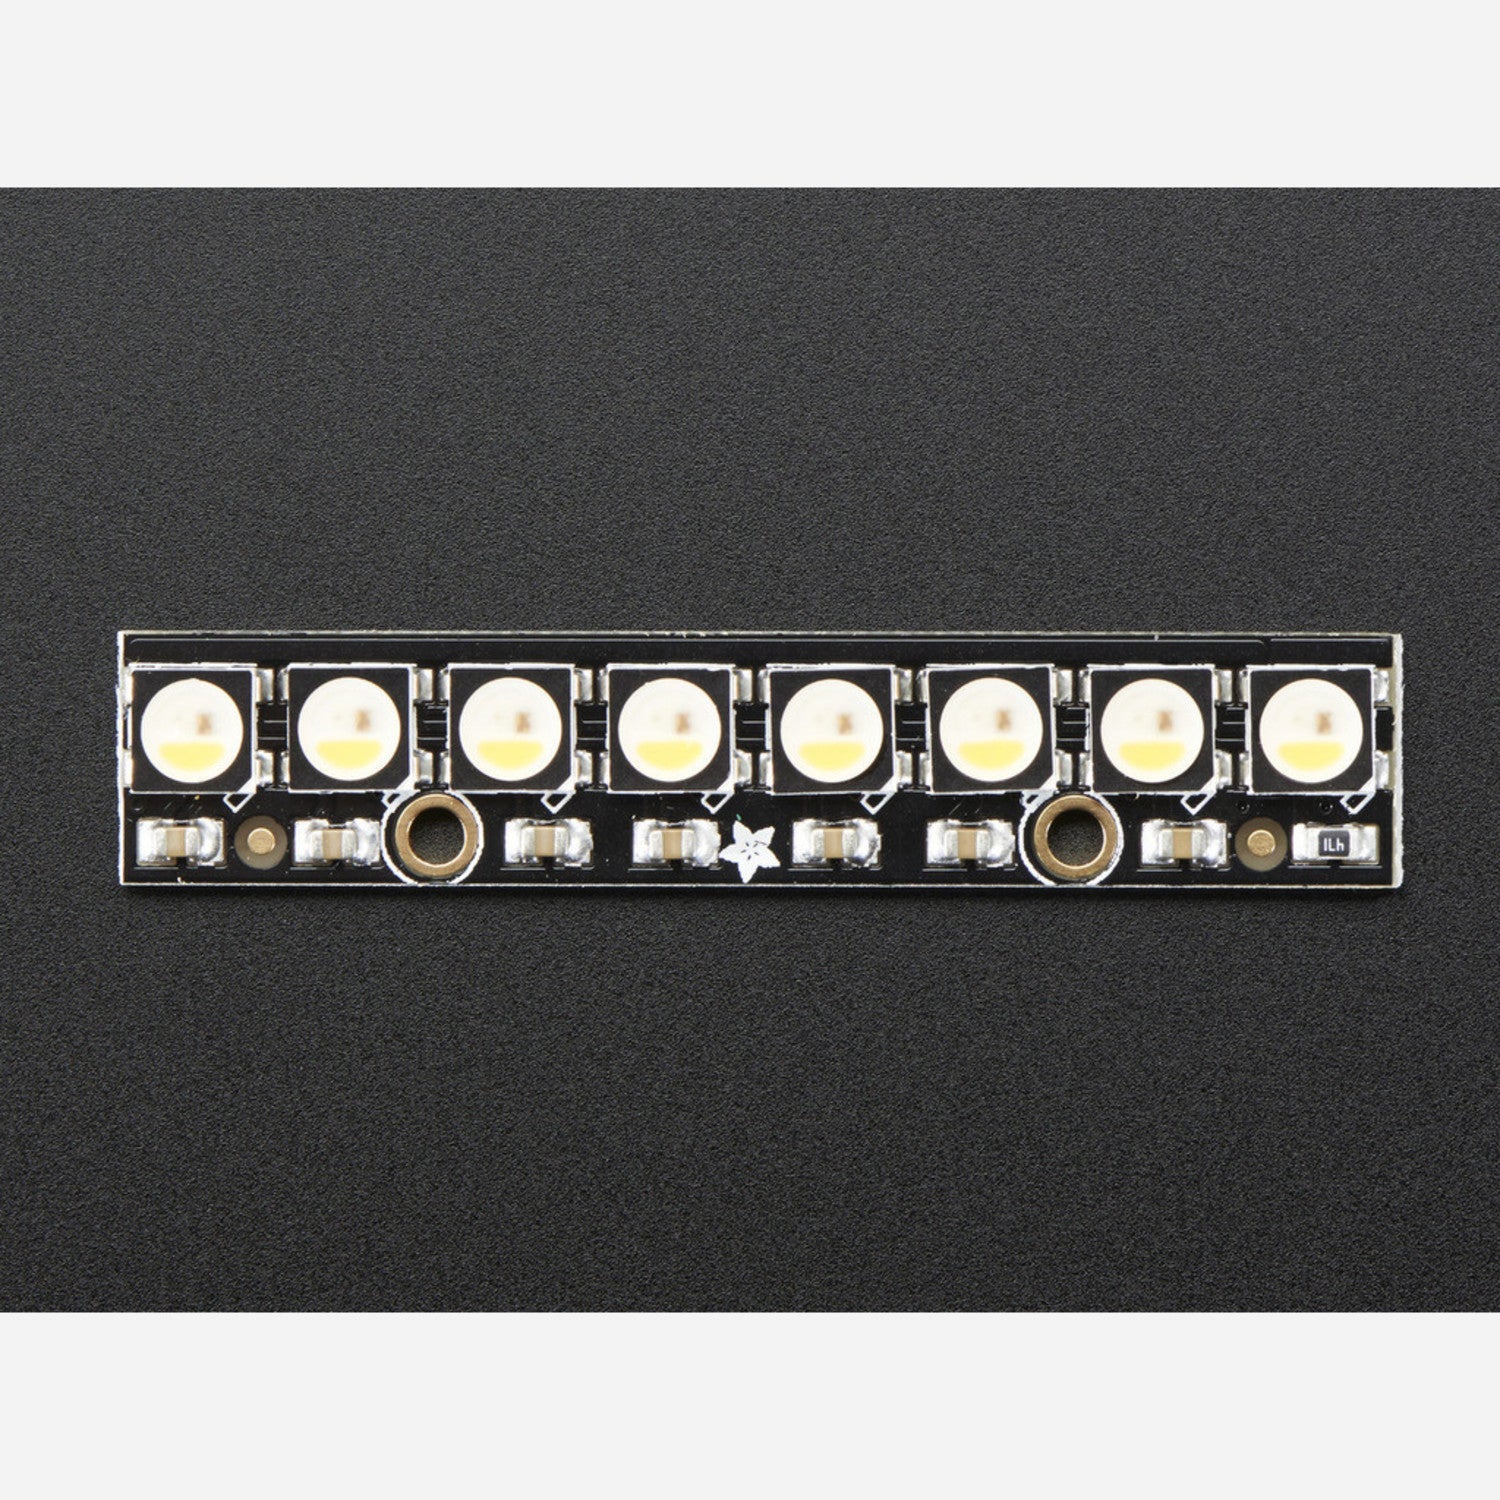
Hey there! Imagine having better lighting than just smart RGB LEDs. Well, these NeoPixel sticks come with 4 types of LEDs - red, green, blue, and white, creating amazing lighting effects. They're super fun and glow brightly, and you can control each LED individually. This is the warm white RGBW version, and we also have natural white, cool white, and regular RGB options. The NeoPixel is split, with one half being the RGB you love and the other half a white LED with a yellow phosphor. When lit, they're incredibly bright. You can control them with 8-bit PWM per channel for a 32-bit overall color. Great for adding colorful and white dots to your projects! We've packed 8 tiny 5050 (5mm x 5mm) smart RGBW LEDs onto a PCB with mounting holes and a chainable design. You only need one microcontroller pin to control as many as you can chain. Each LED has its own driver chip, so it's addressable. With a ~18mA constant current drive, the color is consistent even if the voltage varies, and no external choke resistors are needed. Power it with 5VDC (4 - 7V also works). NeoPixel LEDs use an 800 KHz protocol, so specific timing is required. Their PWM rate is ~400 Hz, which works well but might be noticeable if the LED is moving. DotStars have a 20 KHz PWM rate and offer smoother blending. We recommend DotStars if you can use them. The LEDs are chainable by connecting one stick's output to another's input. It requires a real - time microcontroller like an AVR, Arduino, PIC, mbed, etc. and can't be used with Linux - based microcomputers or interpreted microcontrollers. Our Arduino Neopixel library supports these pixels! You'll need a NeoPixel library with RGBW support, which isn't always available. Our Adafruit NeoPixel library does support it. Comes as a single stick with 8 individually addressable RGBW LEDs, already assembled and tested. Our detailed NeoPixel Uberguide has all you need for using NeoPixels in any shape and size, including ready - to - go library and example code for various Arduino models.
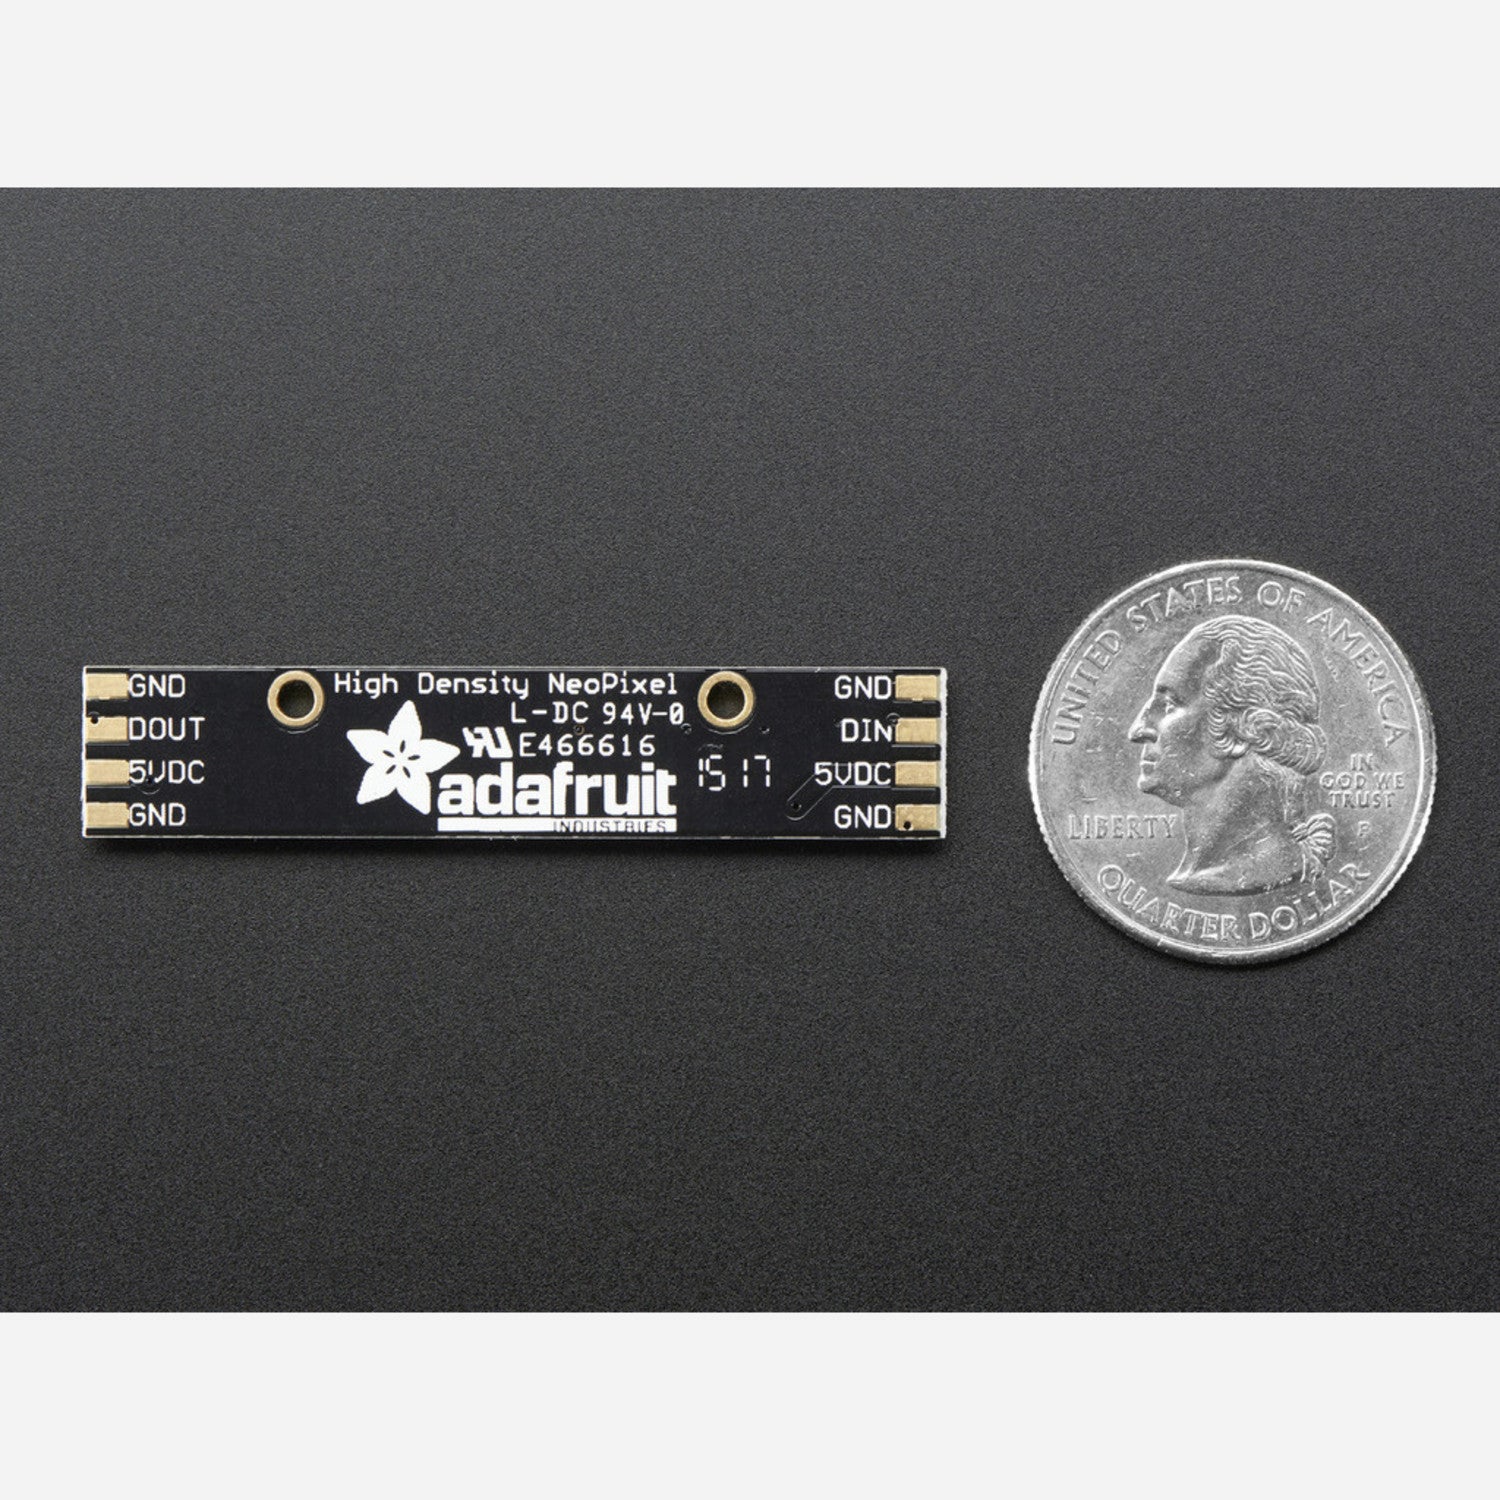
Using your NeoPixel LED stick is a breeze. First, power it up with 5VDC (4 - 7V will also work). Connect the output of one stick to the input of another if you want to chain multiple sticks together. You'll need a real - time microcontroller like an Arduino to control them. Make sure to use a NeoPixel library with RGBW support; our Adafruit NeoPixel library is a great option. When coding, you can control each LED individually to create all sorts of cool lighting effects. One important thing to note is that these LEDs use an 800 KHz protocol, so specific timing is required. Also, their PWM rate is ~400 Hz, which might cause some pixelation if the LED is moving. If that's an issue for you, consider using DotStars instead. When it comes to maintenance, keep the LEDs away from excessive heat and moisture. They're pretty durable, but rough handling can damage them. If you're not using the stick for a while, it's a good idea to store it in a dry, cool place. And don't forget to check our detailed NeoPixel Uberguide for more tips and example code for different Arduino models.


