HyperPixel 4.0 is an outstanding high-resolution and high-speed 4.0-inch TFT display for your Raspberry Pi, offering an optional capacitive multi-touch feature! It's the ideal solution to use your Pi without a bunch of cables or a large display. You can design your own interface to control projects, display data, or turn your Pi into a tiny media center.
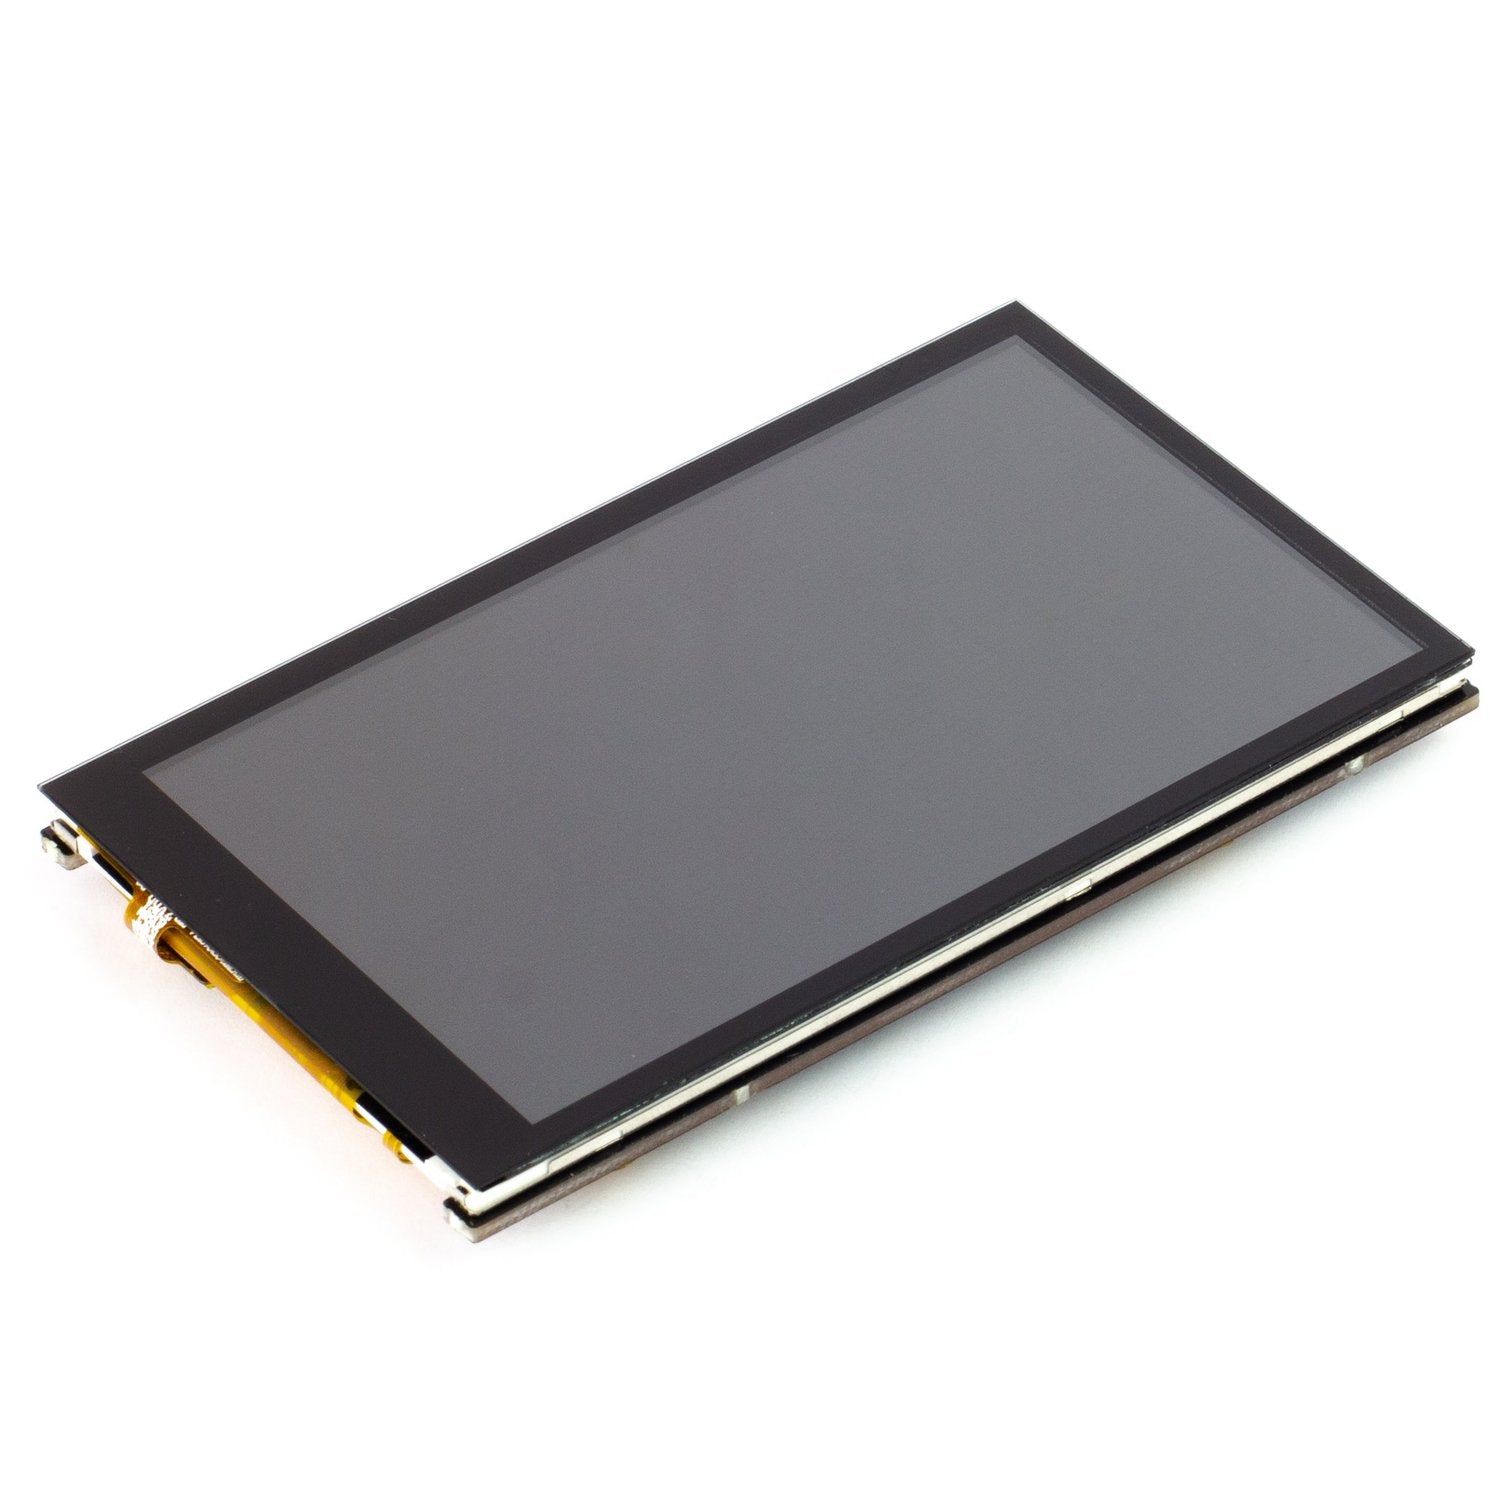
This new version of HyperPixel comes with a beautiful IPS display. It has wide viewing angles (160°), custom-made cover glass on the touch version, and an alternate I2C interface for advanced users. You can choose between touch and non-touch versions according to your preference.
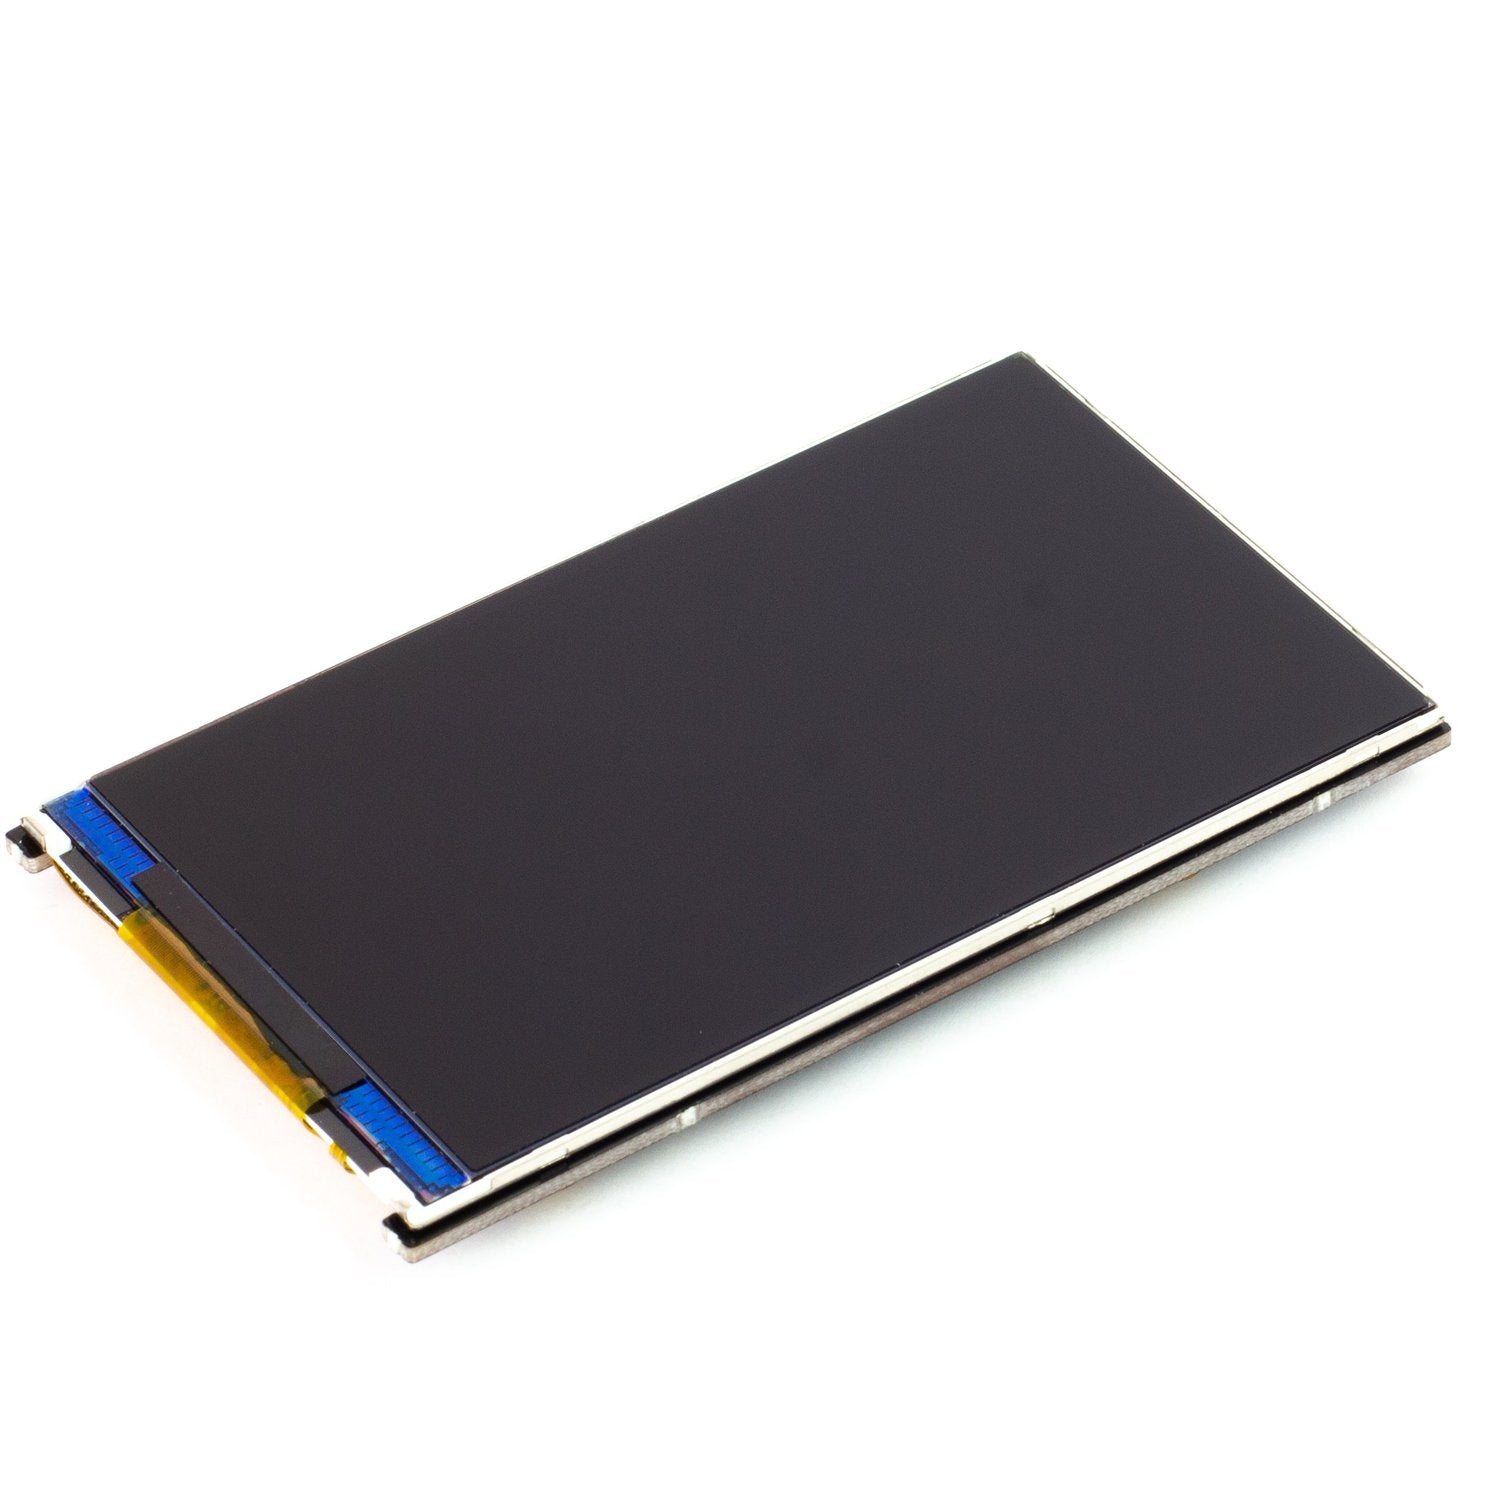
The display has many great features. It uses a high-speed DPI interface, shifting 5 times more pixel data than the common SPI interface of small Pi displays. With a 60 FPS frame rate, 800x480 pixels (~235 PPI), and 18-bit color (262,144 colors), it shows vivid and clear images. The contrast ratio is 500:1.
The touch version has a capacitive touch display, which is more sensitive and responsive than a resistive one and supports multi-touch. Everything is fully-assembled, no soldering needed. It's connected via a neat FPC cable. Just place HyperPixel 4.0 on your Pi and run the installer.
It's compatible with various Raspberry Pi models, including Pi 3B+, 3, 2, B+, A+, Zero, and Zero W. If using with larger Pi models, use the included 40-pin female header to adjust the height. The standoff kit helps you mount it securely.
For software, we've prepared a one-line installer. Open a terminal and type `curl https://get.pimoroni.com/hyperpixel4 | bash` to set it up. Our software doesn't support Raspbian Wheezy. Note: When installing, don't press on the screen surface. Hold the board by the edges. The dimensions are 58.5x97x12mm (WxHxD).
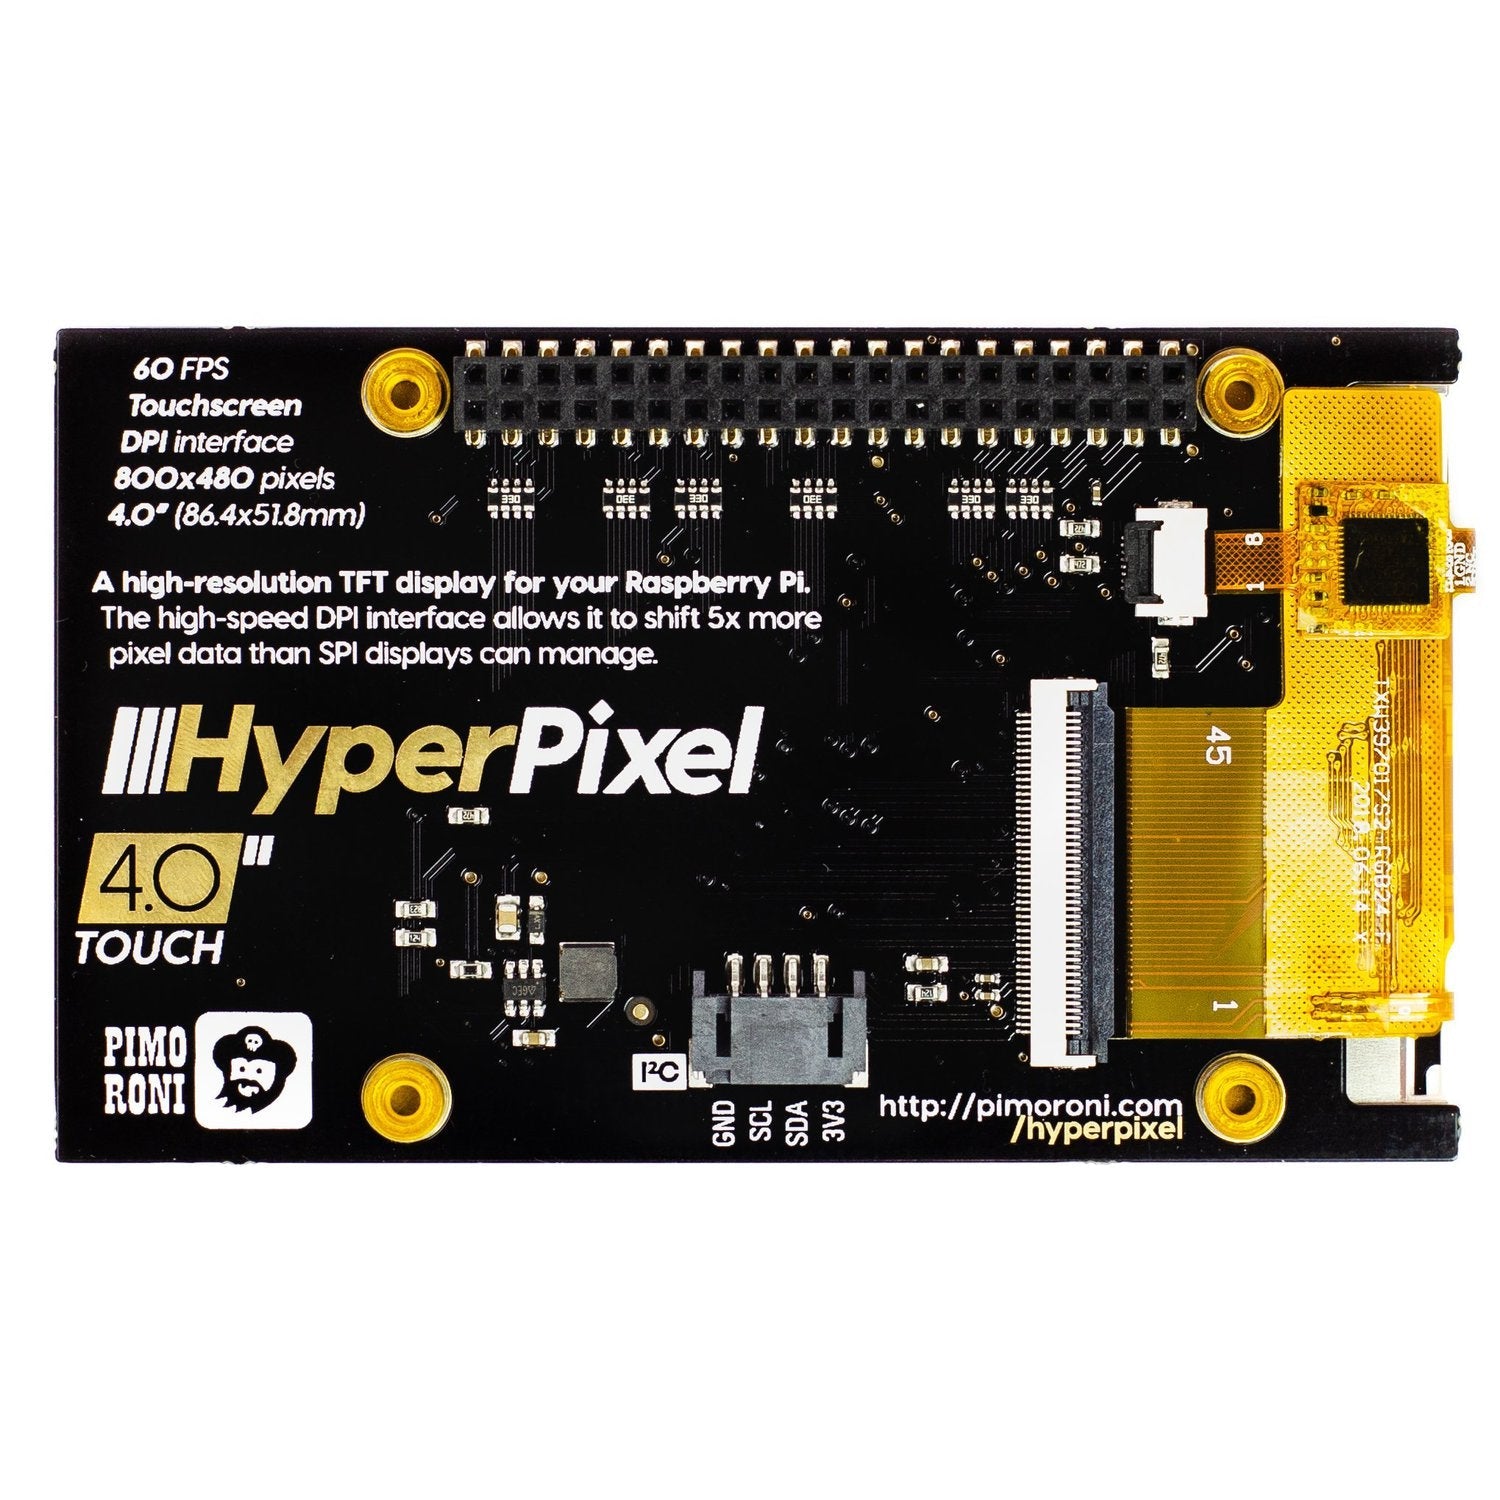
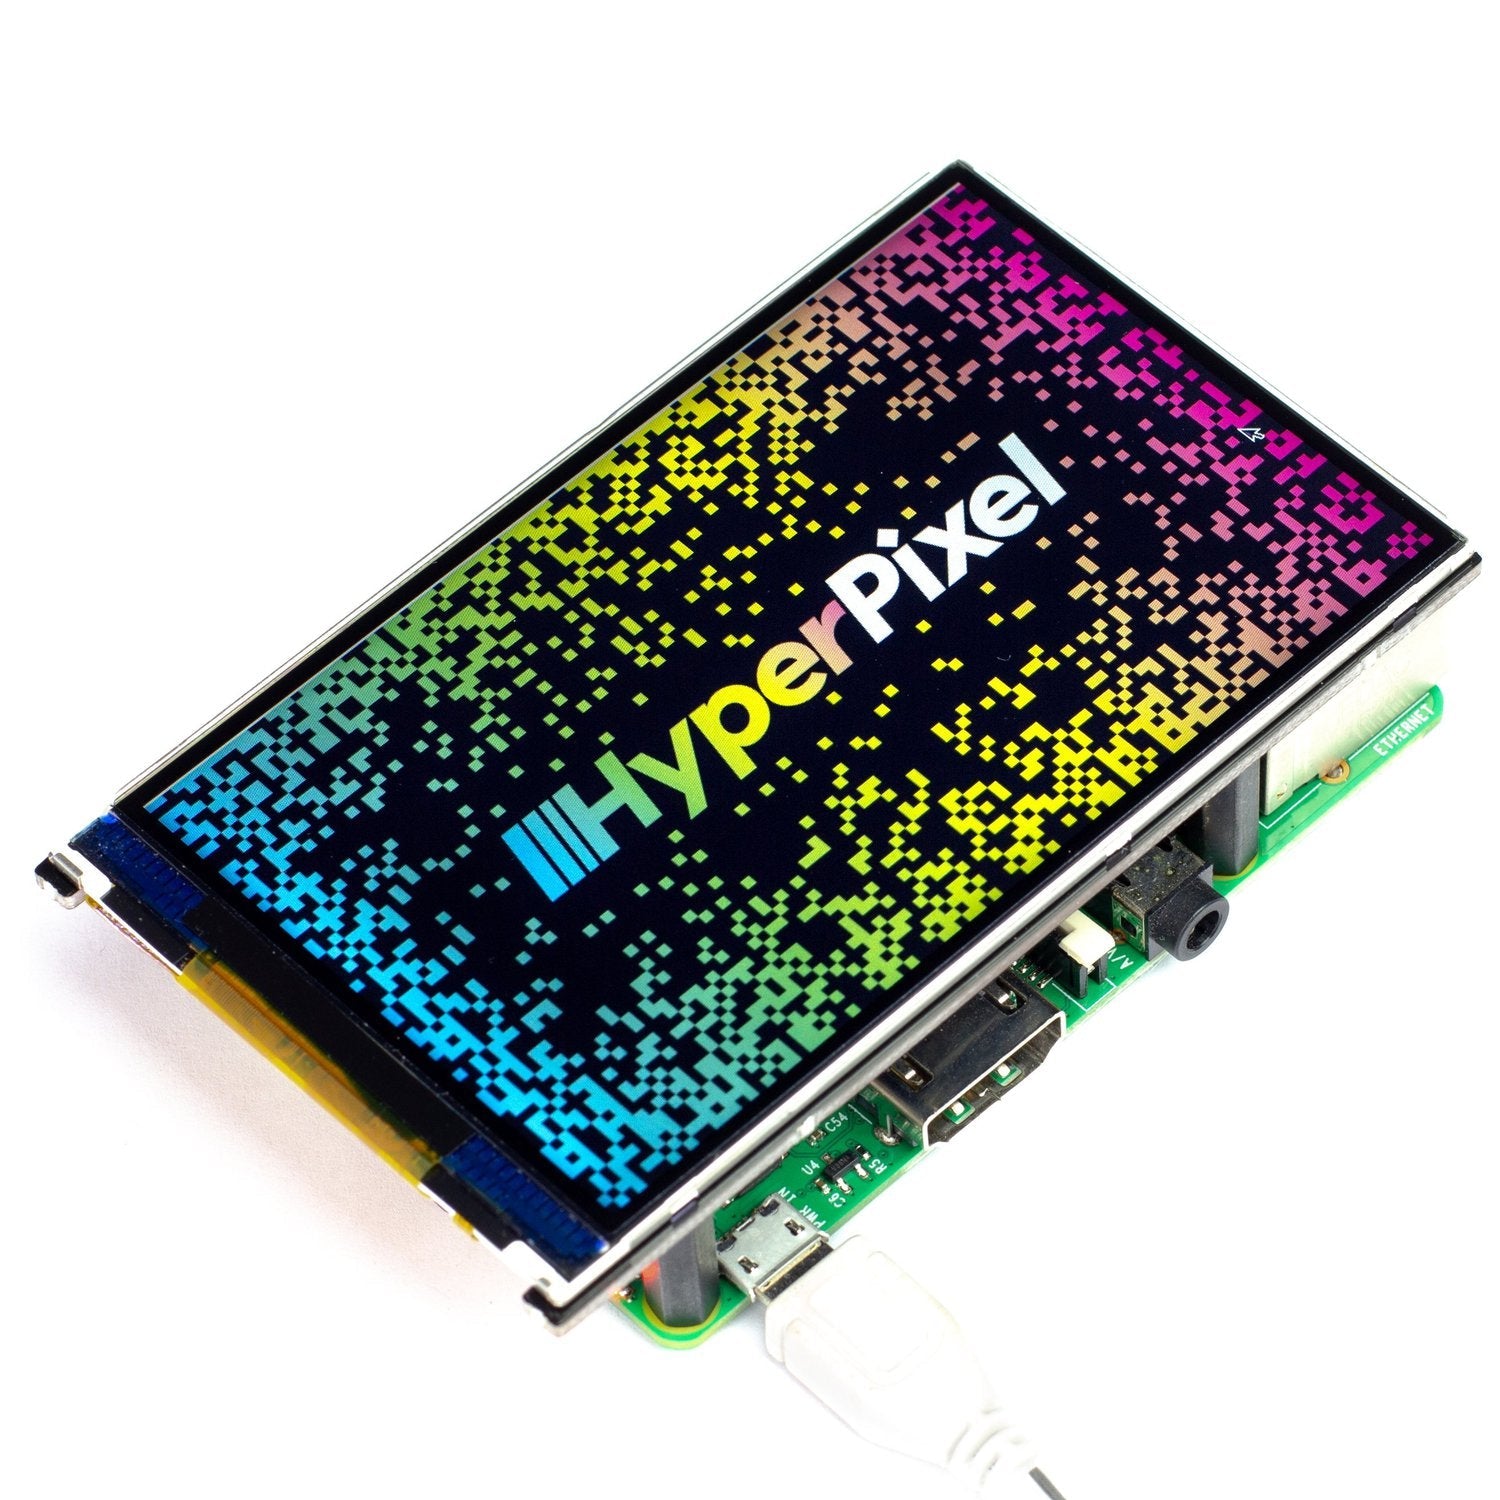
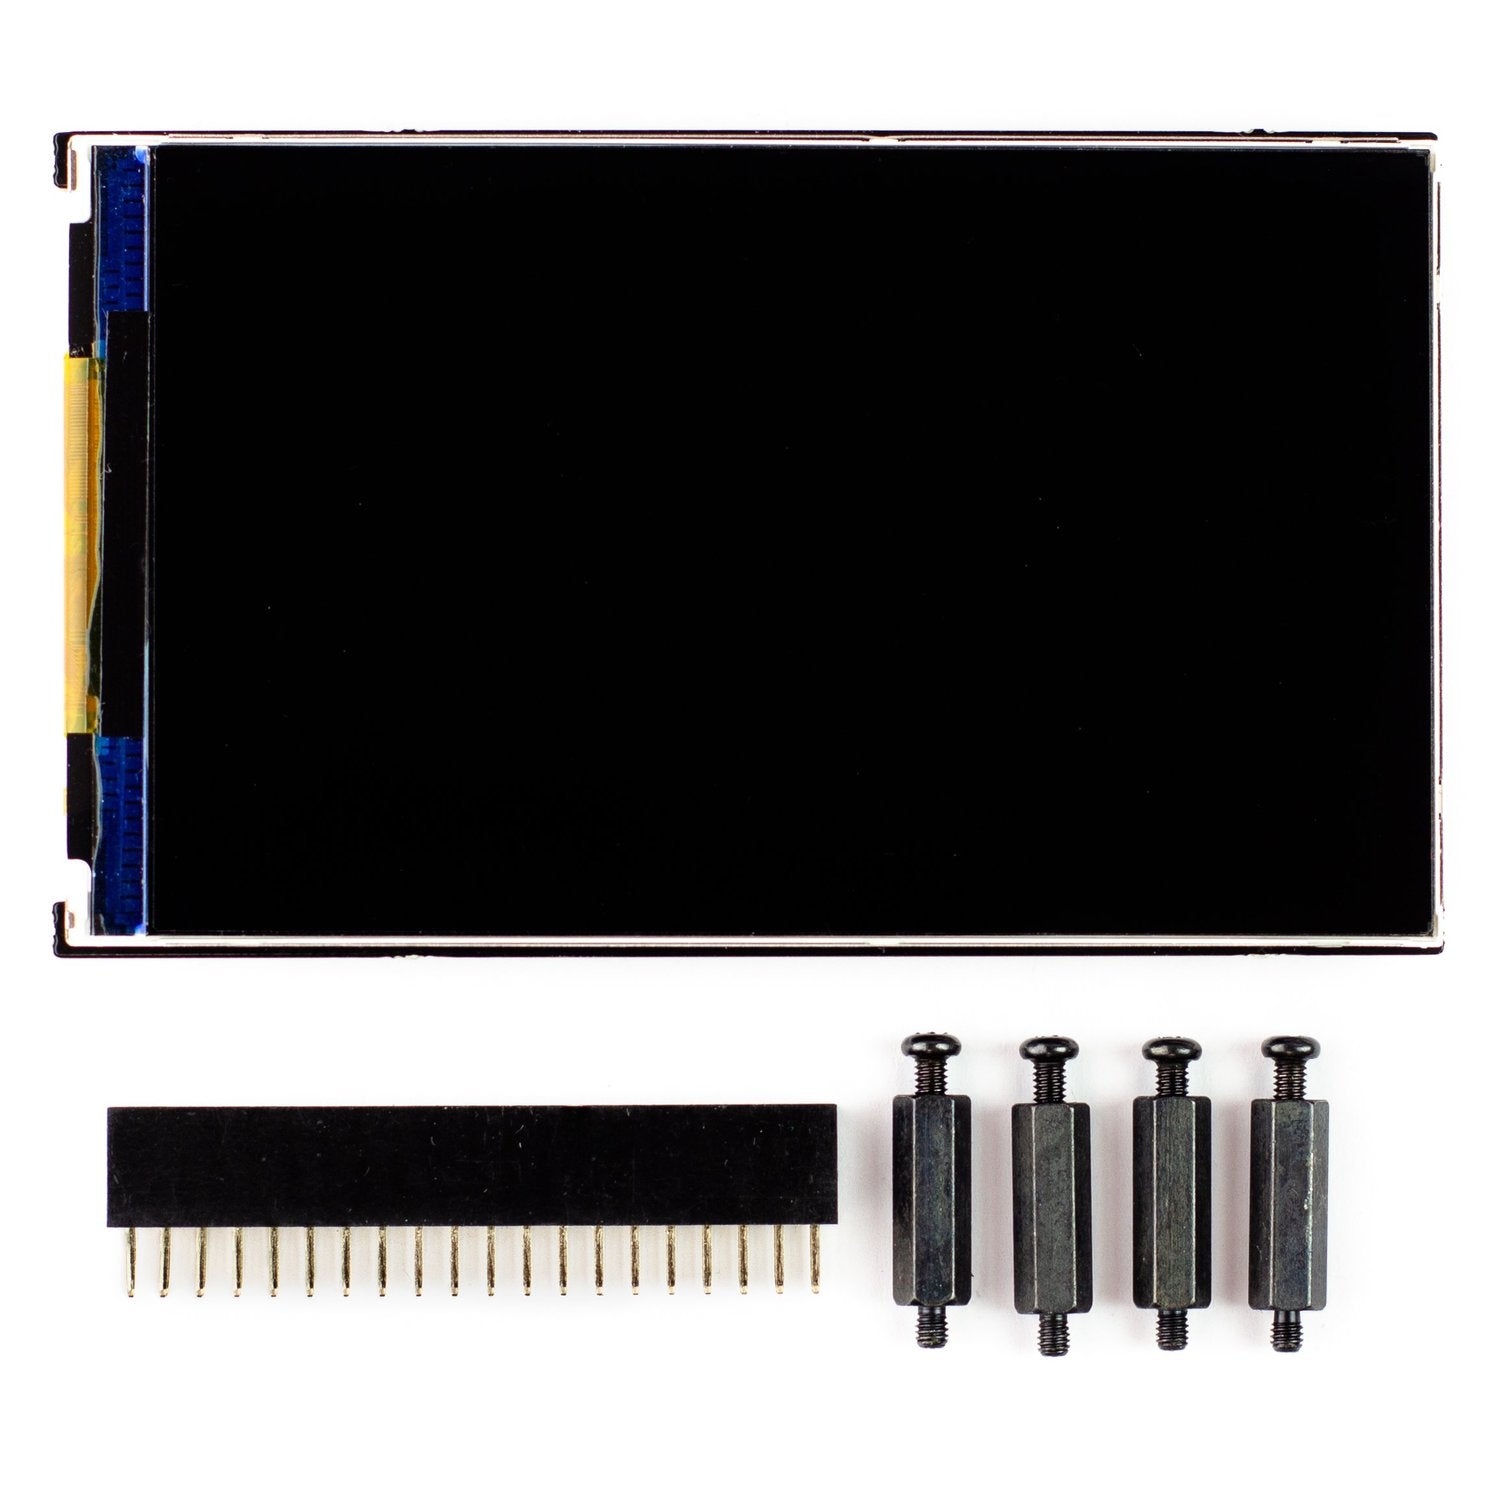

Using HyperPixel 4.0 is a breeze. First, make sure you've chosen the right version - touch or non-touch. If you're using it with a larger Raspberry Pi model like B+, 2, 3, or 3B+, use the included 40-pin female header to adjust the height. For Pi Zero or Pi Zero W, just place it directly on the GPIO.
When installing, be careful not to press down on the screen surface. Instead, hold the board by its edges and wiggle it to connect with the extended header or GPIO header. Once it's on, you're ready to set up the software.
You'll need another display, keyboard, and mouse to install the software. Or, if you follow our guide on setting up your Pi headlessly, you can do it remotely over SSH. Open a terminal and type `curl https://get.pimoroni.com/hyperpixel4 | bash` to run the one-line installer.
To keep your HyperPixel 4.0 in good condition, avoid exposing it to extreme temperatures or moisture. Clean the screen gently with a soft, dry cloth. And remember, our software doesn't support Raspbian Wheezy, so make sure your Pi has a compatible operating system.