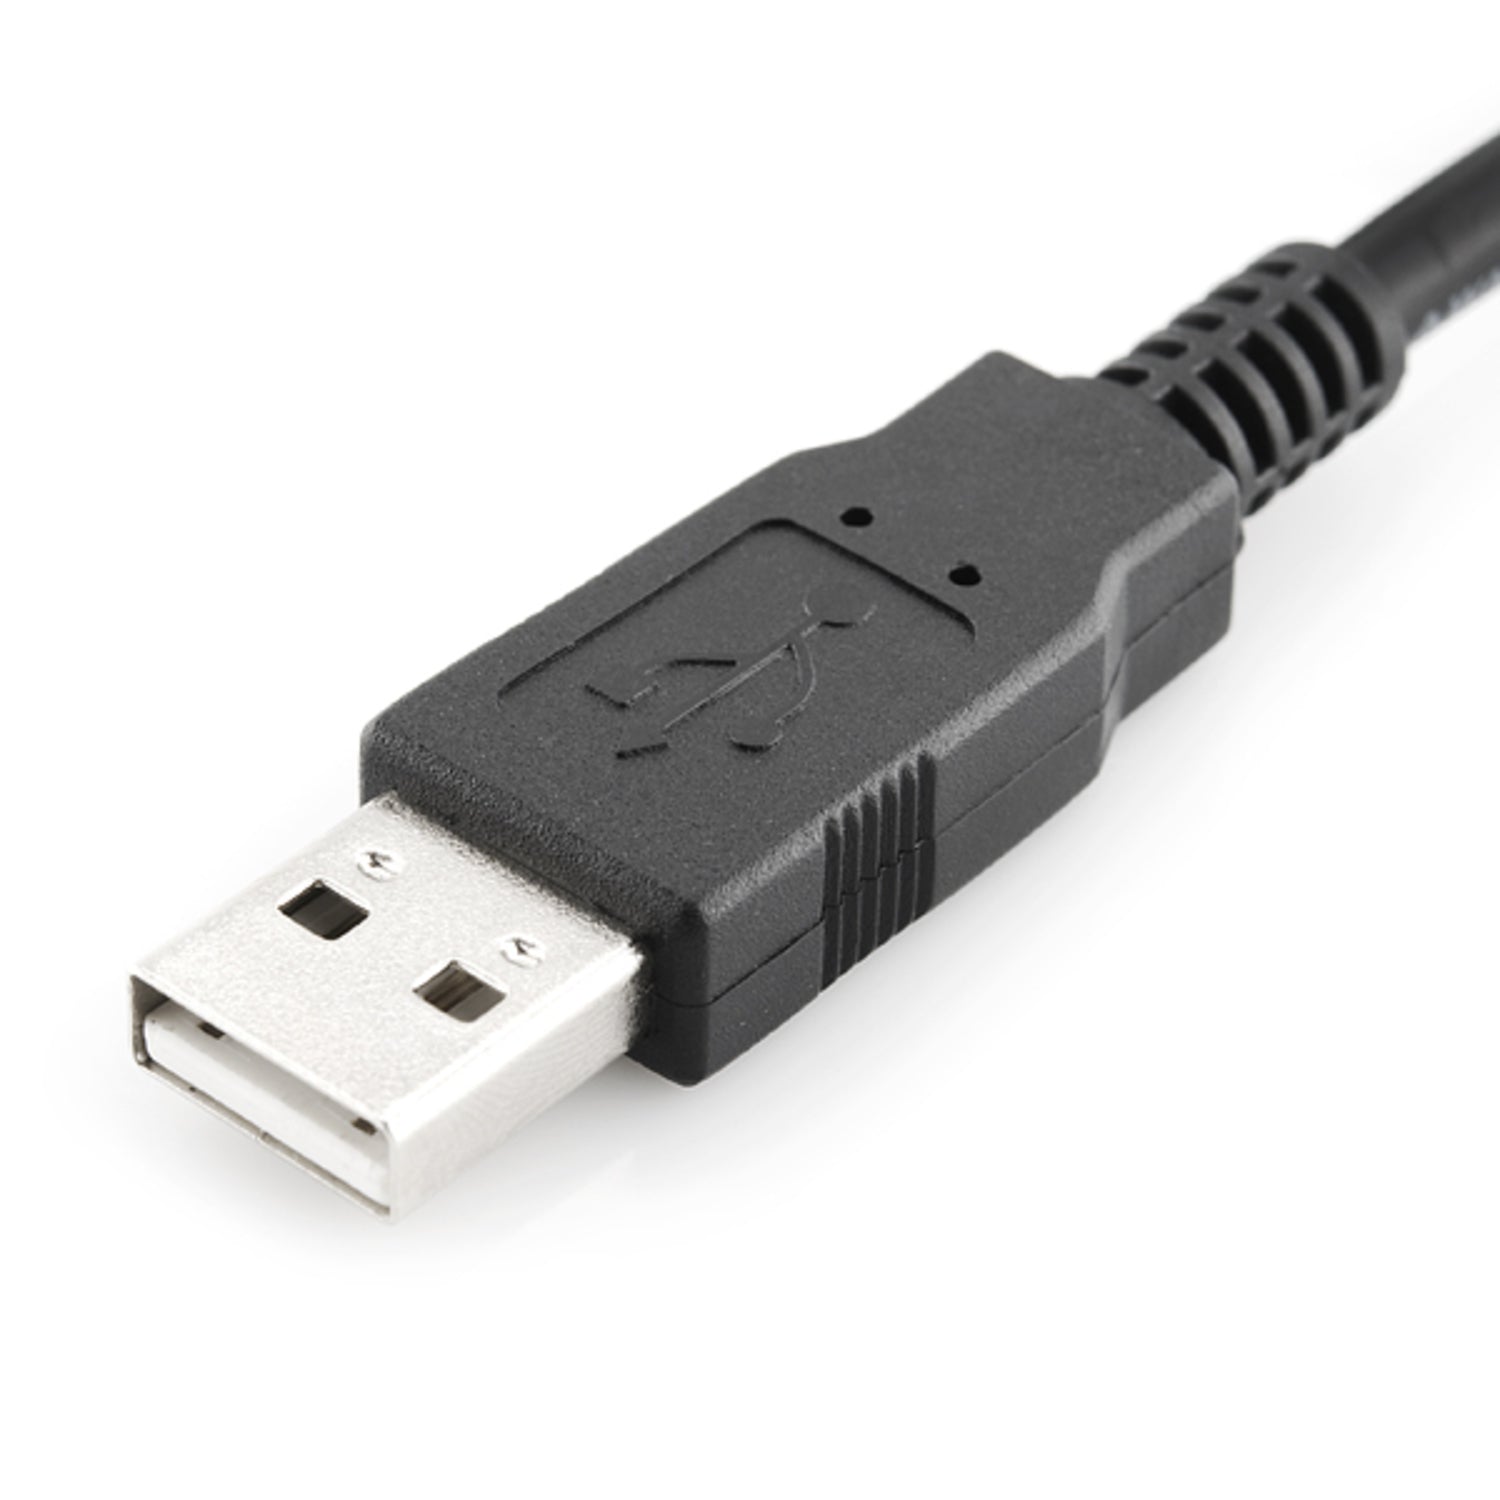
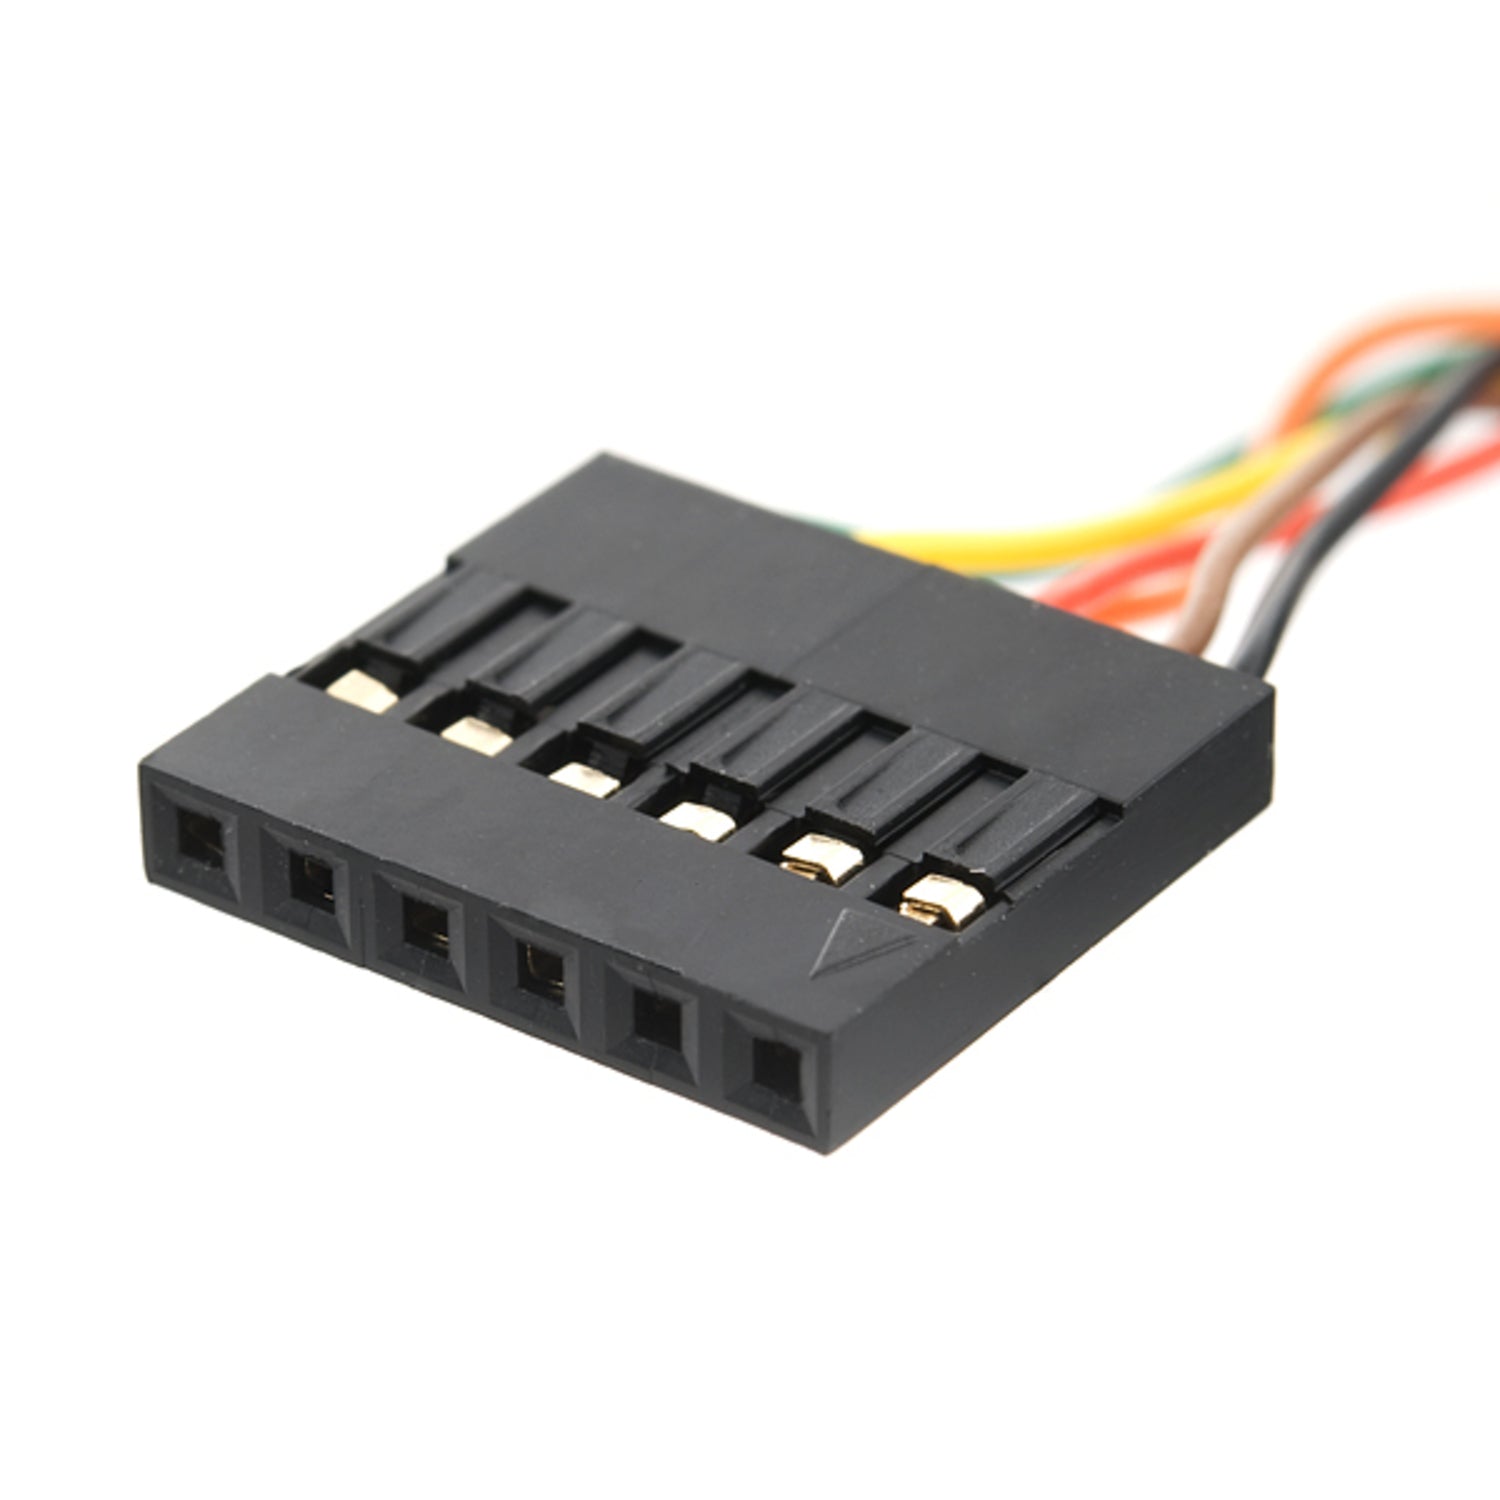
The FTDI cable serves as a USB to Serial (TTL level) converter, offering an easy way to connect TTL interface devices to USB. Its I/O pins are set to work at 5V. It's built around an FT232RQ in a USB A connector. The other end has a 0.1' pitch, 6 - pin connector with pinout: RTS (green cable), RX, TX, 5V, CTS, GND (black cable). This cable shares the same pinout and functionality as our FTDI Basic Breakout board. You can use it to program Arduino Pro, Pro Mini, and Lilypad. Just align the black and green wires with the ‘BLK’ and ‘GRN’ labels on the PCB. Comparing the FTDI Cable and the FTDI Basic, the FTDI Basic has nice LED indicators but needs a Mini - B cable. The FTDI Cable is well - protected from the elements, yet it's large and not as easy to embed in a project. The FTDI Basic uses DTR for hardware reset while the FTDI cable uses the RTS signal.


Using the FTDI cable is quite simple. First, connect the USB A connector end of the cable to your computer. Then, use the 6 - pin connector on the other end to connect to your TTL interface device. When programming Arduino Pro, Pro Mini, or Lilypad, make sure to align the black and green wires with the ‘BLK’ and ‘GRN’ labels on the PCB. As for precautions, be careful when handling the cable to avoid bending it too much, which could damage the internal wires. Also, ensure the pins are properly inserted to prevent short - circuits. For maintenance, keep the cable clean and dry. Store it in a cool place when not in use. If you notice any damage to the cable or connectors, stop using it immediately and consider getting a replacement.