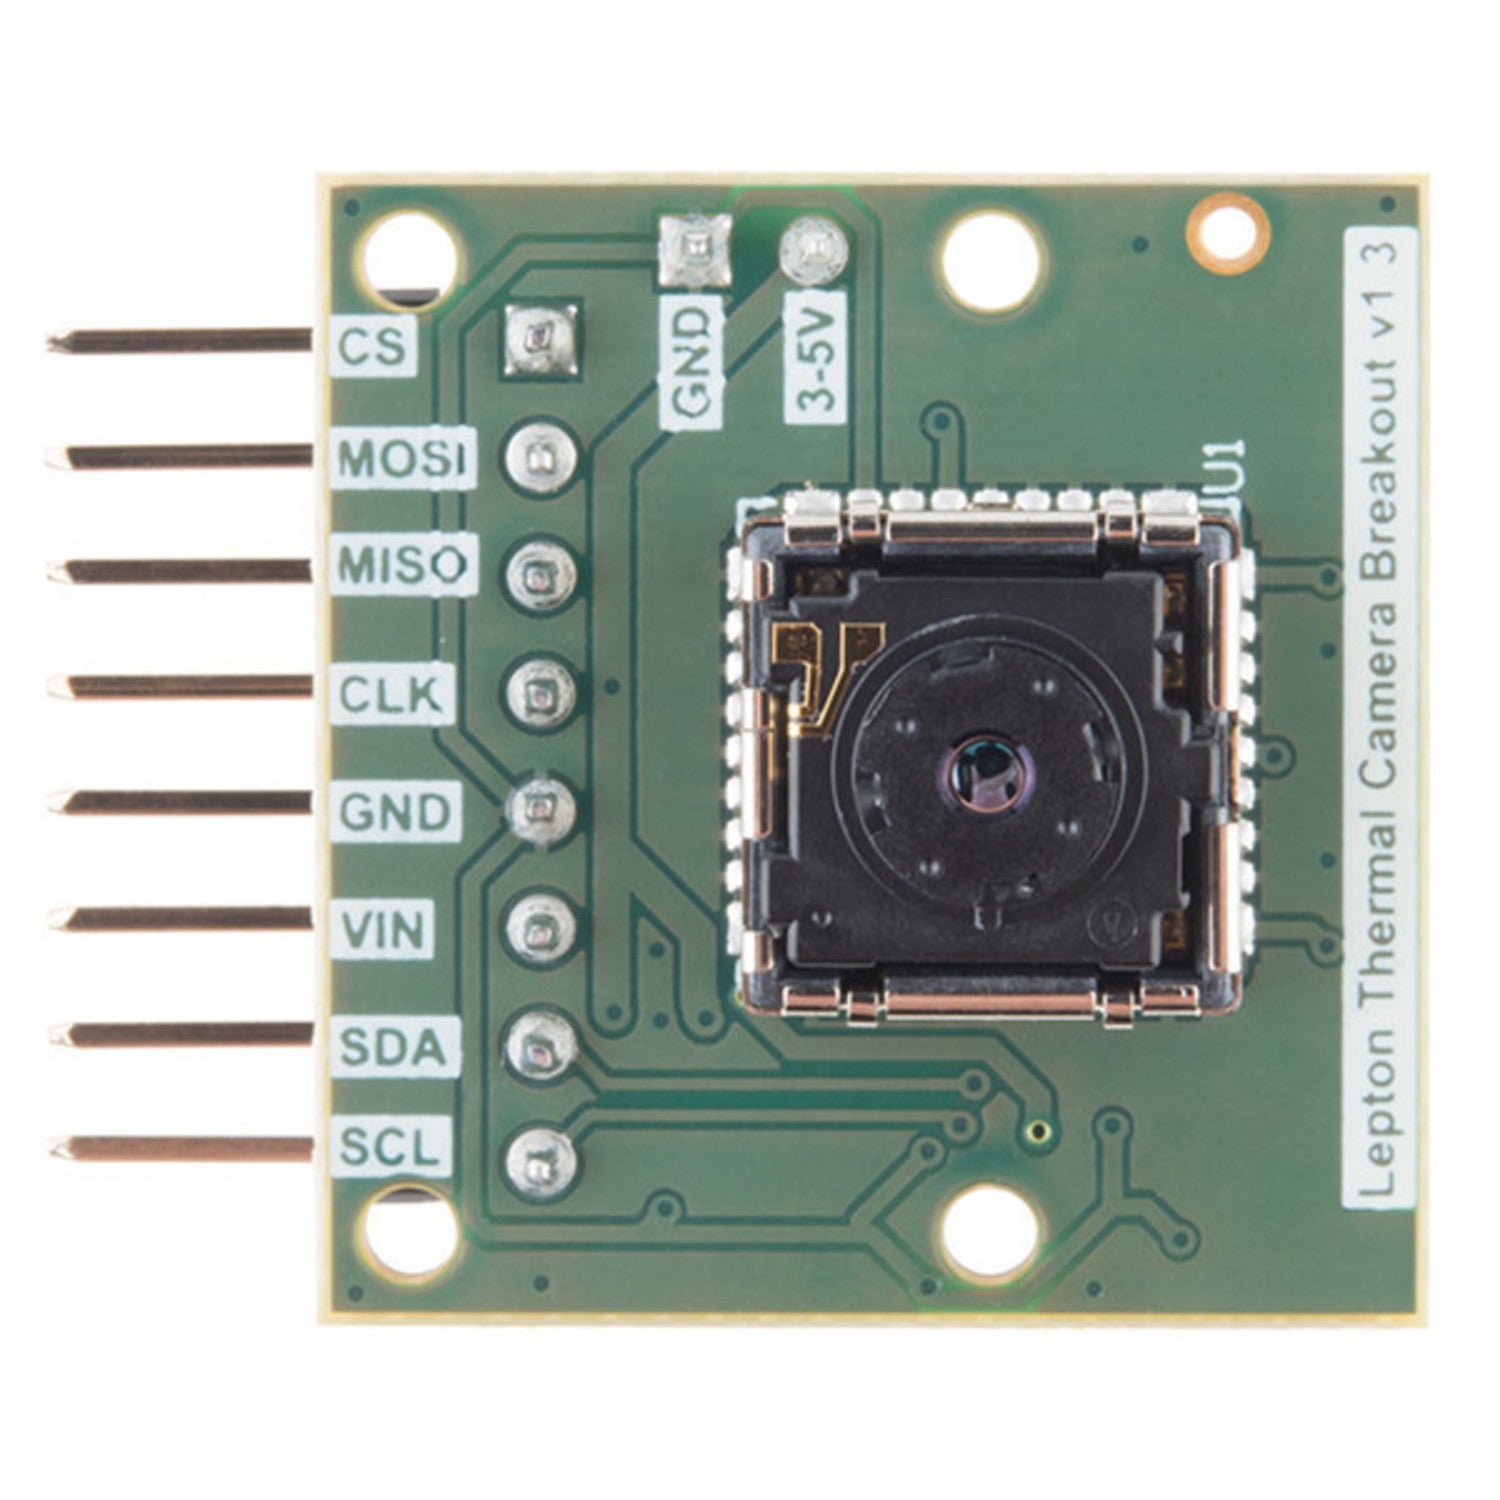
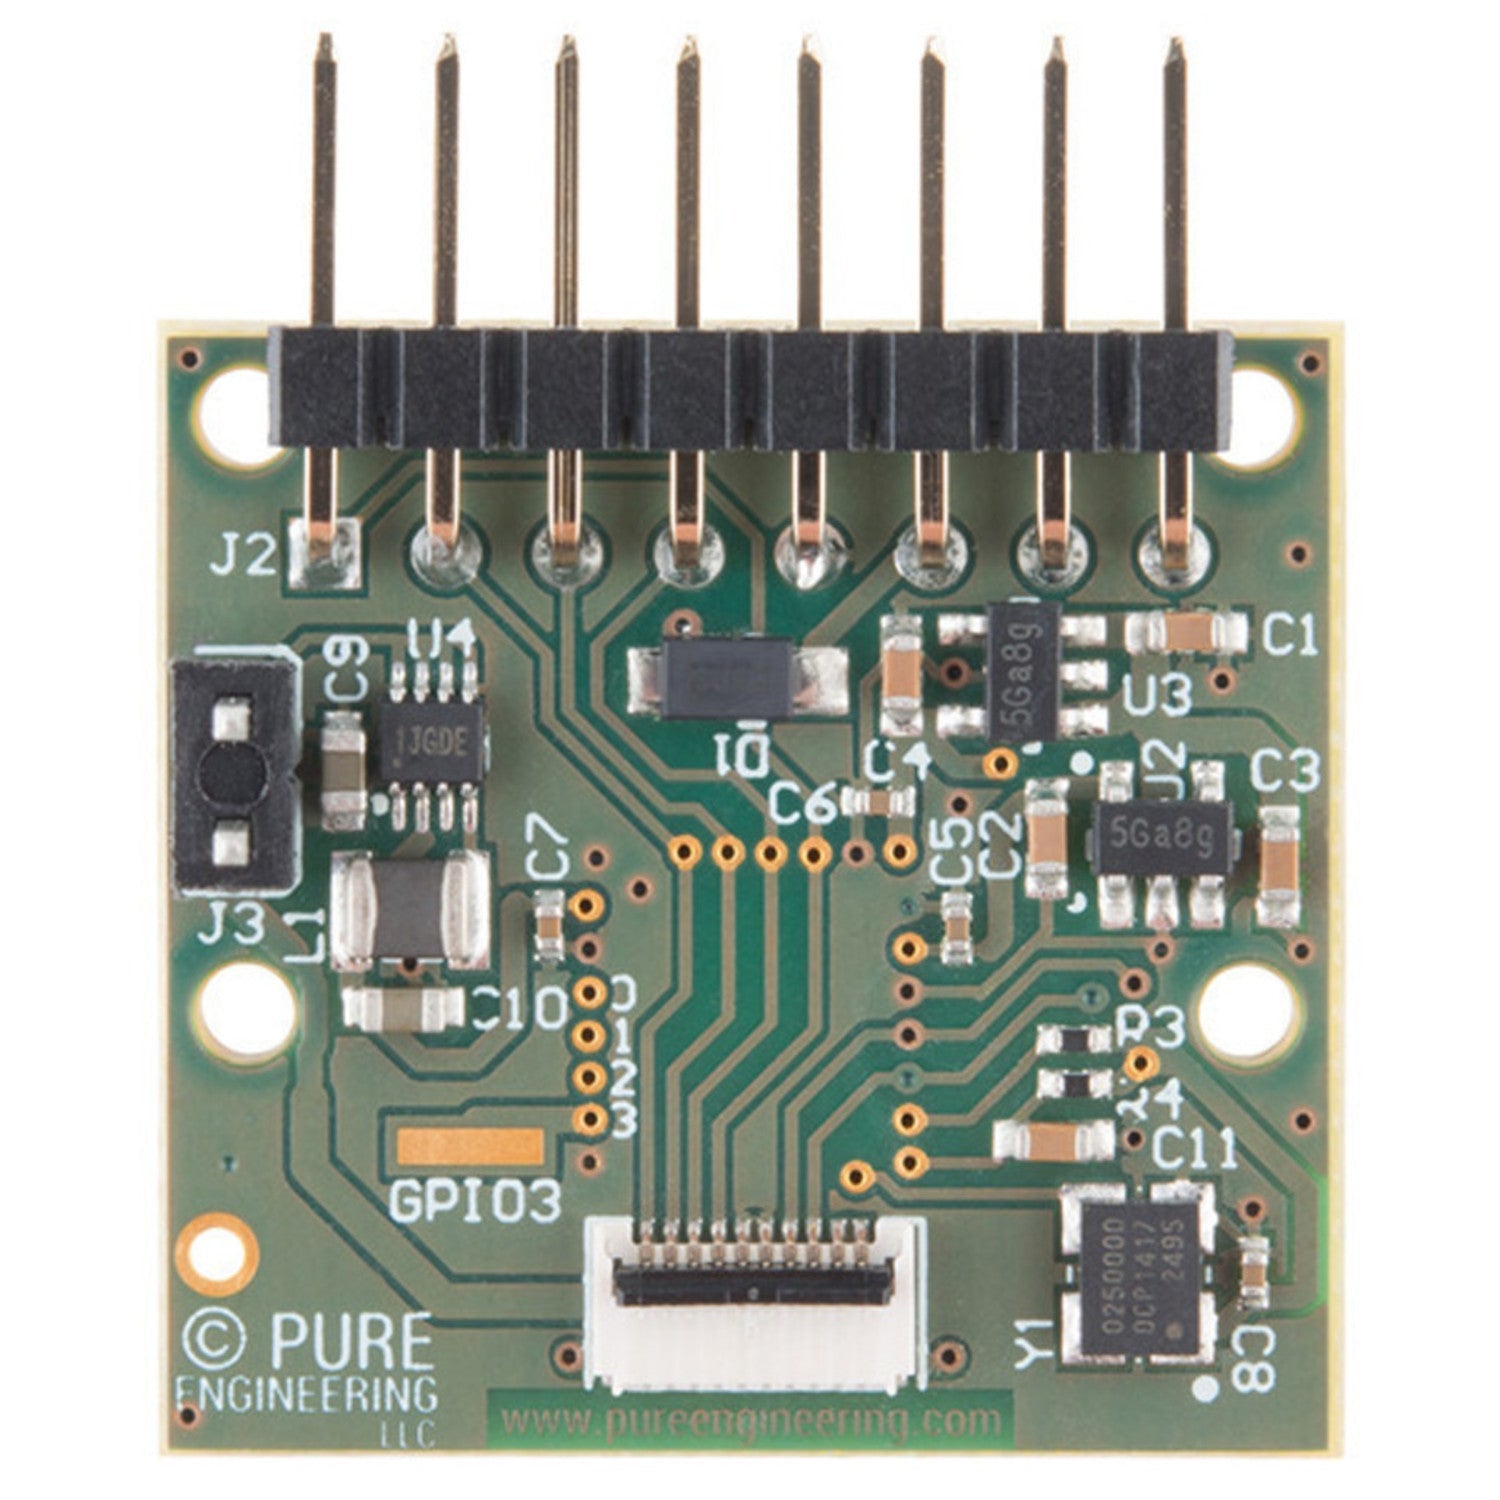
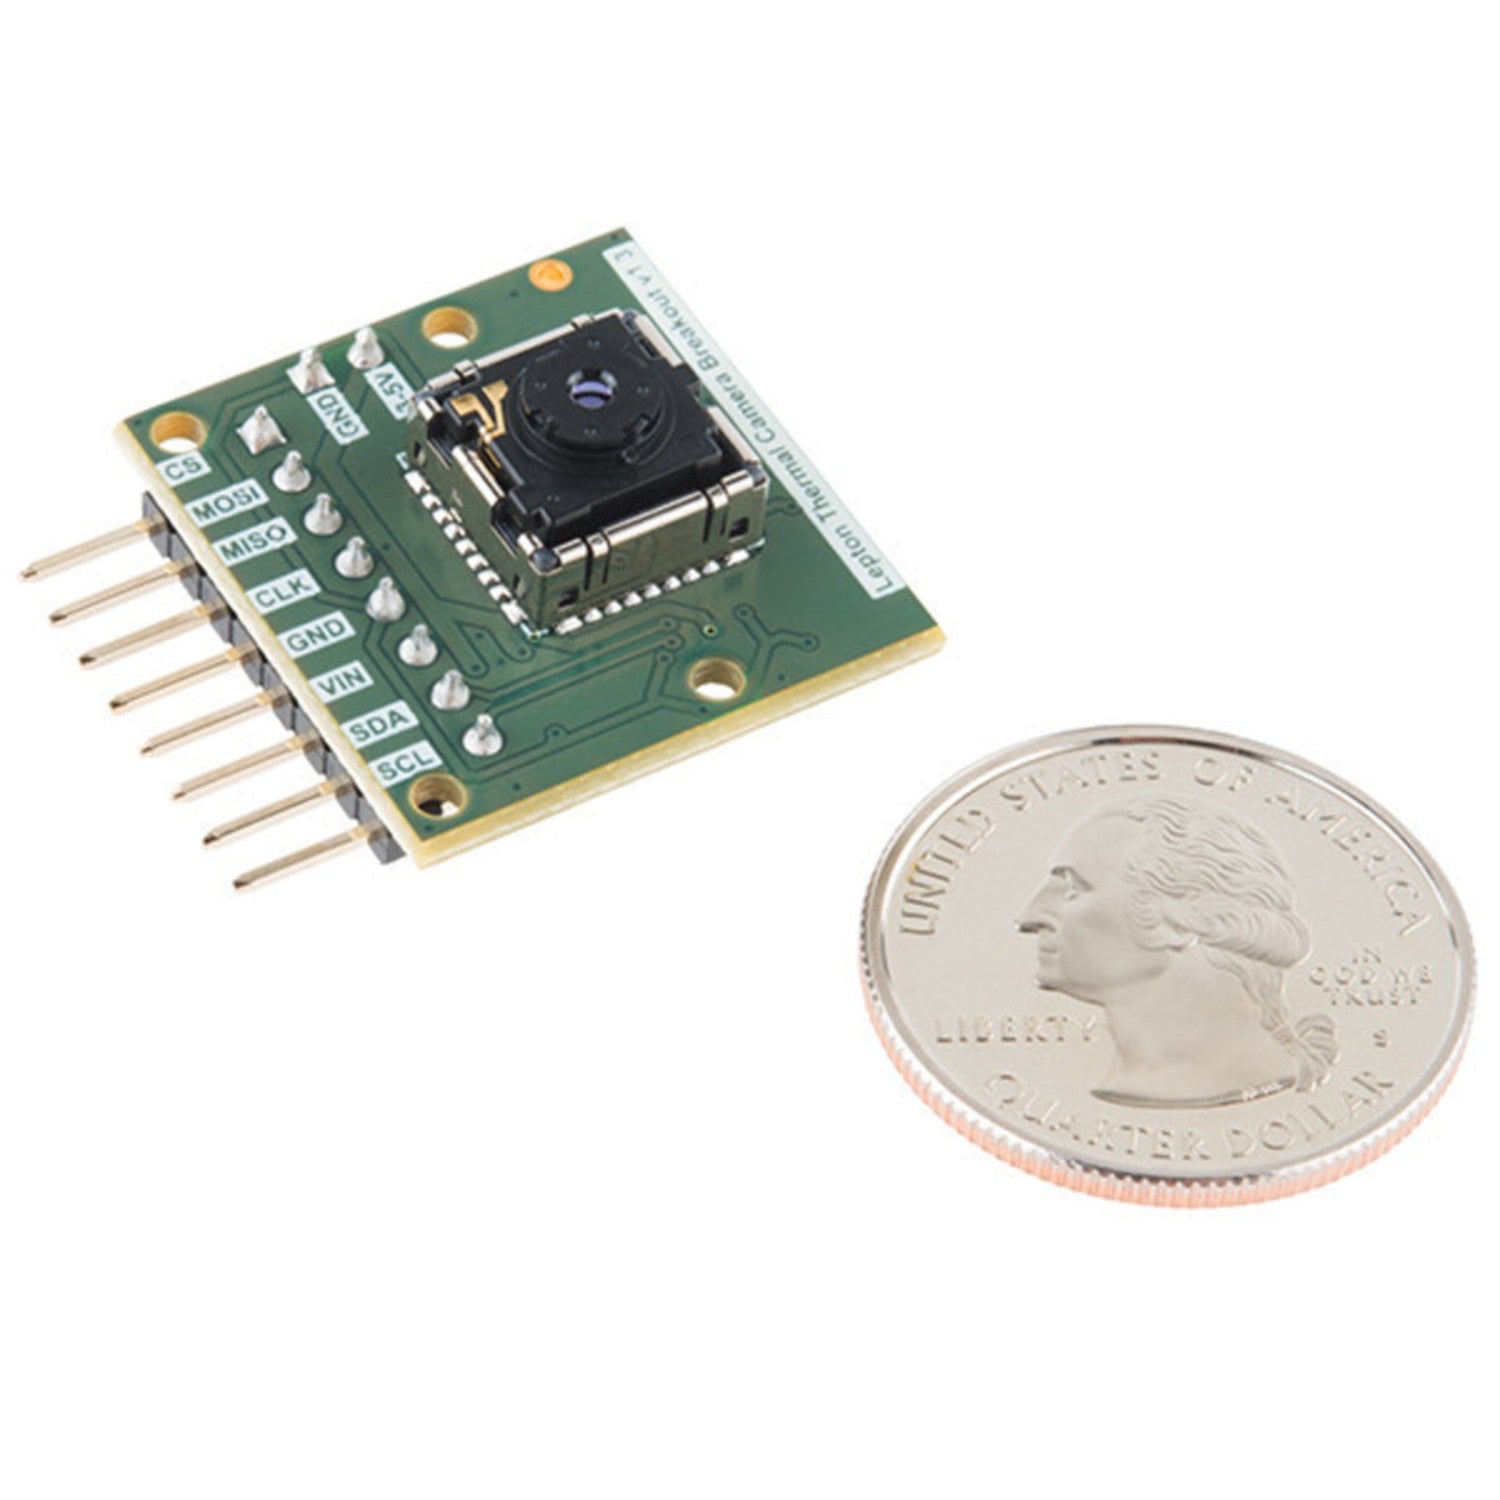
The FLiR Dev Kit is a must - have for developers. It combines a breakout and a Lepton® longwave infrared (LWIR) imager. With this compact and breadboard - friendly kit, you can easily bring FLiR's top - notch thermal imaging capabilities to your Arduino, Raspberry Pi, or any ARM - based development tool. Setting it up is a breeze. Just insert the Lepton® imager module into the provided breakout, connect the headers, and you'll be seeing in the dark right away! The Lepton® LWIR module in each kit has an 80 × 60 pixel resolution, fits in a camera body smaller than a dime, captures infrared radiation from 8 to 14 microns, and outputs a clear thermal image. Each breakout board offers a socket for the Lepton®, a power supply, a 25Mhz Crystal Oscillator, and a 100 mil header for breadboard use or connection to a host system. The breakout board takes a 3 - 5V input and adjusts it for the Lepton®. You only need an SPI port to read images and an I²C port (optional) to configure camera settings. Note that this kit comes in two parts and needs assembly. The Lepton® module is ESD - sensitive, so use proper grounding like a wrist strap when inserting it. The kit includes 1x FLiR Lepton® Thermal Imaging Module and 1x FLiR Lepton® Breakout Board. Its features include an LWIR sensor (8 - 14 μm), wide FOV, high - resolution pixels, high thermal sensitivity, multiple interfaces, fast imaging time, and low power consumption. You'll also get various documents like schematics, datasheets, hookup guides, SDKs, and more.


Using the FLiR Dev Kit is easy. First, you'll need to assemble the two parts. Take the Lepton® Thermal Imaging Module and insert it into the Breakout Board. Make sure to wear a grounding wrist strap during this process to avoid damaging the sensitive module. After assembly, connect the headers to your Arduino, Raspberry Pi, or ARM - based development tool. You'll need an SPI port to read images from the Lepton® module. If you want to configure the camera settings, you can use an I²C port, though it's not required. The breakout board can accept a 3 - 5V input, which it will regulate for the Lepton®. Once everything is connected, you'll be able to see thermal images even in complete darkness. As for maintenance, keep the kit in a dry and clean environment. Avoid exposing it to extreme temperatures. If you need to move the module, handle it gently to prevent any physical damage. When you're done using it, disconnect the power supply to save energy and prolong the life of the components. You can refer to the included schematic, datasheet, and hookup guide for more detailed information.