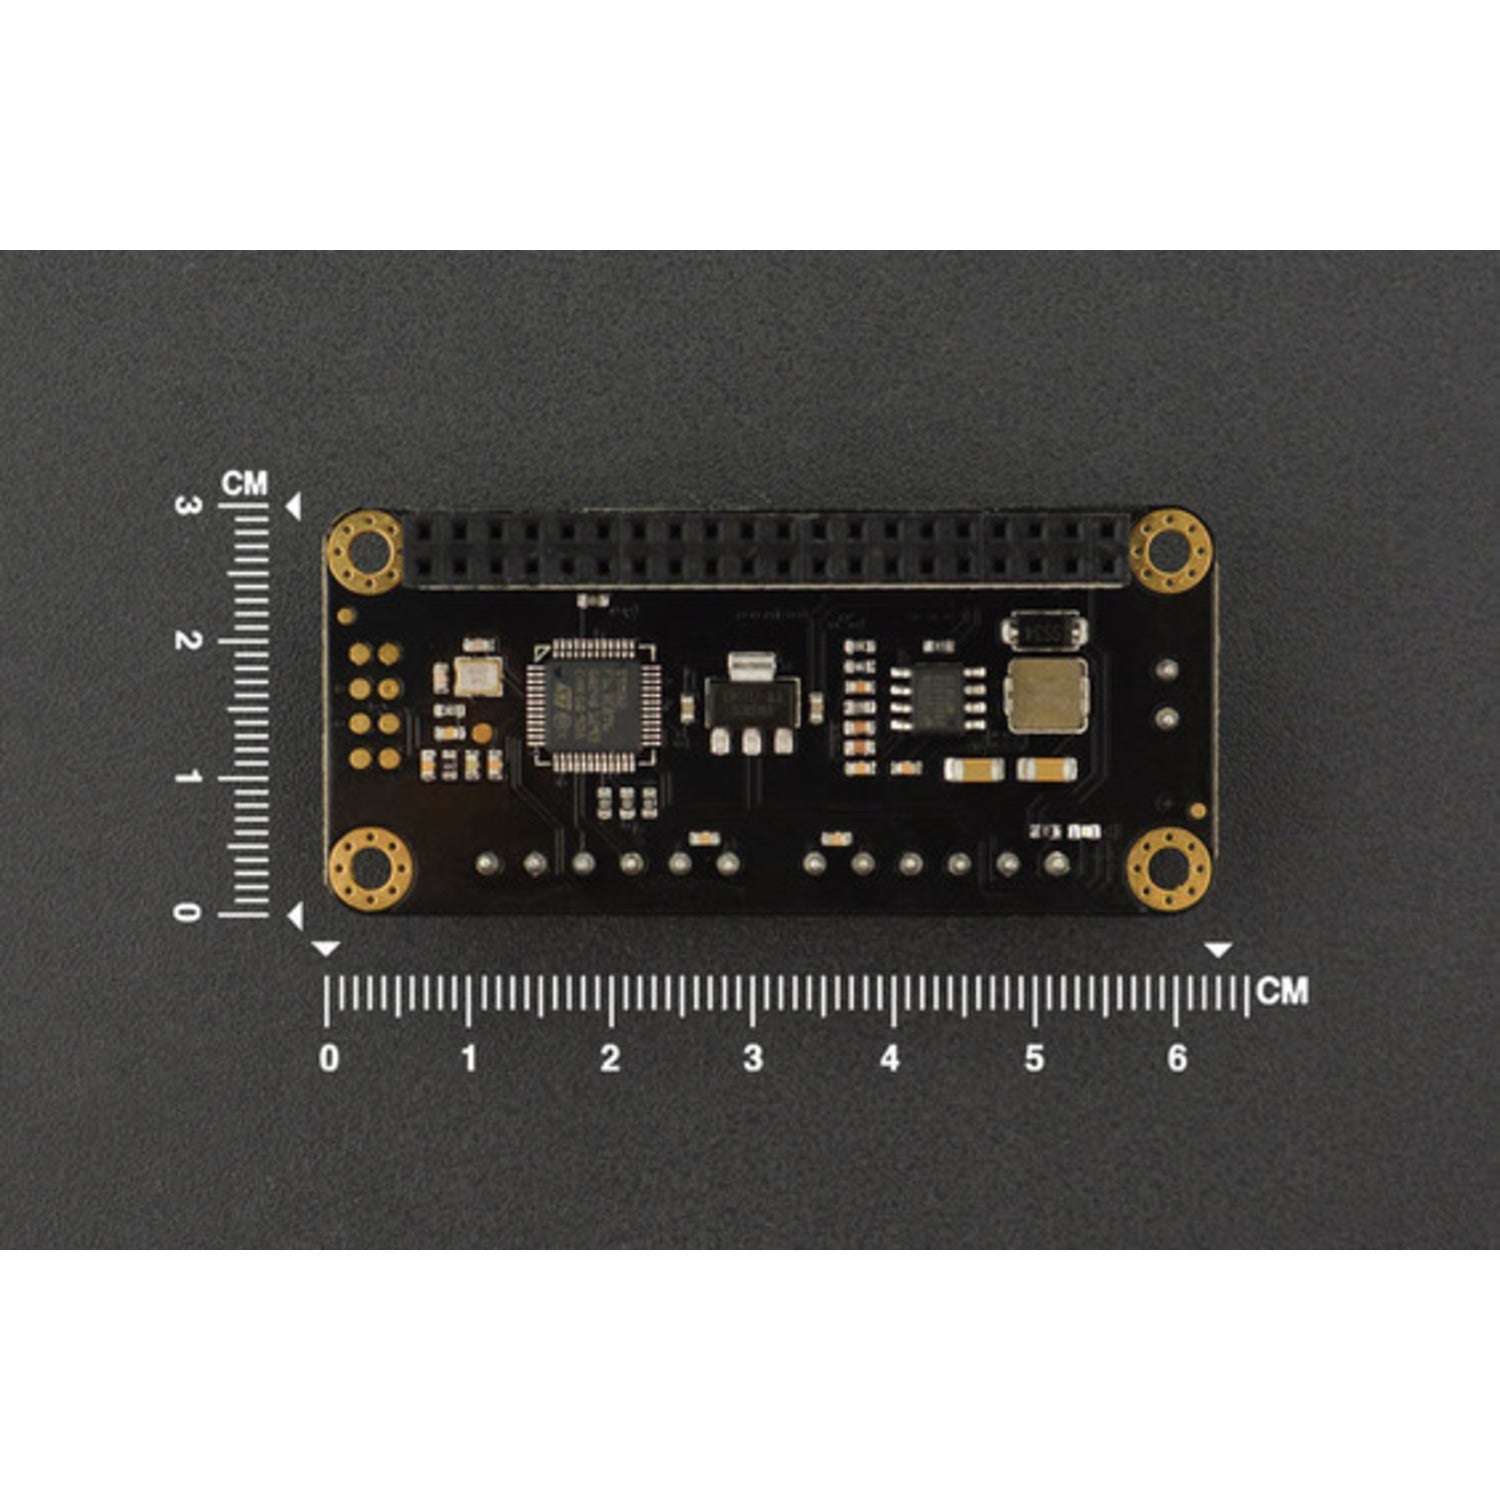
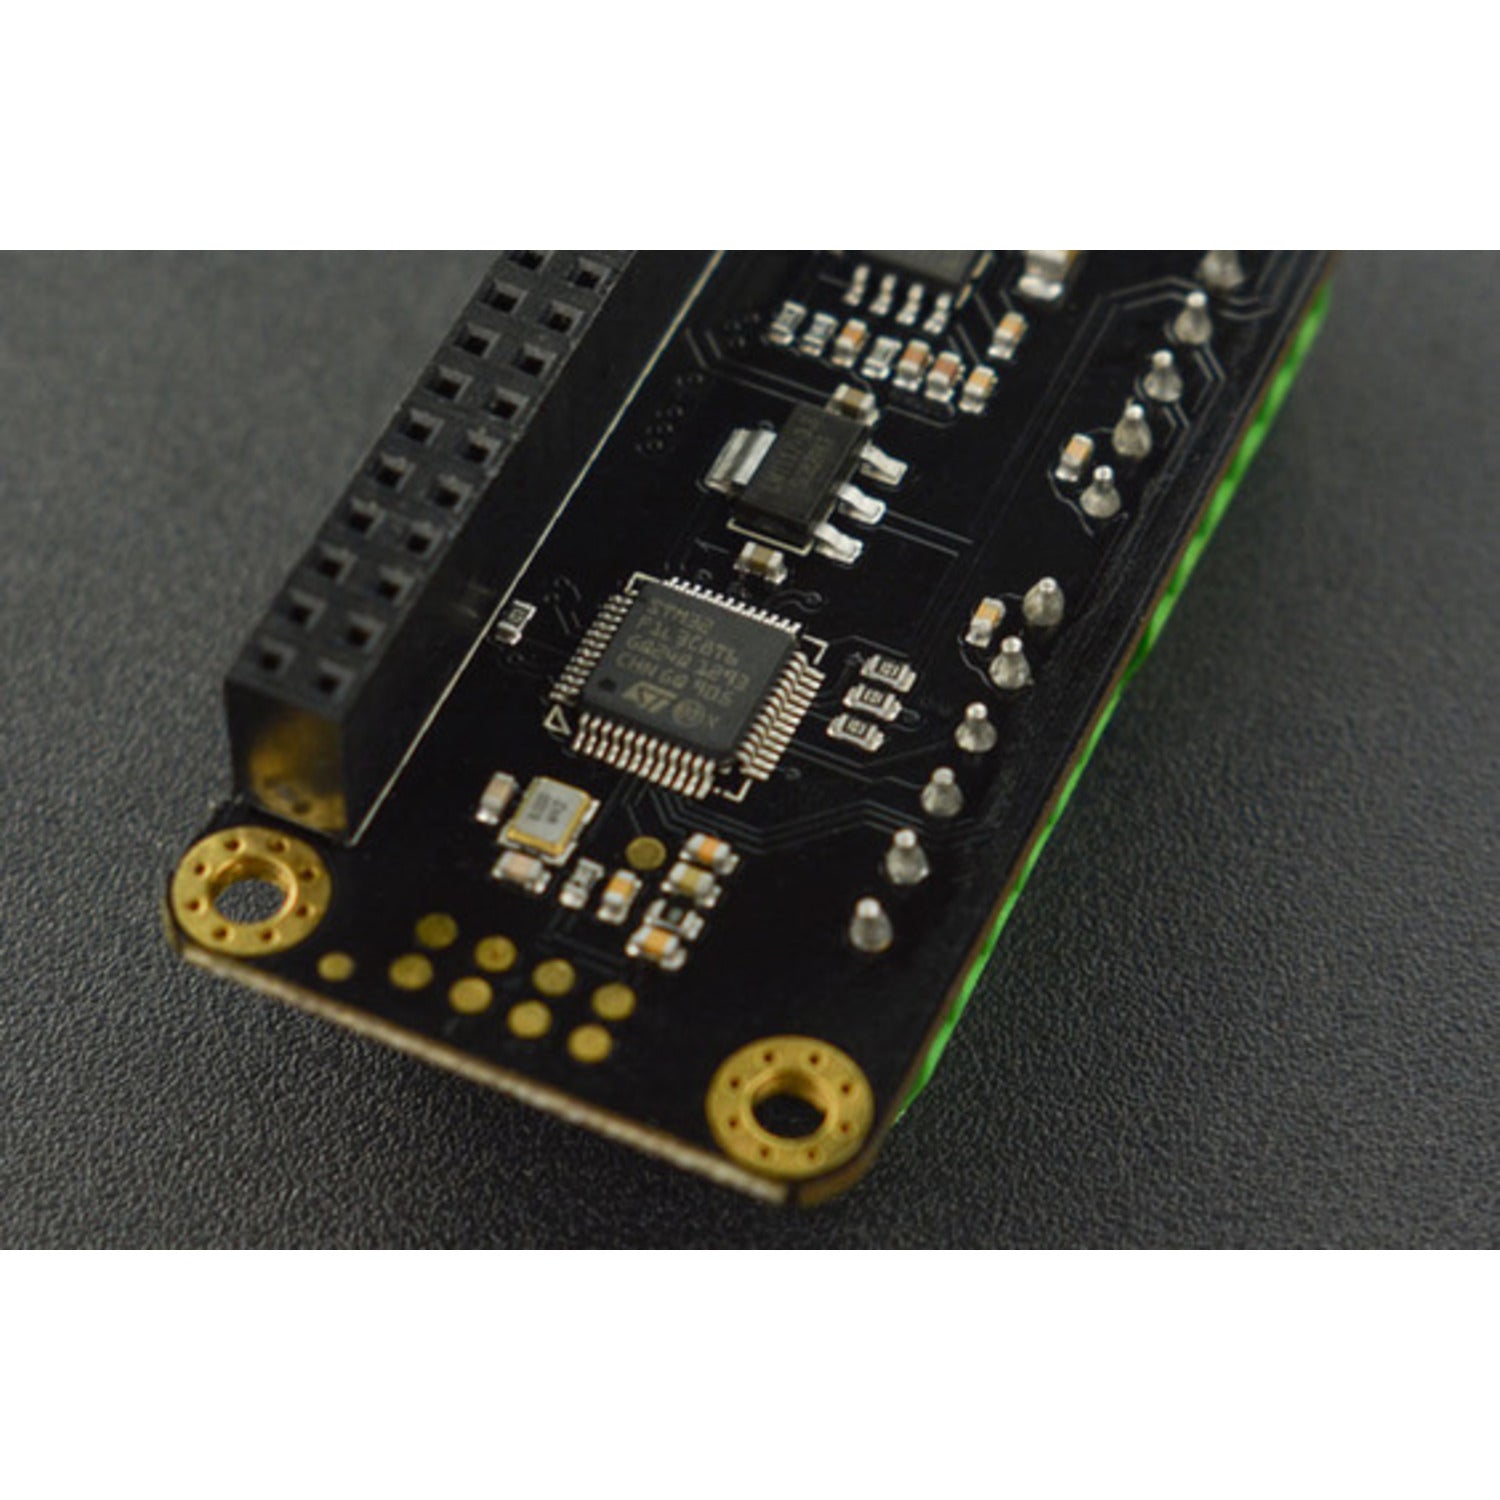
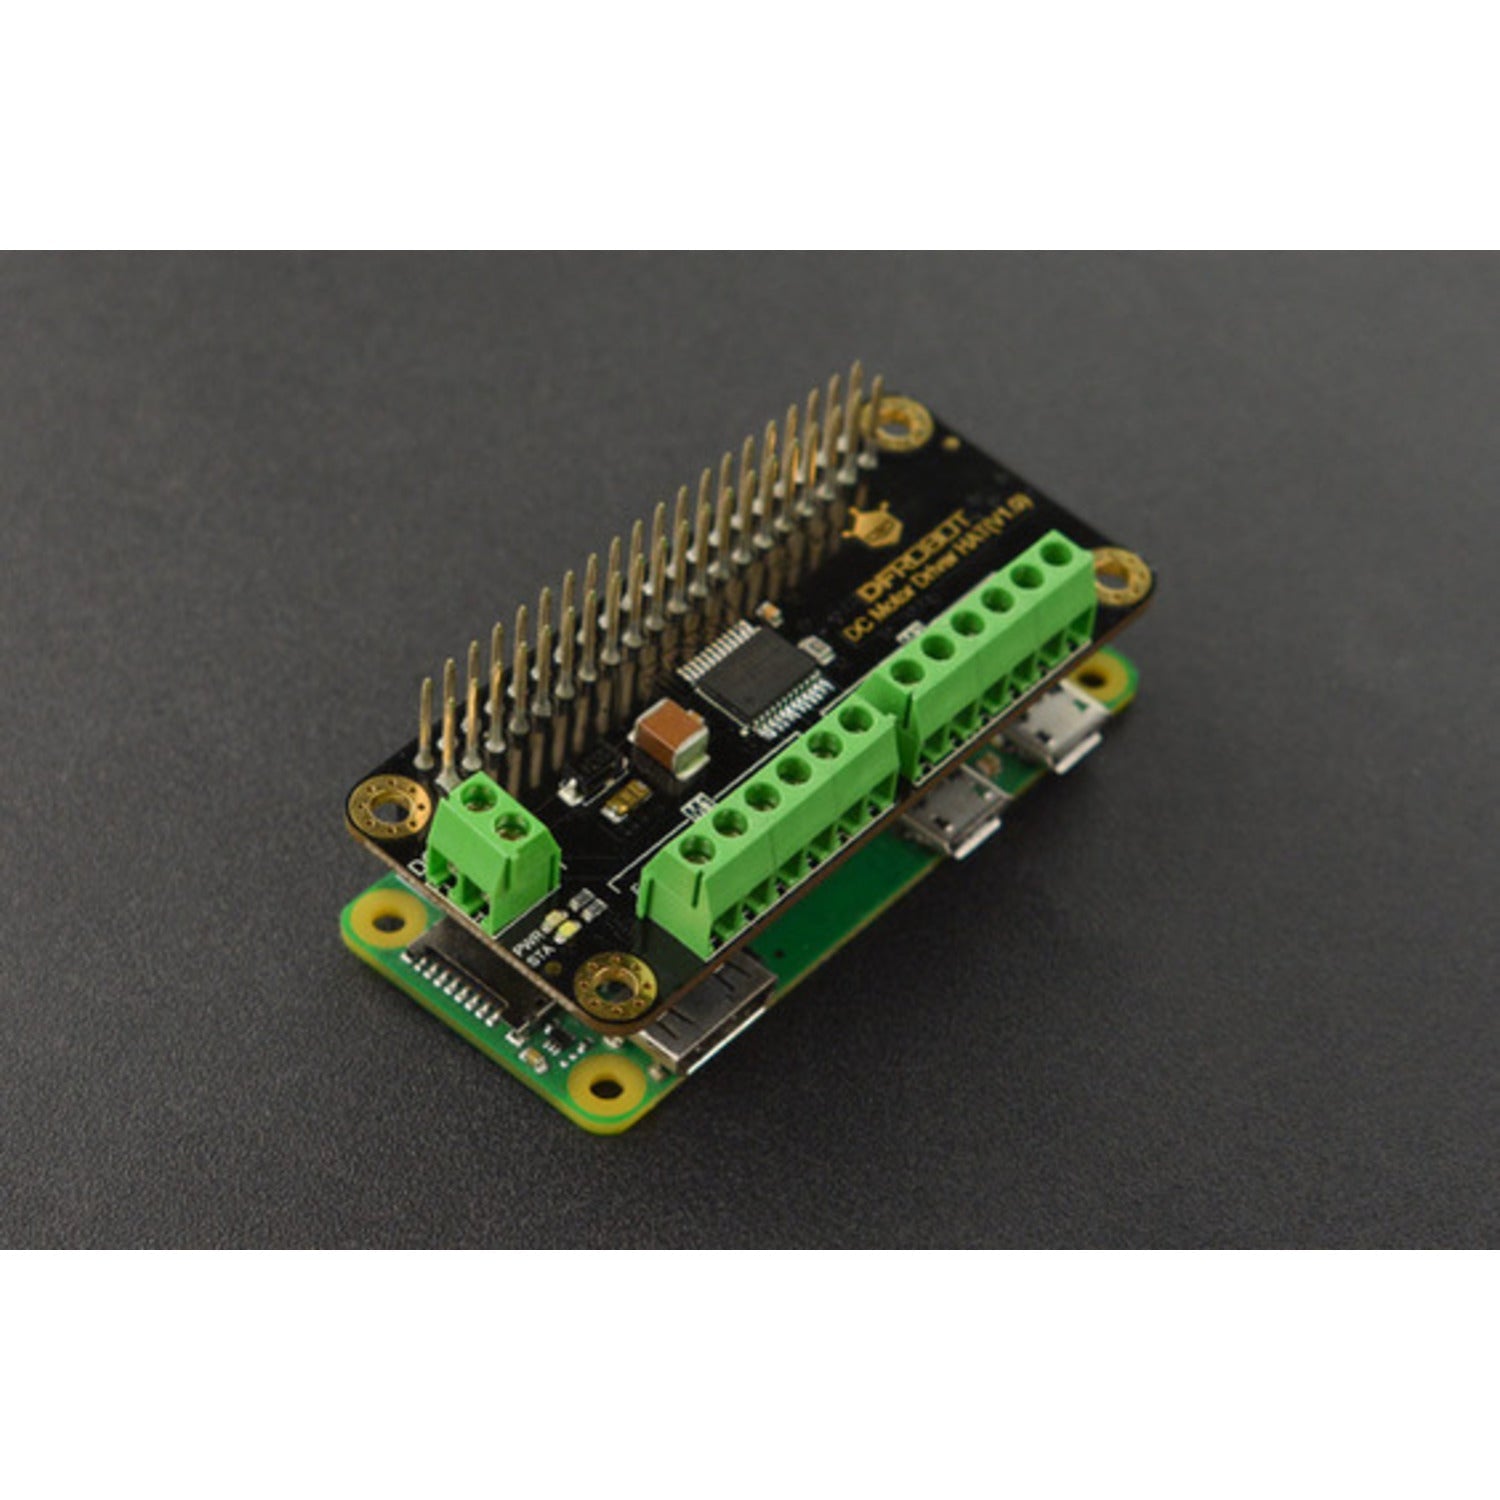
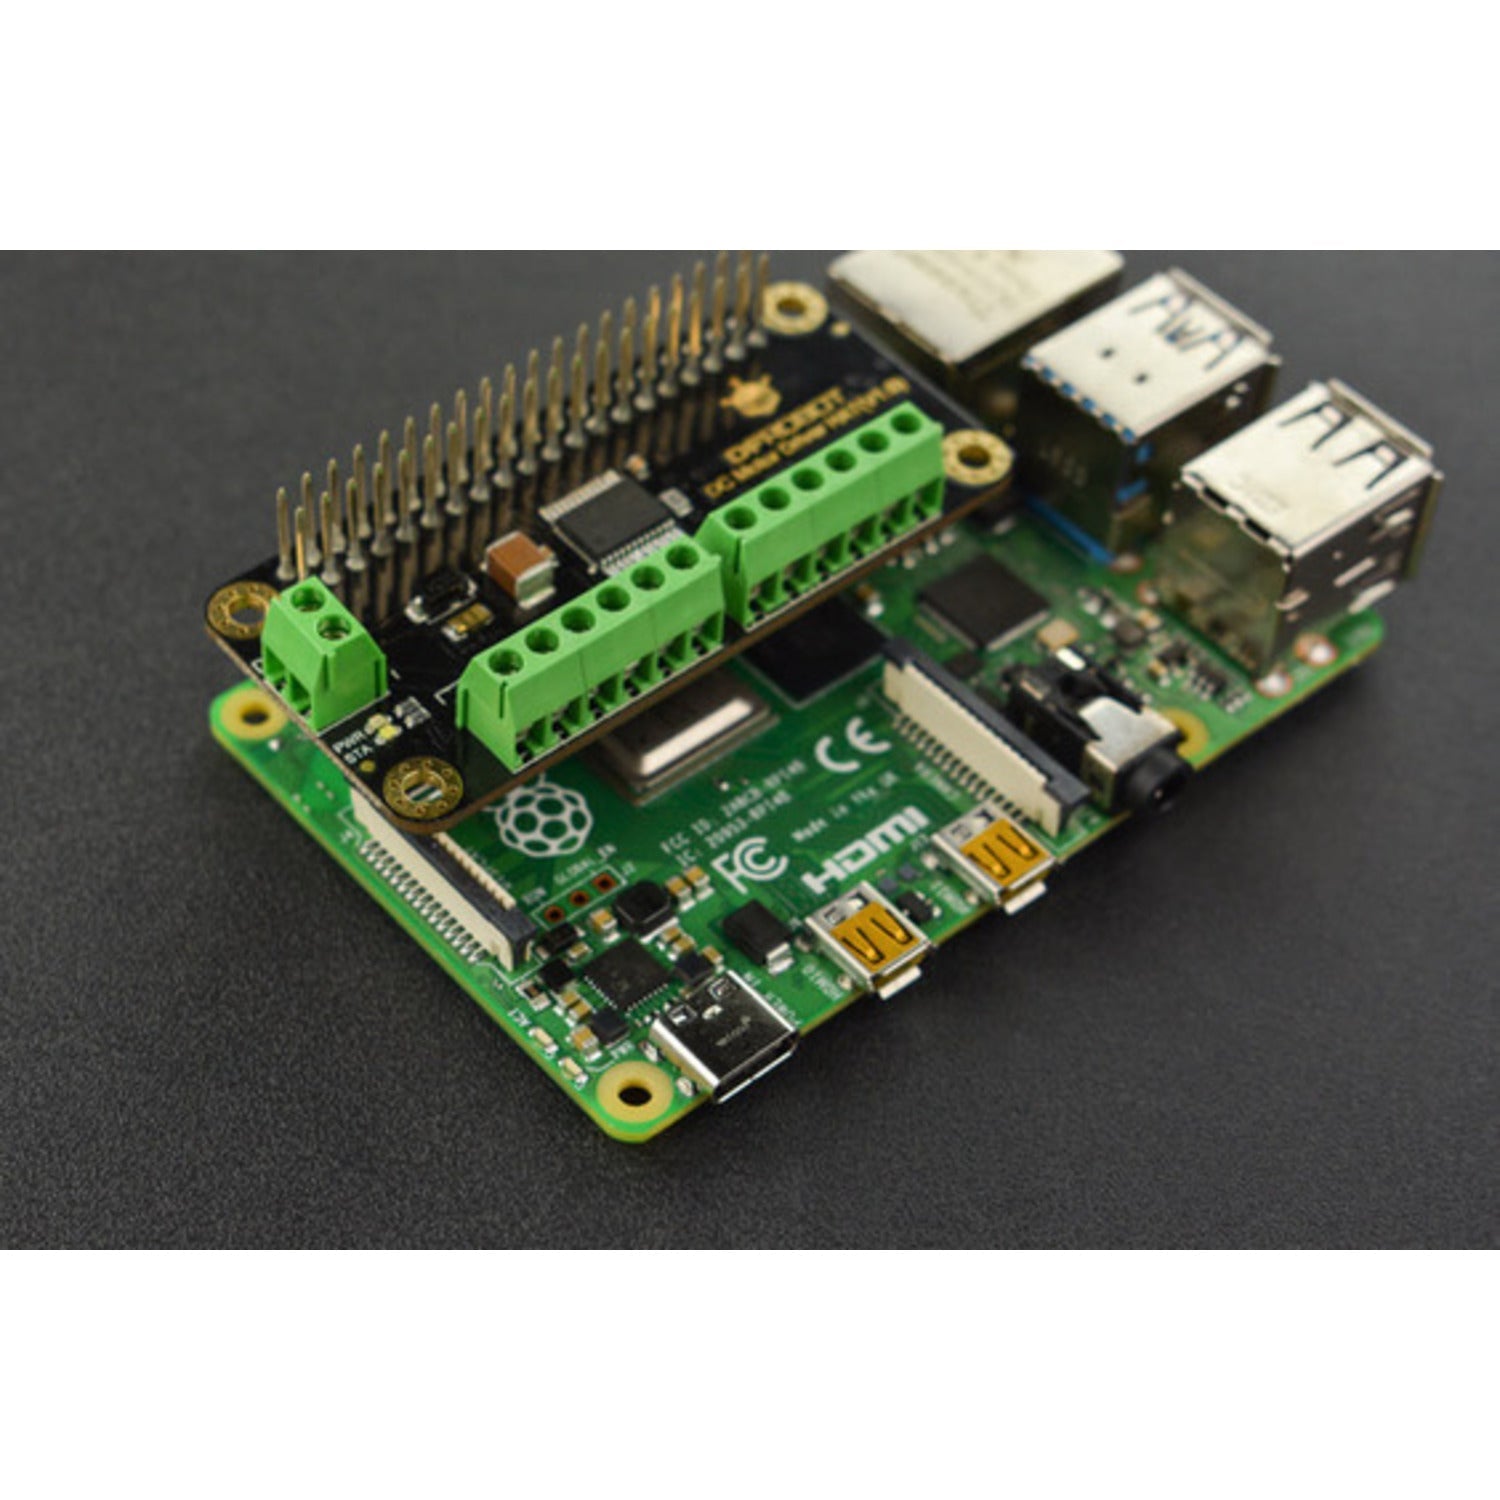
This is an amazing Raspberry Pi DC motor driver board equipped with an on - board encoder interface. It can drive 2 - way DC motors and DC motors with encoders. Communicating with Raspberry Pi via I2C, it's a breeze to configure and drive the motors. The DC Motor Driver HAT uses an STM32 micro - processor to analyze commands from the upper host and convert them into motor drive signals after calculation. It also integrates a high - performance TB6612FNG motor drive chip. With a single - channel continuous current of 1.2A and a peak current up to 2A, this motor driver supports a wide input voltage range of 7 - 12V. You can team it up with Raspberry Pi to create awesome DIY projects like smart cars, balance cars, DIY tanks, and mechanical fish. Features include motor drive, I2C communication, and it serves as a Raspberry Pi Shield. Specifications are as follows: Operating Voltage 7 - 12V, Logical Voltage 5V, Motor Driver Chip TB6612FNG, Communication Interface I2C, Default IIC Address 0x10, Continuous Drive Current 1.2A, Peak Current 2A, Supports 2 - way DC Motor/DC Motor with Encoder, and Dimension 65*30mm/2.56*1.18". There's also a product wiki available for more information.


Using this DC Motor Driver HAT is easy. First, connect it to your Raspberry Pi. Since it communicates via I2C, just make sure the connection is stable. You can then start configuring the settings according to your needs. When powering it up, use a power supply within the 7 - 12V range. For the logical voltage, keep it at 5V. This driver can handle two - way DC motors or DC motors with encoders. If you're making a DIY project like a smart car or a balance car, adjust the motor settings to fit your design. As for maintenance, keep the board clean and free from dust. Avoid exposing it to extreme temperatures or humidity. If you have any technical questions, refer to the product wiki for more detailed information. When handling the board, be gentle to prevent any damage to the components.