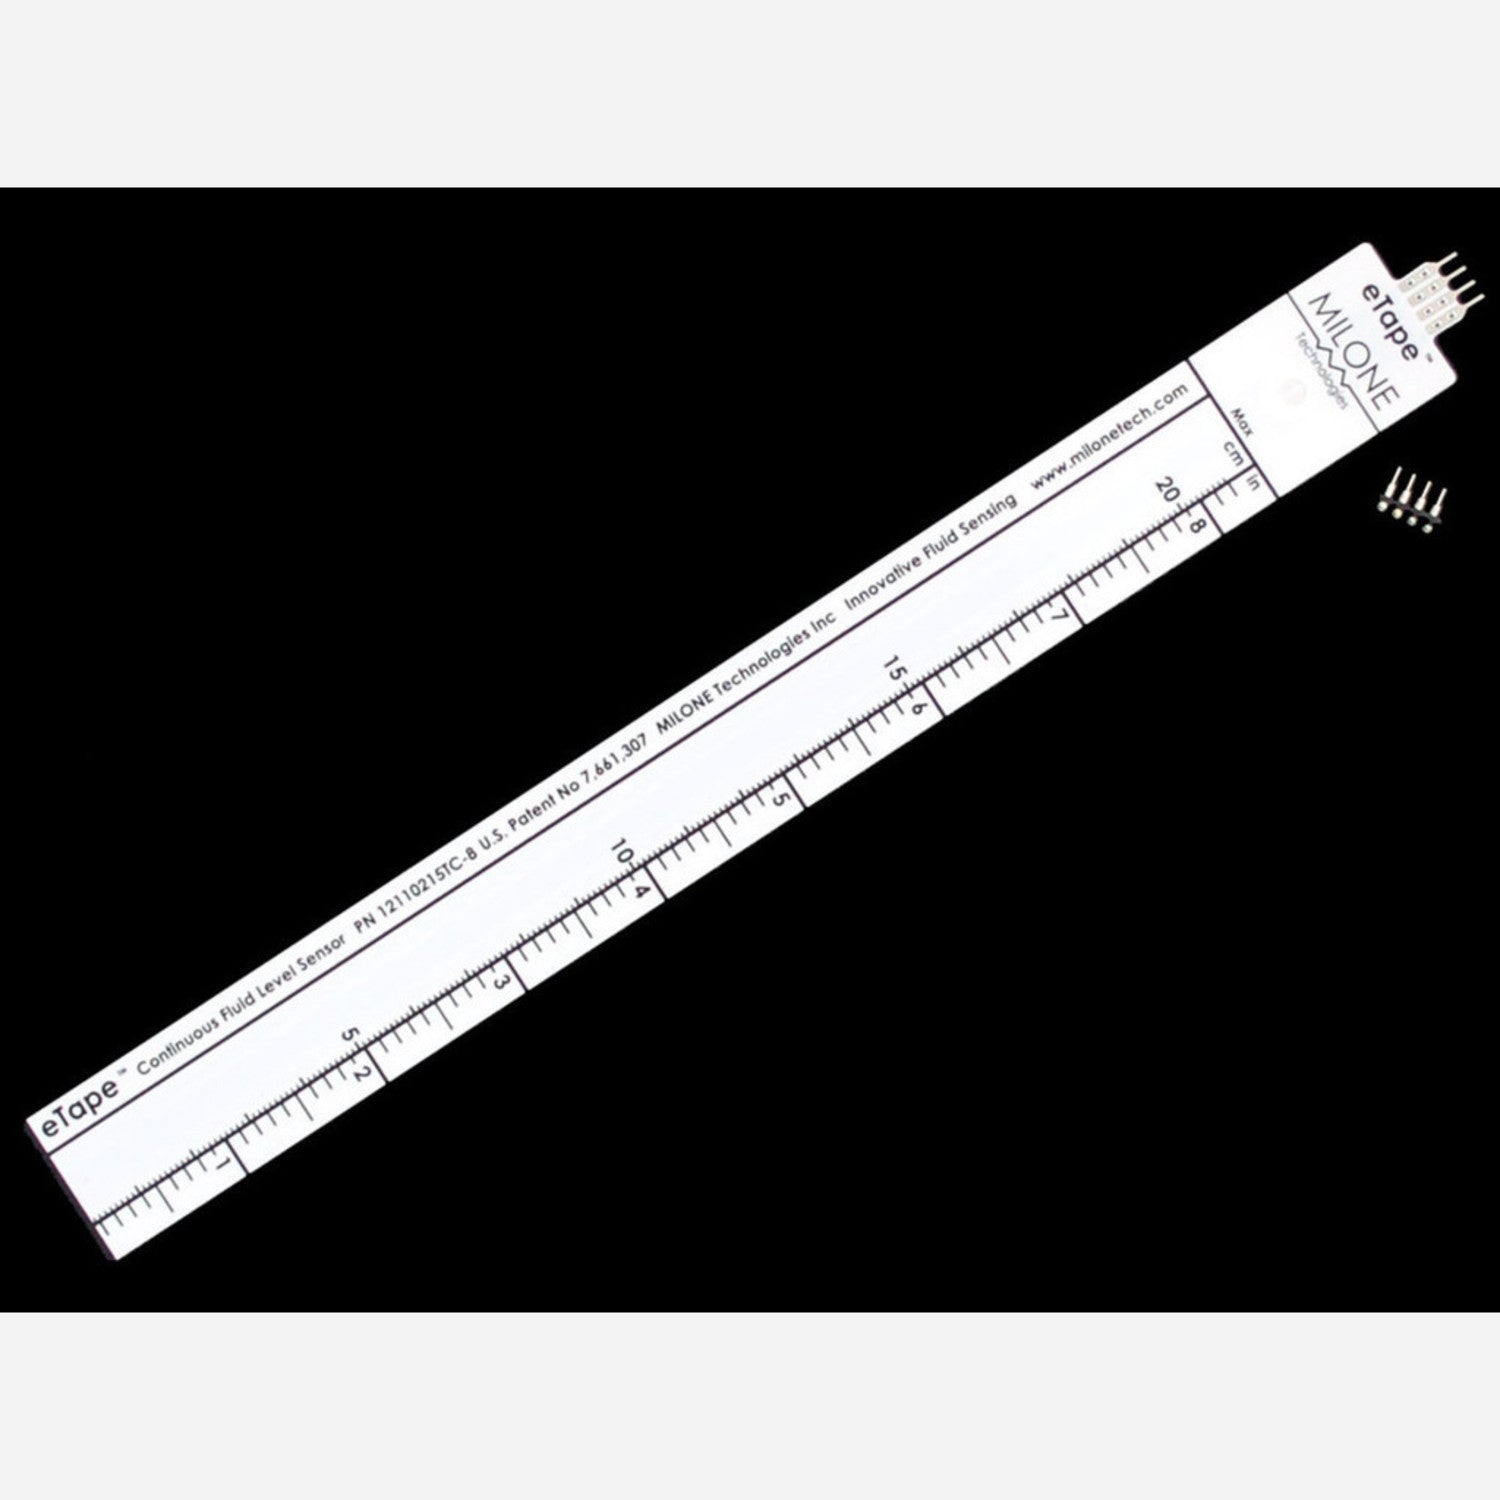
The eTape Liquid Level Sensor is an amazing solid-state sensor. It has a resistive output that changes according to the fluid level. Say goodbye to bulky mechanical floats! This sensor easily connects with electronic control systems. When the sensor is in the fluid, the hydrostatic pressure compresses its envelope, causing a resistance change that shows the distance from the sensor's top to the fluid surface. The sensor's resistive output and the liquid height are inversely proportional. That means the lower the liquid level, the higher the output resistance, and vice versa. It's a really unique sensor. There aren't many other affordable and accurate options for measuring liquid levels. It's great for hydroponics, aquariums, fountains, pool controllers, or even rain tube measurement. This 8-foot model comes with a 4-pin connector and a 560 ohm resistor. The connector lets you avoid soldering directly to the delicate pins. Just solder to the connector and plug it onto the sensor. Since it's resistive, you can easily read it using a microcontroller/Arduino ADC pin. Check the tutorials tab for a quick start.

Using this eTape Liquid Level Sensor is easy. First, place the 8-foot sensor in the liquid you want to measure, like in a hydroponics system, aquarium, fountain, pool, or rain tube. The sensor will start working right away to detect the liquid level. Thanks to the included 4-pin connector, you don't need to solder directly to the delicate pins. Just solder to the connector and plug it onto the sensor. Then, you can use a microcontroller or Arduino ADC pin to read the sensor's output. As for maintenance, keep the sensor clean and free from debris. Don't expose it to extreme temperatures or harsh chemicals. If you have any problems, check the tutorials tab for help. It'll give you a quick start on getting the most out of your sensor.


