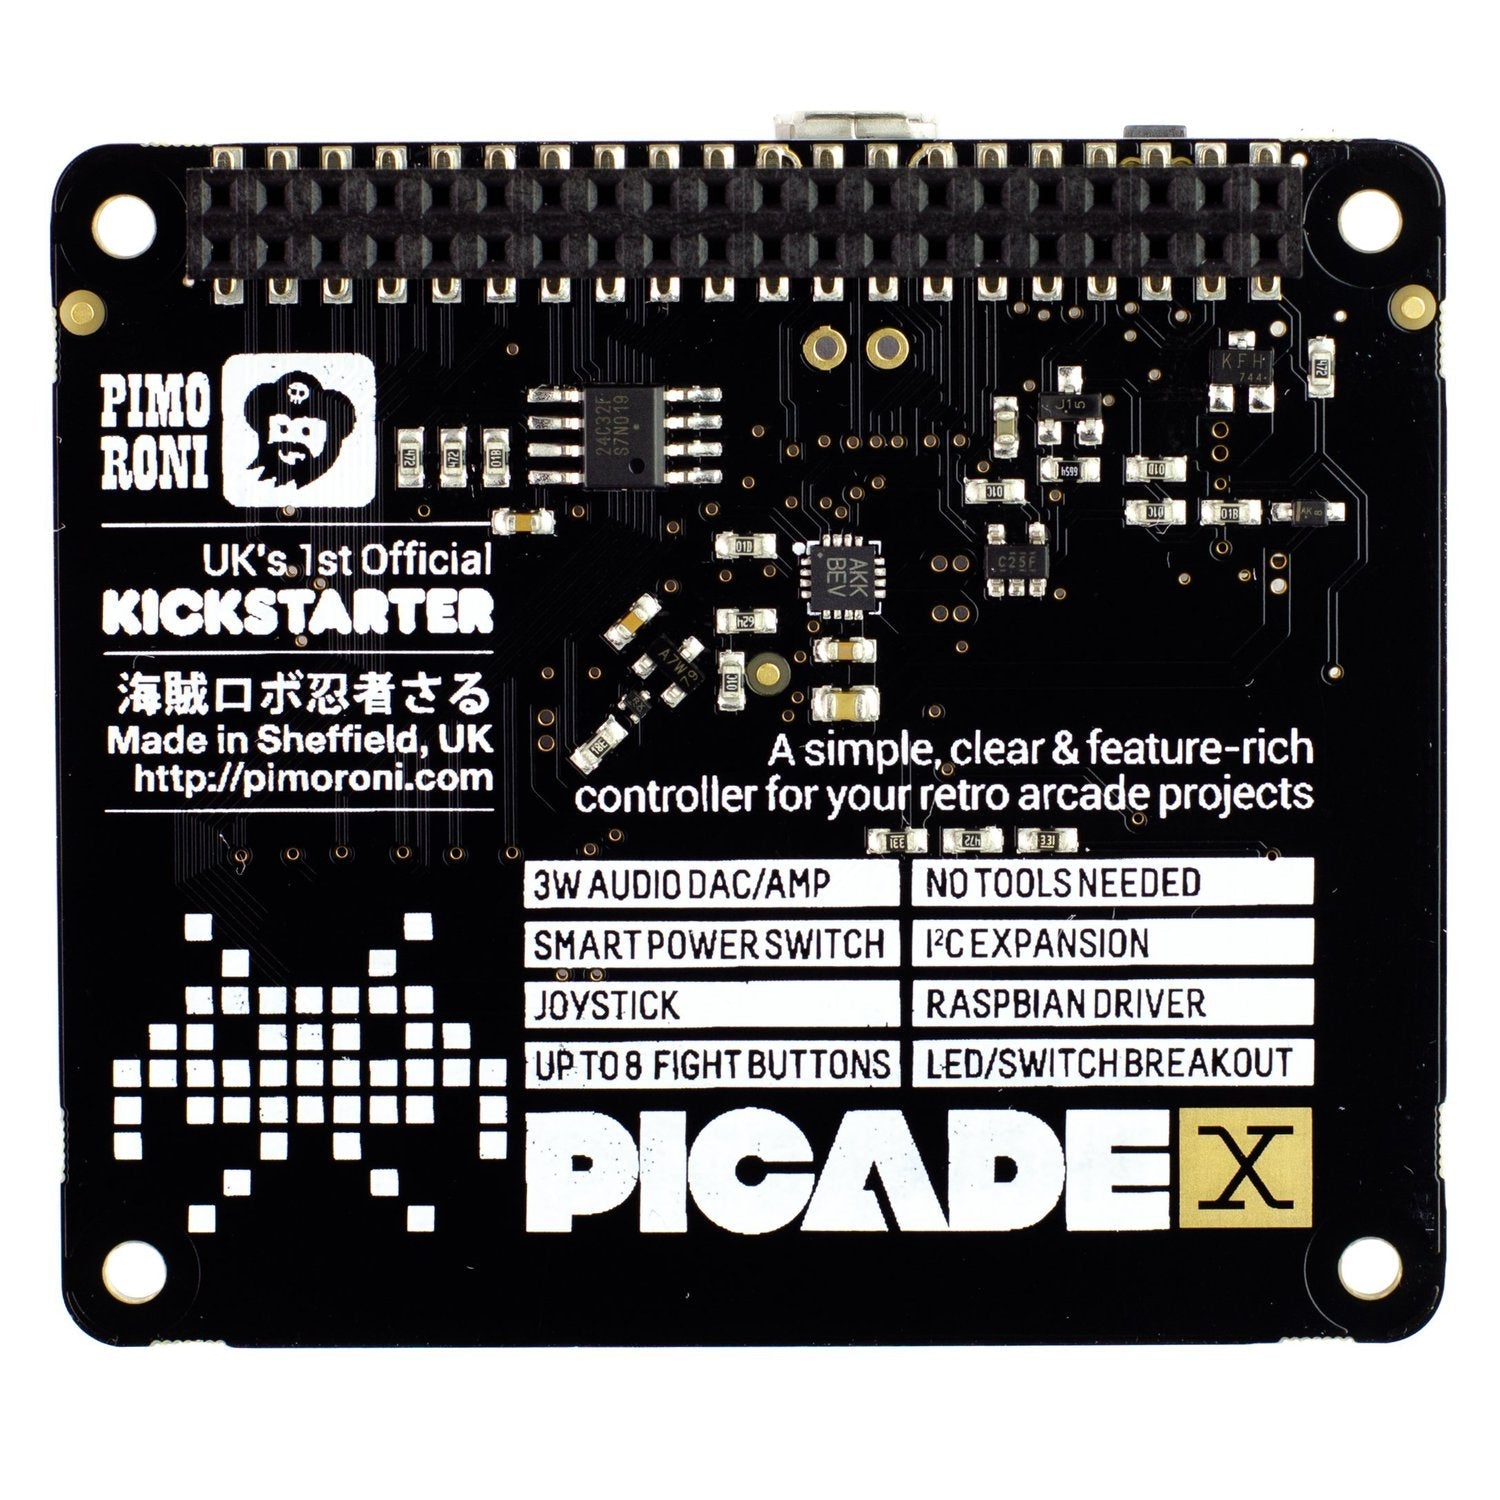
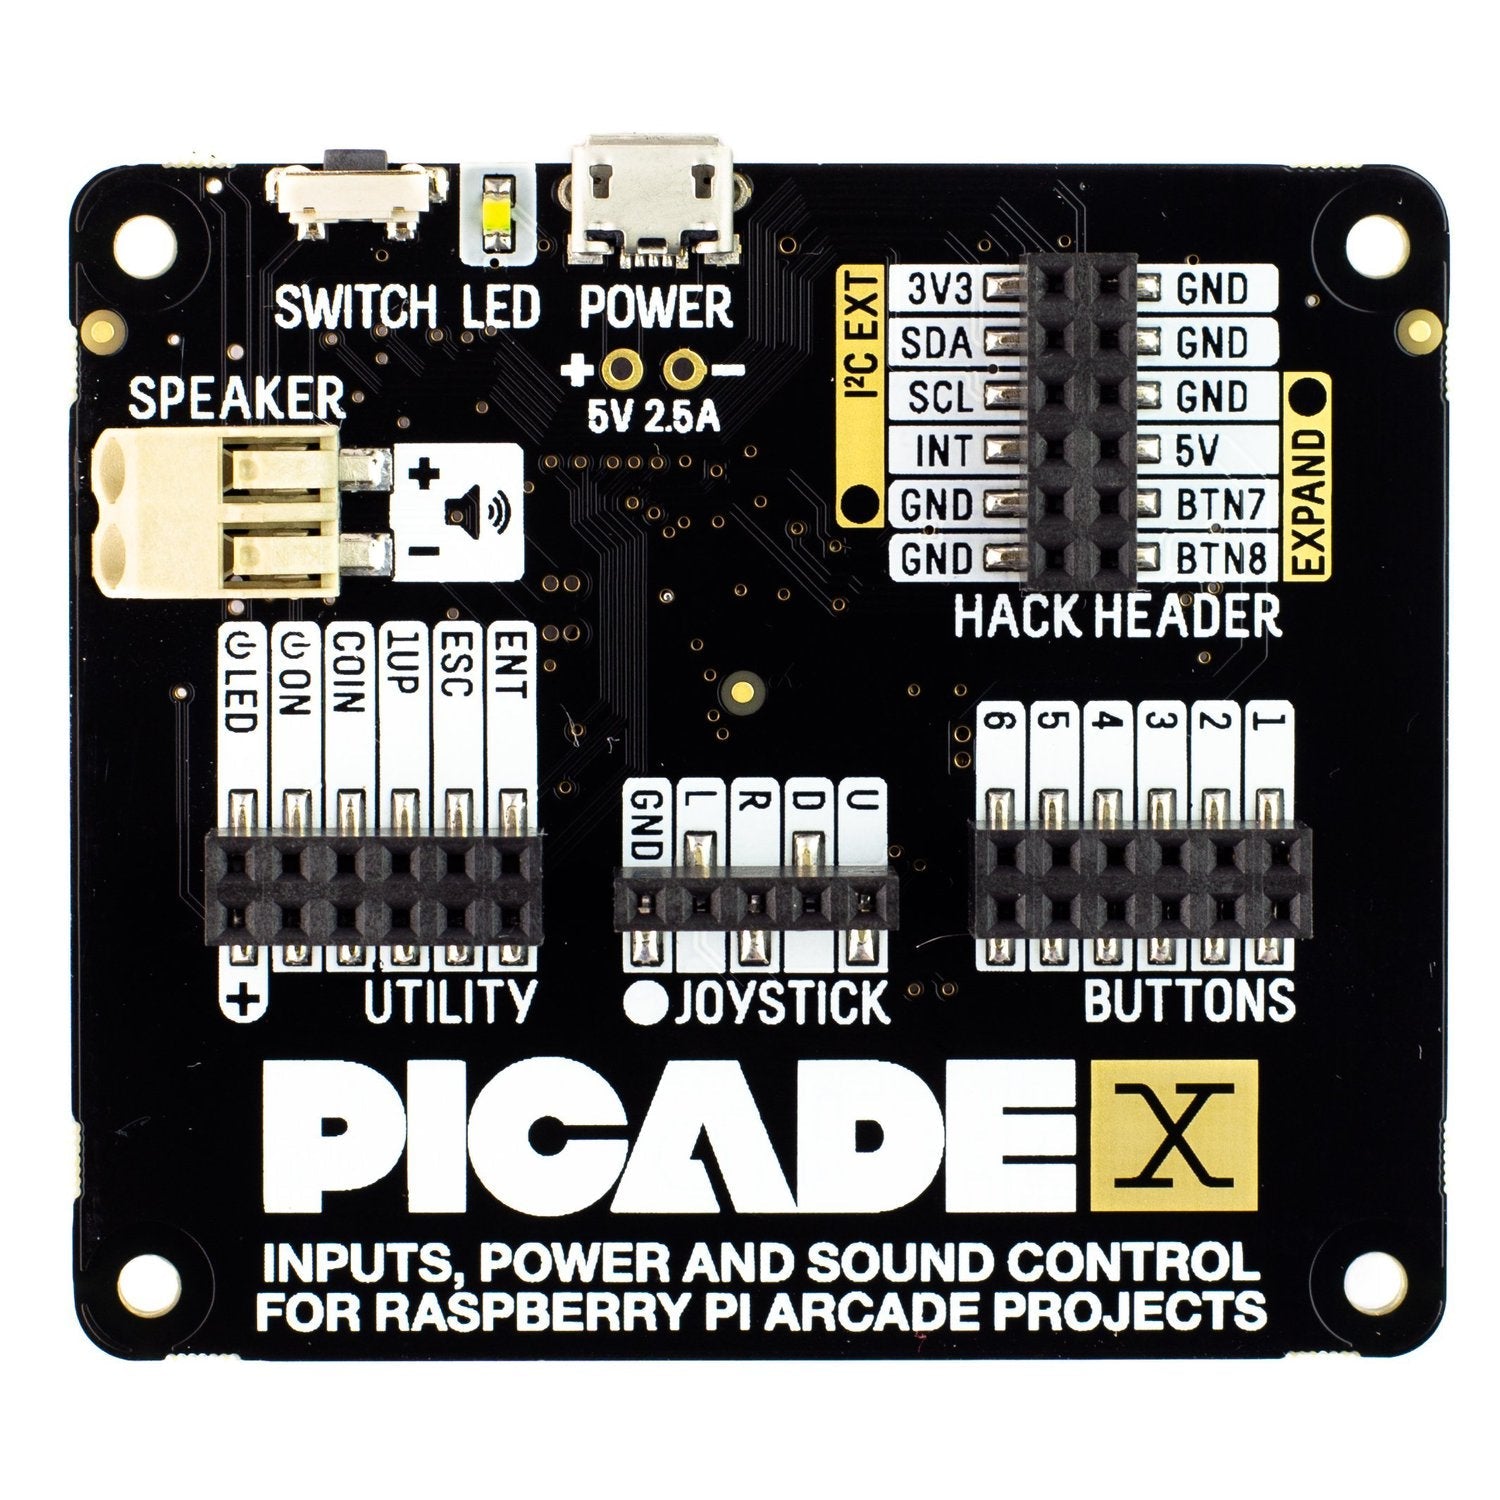
Turn your Raspberry Pi into a cool retro games console! The Picade X HAT comes with a joystick and button inputs, a 3W I2S DAC/amplifier, and a soft power switch. Our latest Picade X HAT has all the great features of the original but now has easy - to - use female Dupont connectors for your joystick and buttons. Just pop it onto your Pi, plug the Pi power supply into the micro - USB connector on the HAT (it powers your Pi through the GPIO, no separate power supply needed), wire up your controls, and install our driver. It's perfect for DIY arcade cabinet builds or interfaces that need big, colorful buttons and sound. We recommend getting one of our new Picade wiring looms. It has all the cables to connect buttons and a joystick (with 5 - pin connector) to the Picade X HAT. Features include an I2S audio DAC with 3W amplifier (mono) and push - fit terminals, a safe power on/off system with a tactile power button and LED, a micro - USB connector for power, 4 - way digital joystick inputs, 6x player button inputs, 4x utility button inputs, 1x soft power switch input, 1x power LED output, breakout pins for power, I2C, and 2 additional buttons, and it has the Picade HAT pinout. It's compatible with Raspberry Pi 3B+, 3, 2, B+, A+, Zero, and Zero W. The I2S DAC combines digital audio from the Raspberry Pi into a single mono output and powers a connected speaker through a 3W amplifier. The board has a soft power switch for safe on/off without SD card corruption. Our simple one - line installer sets up the HAT, controls, safe shutdown, and audio. Run 'curl https://get.pimoroni.com/picadehat | bash' in a terminal and reboot after installation. Note that our software doesn't support Raspbian Wheezy. With micro - USB power through the HAT, tap the connected power button or the 'switch' button on the HAT to power on your Pi.


Using the Picade X HAT is easy. First, pop the Picade X HAT onto your Raspberry Pi. Then, plug your Pi power supply into the micro - USB connector on the HAT. It'll power your Pi through the GPIO, so you don't need a separate power supply. Next, wire up your controls like the joystick and buttons. After that, open a terminal and type 'curl https://get.pimoroni.com/picadehat | bash' to install the necessary software. You may need to reboot your Pi after the installation. When it comes to powering on, if you have micro - USB power connected through the HAT, you can either tap the connected power button or the 'switch' button on the HAT. To safely turn off your Pi, use the soft power switch. Tap it to start up and press and hold for 3 seconds to fully shut down and disconnect power. Our software doesn't support Raspbian Wheezy, so make sure your system is compatible. As for maintenance, keep the HAT clean and avoid exposing it to extreme temperatures or moisture. If you're using our recommended Picade wiring loom, make sure the cables are properly connected and not damaged.