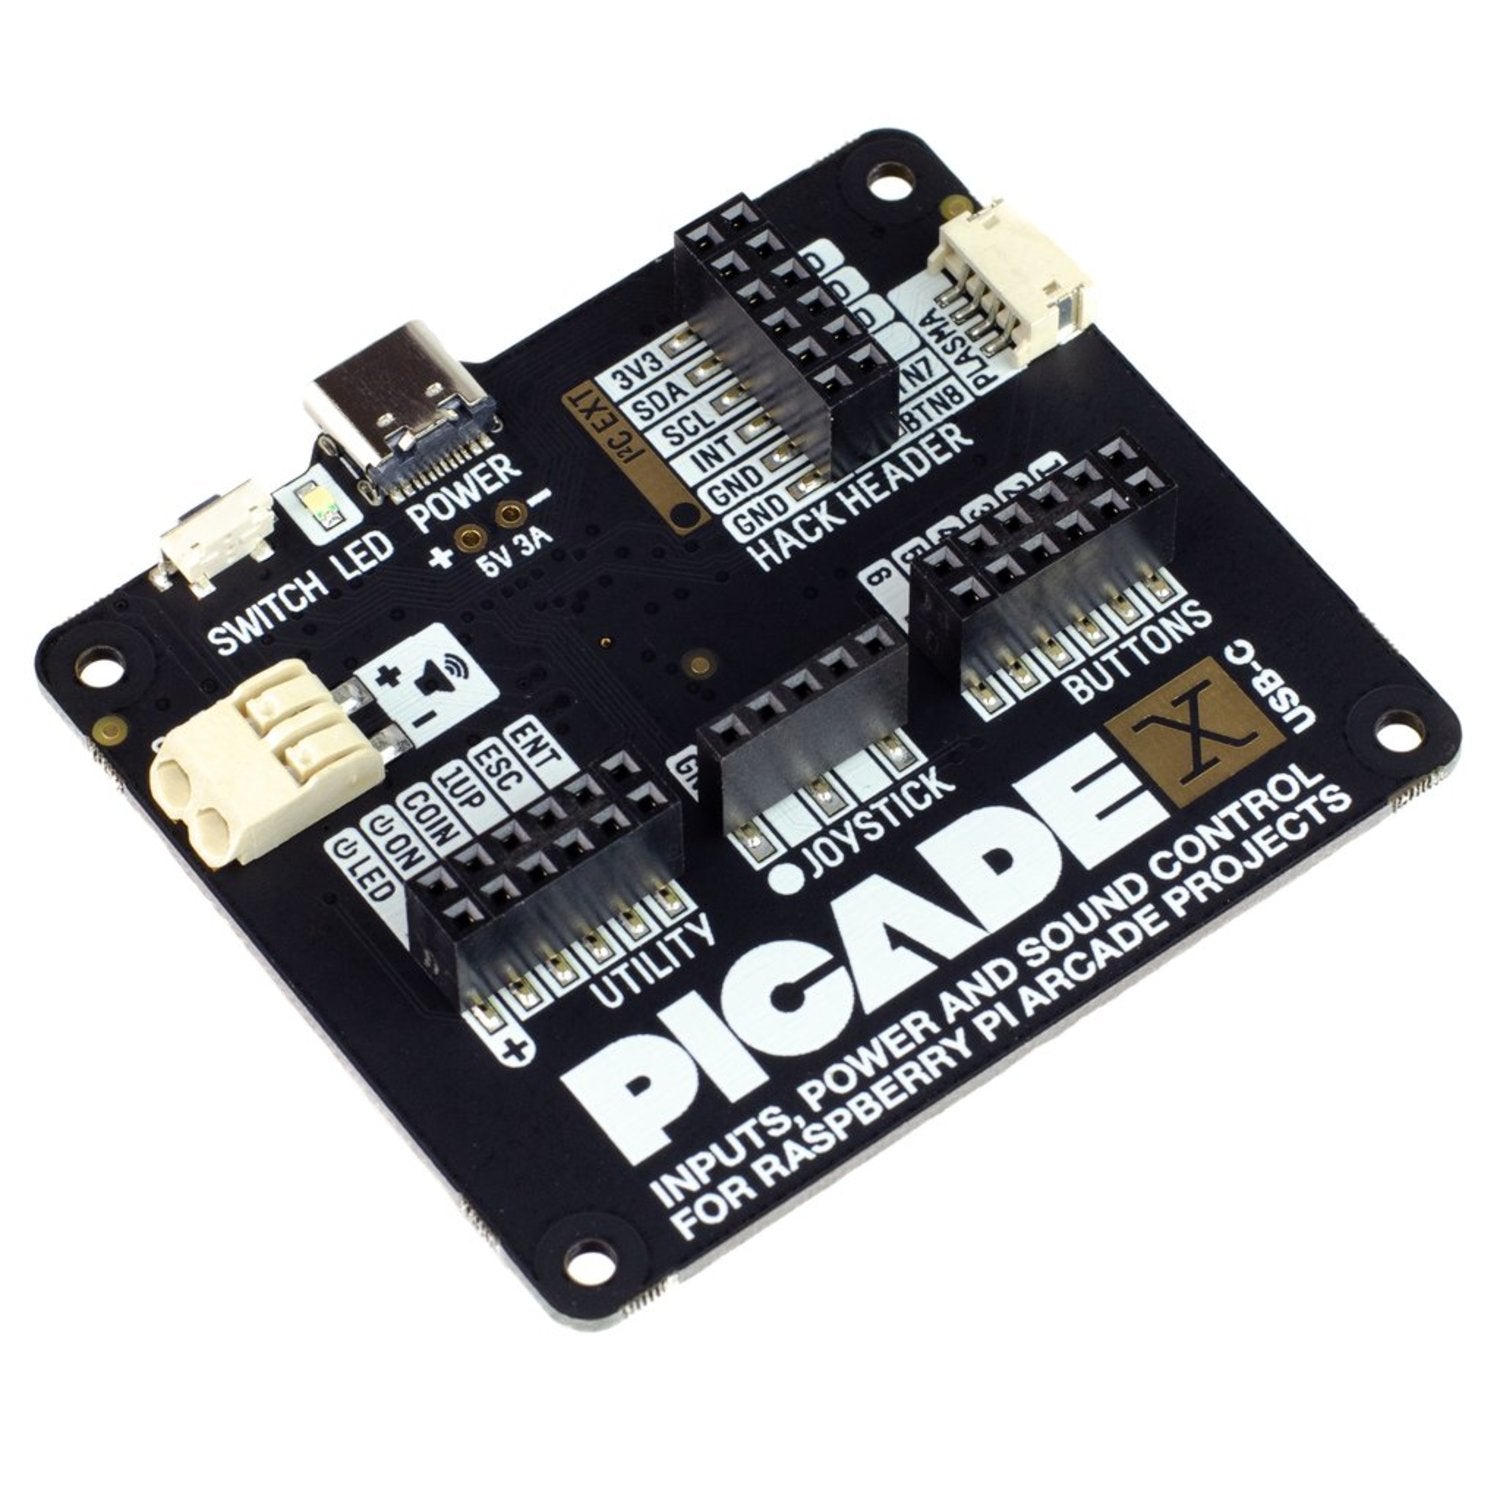
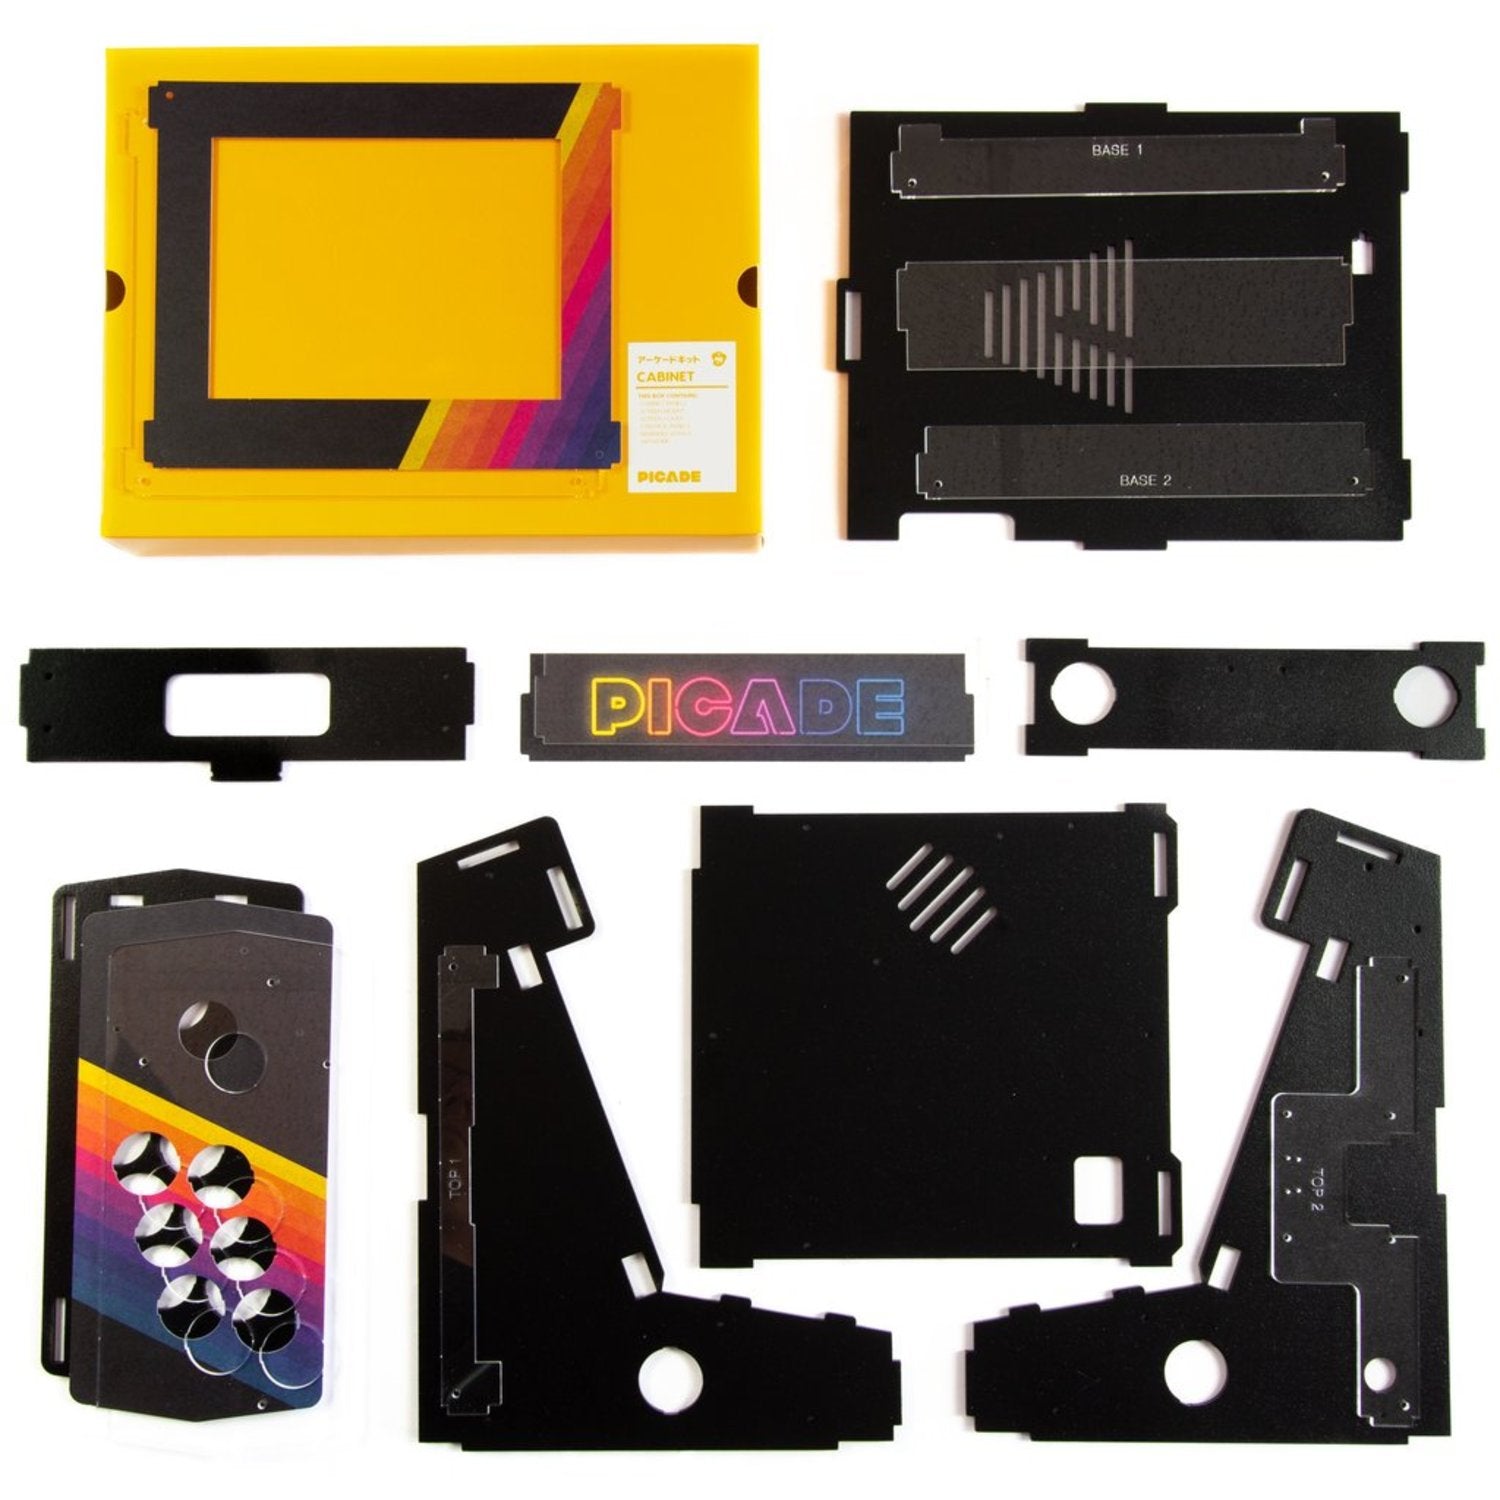
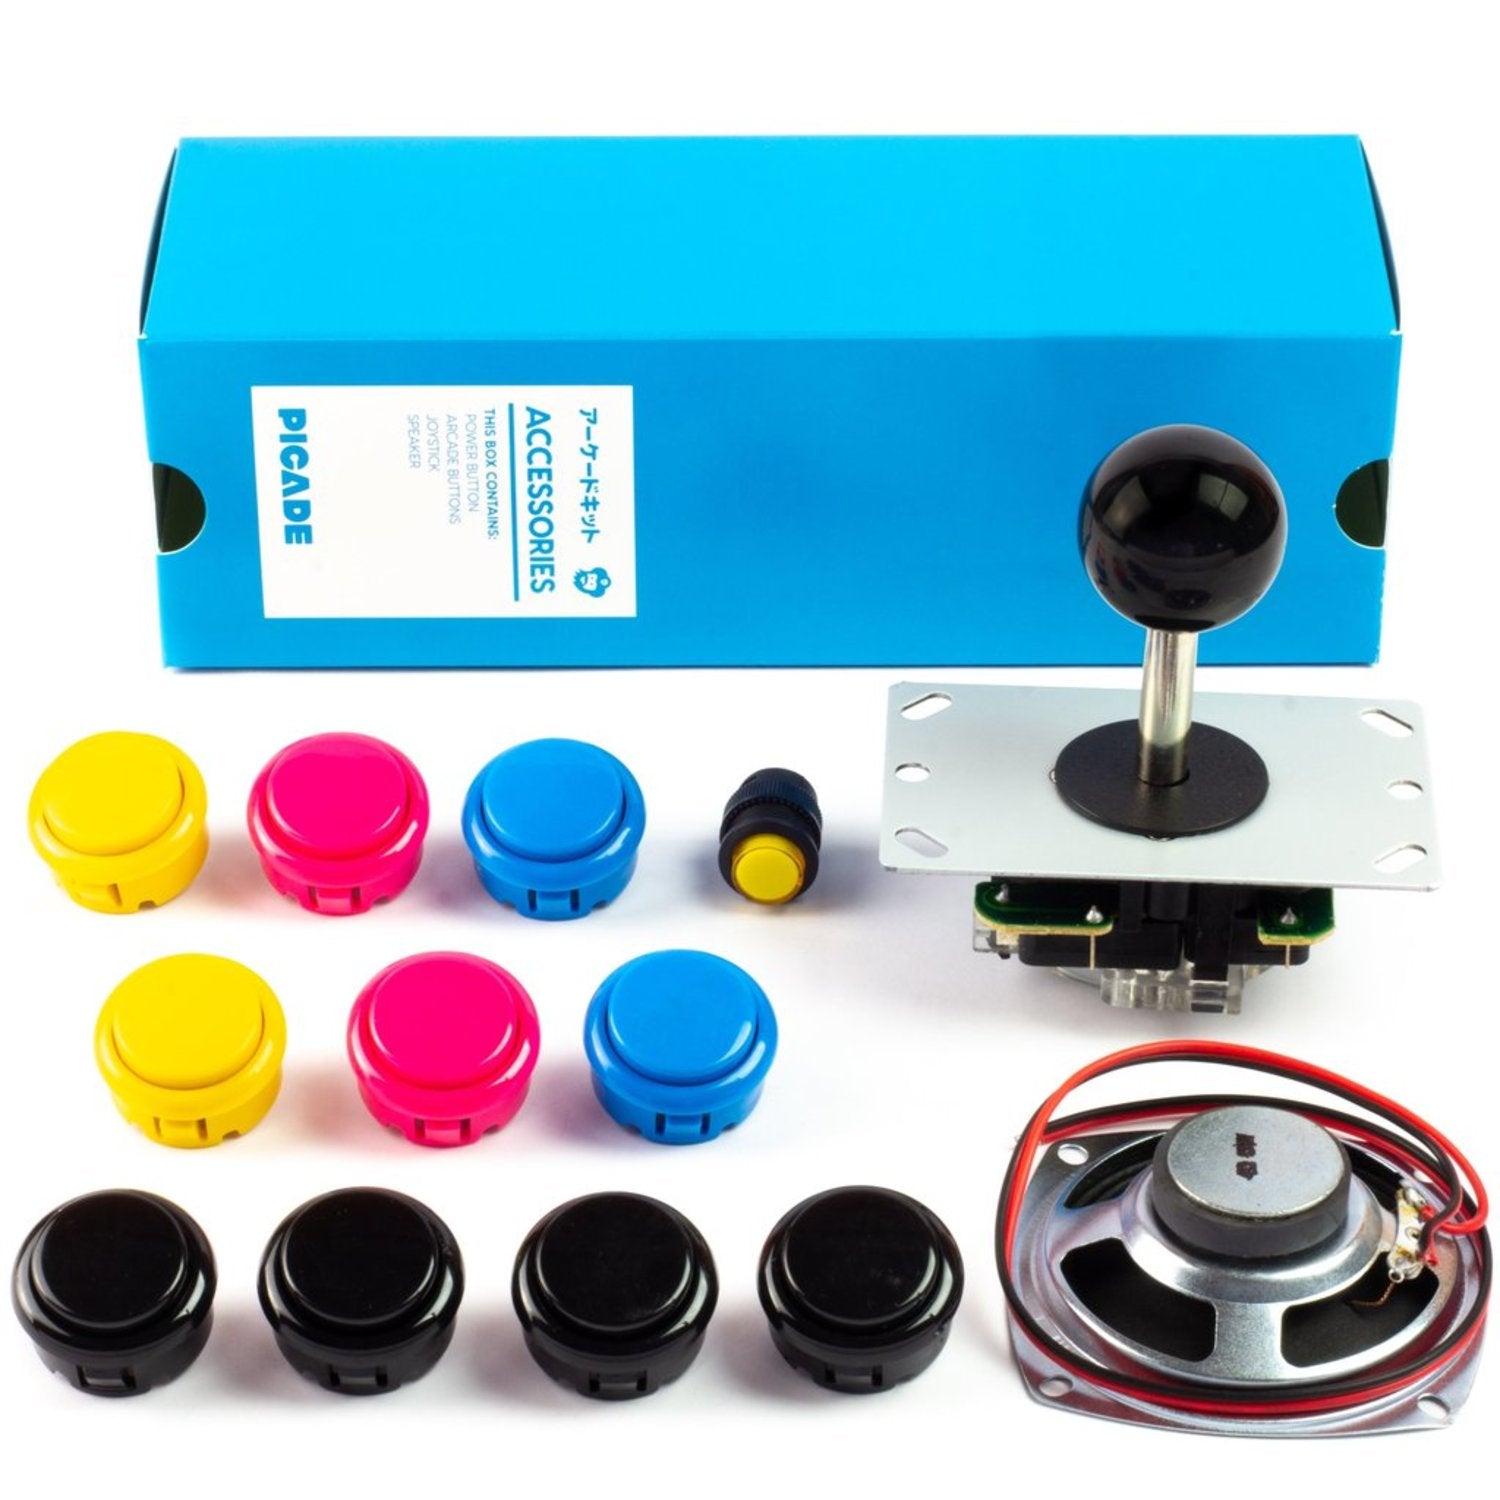
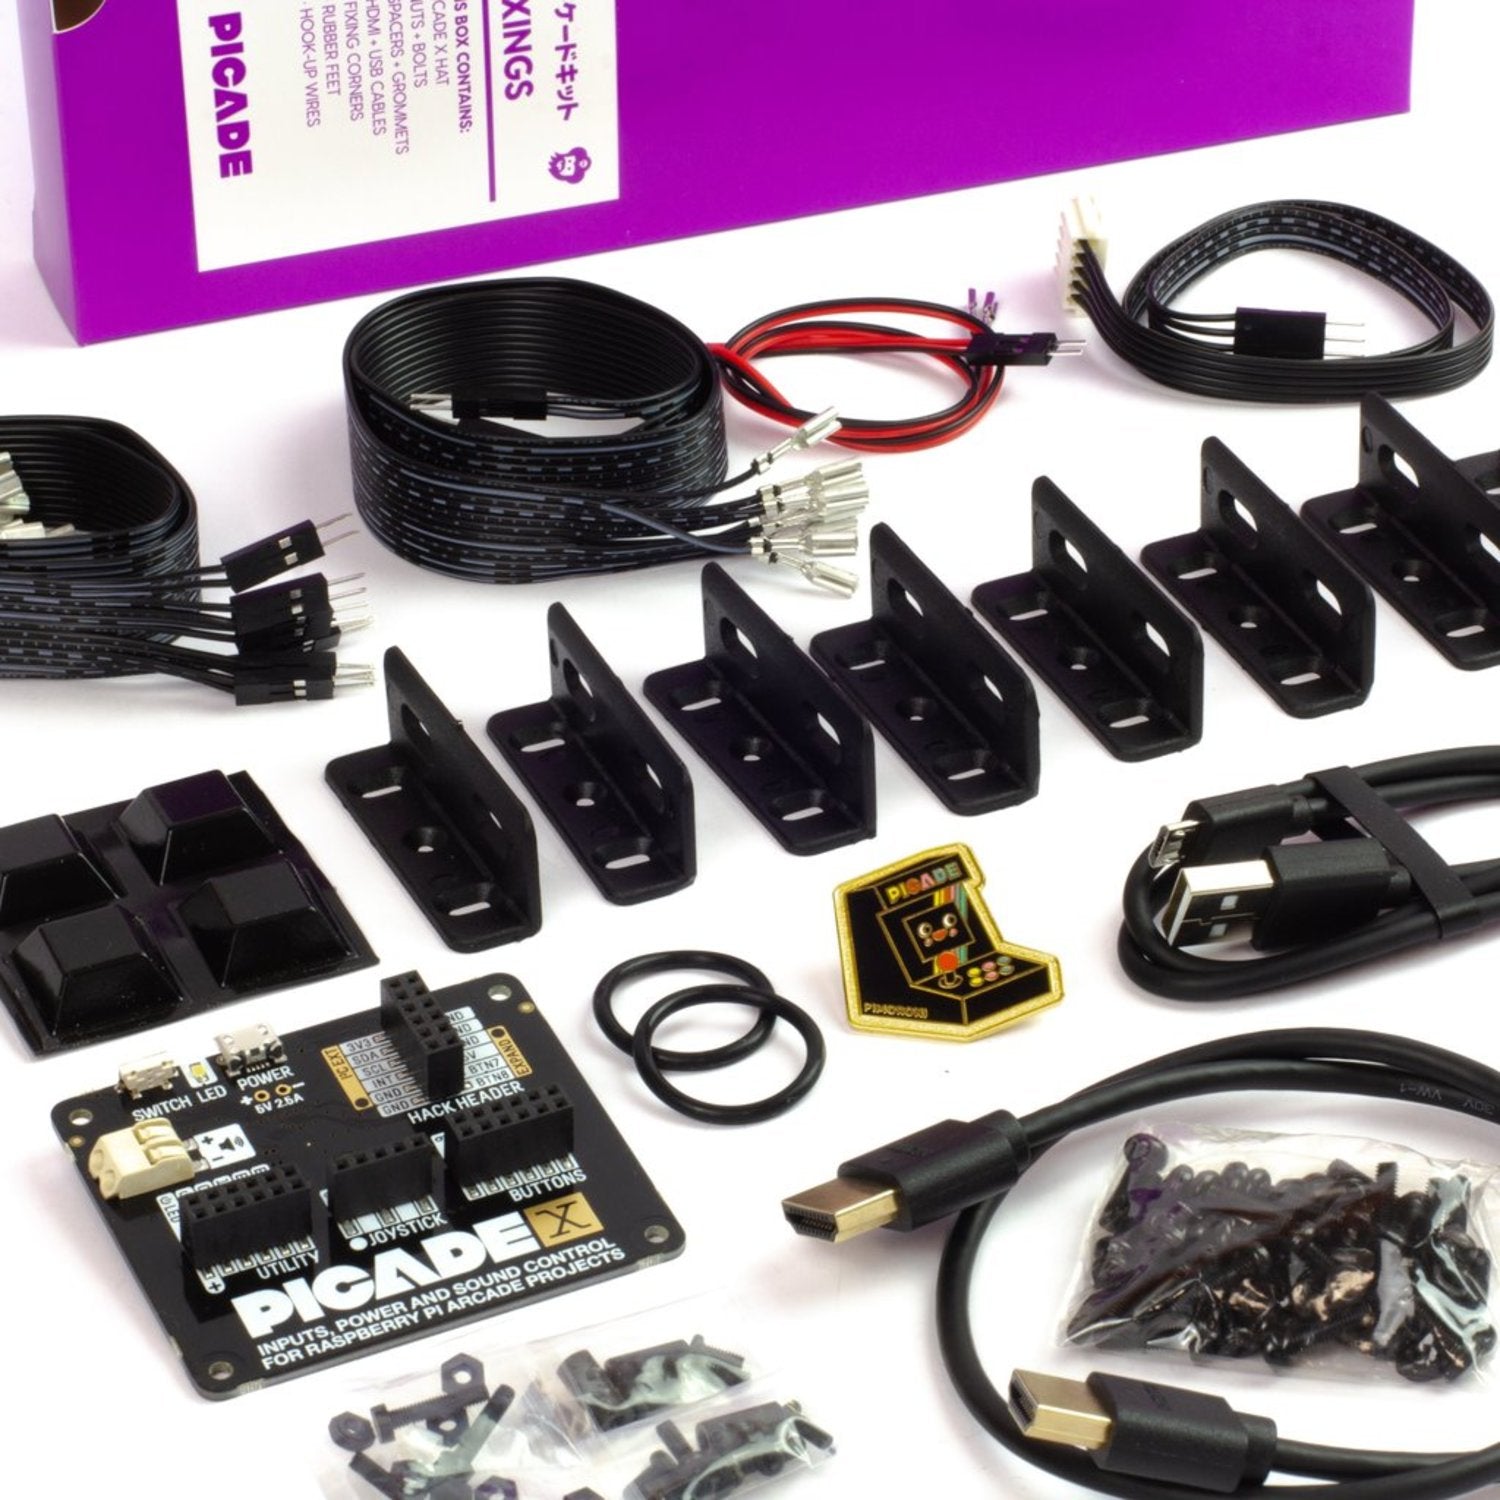
The Picade is the ultimate desktop retro arcade machine that you can build yourself. Powered by a Raspberry Pi, it comes with authentic arcade controls, a high - resolution 4:3 8 - inch display perfect for retro gaming, and a powerful speaker to enjoy 8 - bit game soundtracks. It's now Raspberry Pi 4 compatible and includes a new USB - C version of Picade X HAT. The all - new Picade has been fully redesigned. It features new artwork, a new display and driver board, a dedicated power button, and easier wiring. The cabinet, made from powder - coated MDF, has a quality look similar to a full - size arcade. It comes in kit form and takes about two to three hours to build. All you need to add is a Raspberry Pi, USB - C power supply, and micro - SD card. The cabinet has black powder - coated panels, an acrylic marquee, push - fit arcade buttons, a joystick with a black ball top, a 3' 5W 4Ω speaker, and a removable back panel for easy access. The 8 - inch display has a 1024x768 (4:3 ratio) IPS panel with wide viewing angle, and is powered by a micro - USB cable from your Pi. The Picade X HAT offers easy DuPont connectors, push - fit speaker terminals, I2S audio DAC with 3W amplifier, and USB - C power management. Extras include an enamel pin badge, a sticker selection, and a poster/assembly instructions. The new Picade is more compact, with a high - res display, and improved components like lower - profile buttons and a simpler joystick.
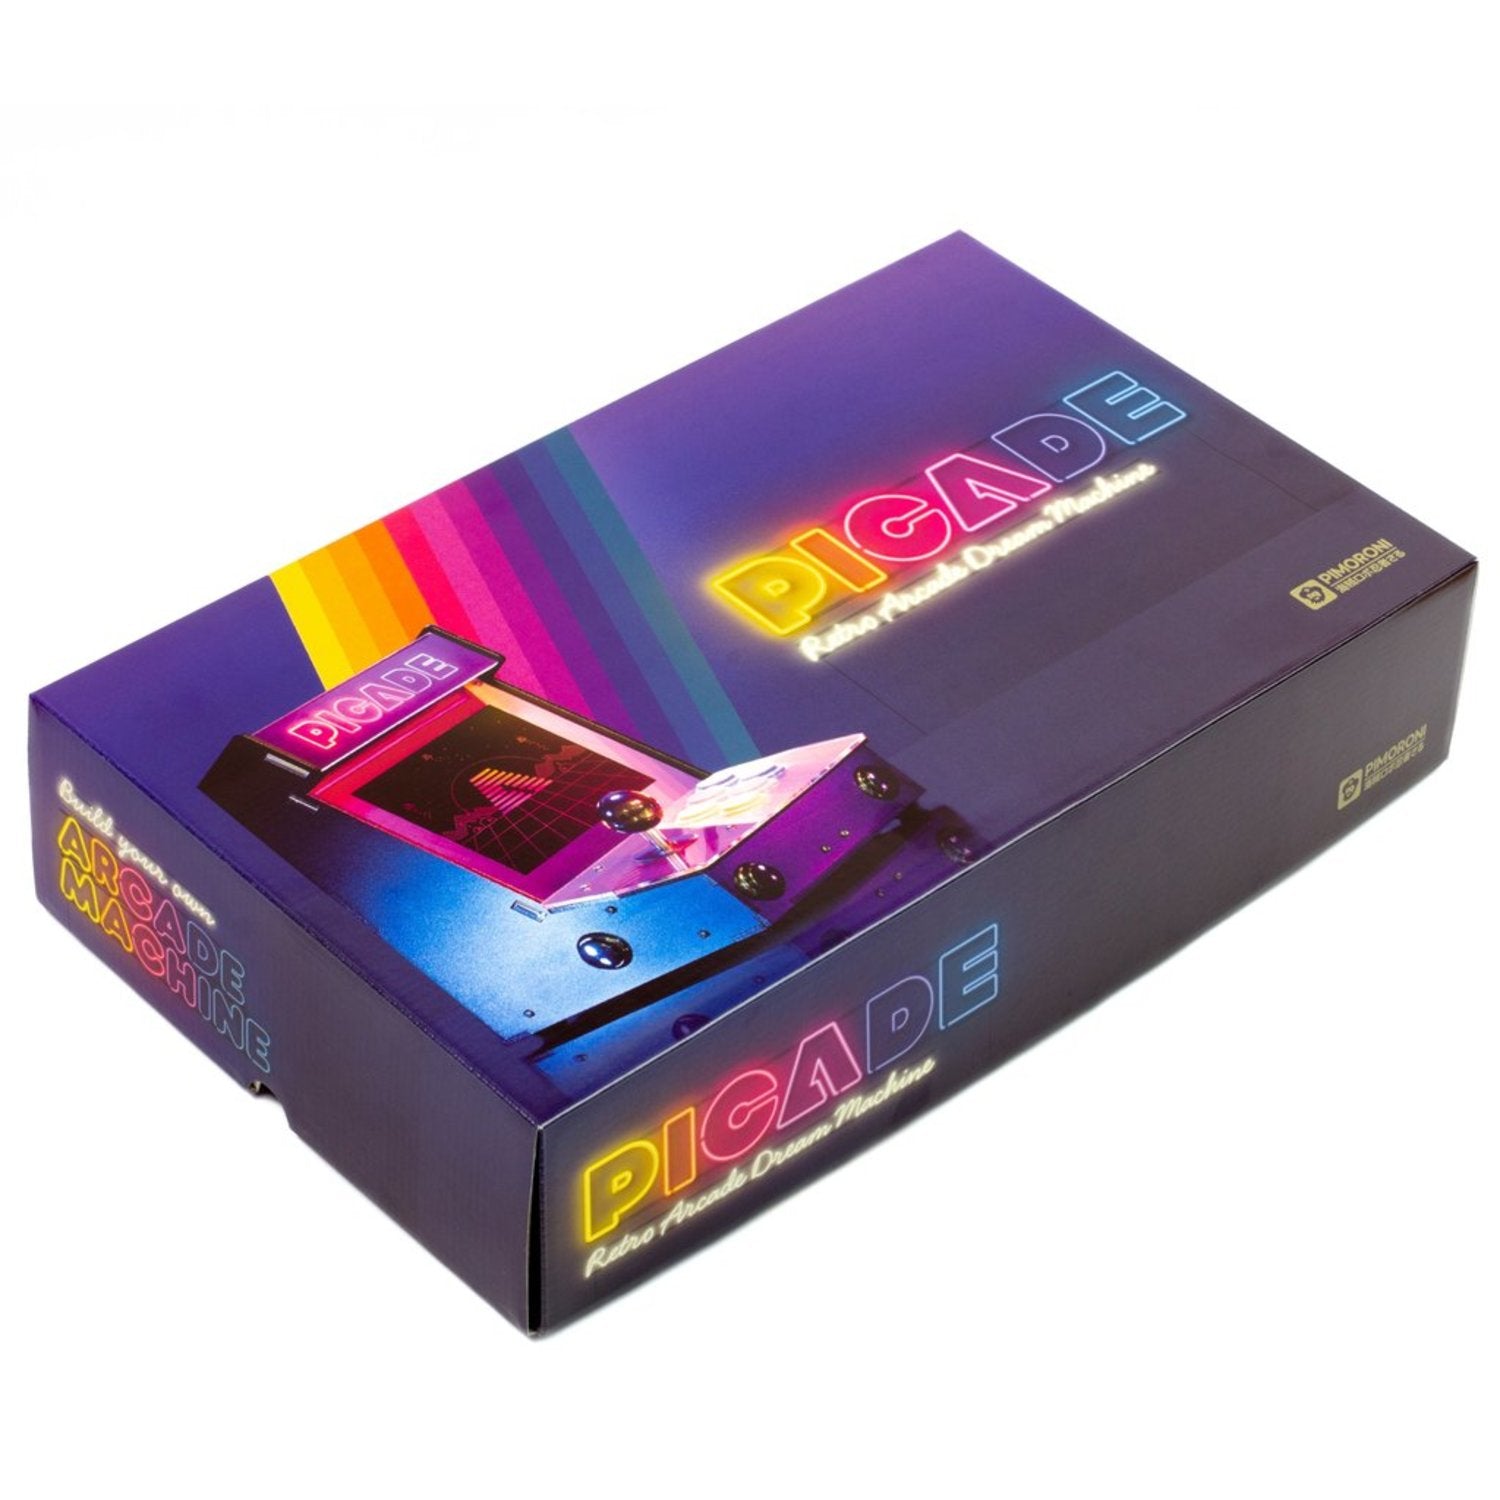
Building your Picade: It comes in a kit. Just follow the included assembly instructions. There's also a build video you can watch as you go to pick up some useful tips. It'll take around two to three hours to finish. Software setup: We suggest using the RetroPie operating system. Download it from the RetroPie website and burn it to a micro - SD card with Etcher. Connect a USB keyboard to your Pi and connect to Wi - Fi in the RetroPie menu. Then run the Picade HAT installer by typing 'curl https://get.pimoroni.com/picadehat | bash' in the terminal. Reboot your Pi if needed, and configure the controls. Notes: If the display doesn't show anything at first, it might be because the Raspberry Pi doesn't detect the HDMI display. Edit the '/boot/config.txt' file on your RetroPie SD card and add 'hdmi_force_hotplug = 1'. For 10” screen assembly, use masking tape to hold parts in place until the cabinet is screwed together. Maintenance: Keep the cabinet clean. Wipe it with a soft, dry cloth. Avoid exposing it to extreme temperatures and moisture.


