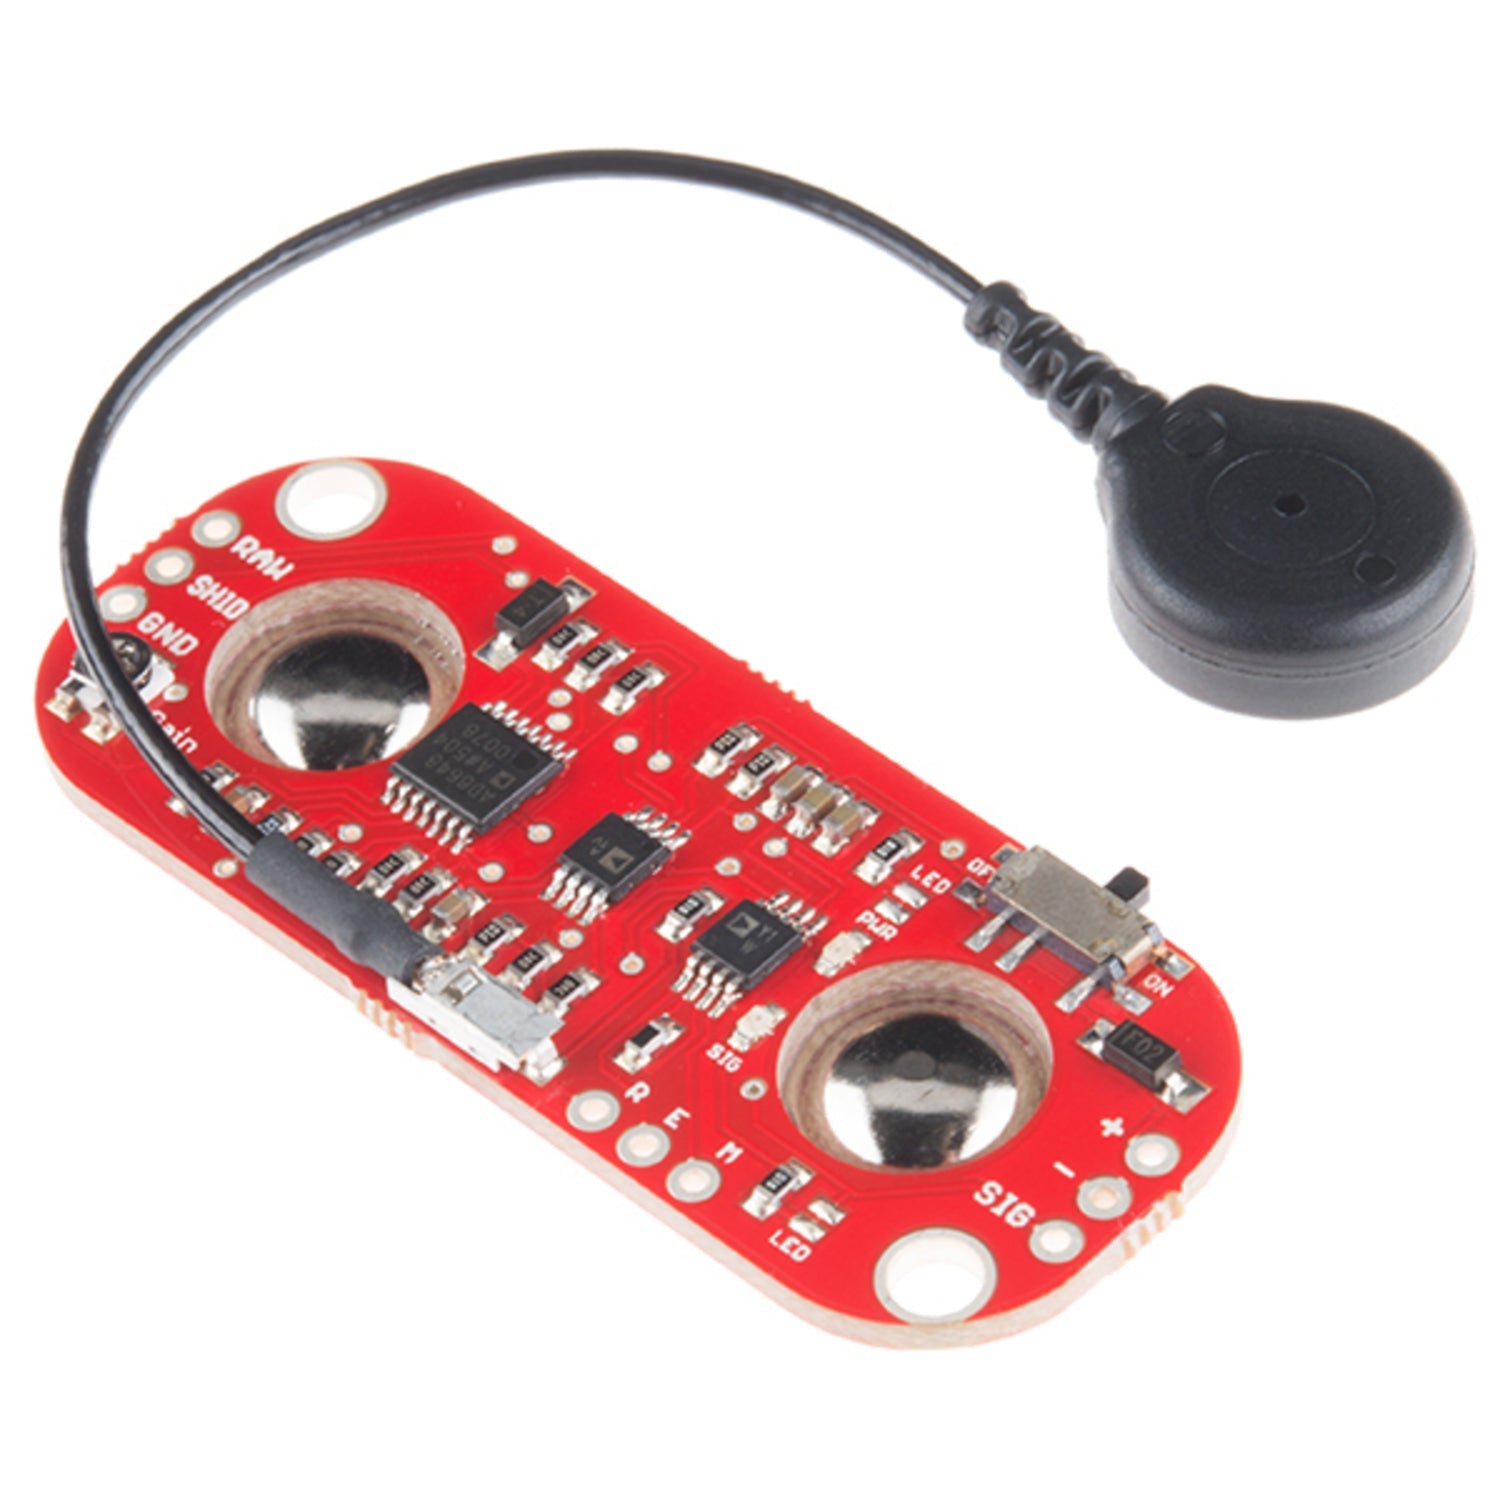
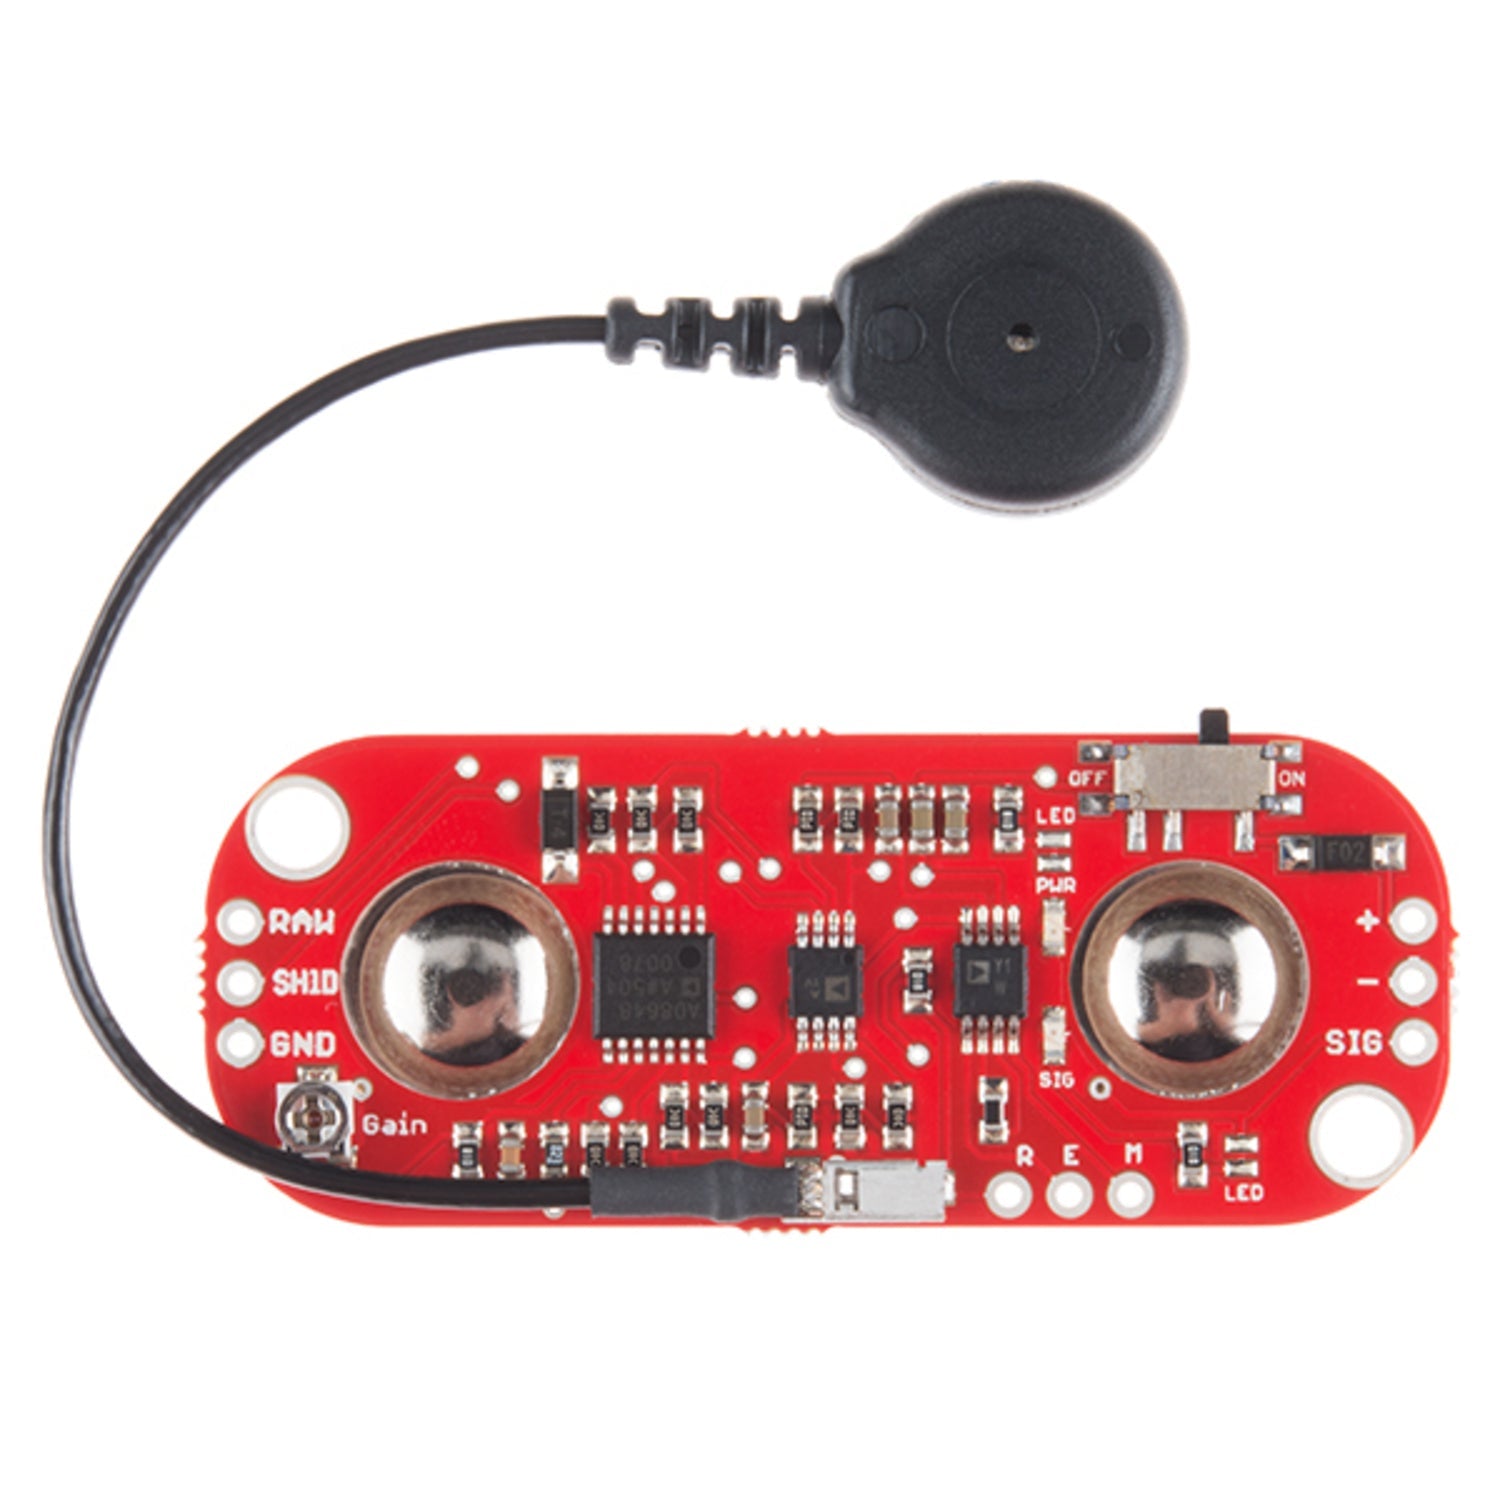
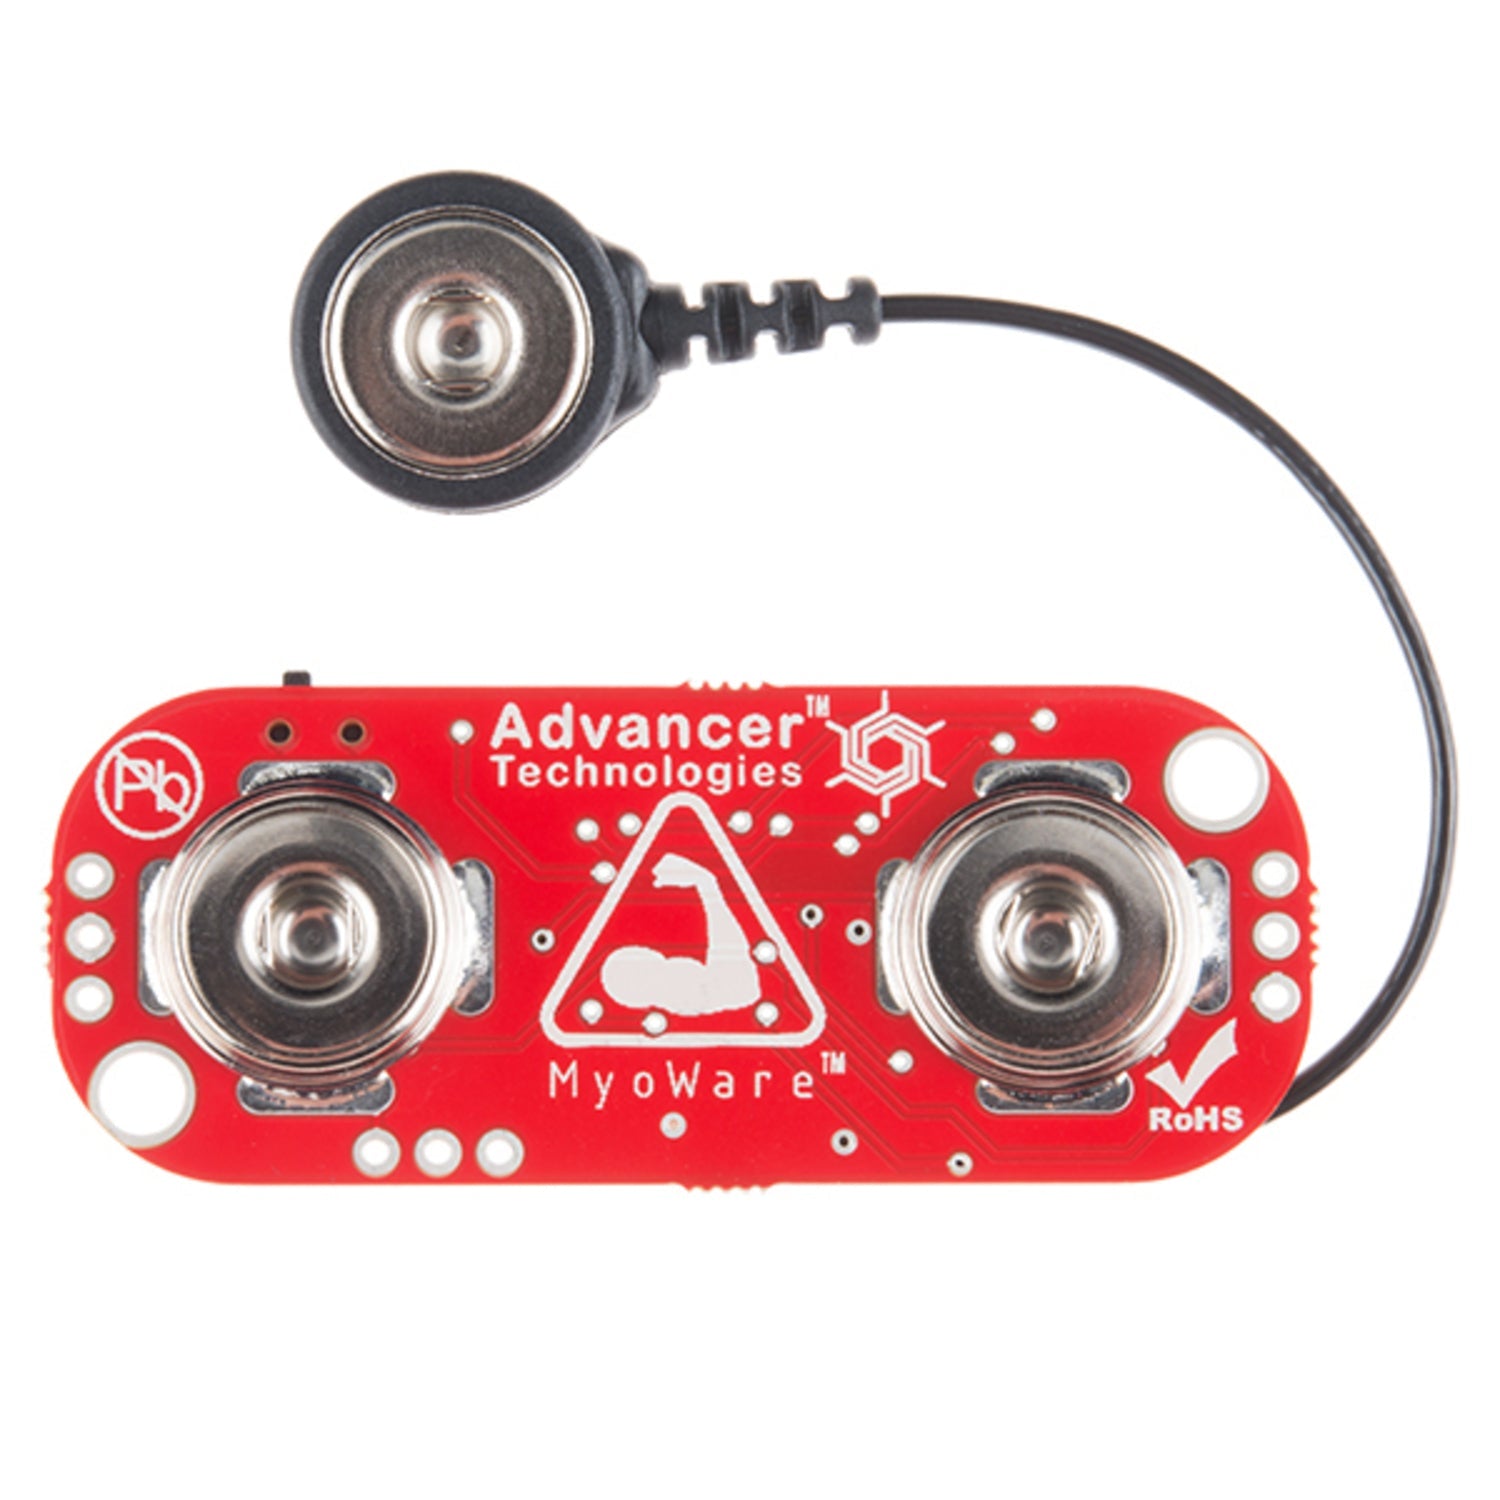
Using our muscles to control things is a familiar way for most of us. We usually press buttons, pull levers, or move joysticks. But what if we could eliminate these traditional controls? Introducing the MyoWare Muscle Sensor, an all - in - one Arduino - powered electromyography (EMG) sensor from Advancer Technologies. This sensor measures the filtered and rectified electrical activity of a muscle and outputs a voltage between 0 and Vs (where Vs is the power source voltage), depending on the muscle's activity level. It's simple: attach a few electrodes (not included), read the voltage, and flex your muscles! The MyoWare Muscle Sensor is the latest version of the old muscle sensor. It has a new wearable design that lets you attach biomedical sensor pads directly to the board, getting rid of those annoying cables. This new board also comes with many new features, such as a single - supply voltage from +3.1V to +5V, RAW EMG output, polarity - protected power pins, indicator LEDs, and an On/Off switch. Additionally, we've developed several shields (Cable, Power, and Proto) that can be attached to the Myoware Muscle Sensor to enhance its versatility and functionality. Measuring muscle activity through electromyography (EMG) was traditionally used in medical research. But with the development of more powerful and smaller microcontrollers and integrated circuits, EMG circuits and sensors have been applied in various control systems. Note: Biomedical sensor pads can be purchased separately in the 'Recommended Products' section below. Dimensions: 0.82' x 2.06'. Features: Wearable Design, Single Supply (+2.9V to +5.7V with polarity reversal protection), Two Output Modes (EMG Envelope and Raw EMG), Expandable via Shields, LED Indicators, Specially Designed For Microcontrollers, Adjustable Gain. Documents: User Manual, MyoWare Sensor & Shields Guide, Conductive Fabric Electrodes, Arduino Example Code, GitHub (Example Code & Design Files).


Using the MyoWare Muscle Sensor is a breeze. First, attach the biomedical sensor pads directly to the board (you'll need to buy the pads separately, check the Recommended Products section). Once the pads are on, connect the power source with a voltage between +2.9V and +5.7V. The polarity - protected power pins make sure you don't connect it the wrong way. You can turn the sensor on or off using the handy On/Off switch. Now, flex the muscle you want to measure. The sensor will detect the electrical activity and give you an output in two modes: EMG Envelope or Raw EMG. You can read the voltage output and use it to control things. To increase its functionality, you can attach the Cable, Power, or Proto shields. As for maintenance, keep the sensor clean and dry. Avoid exposing it to extreme temperatures or moisture. If you're using the Arduino example code from GitHub, make sure to update it regularly to get the best performance. And always refer to the User Manual and MyoWare Sensor & Shields Guide for more detailed information.


