This board features the same Bluetooth Low Energy module as Puck.js and Pixl.js, pre-programmed with Espruino. Simply power it up, connect via Bluetooth LE or Serial, and start coding in JavaScript! It has 0.1' pins, a voltage regulator, 2 LEDs, and a button. It's thin, compact, and energy-efficient.
### Features
- Bluetooth Low Energy
- Pre-installed Espruino JavaScript interpreter
- nRF52832 SoC - 64MHz ARM Cortex M4, 64kB RAM, 512kB Flash
- 32 GPIO pins (PWM, SPI, I2C, UART capable) on 0.7mm pitch, 8 analog inputs
- 1.7v - 3.6v voltage range
- Built-in thermometer
- NFC tag programmable from JavaScript (with antenna connection)
- Dimensions: 16mm x 10mm x 2.2mm thick
### Breakout Board Features
- 2.5 - 16v voltage input, 20uA power draw when advertising
- 0.1' pin header (22 GPIO, 7 analog inputs)
- Red and green LEDs
- Button
### Getting Started
Power the board by connecting between the `V+`/`Vin` and `GND` pins. Any voltage from 2.5 to 16 volts works, but watch the polarity. Check the pinout for pin locations. After powering up, follow the guide to connect the IDE wirelessly, or use a wired connection.
### On-board Peripherals
There's a button (`BTN`/`BTN1`) between pin `D0` and 3.3v. Pulling it high on boot enables the bootloader. There's also a LED (`LED`/`LED1`) between pin `D1` and `GND`, which flashes at boot and indicates bootloader mode. The breakout board has a green LED on pin D2. As of build 1v99, use `global.LED2=D2` to map it.
### Tutorials
Start with the Getting Started Guide. Then, find more info and tutorials here.
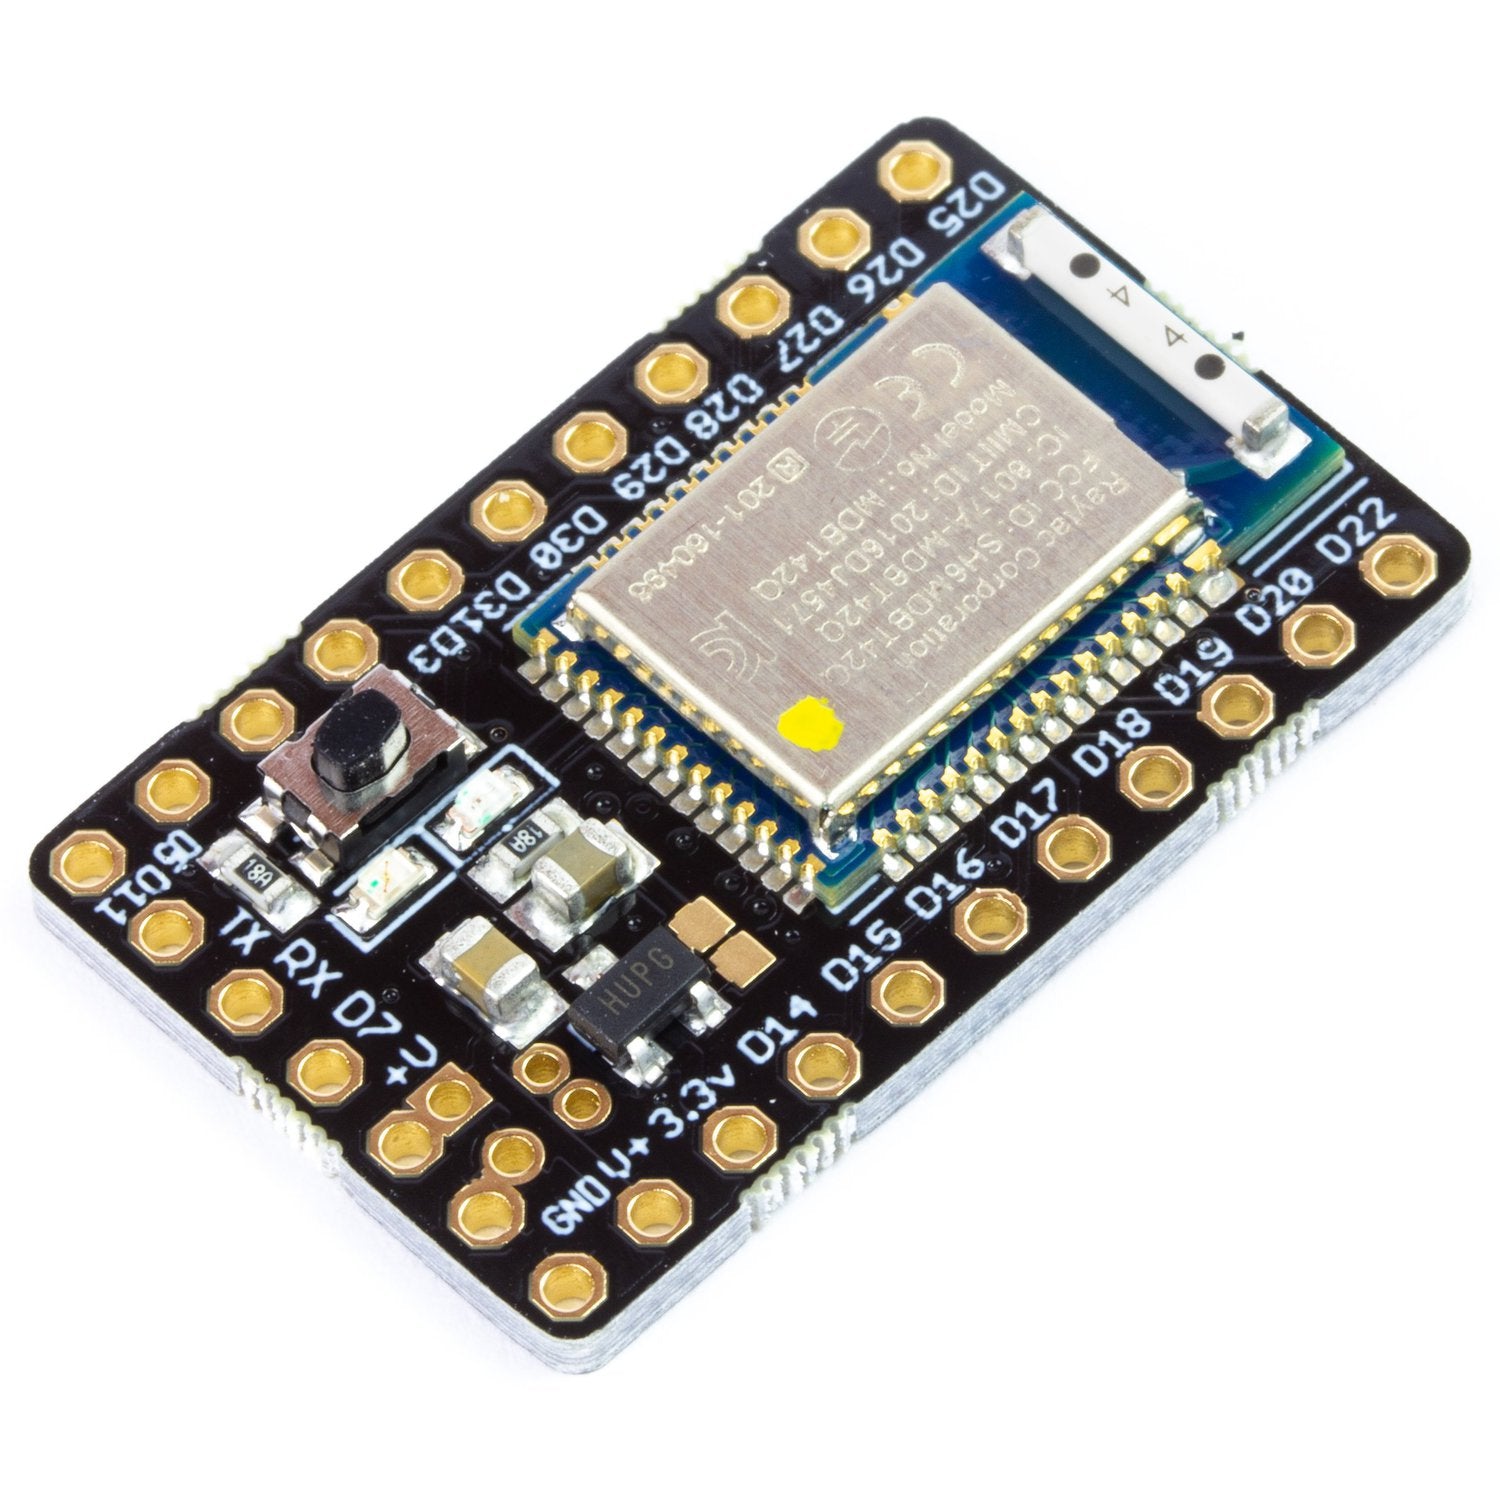
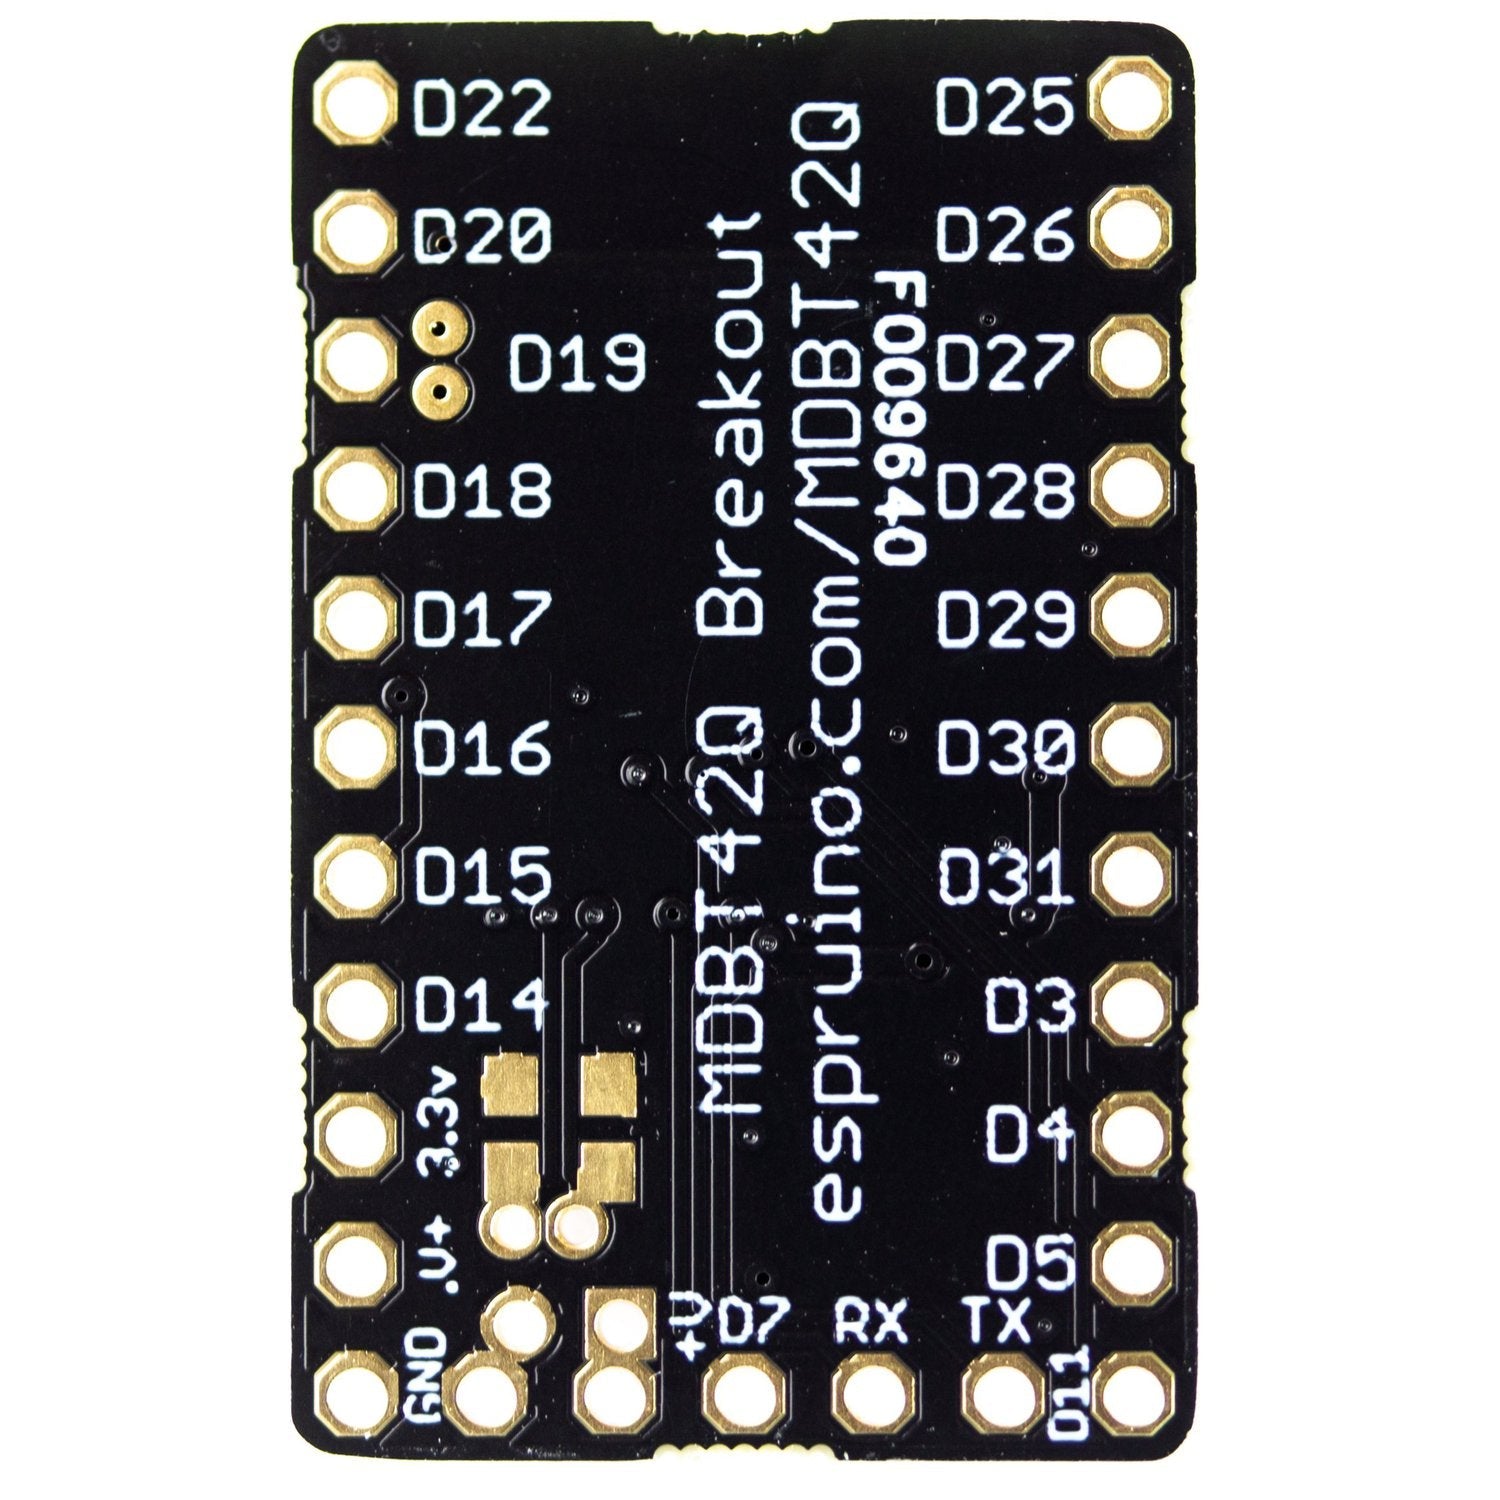
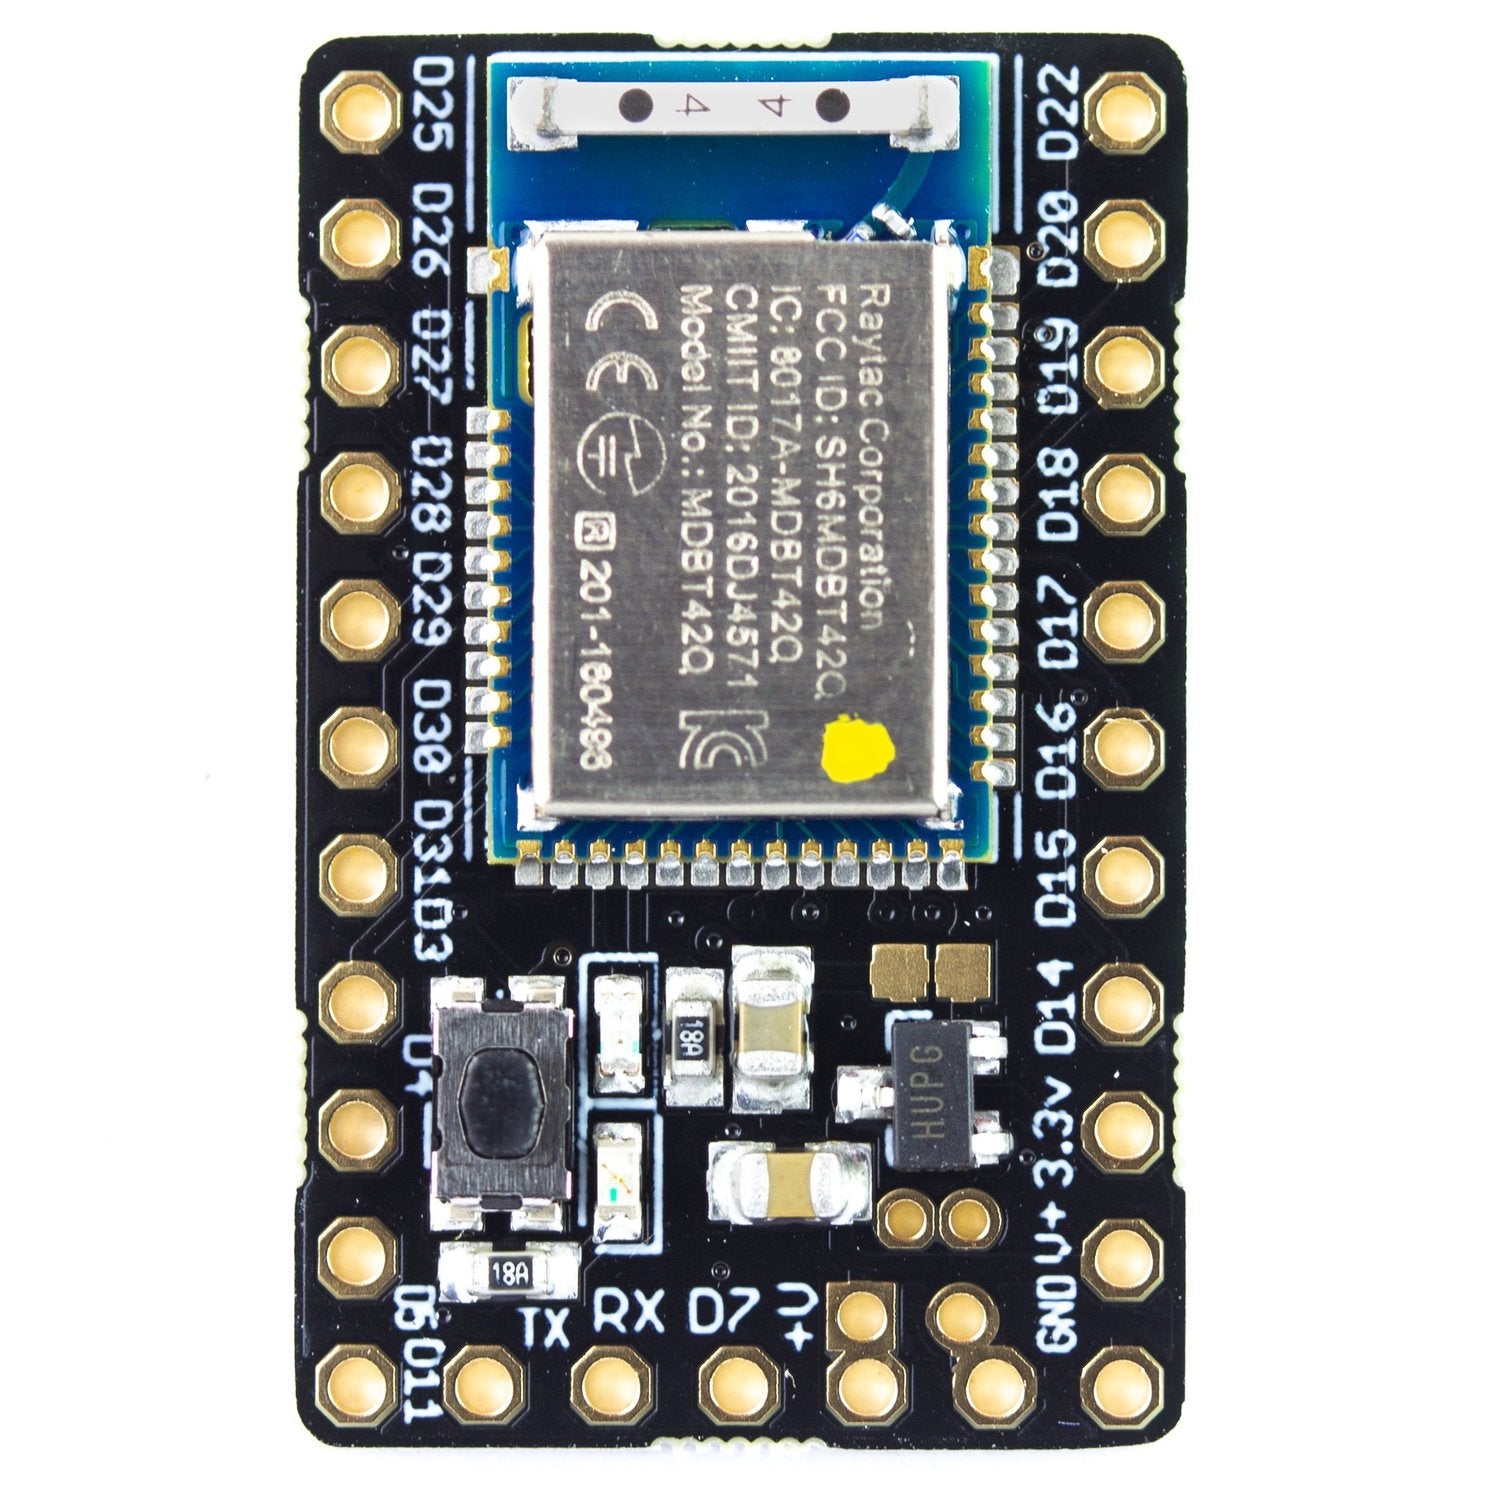
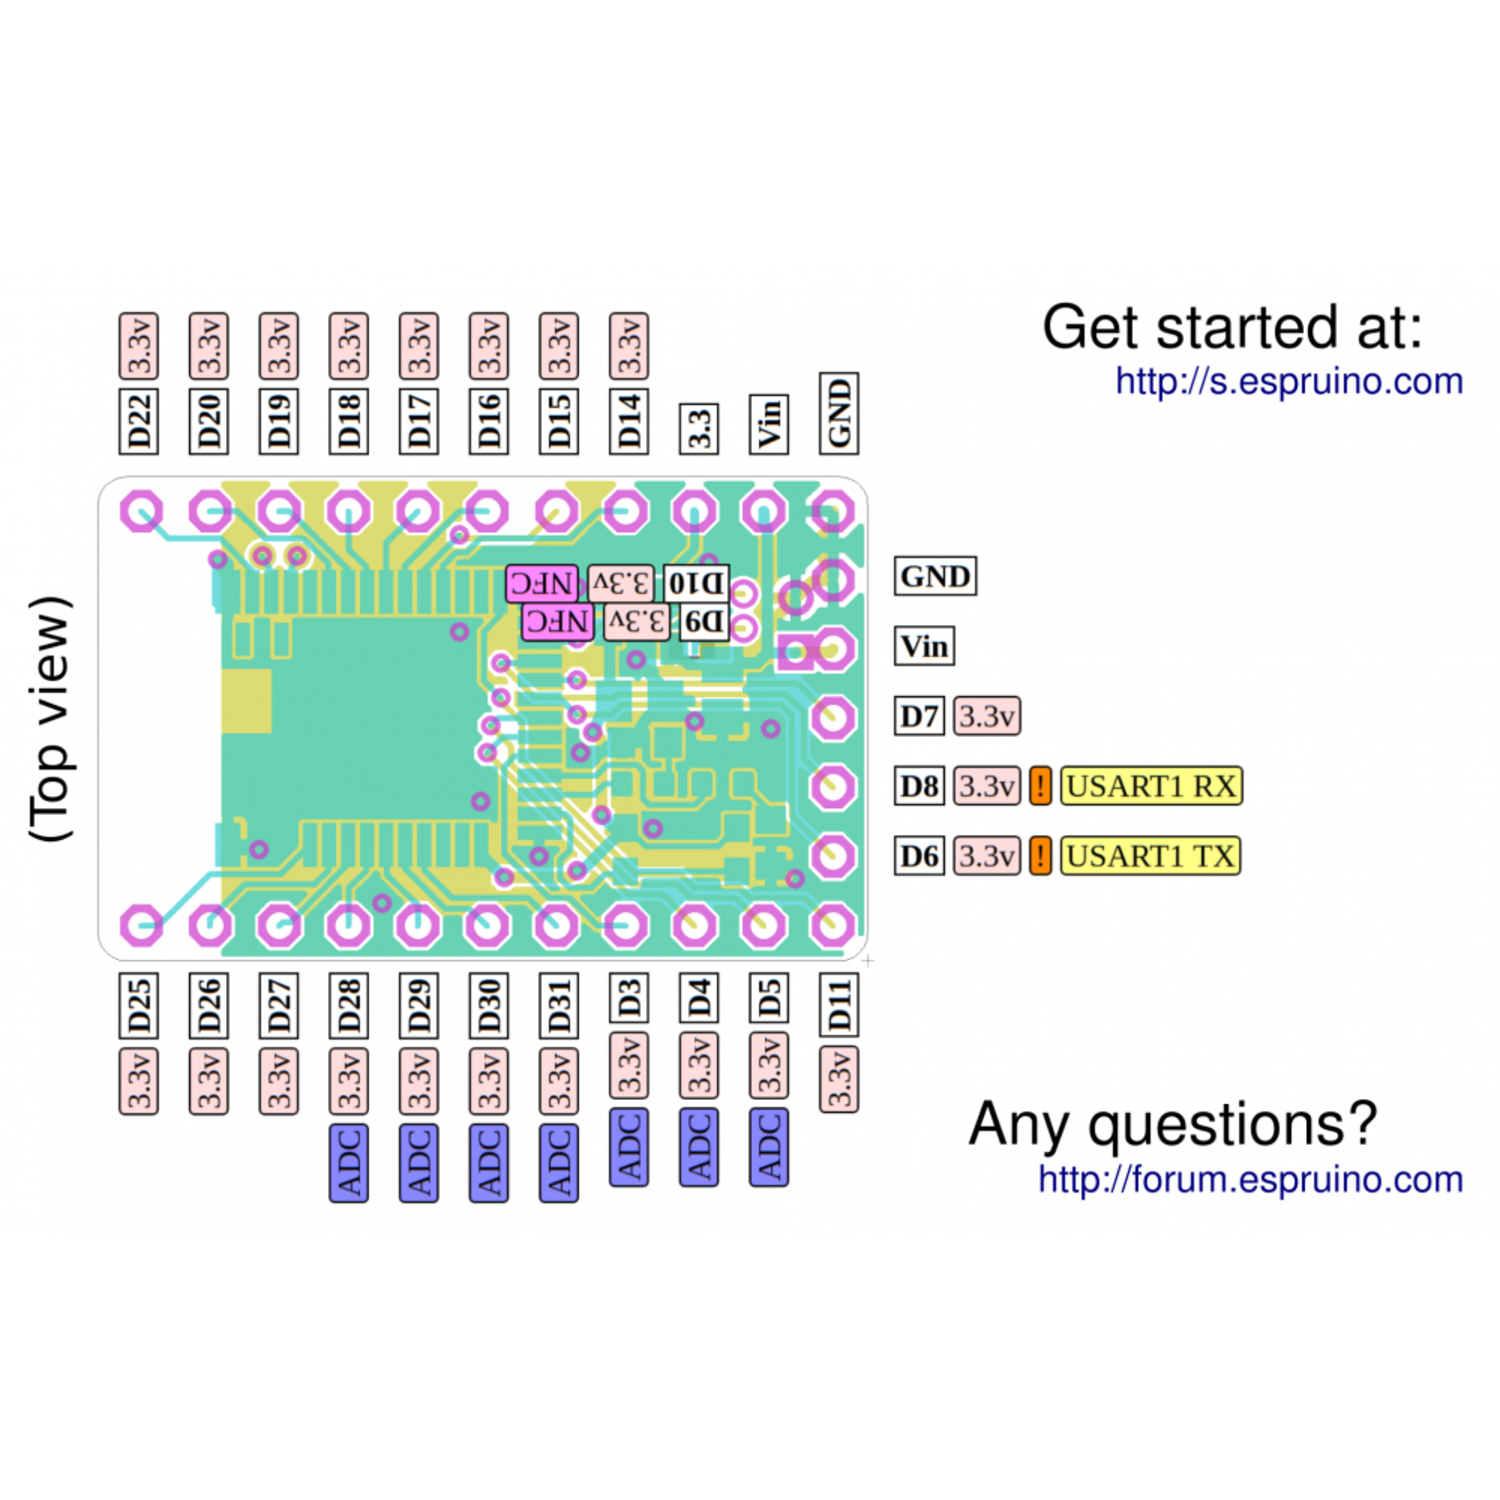
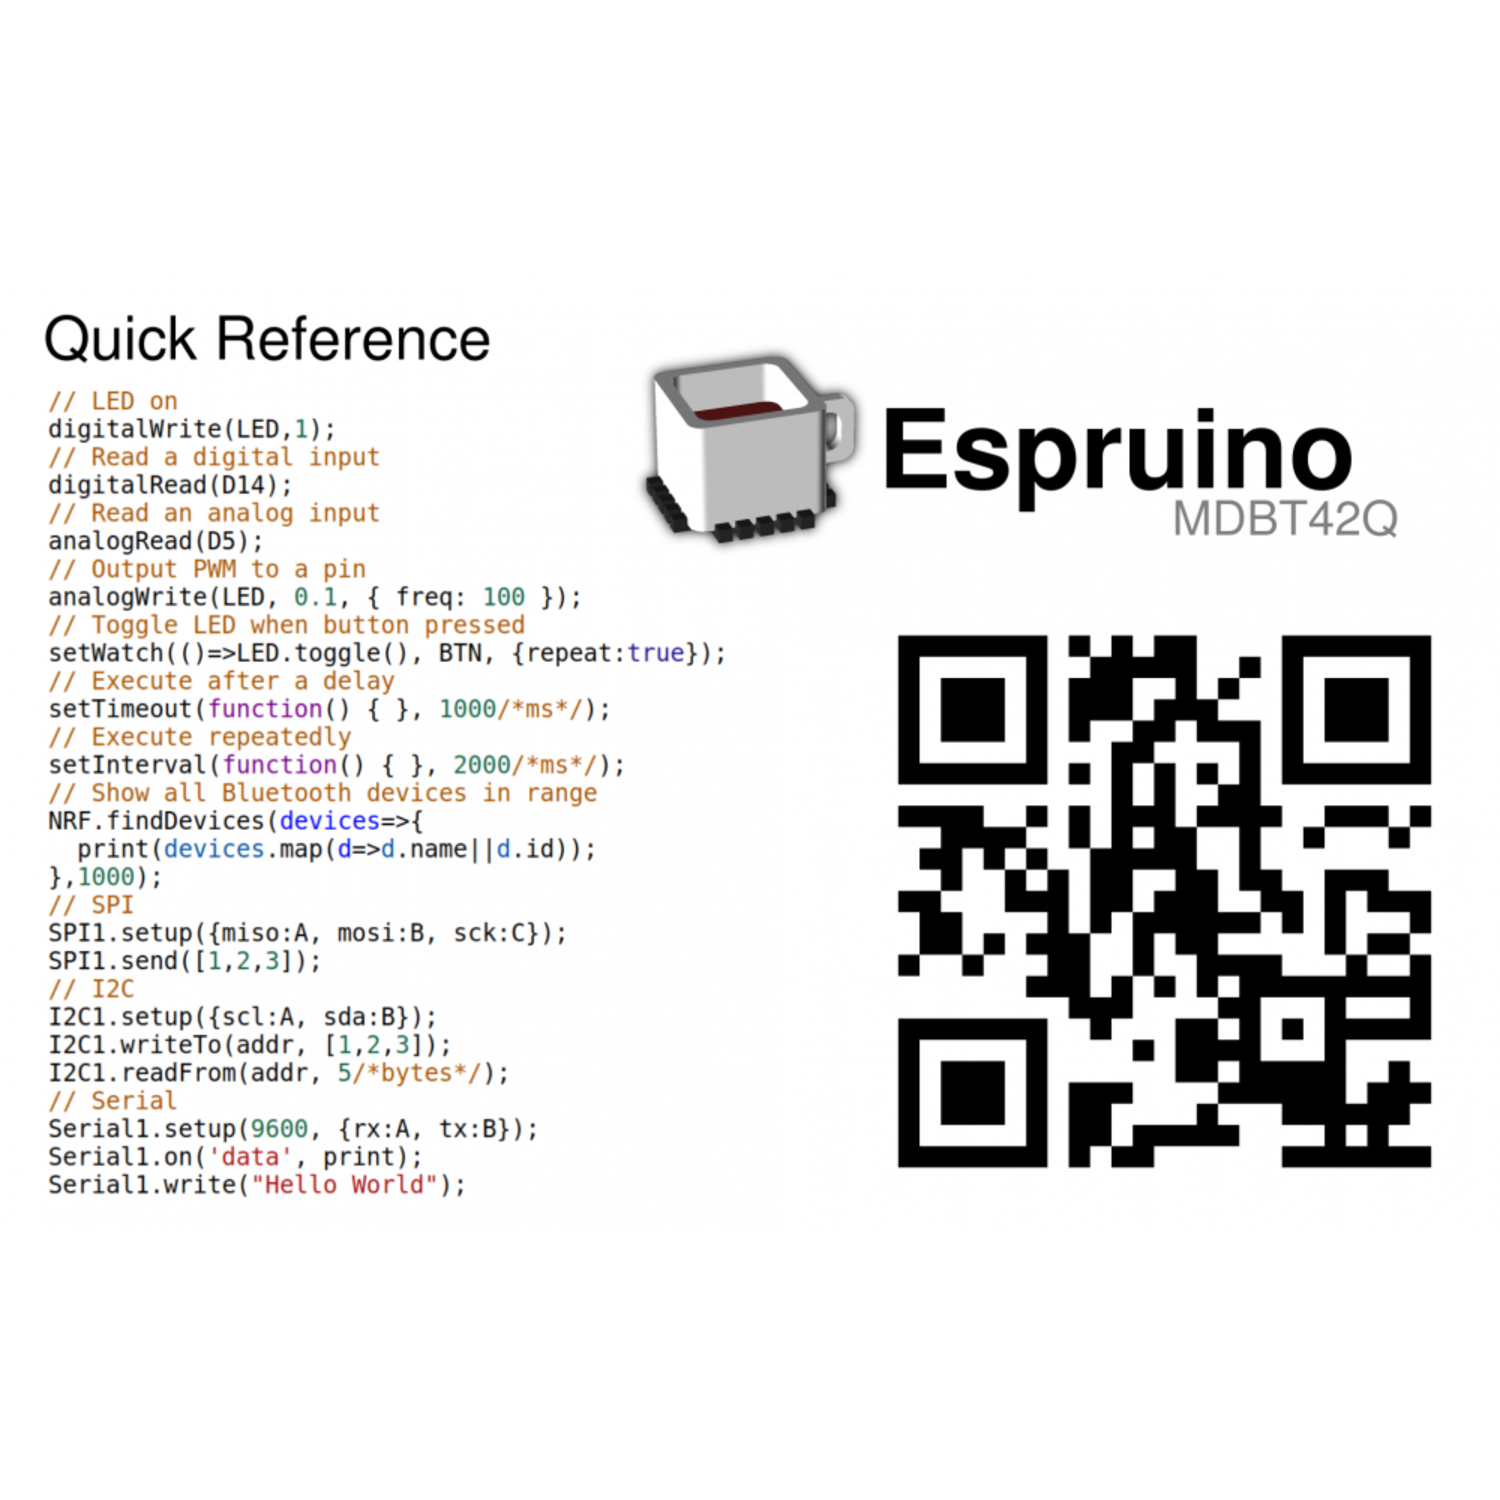
Using the MDBT42Q Breakout Board is easy. First, power it up by connecting the right voltage between the `V+`/`Vin` and `GND` pins. Make sure you get the polarity right, or you could damage the board. After that, you can connect to it via Bluetooth LE or Serial and start writing JavaScript code.
When it comes to the on - board peripherals, the button can be used to enable the bootloader. Just pull it high when you're starting up the board. The LEDs give you useful information, like indicating the bootloader mode.
For the green LED on pin D2, you'll need to use a simple command to map it if you're using build 1v99.
As for maintenance, keep the board in a dry and clean place. Avoid exposing it to extreme temperatures or humidity. If you're not using it for a long time, disconnect the power source to save energy. And always refer to the pinout when you're connecting things to make sure you're doing it right.