This DIY Remote Control Robot Kit is a great choice for those who want to build a small autonomous or remote - controlled robot. It comes with all the essential parts to build an autonomous robot, and it also gives you the freedom to add your own electronics to meet your specific goals.
### Specifications
- **Platform**: Pirate - 4WD Mobile Platform
- 4WD Mobile platform Motors: 3 - 12V DC
- Speed: 90cm/s
- Dimensions: 200mm x 170mm x 105mm(7.87'x6.69'x4.13')
- **Microcontroller**: Romeo V2 (an Arduino Robot Board)
- DC Supply: USB Powered or External 6V~23V DC
- DC Output: 5V(2A) / 3.3V DC
- Motor driver Continuous Output Current: 2A
- Microcontroller: ATmega32u4
- Bootloader: Arduino Leonardo
- Compatible with the Arduino R3 pin mapping
- Analog Inputs: A0 - A5, A6 - A11 (on digital pins 4, 6, 8, 9, 10, and 12)
- PWM: 3, 5, 6, 9, 10, 11, and 13. Provide 8 - bit PWM output
- 5 key inputs for testing
- Auto sensing/switching external power input
- Serial Interface: TTL Level, USB
- Support Male and Female Pin Header
- Built - in Xbee socket
- Integrated sockets for APC220 RF Module and DF - Bluetooth Module
- Three I2C/TWI Interface Pin Sets (two 90°pin headers)
- Two - way Motor Driver with 2A maximum current
- Size: 89x84x14mm
- **Motor**: Micro DC Geared Motor
### Documents
- WIKI (DIY Remote Control Robot Kit (Support Android) SKU:COMB0004)
- Old Version Kit Manual
- Arduino libraries for sample
### Shipping List
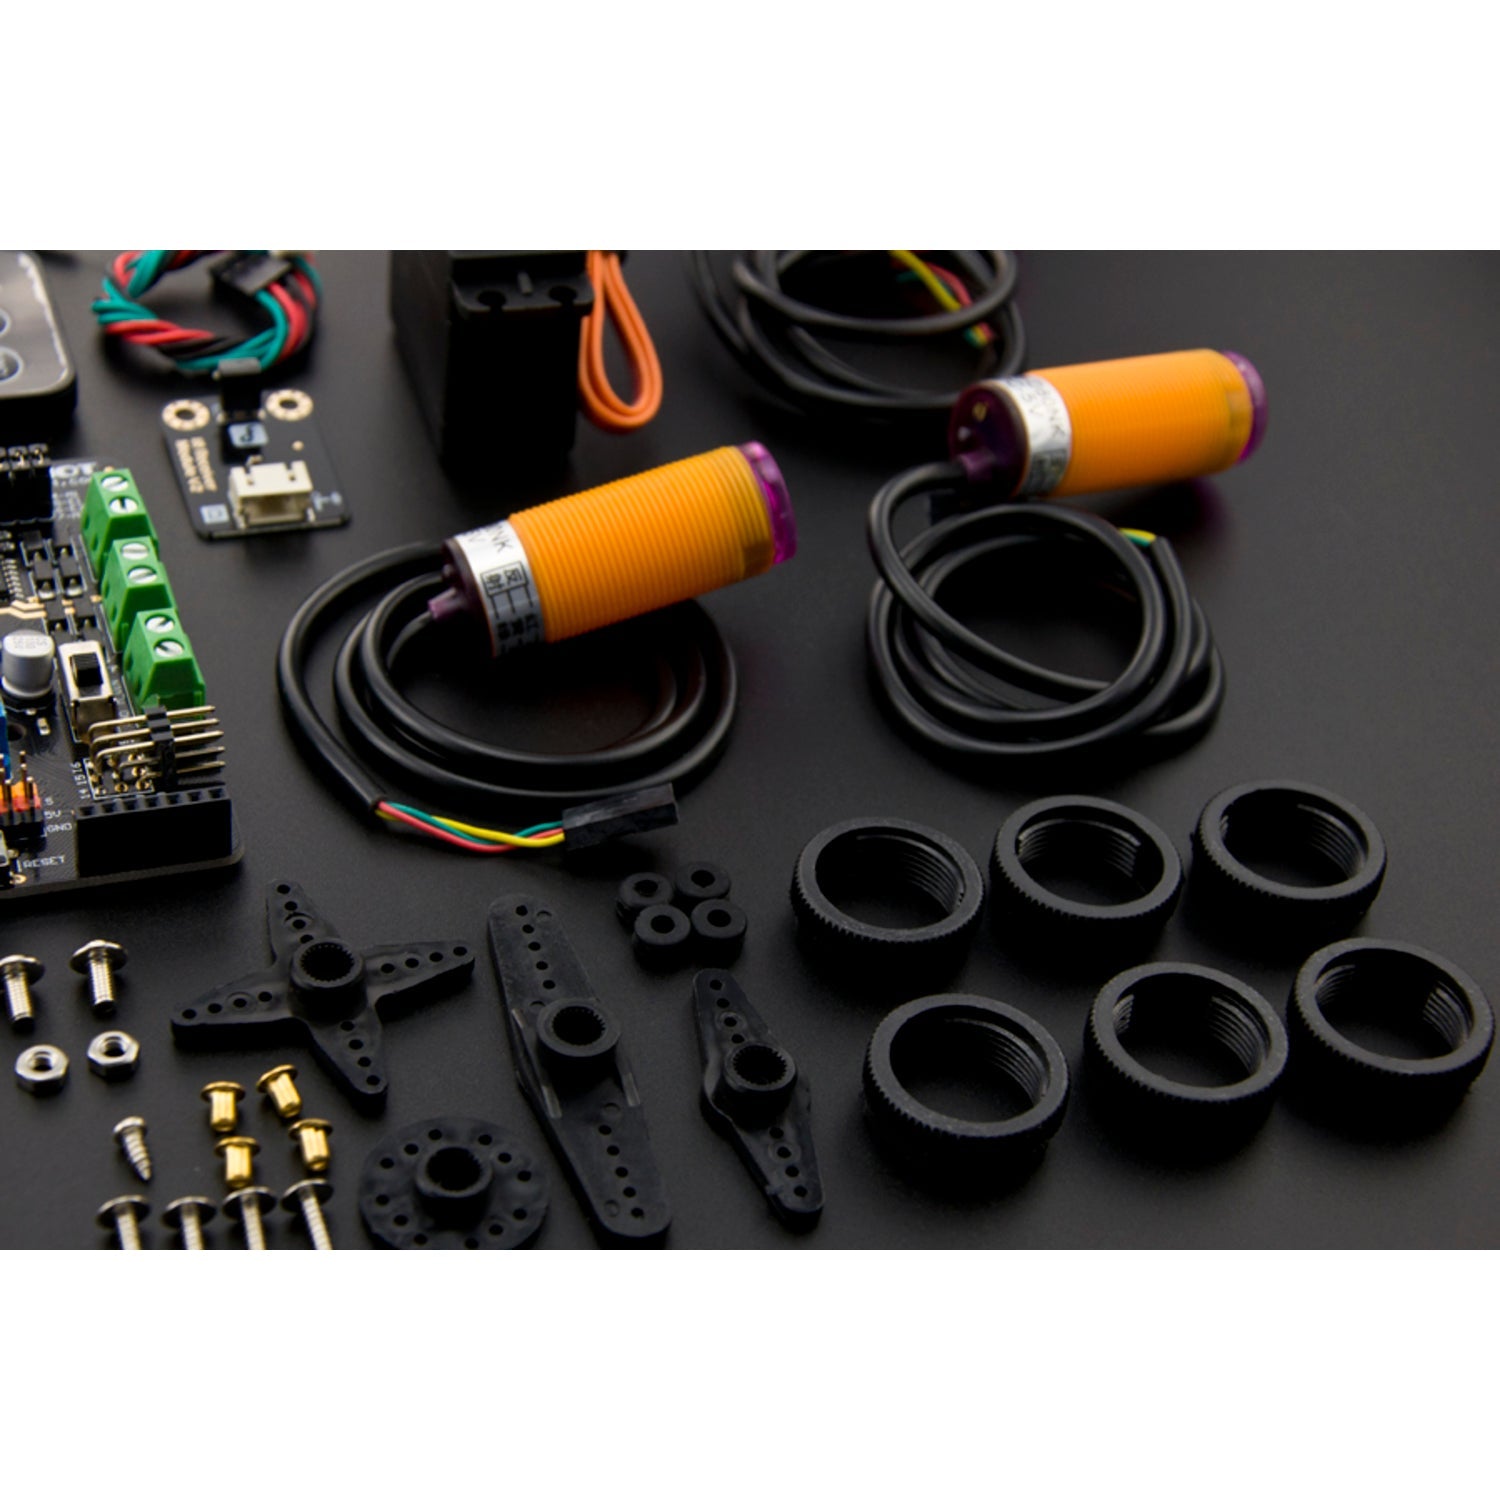
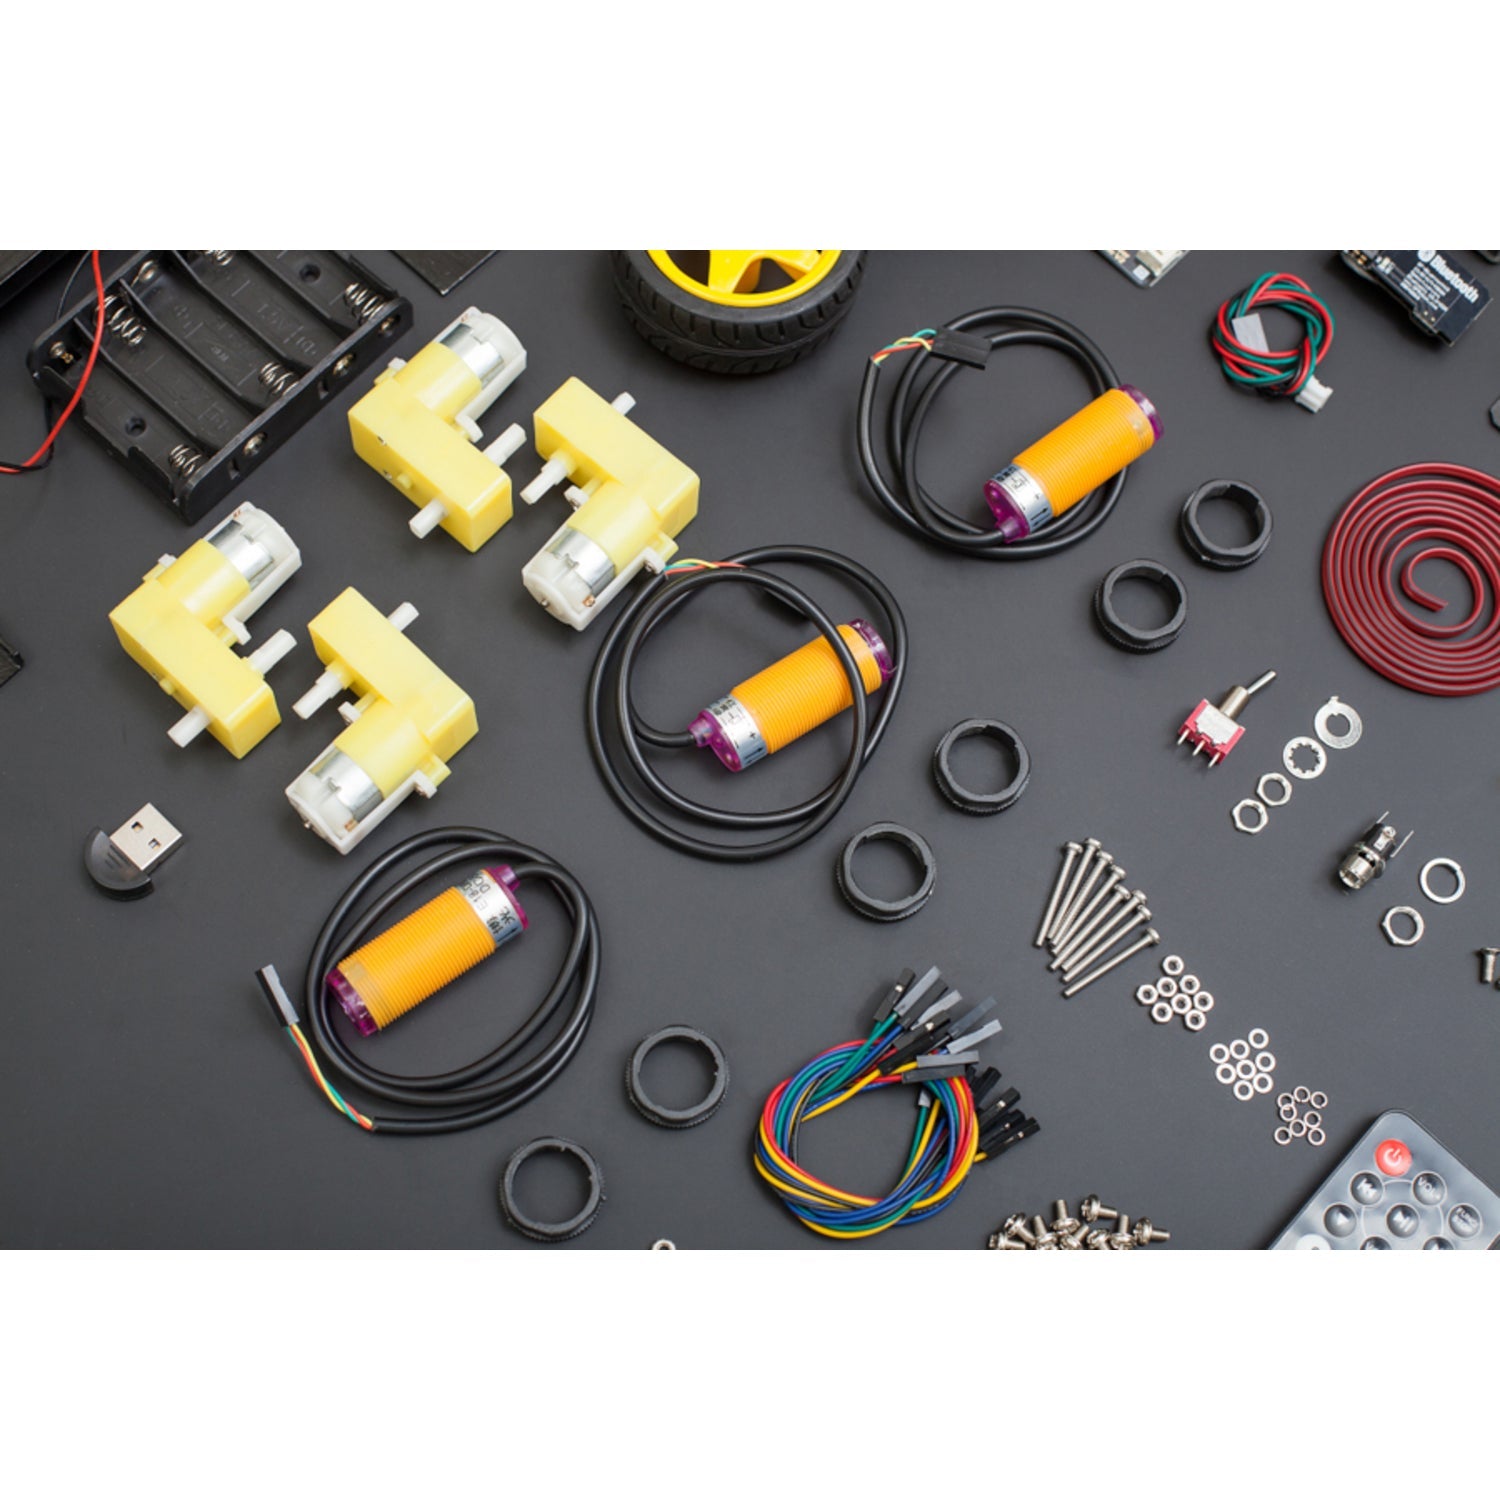
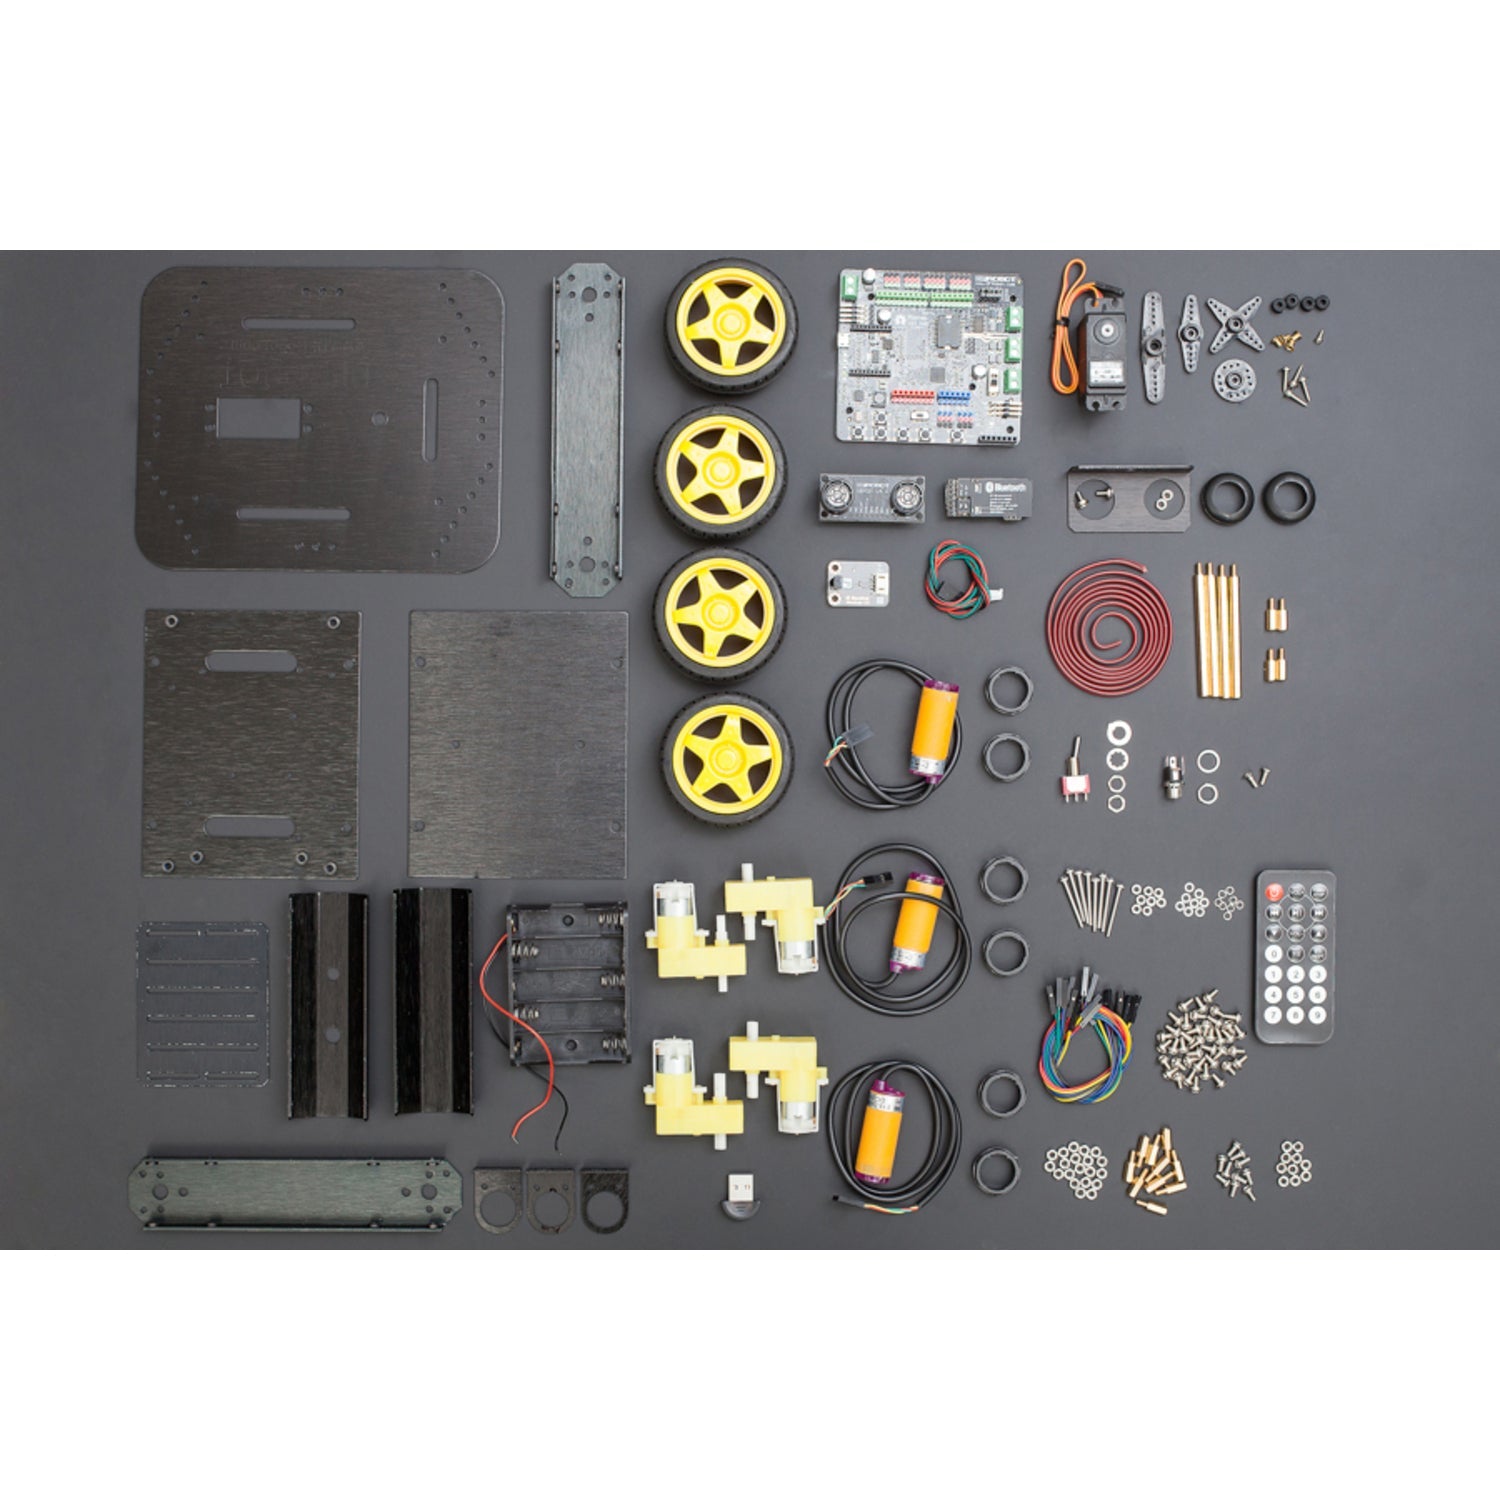
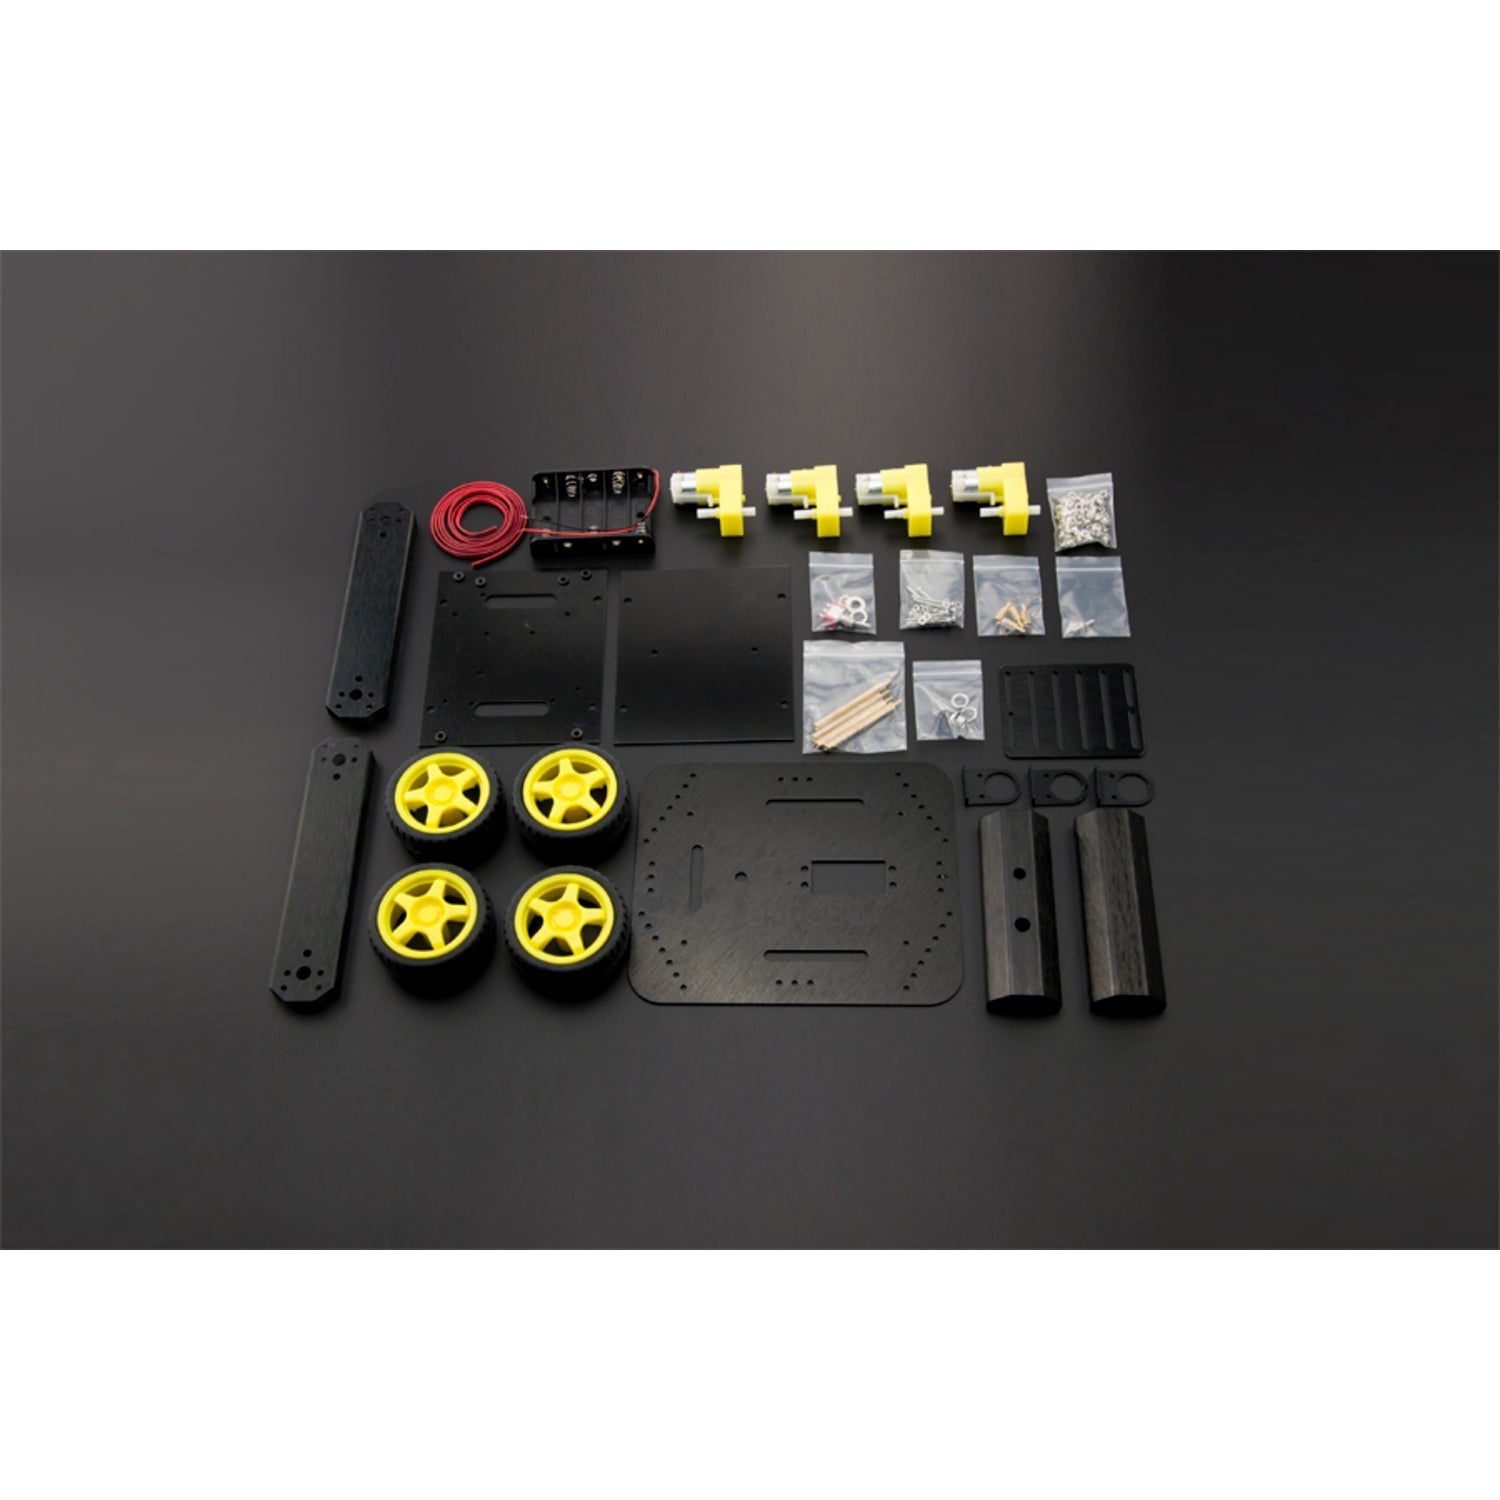
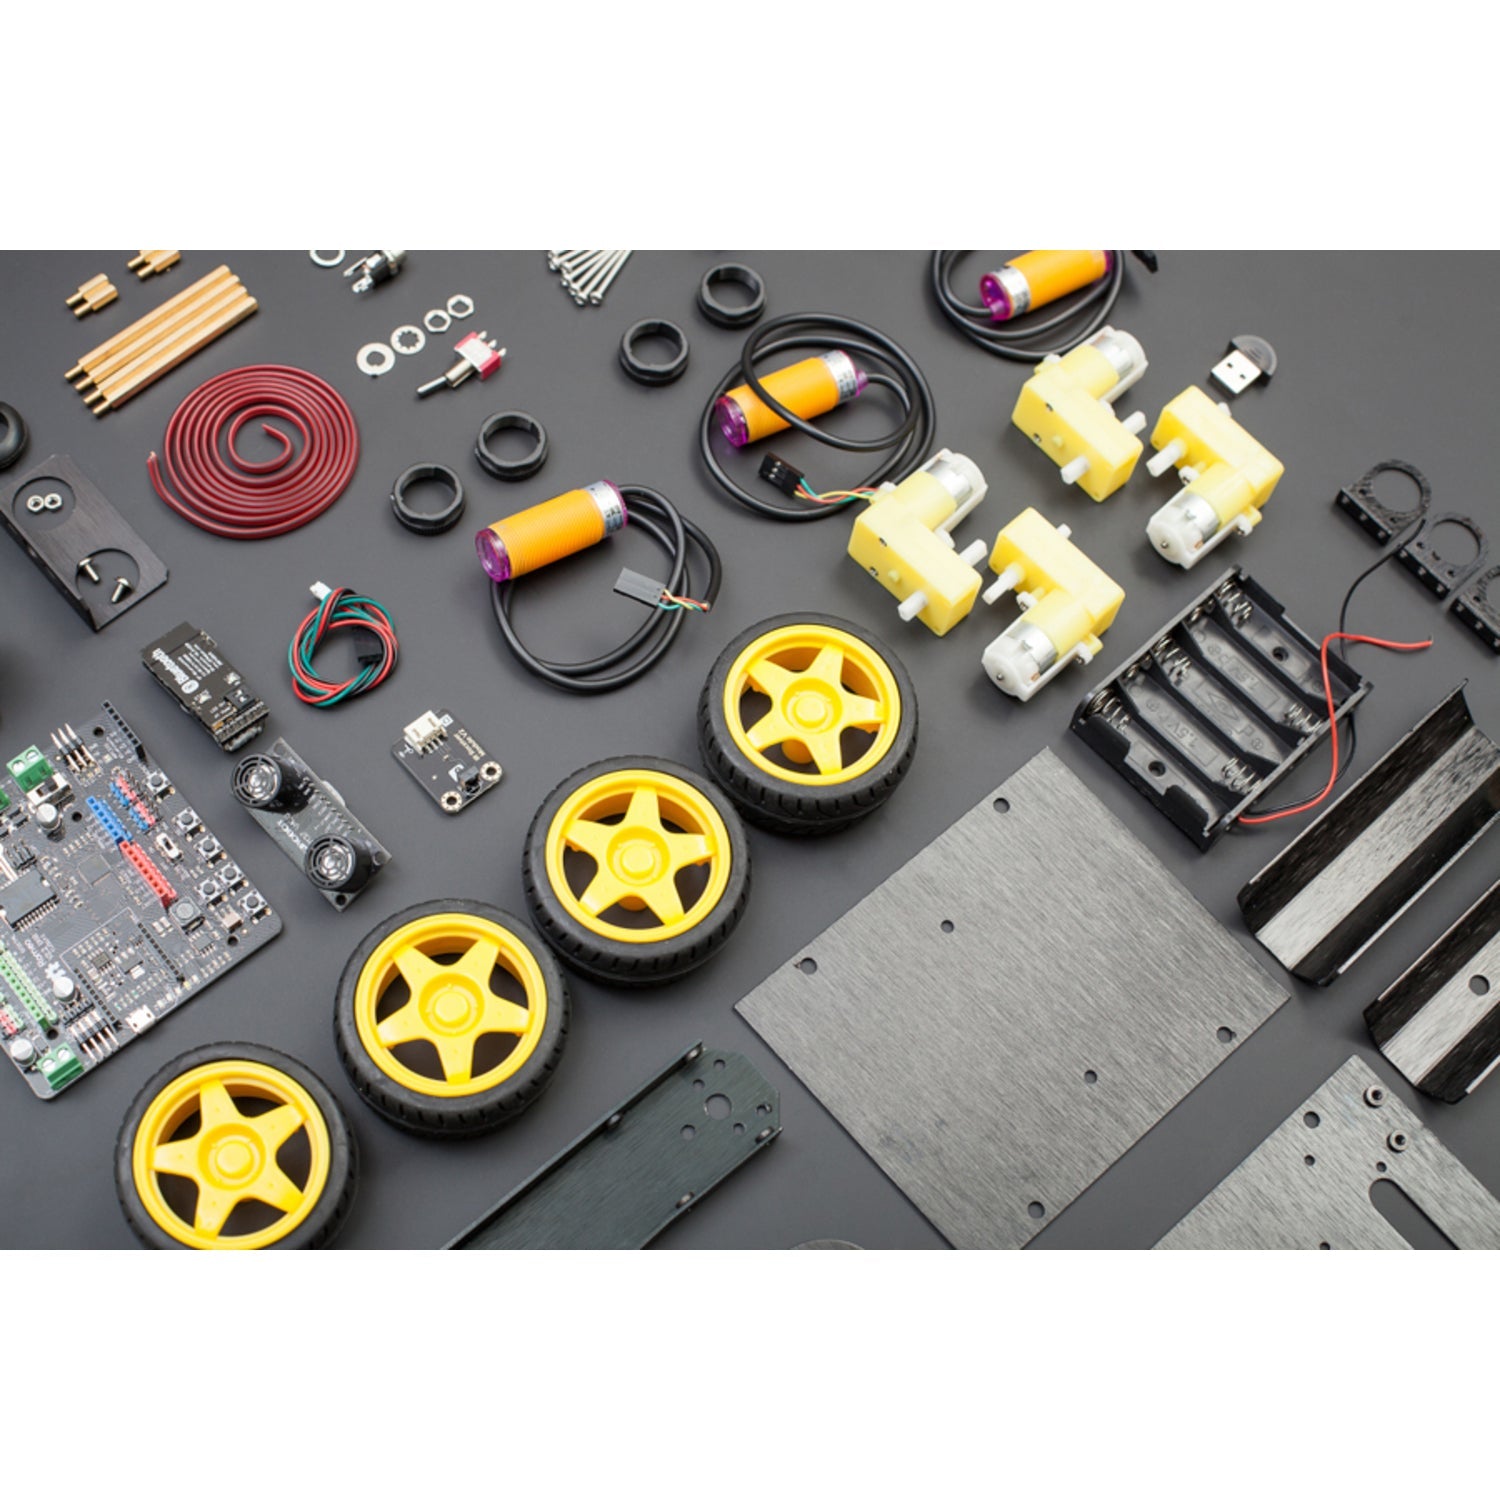
- ROB0003 - 4WD Mobile Platform (Arduino Controller Supported) x1
- DFR0225 - Romeo V2 - All in one Controller x1
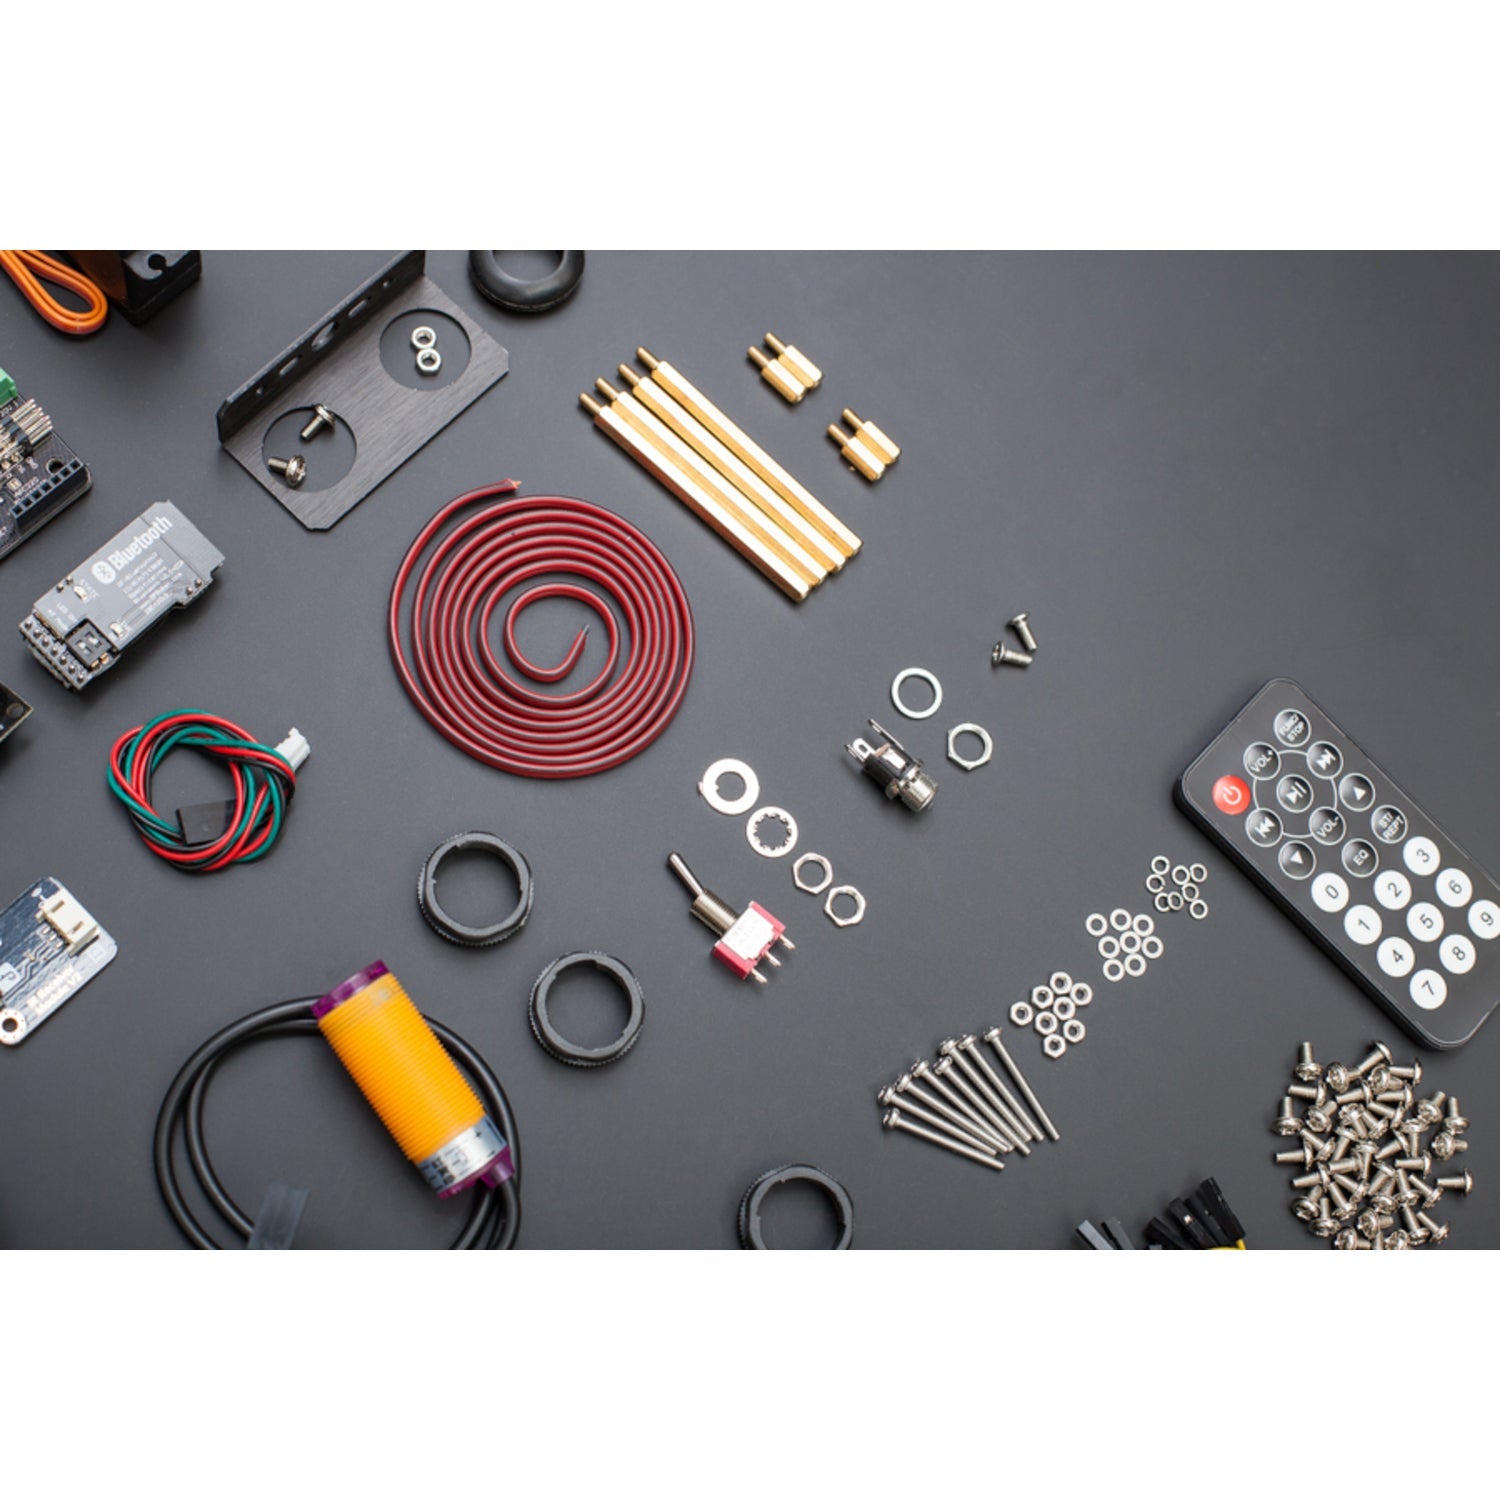
- DFR0107 - IR Kit For Arduino x1
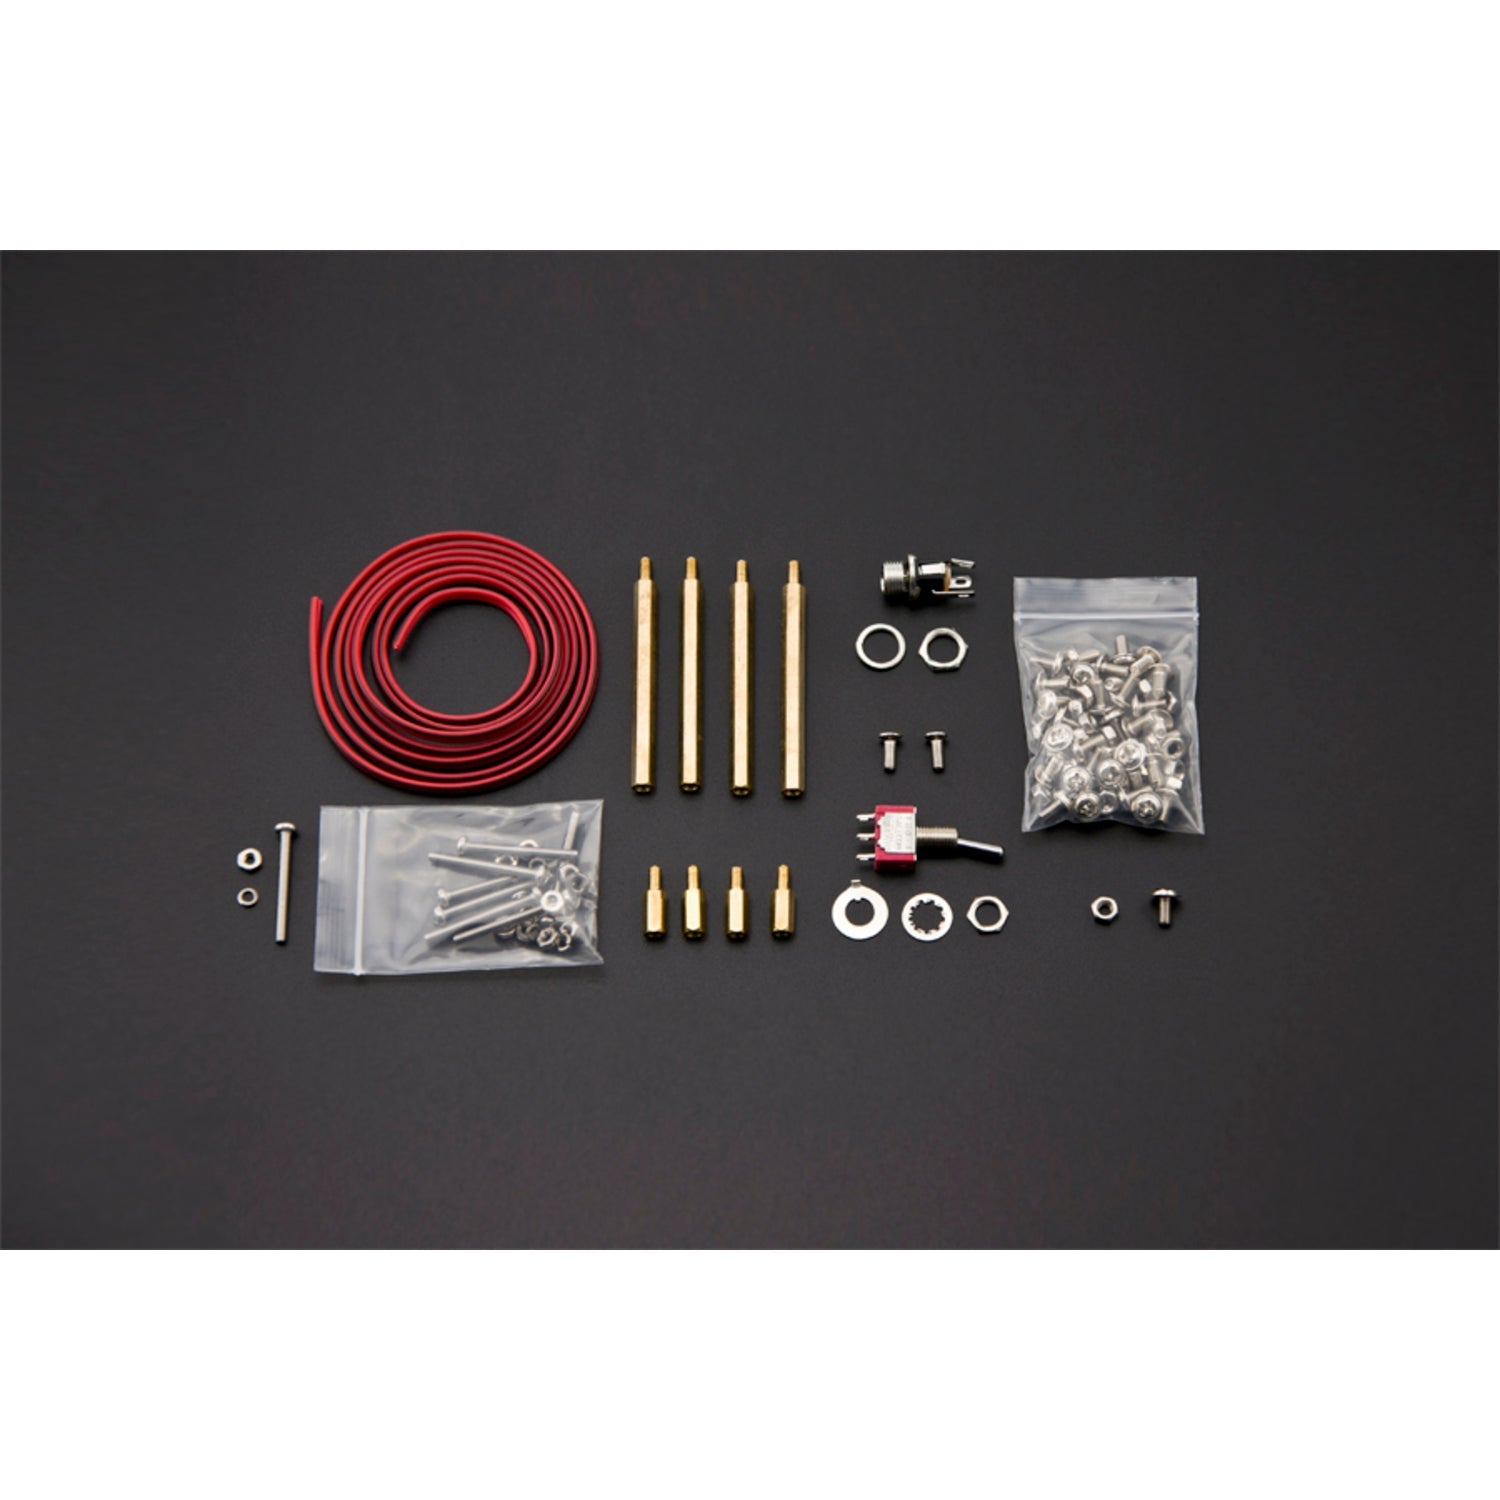
- FIT0063 - 10 sets M3 * 10 hexagonal standoffs mounting kit x1
- SER0020 - DF05BB Standard Servo (5kg) x1
- FIT0030 - Jumper Wires 9' F/F Pack of 10 x1
- TEL0026 - DFRobot Bluetooth V3 x1
- TEL0002 - Bluetooth Adapter Mini x1
- SEN0019 - Adjustable Infrared Sensor Switch x3
- SEN0001 - URM37 V4.0 Ultrasonic Sensor x1
- FIT0006 - URM ultrasound mounting bracket x1
### Using Your DIY Remote Control Robot Kit
First, unpack all the parts according to the shipping list. Start by assembling the Pirate - 4WD Mobile Platform. Connect the motors and make sure they are firmly attached. Then, install the Romeo V2 microcontroller. You can power it via USB or an external 6V - 23V DC power source.
Next, connect the sensors like the adjustable infrared sensor switches and the ultrasonic sensor to the appropriate ports on the microcontroller. Use the jumper wires for these connections. You can also attach the servo motor and the Bluetooth modules for remote control.
Once everything is connected, you can use the provided Arduino libraries to program your robot. Refer to the WIKI and the kit manual for detailed programming instructions.
### Things to Note
- When working with the electrical components, make sure your hands are dry to avoid short - circuits.
- Do not exceed the voltage limits specified for the motors and the microcontroller. This could damage the parts.
- If you are adding your own electronics, double - check the compatibility with the existing components.
### Maintenance Tips
- Keep your robot clean. You can use a soft brush to remove dust from the sensors and the motors.
- Check the connections regularly. Loose connections can cause the robot to malfunction.
- If you are not using the robot for a long time, store it in a dry and cool place. Disconnect the power source to prevent battery leakage or power drain.