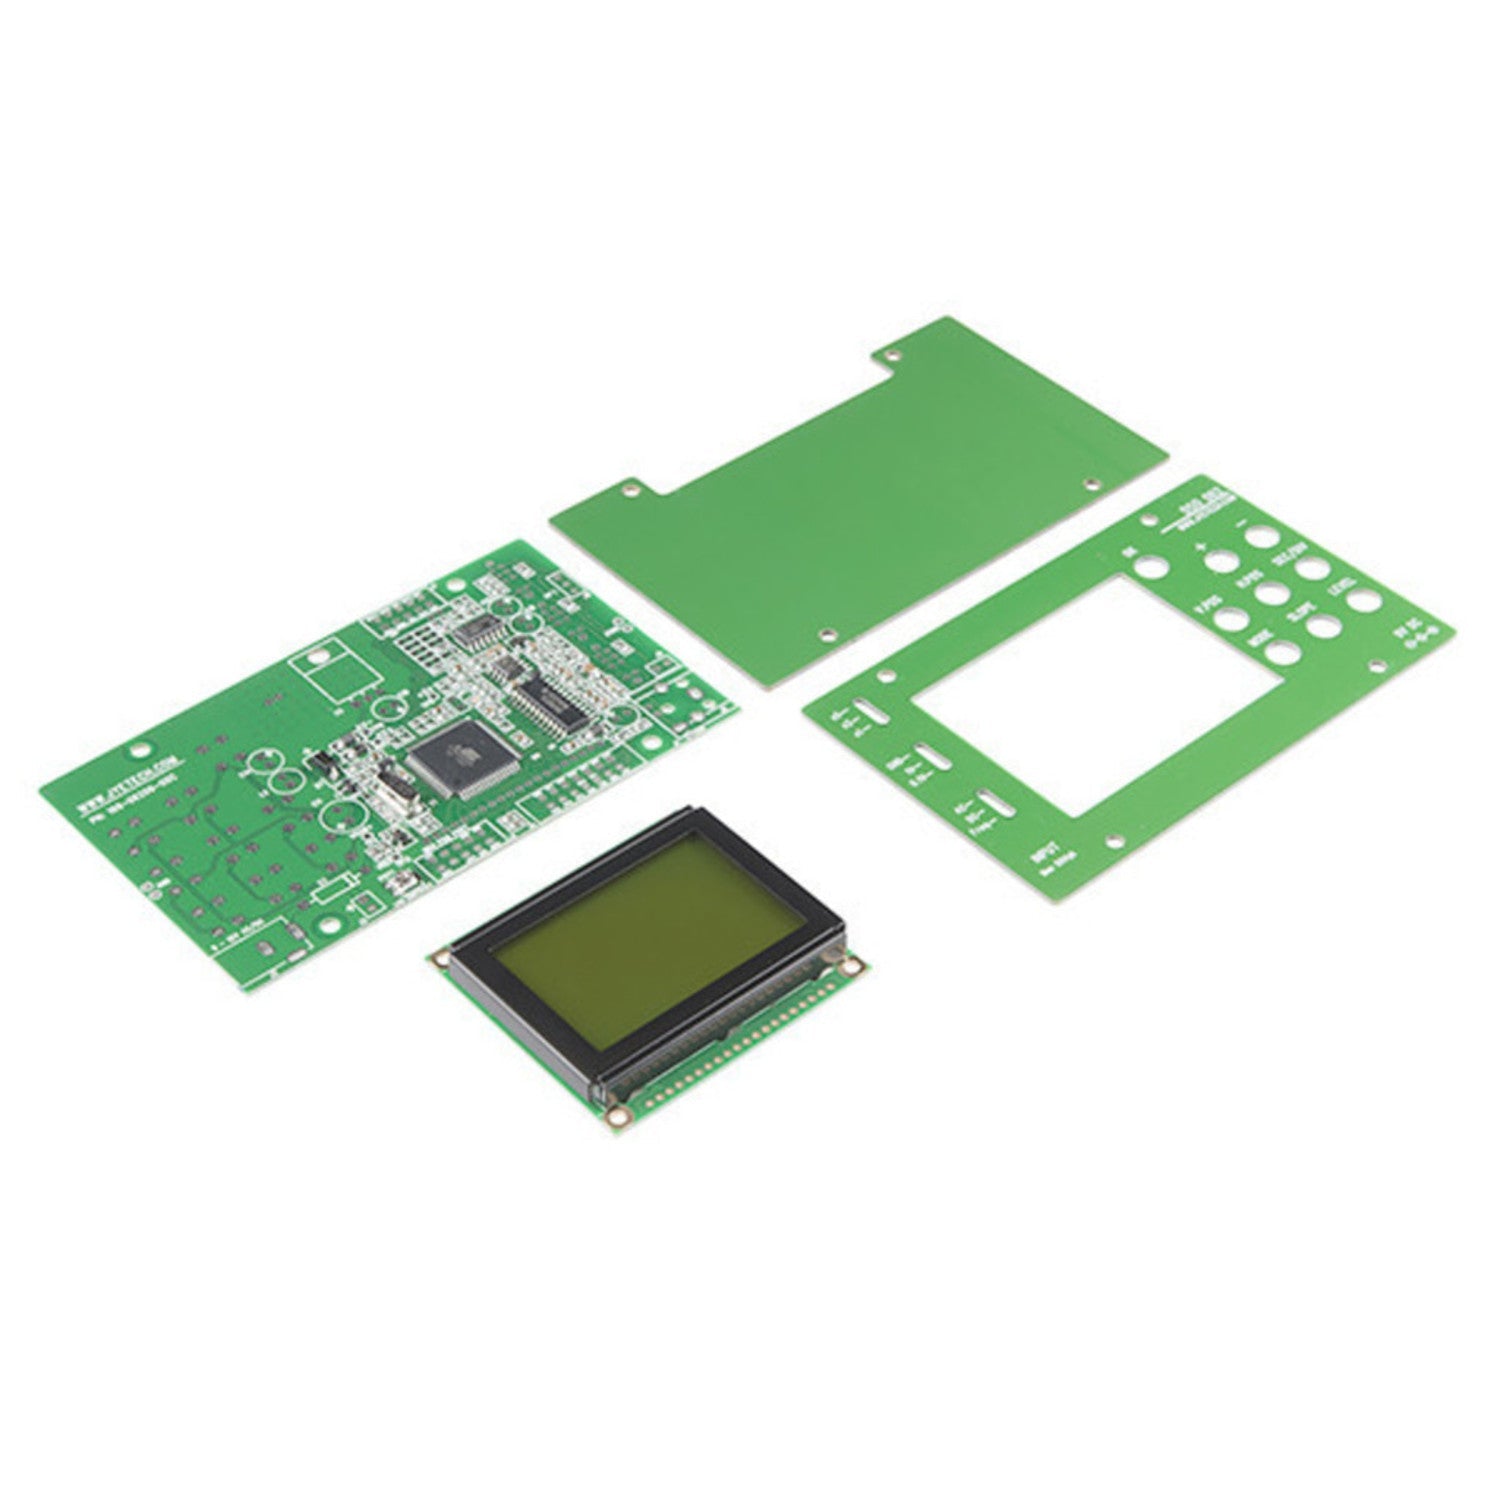
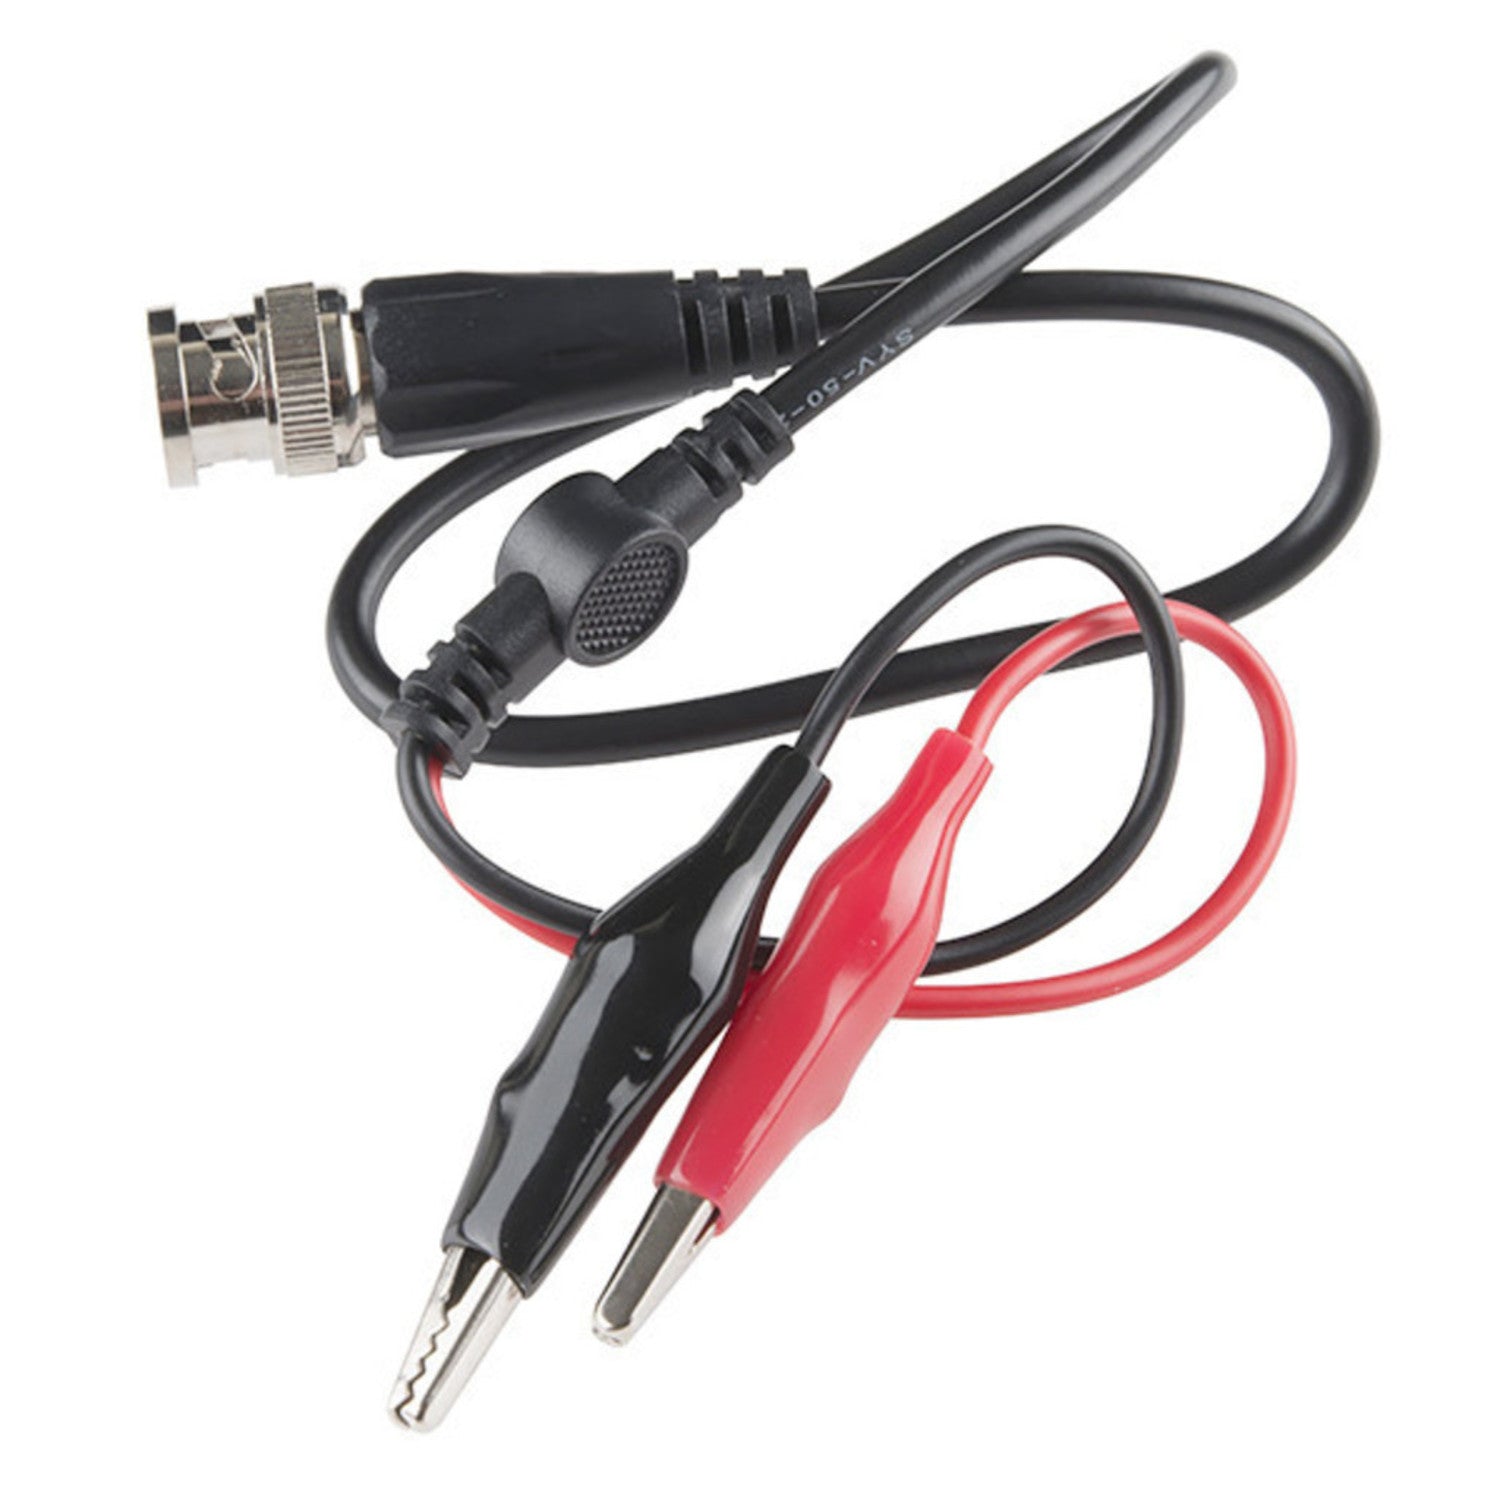
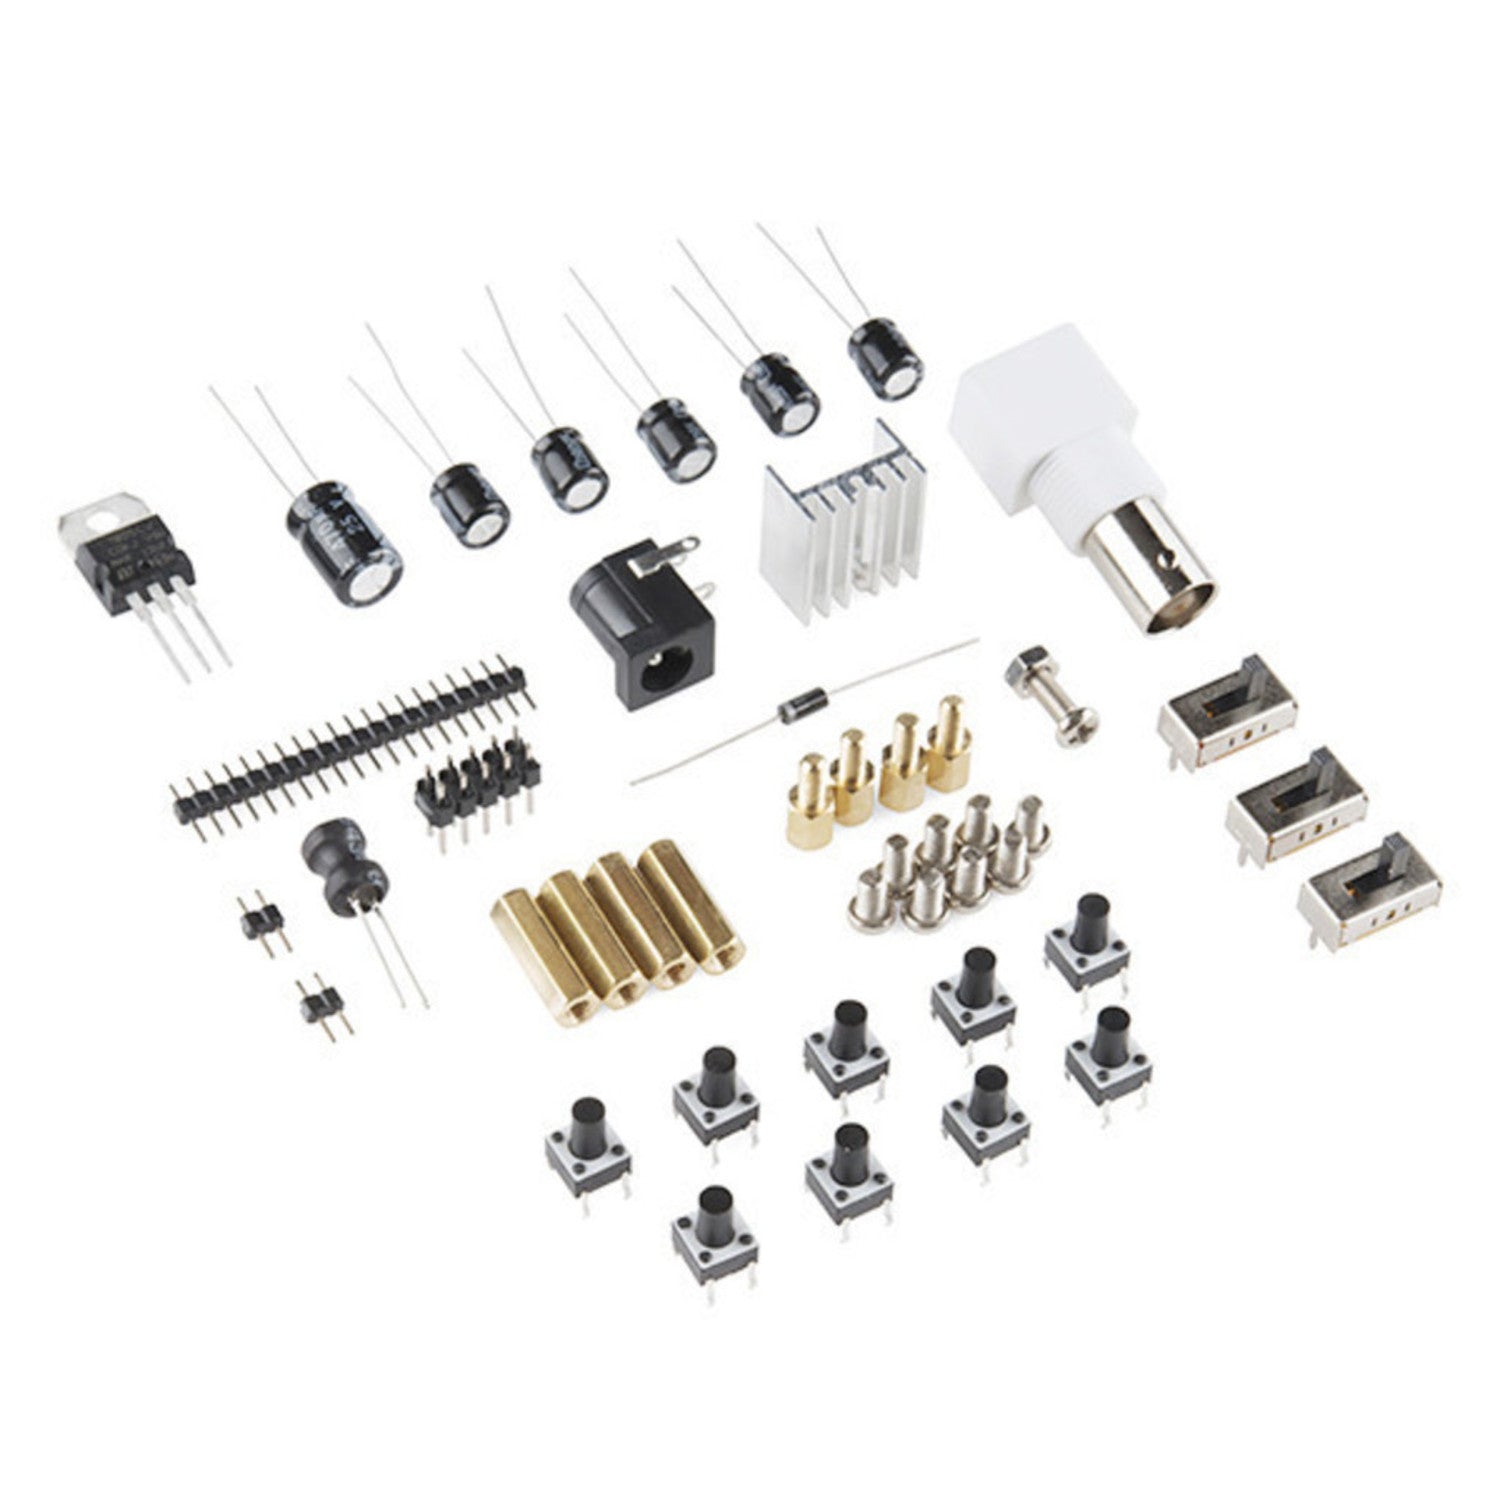
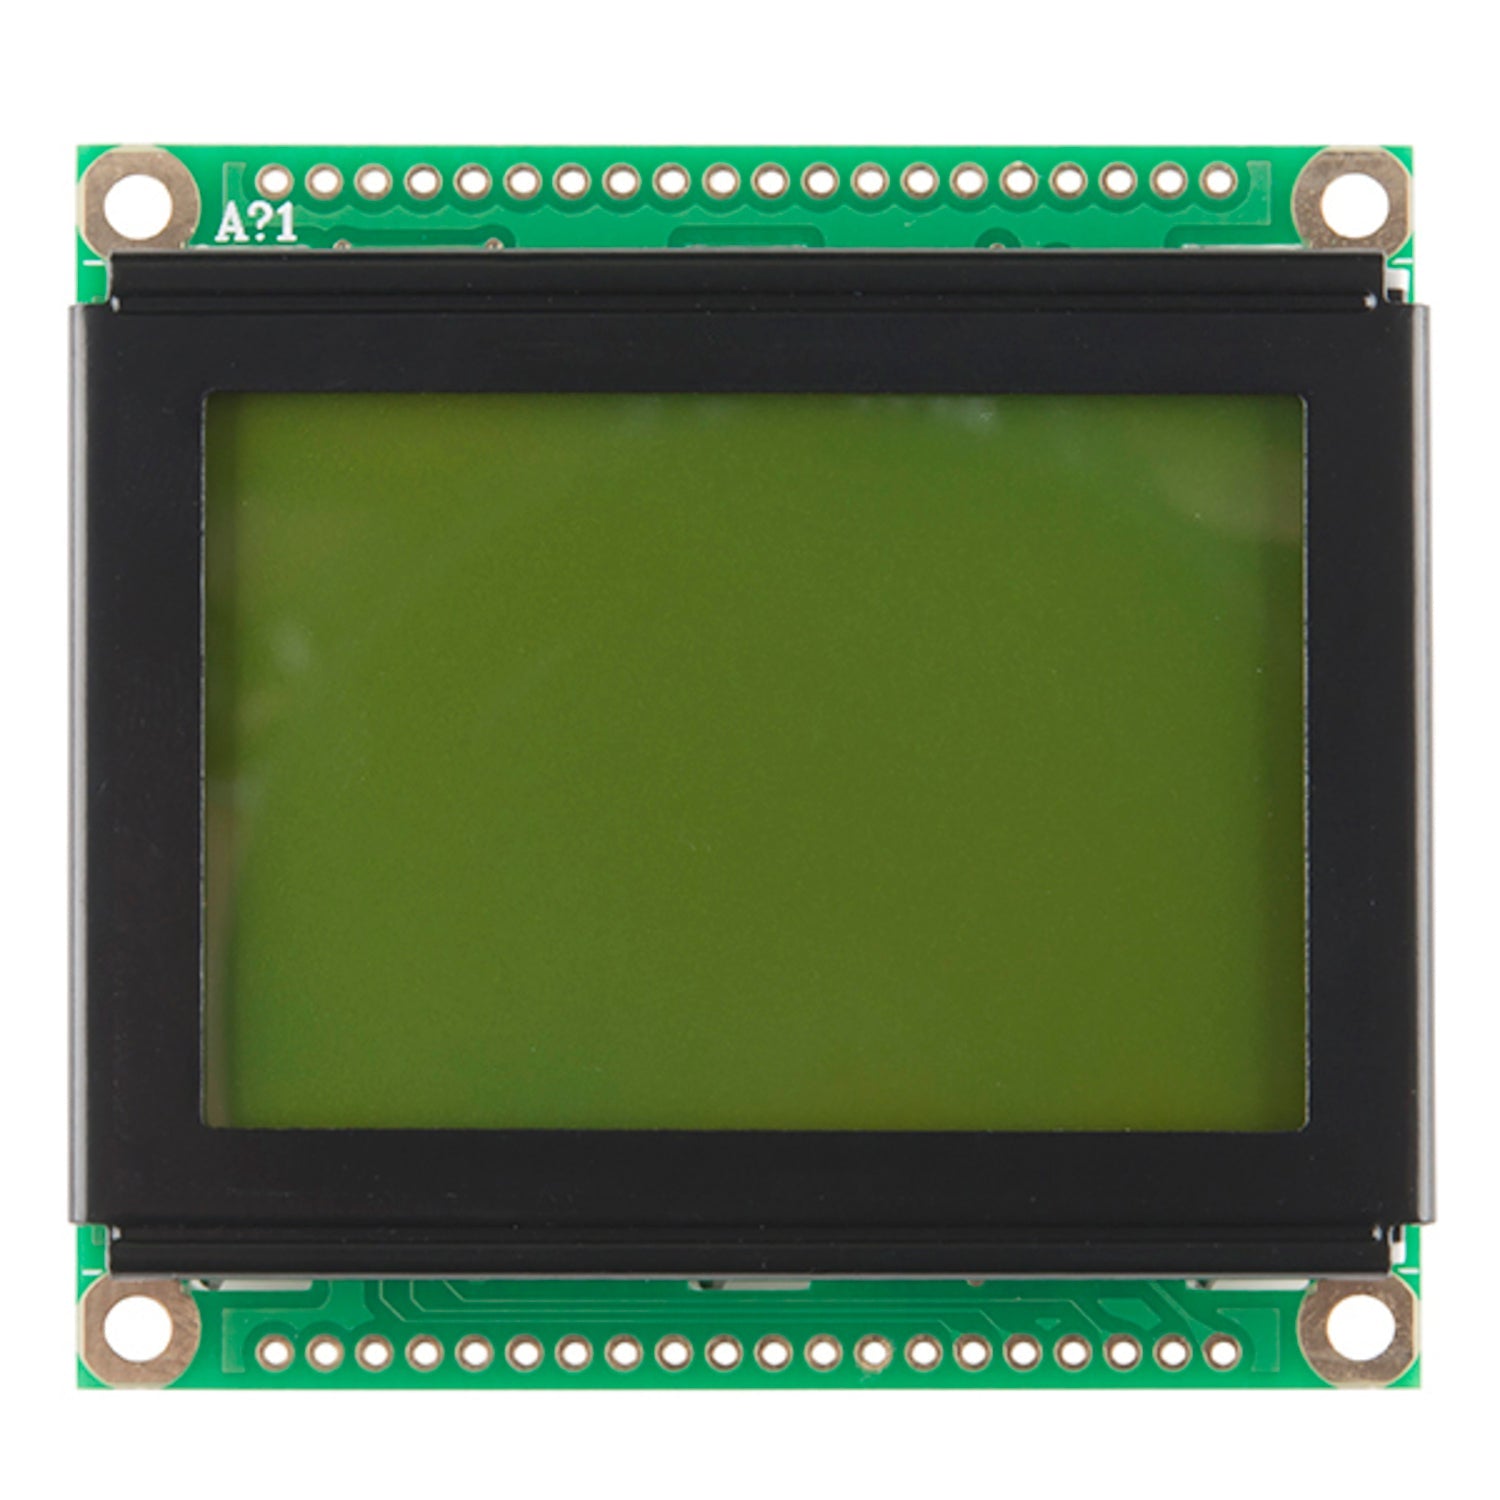
This amazing DIY kit has everything you need to build your own fully - functioning digital oscilloscope. Once it's up and running, it offers an impressive 5M samples/second in AUTO mode, 8 - bit resolution, and can handle up to 50Vpp max input voltage. The kit comes with a semi - populated PCB. All the surface - mount components are already soldered for you, and the remaining parts to solder are through - hole, though it's a bit on the difficult side for through - hole kits. It pairs perfectly with our BNC Probe Kit! A 9V power supply is needed to operate the oscilloscope, but it's not included in the kit. Key features include a 9VDC power supply voltage, a current draw of <280mA, 5M samples/second (AUTO mode only), 8 - bit resolution, 256 sample memory depth, 1MHz analog bandwidth, 100mV/Div - 5V/Div sensitivity, 1MΩ impedance, 50V peak - to - peak max input voltage, DC/AC coupling, the ability to save and display up to 6 captures to memory, transfer screen captures to a PC as a bitmap file (serial adapter not included), a backlit LCD display, and a BNC connector. The oscilloscope measures 110x65x25mm and weighs 70g. You'll also get useful documents like assembly instructions, operating instructions, a parts list, a schematic, troubleshooting guide, firmware, a YouTube video of the scope in action, and a guide on how to use an oscilloscope.


Building Your Oscilloscope: First, unpack the kit. You'll see a semi - populated PCB with surface - mount components already soldered. Start soldering the through - hole components following the assembly instructions. It might be a bit tricky, so take your time. Using Your Oscilloscope: Once it's built, connect a 9V power supply (not included). Use the BNC connector to attach probes. You can adjust settings for sensitivity, coupling, etc. Save up to 6 captures in memory and transfer them to your PC (you'll need a serial adapter). Note: Always handle the oscilloscope with care. Avoid exposing it to extreme temperatures or moisture. If you face any issues, refer to the troubleshooting guide. Maintenance: Keep it clean. You can use a soft, dry cloth to wipe the surface. Check the connections regularly to make sure they're secure. That's all you need to know to get the most out of your DIY digital oscilloscope!