Proto-PIC presents a geeky twist on 'Dia de los Muertos' with The Day of the Geek soldering badge kit. If you have basic soldering skills and equipment, this simple kit can be assembled in just over 5 minutes. It comes with 3 pairs of colored LEDs, giving you the choice of red, white, or blue eyes. The kit takes the Day of the Dead motif and gives it a more geek - friendly look. Note that the CR2032 battery is not included. What's in the kit: 1 Skull PCB, 2 Red LEDs, 2 Blue LEDs, 2 White LEDs, 1 CR2032 Battery holder, and 1 Pin back. What's not included: CR2032 Battery, Soldering Iron, Solder, Pliers, and Flush cutters. There's also a guide on how to assemble it.

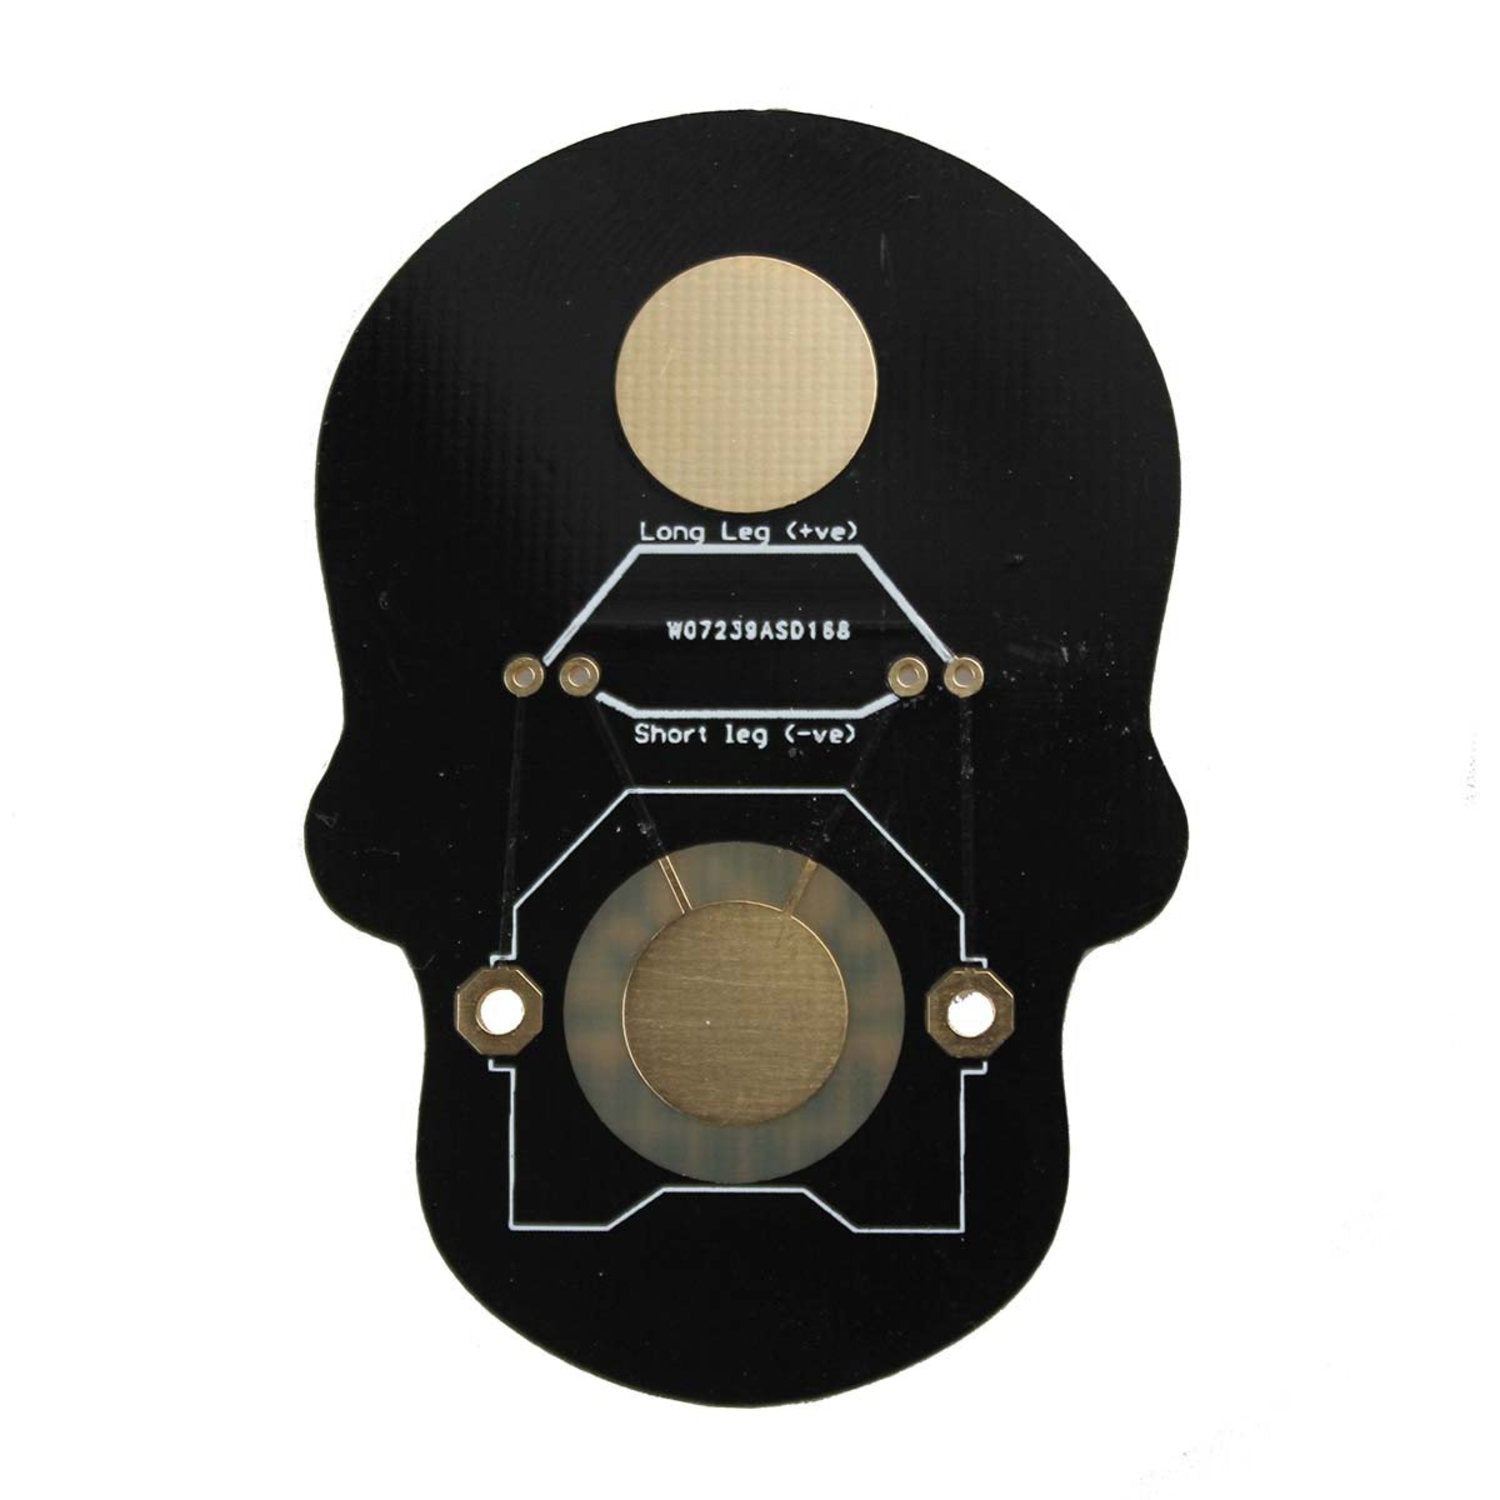
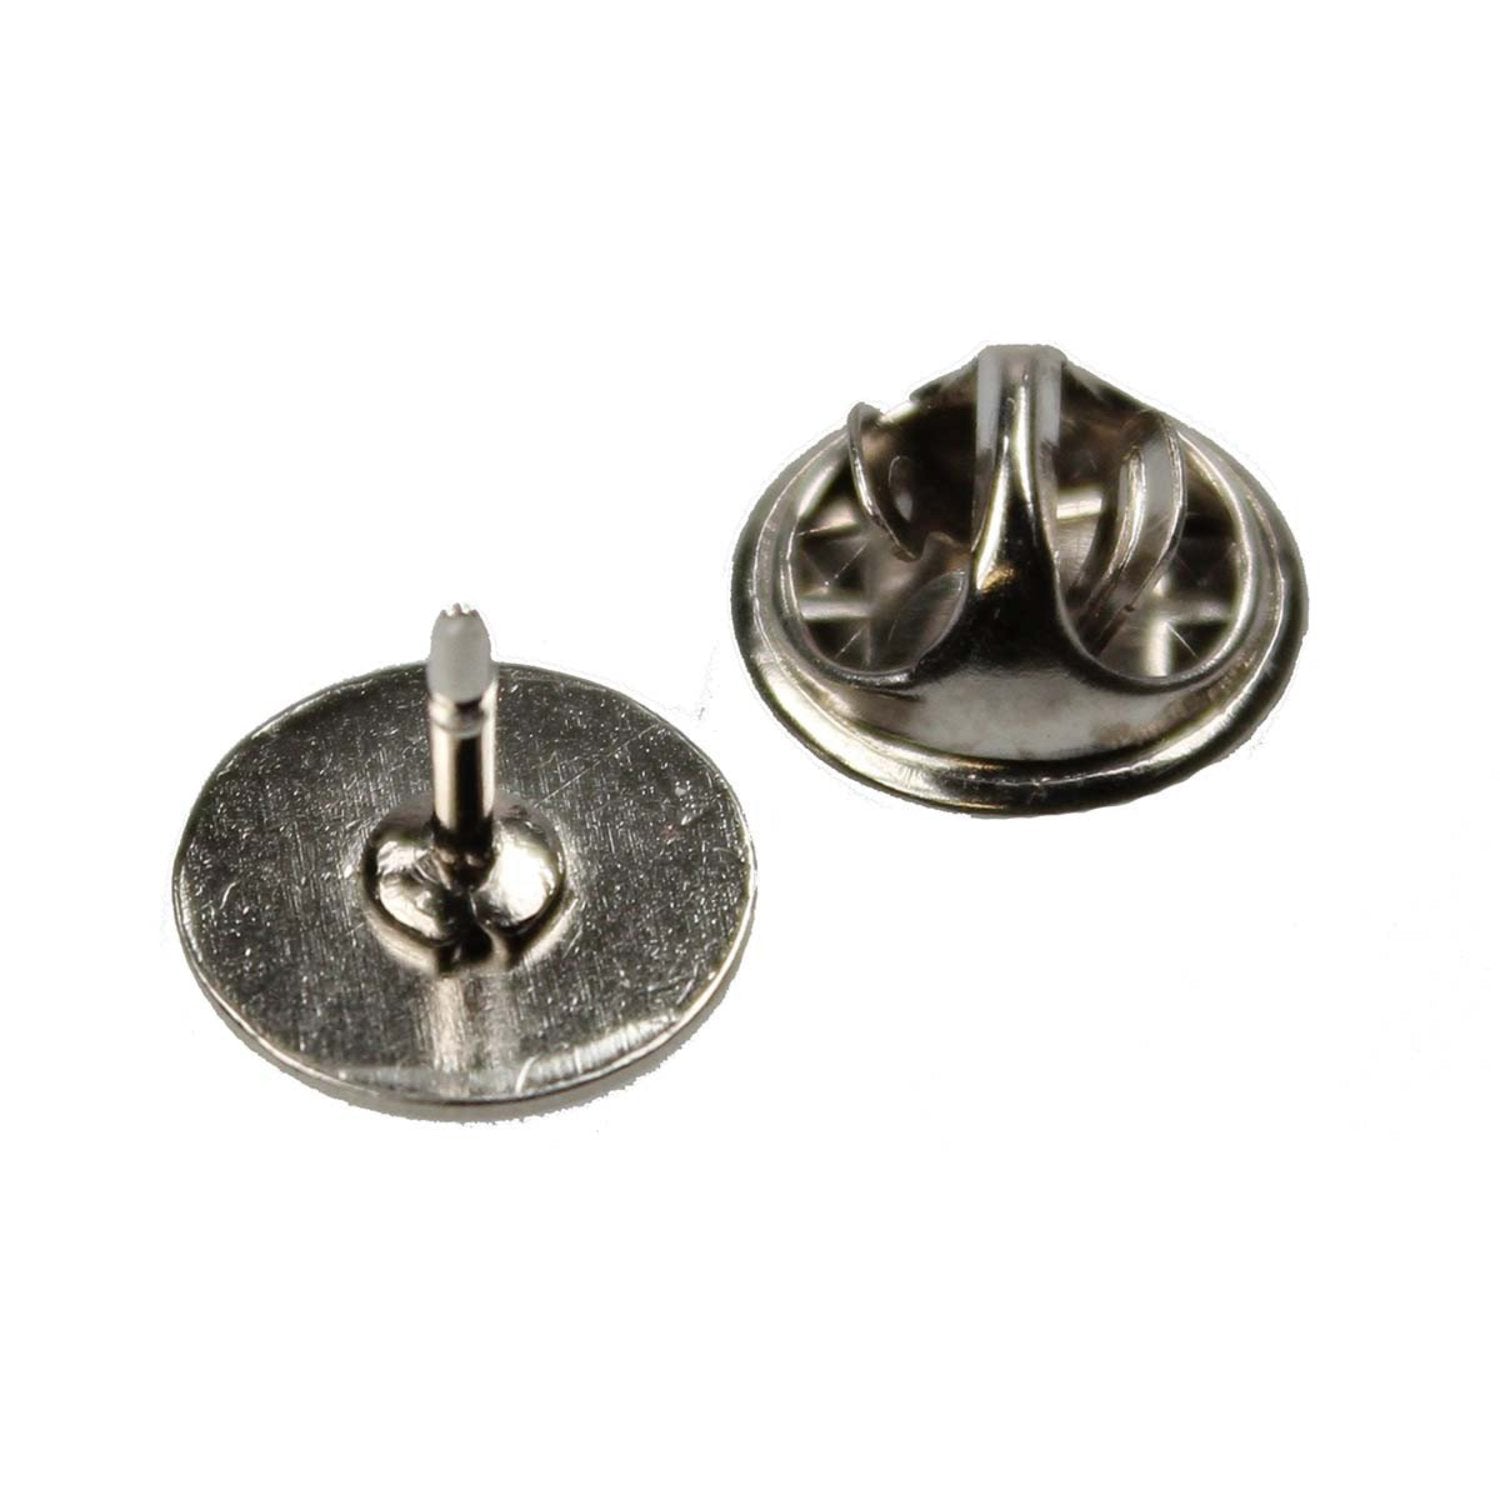

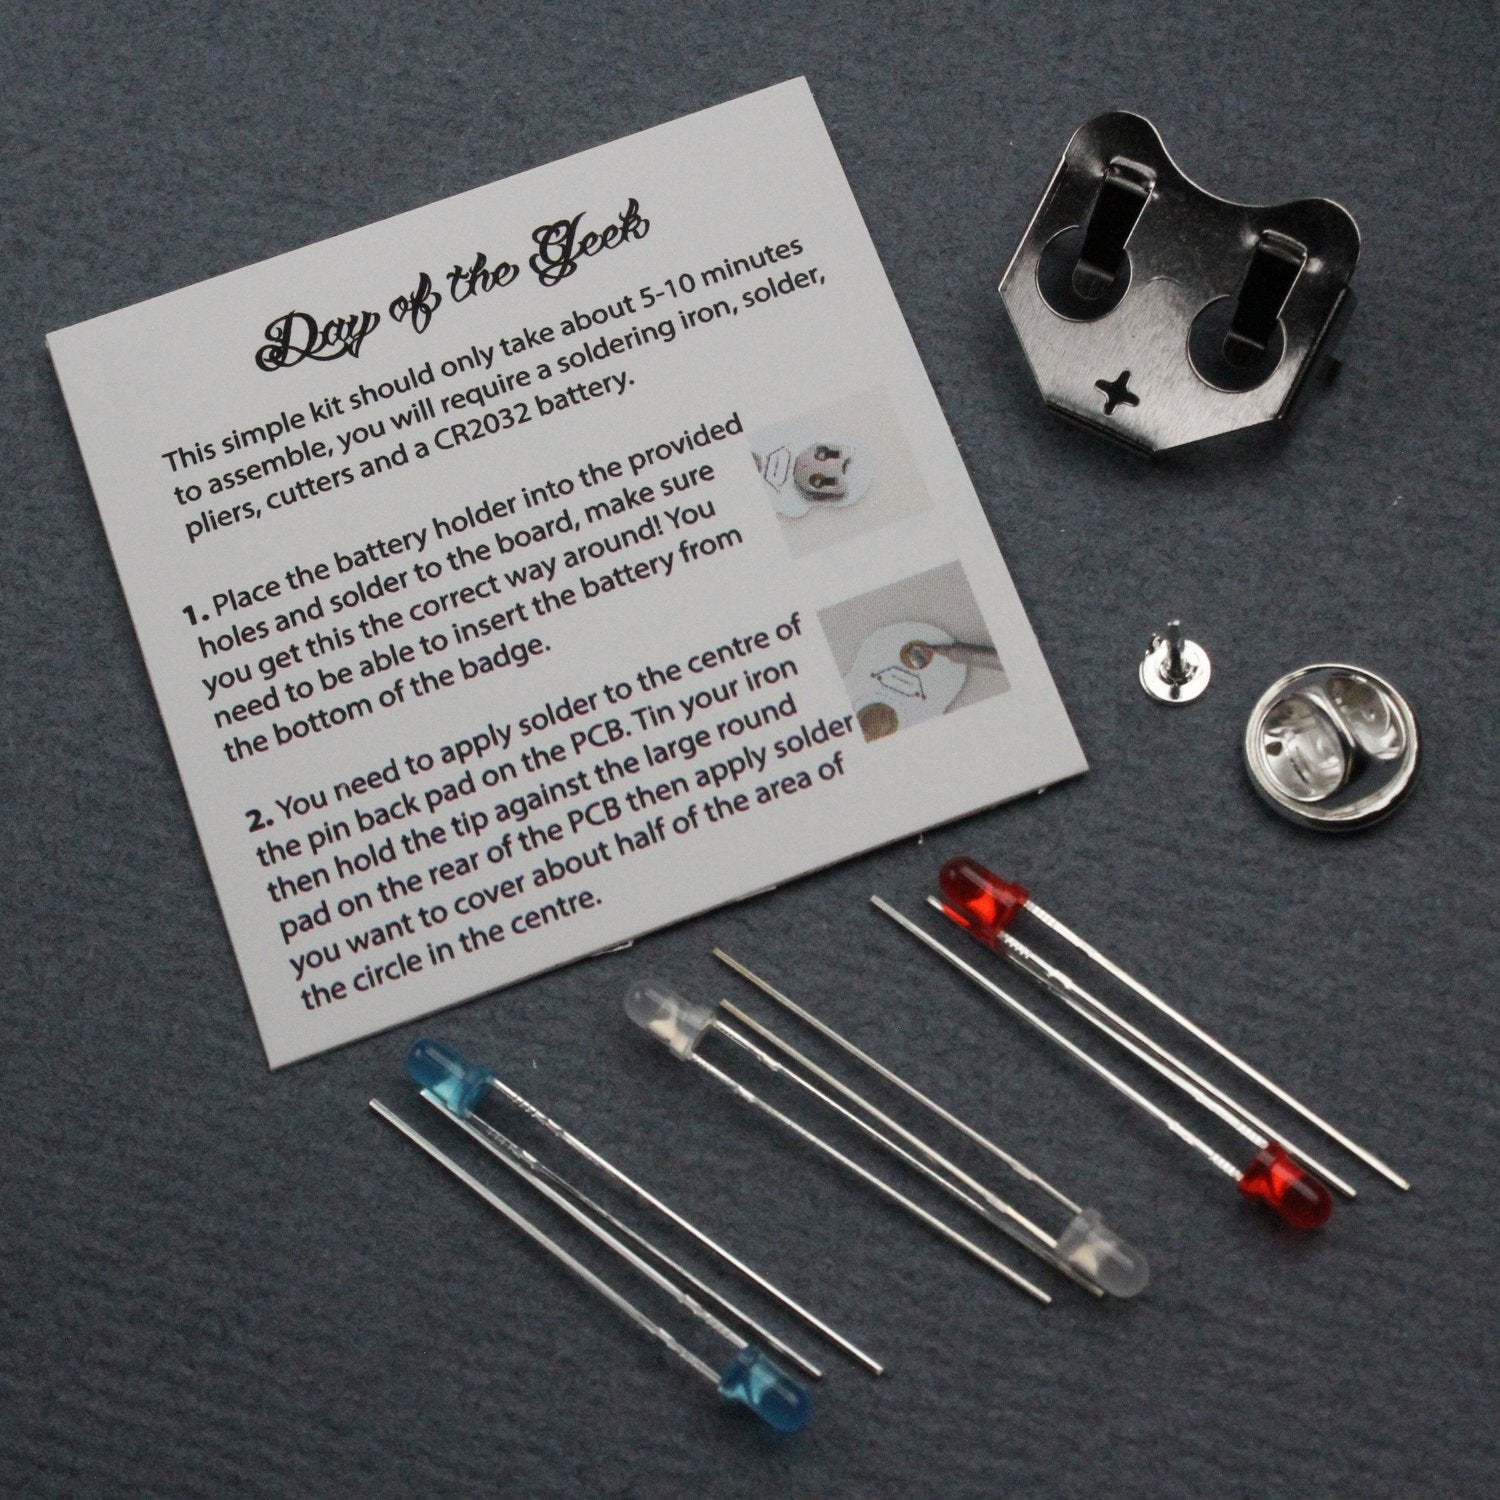
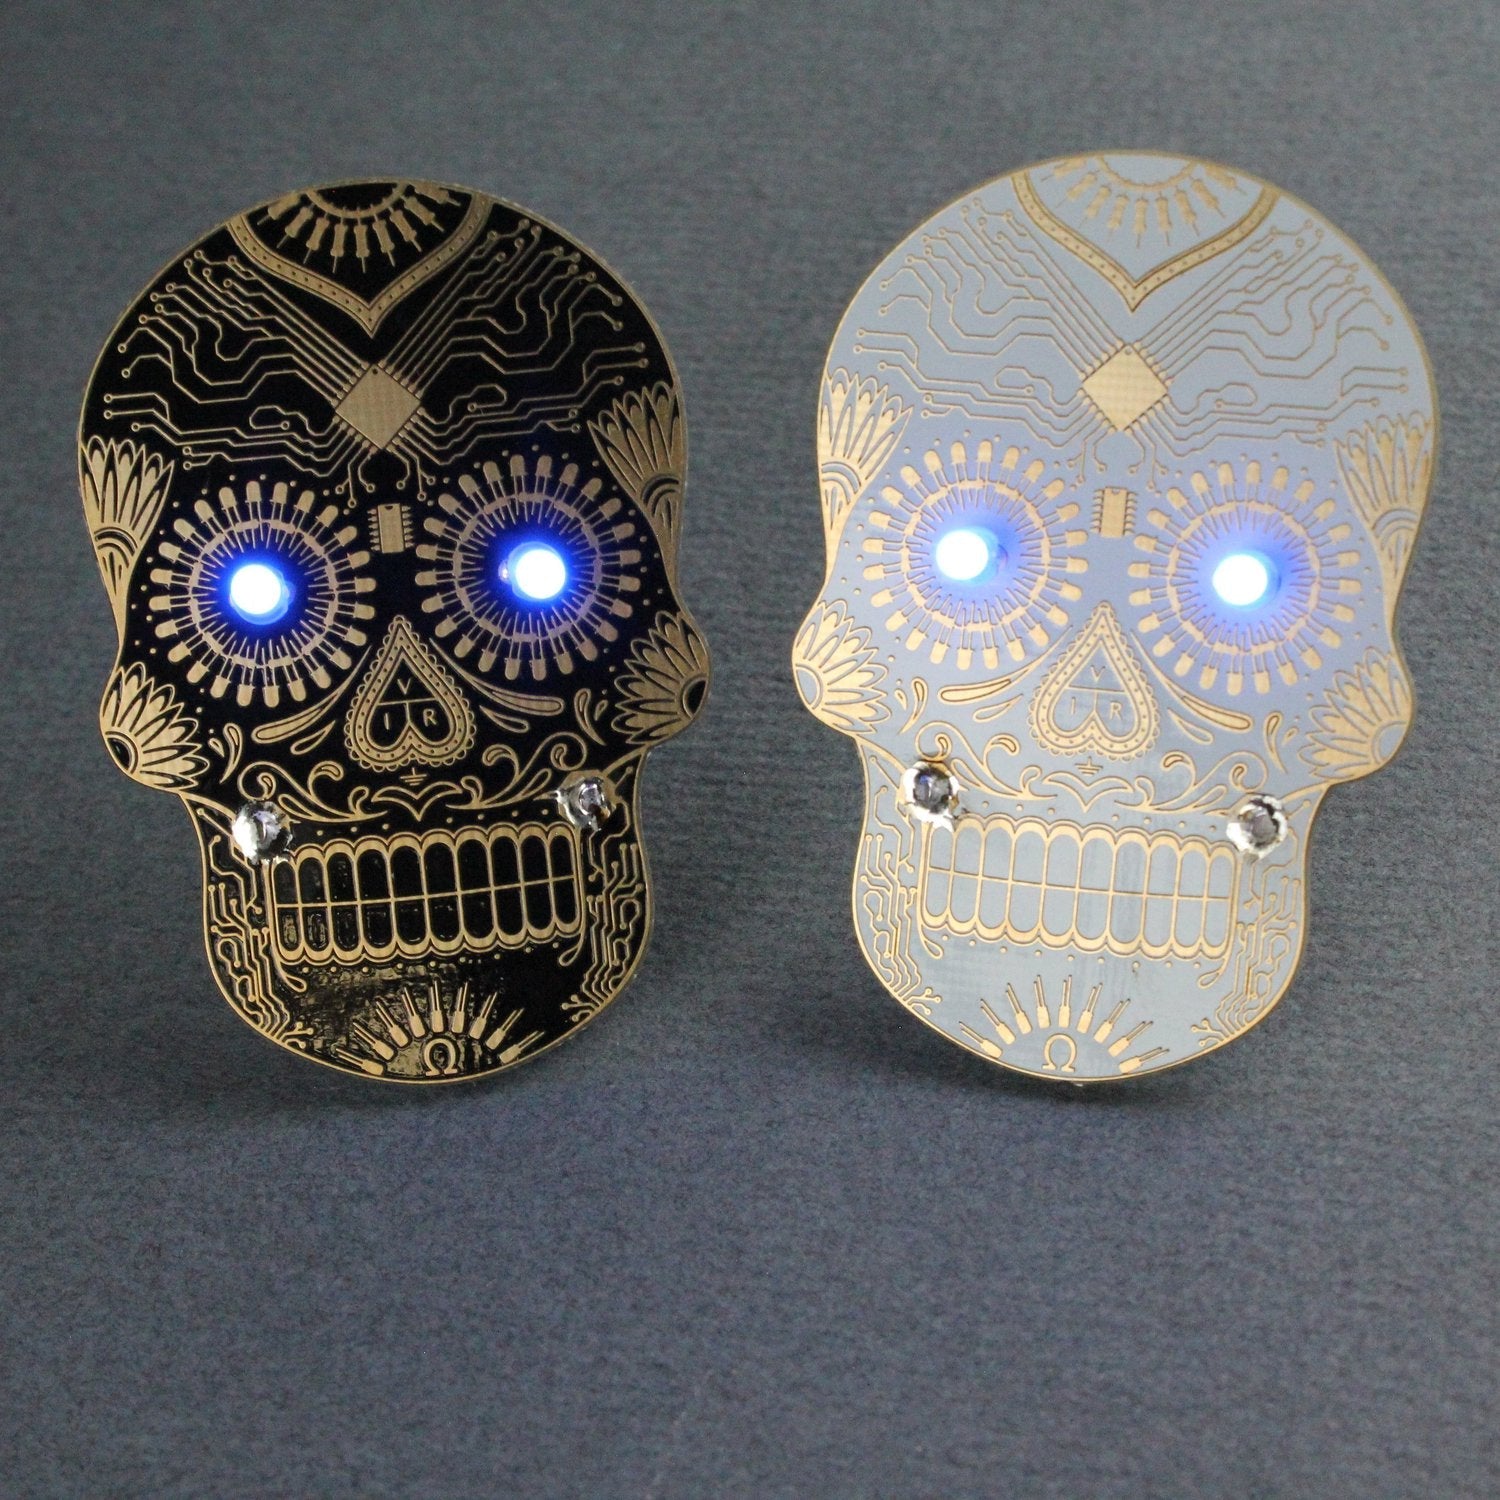
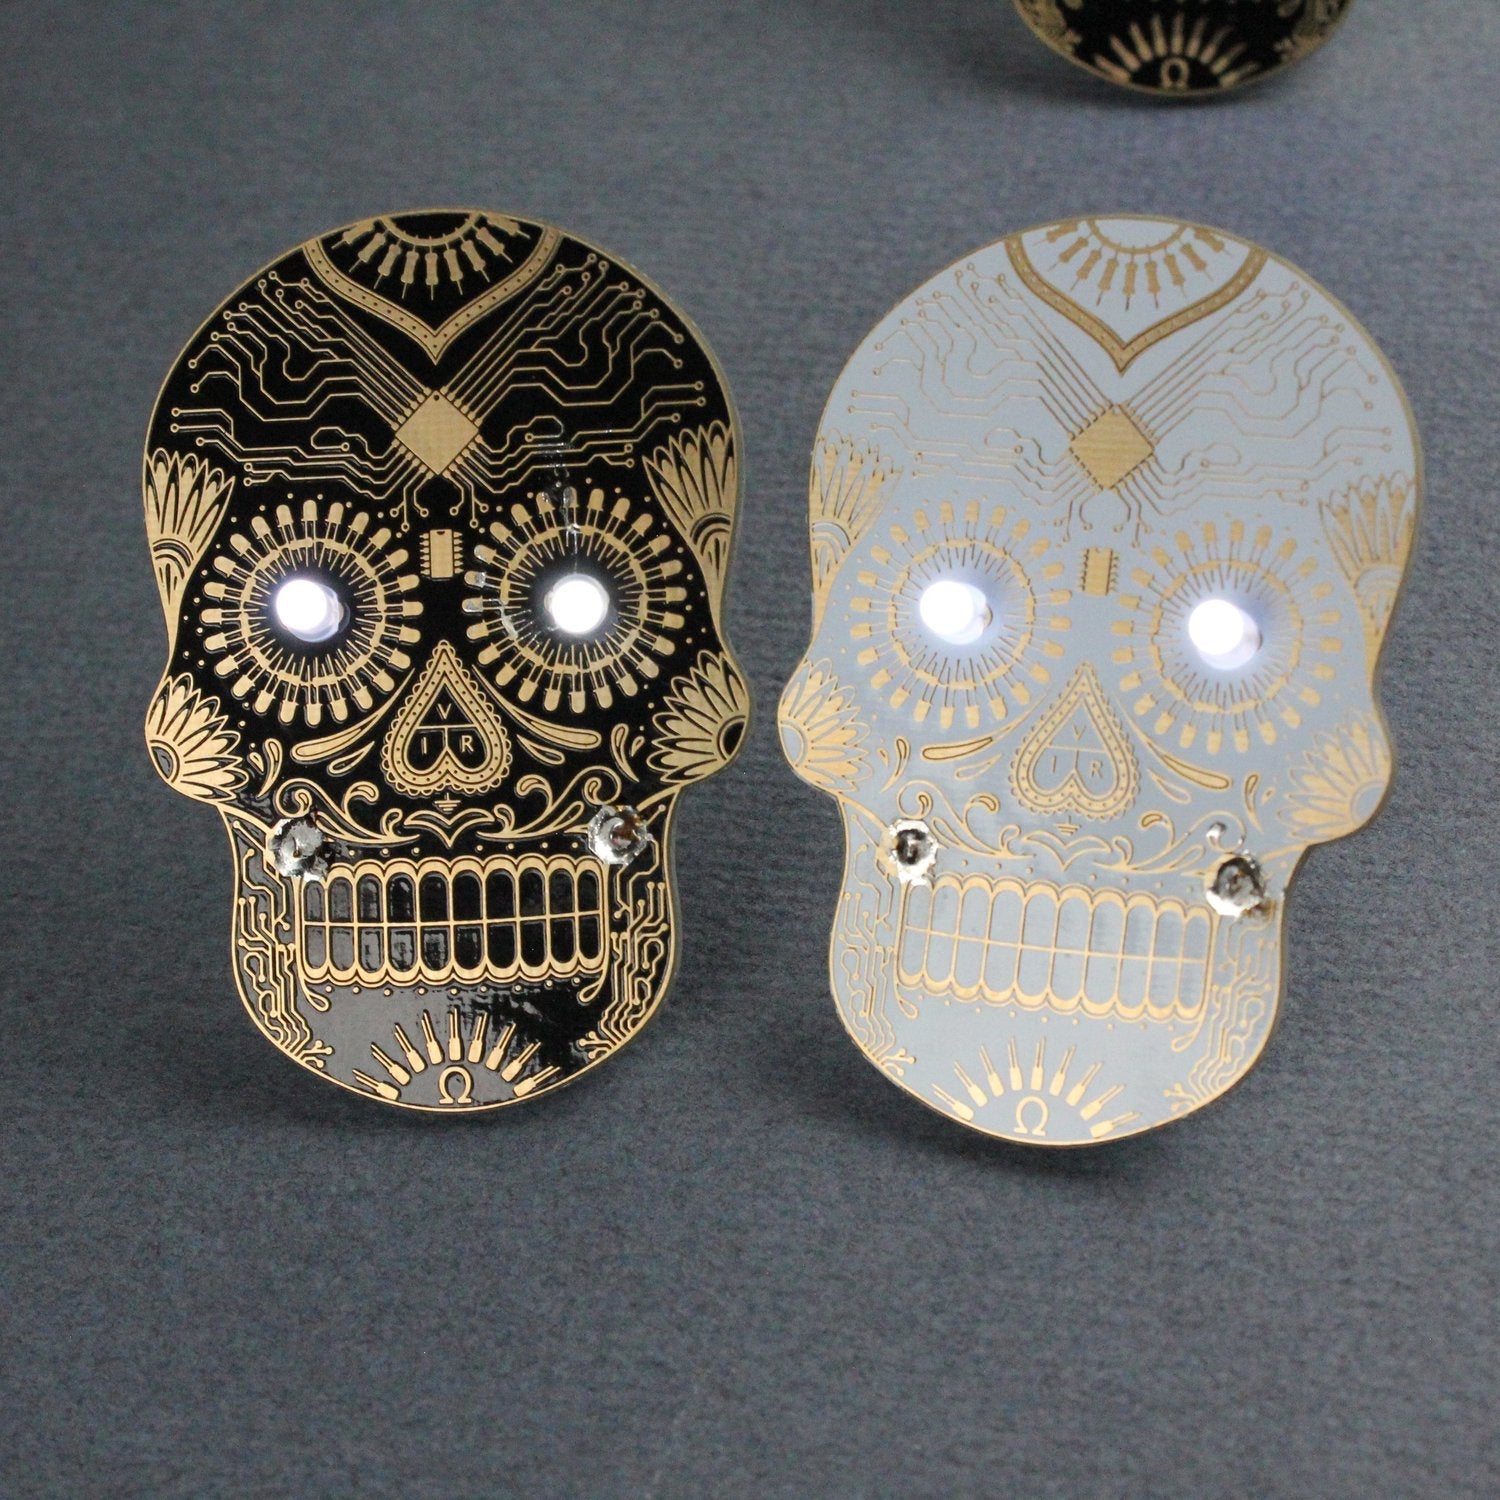
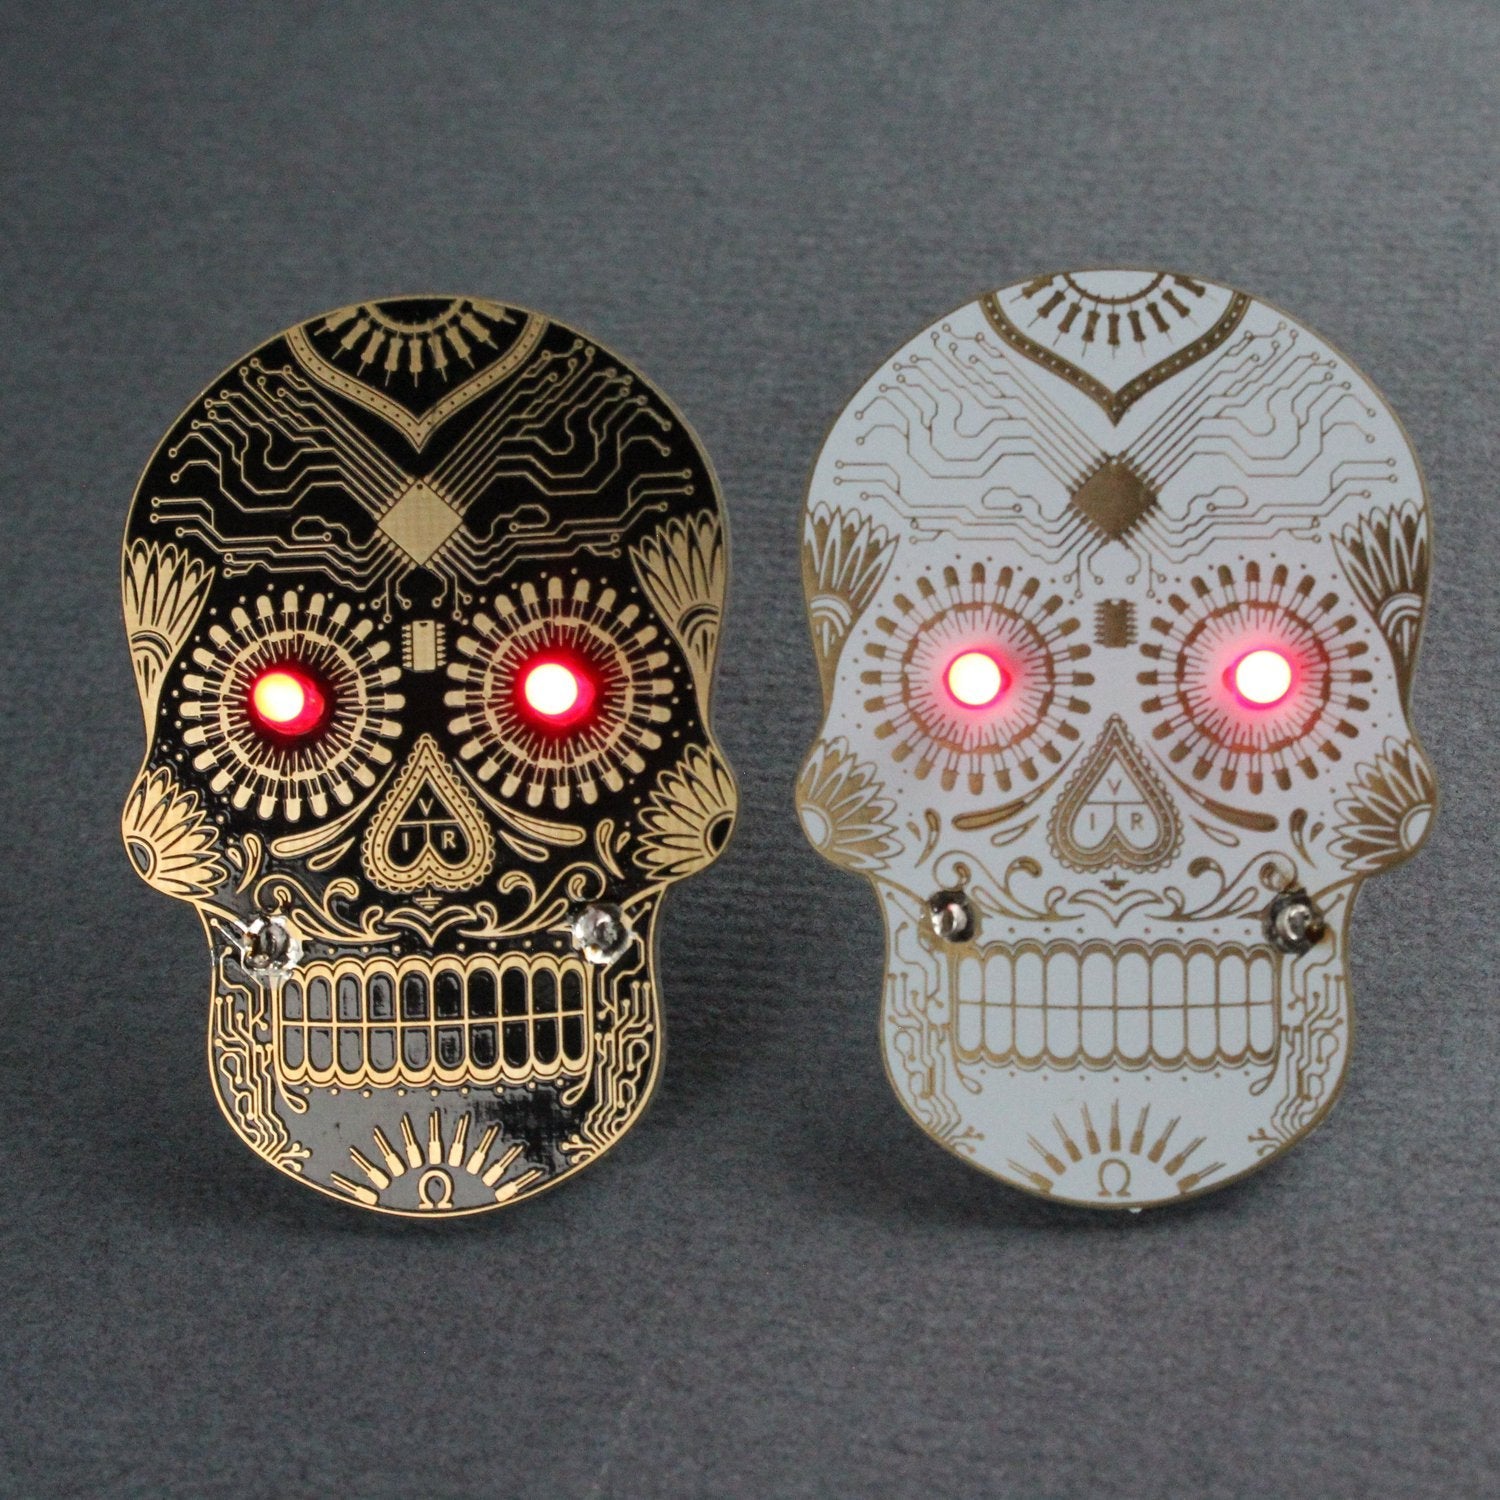
Using this Day of the Geek soldering badge kit is a breeze. First, gather all the necessary tools that aren't included in the kit, like a soldering iron, solder, pliers, and flush cutters, along with a CR2032 battery. If you're new to soldering, take your time and make sure to follow the assembly guide. Start by soldering the LEDs onto the Skull PCB. You can choose to use red, white, or blue LEDs for the eyes according to your preference. Then, attach the CR2032 battery holder to the PCB. After that, add the pin back so you can wear your badge. When soldering, be careful not to touch the hot soldering iron tip to avoid burns. Also, make sure to work in a well - ventilated area as soldering can produce fumes. To maintain your badge, keep it away from water and excessive heat. If the LEDs stop working, check the battery and the soldered connections. With proper use and care, your Day of the Geek badge will last a long time.