Get excited because creating your own 8x16 LED matrix display for any Feather is a breeze! This kit combines two cute miniature LED matrices with a FeatherWing driver board. These 0.8 - inch square 8x8 matrices have all the features of a large LED matrix but in a smaller size. Double them up for a total of 128 bright green LEDs. This is the Green Adafruit 0.8" 8x16 LED Matrix FeatherWing Display Combo Pack. We also offer these combo packs in White, Blue, Red, Yellow, and Yellow - Green. Normally, wiring 8x16 matrices would need 24 GPIO pins, which is too many. That's where the 16x8 LED matrix backpack PCB comes in. It has a HT16K33 I2C LED matrix driver that handles all the multiplexing and is controlled via two I2C pins. It's easy to use and has a portable library that runs on any of our Feathers to control each LED. The 16x8 backpack is great for scrolling or small video displays. In our example, it shows small bitmap emoticons, but you can also display moving text like a sign at a mini car dealership. The kit includes a fully tested and assembled 16x8 0.8" LED FeatherWing, 2 ultra - bright square 8x8 green matrices, and 2 16 - pin headers. A little soldering is needed to attach the matrices to the FeatherWing, but it's easy and only takes about 15 minutes. Check our tutorial for assembly, pinouts, CircuitPython and Arduino library code, and schematics.
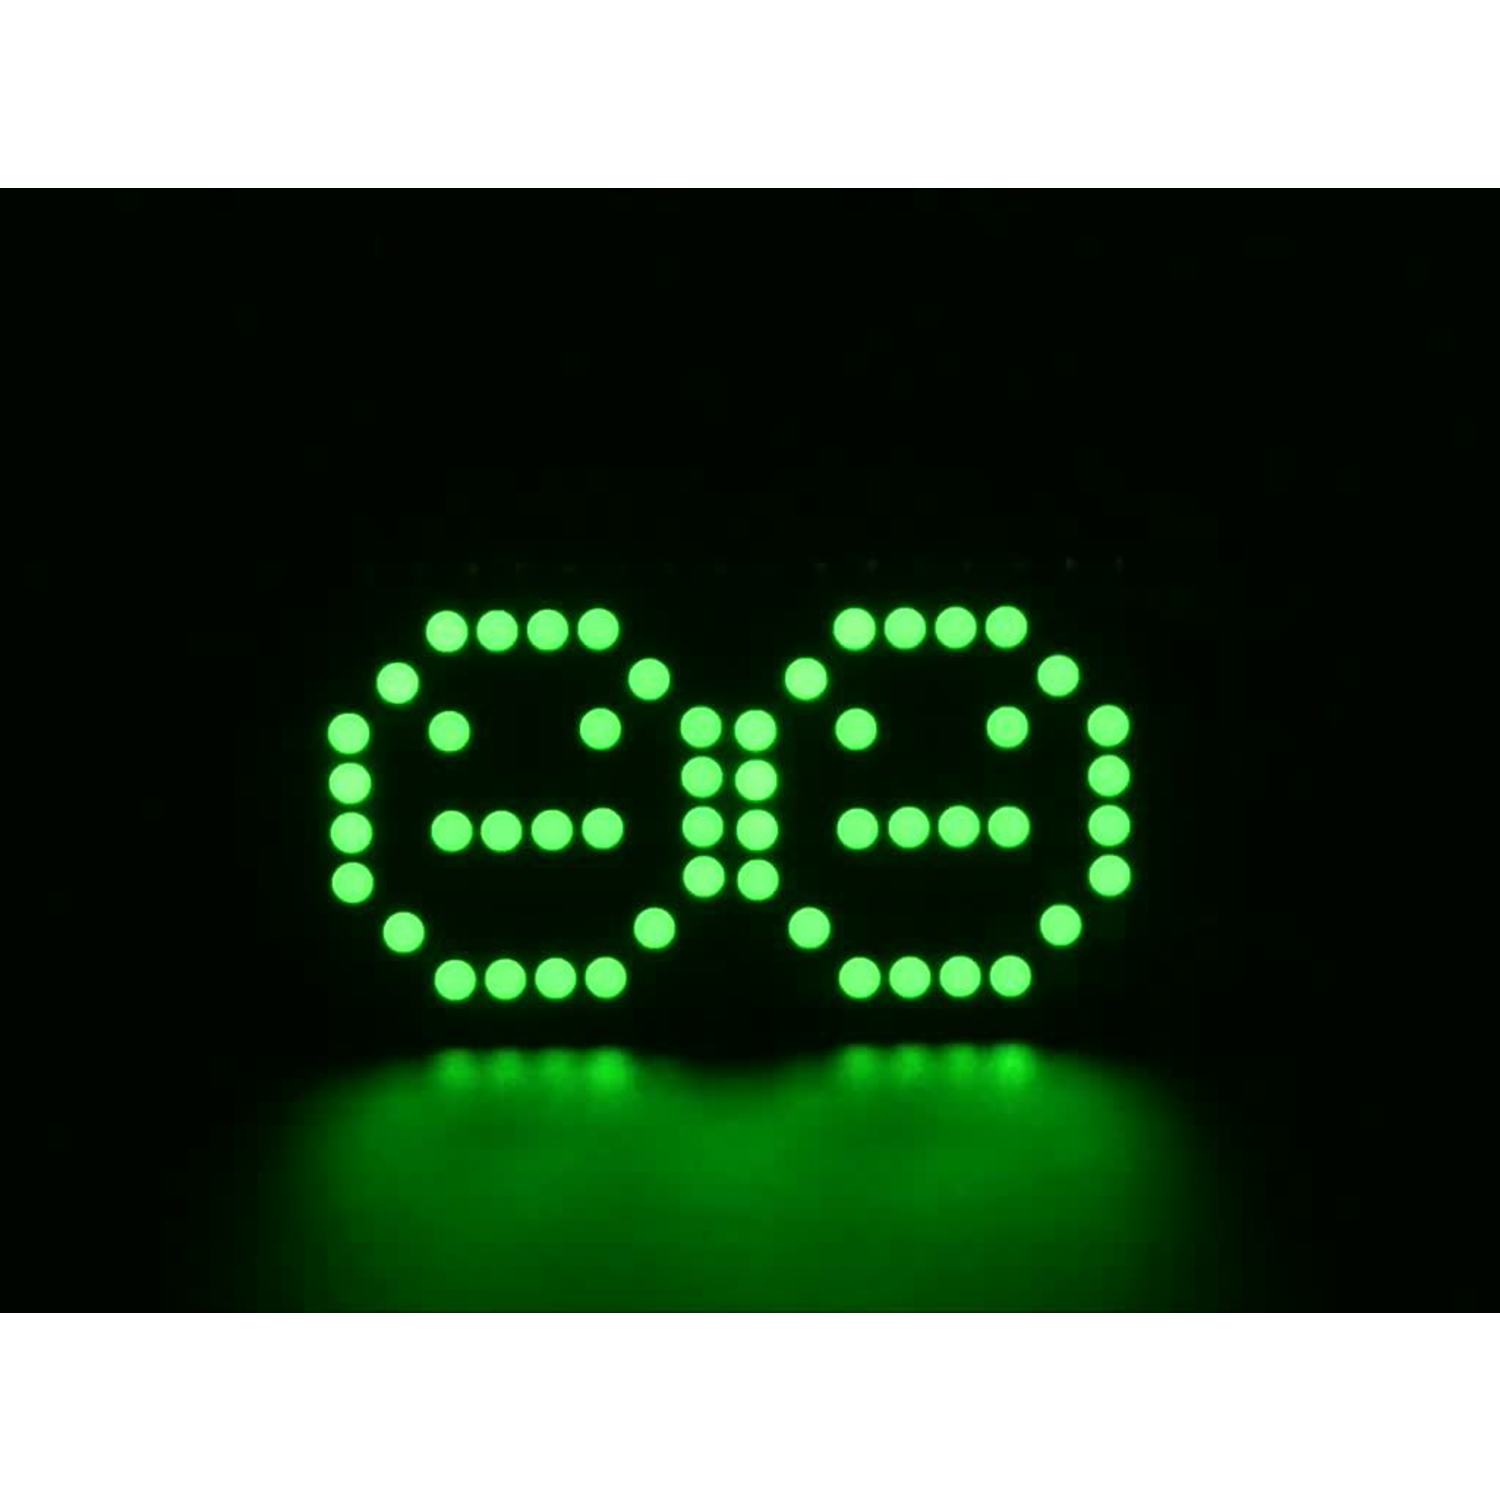
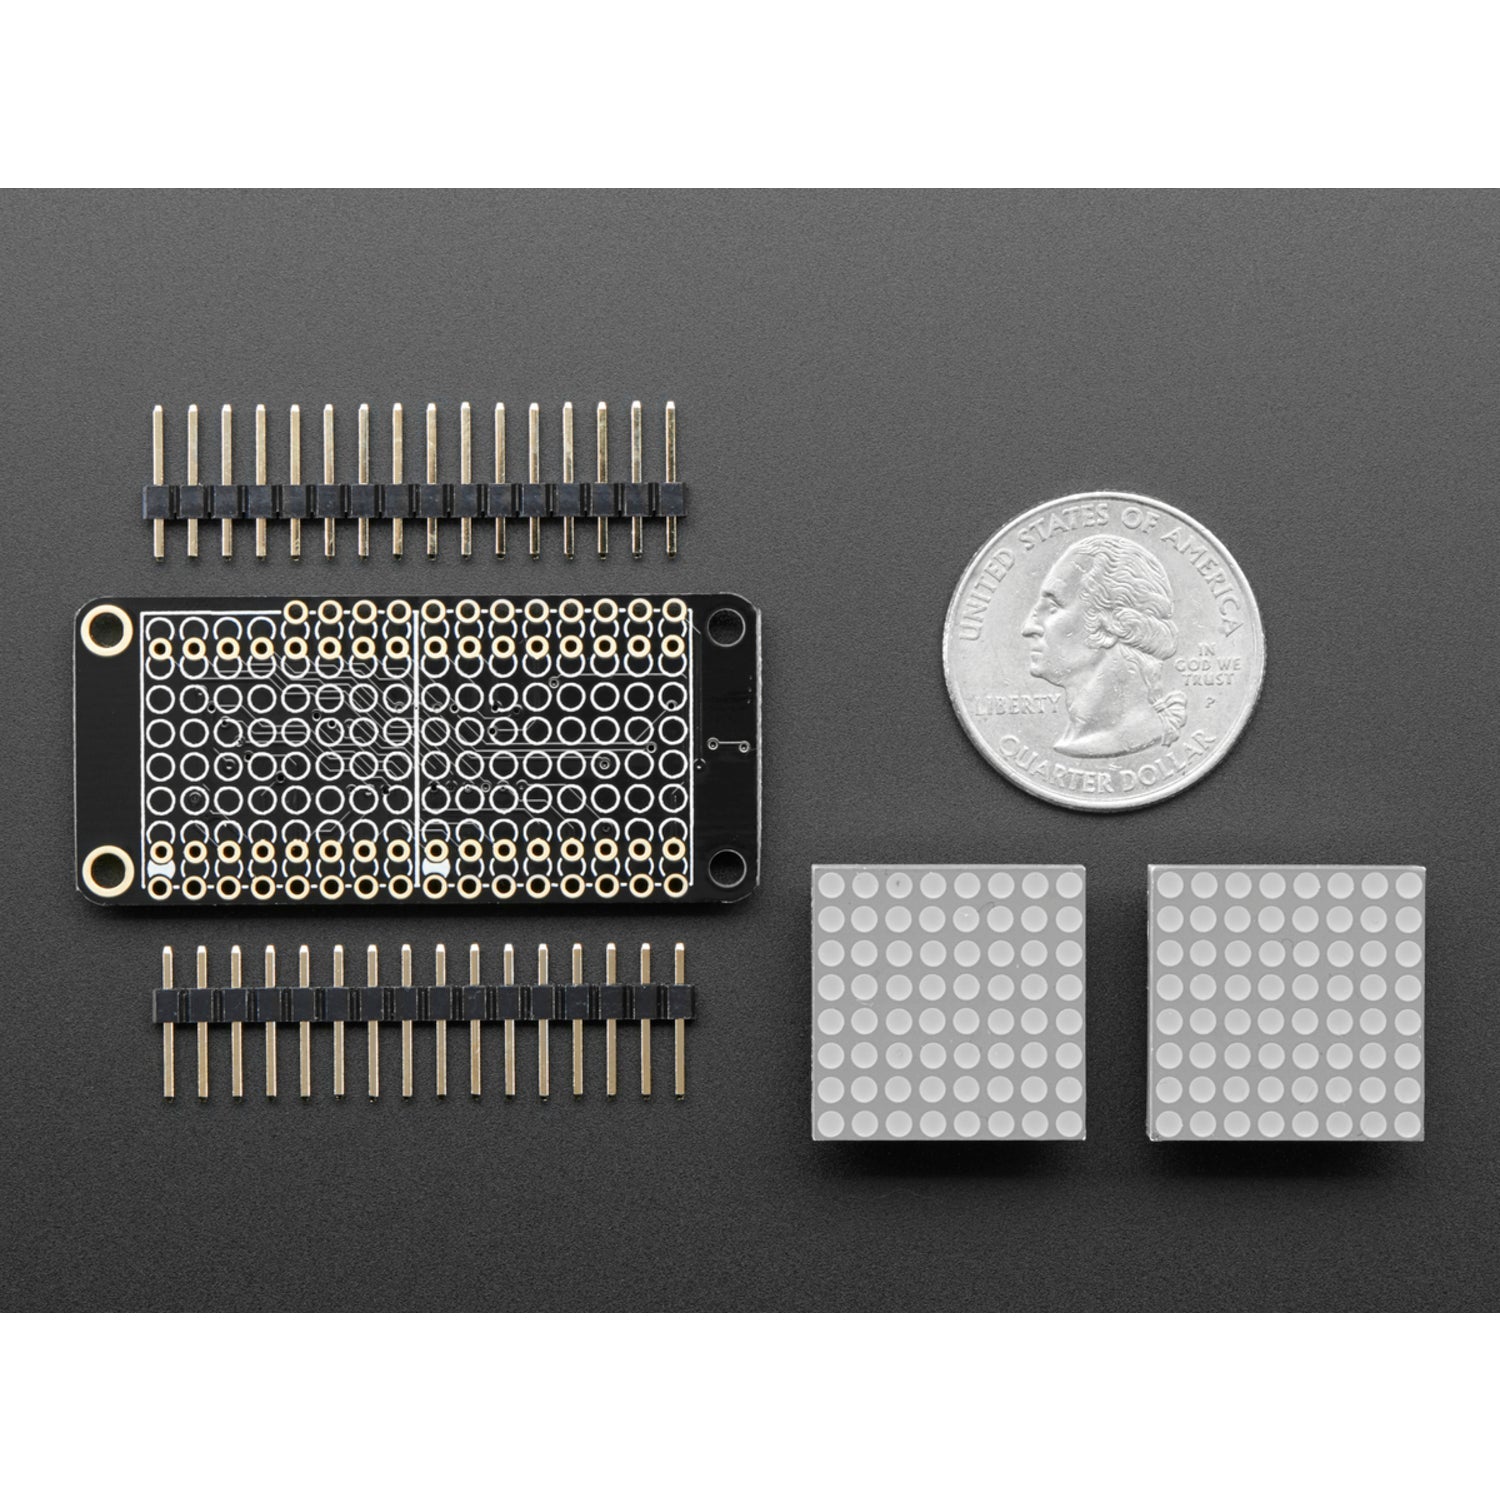
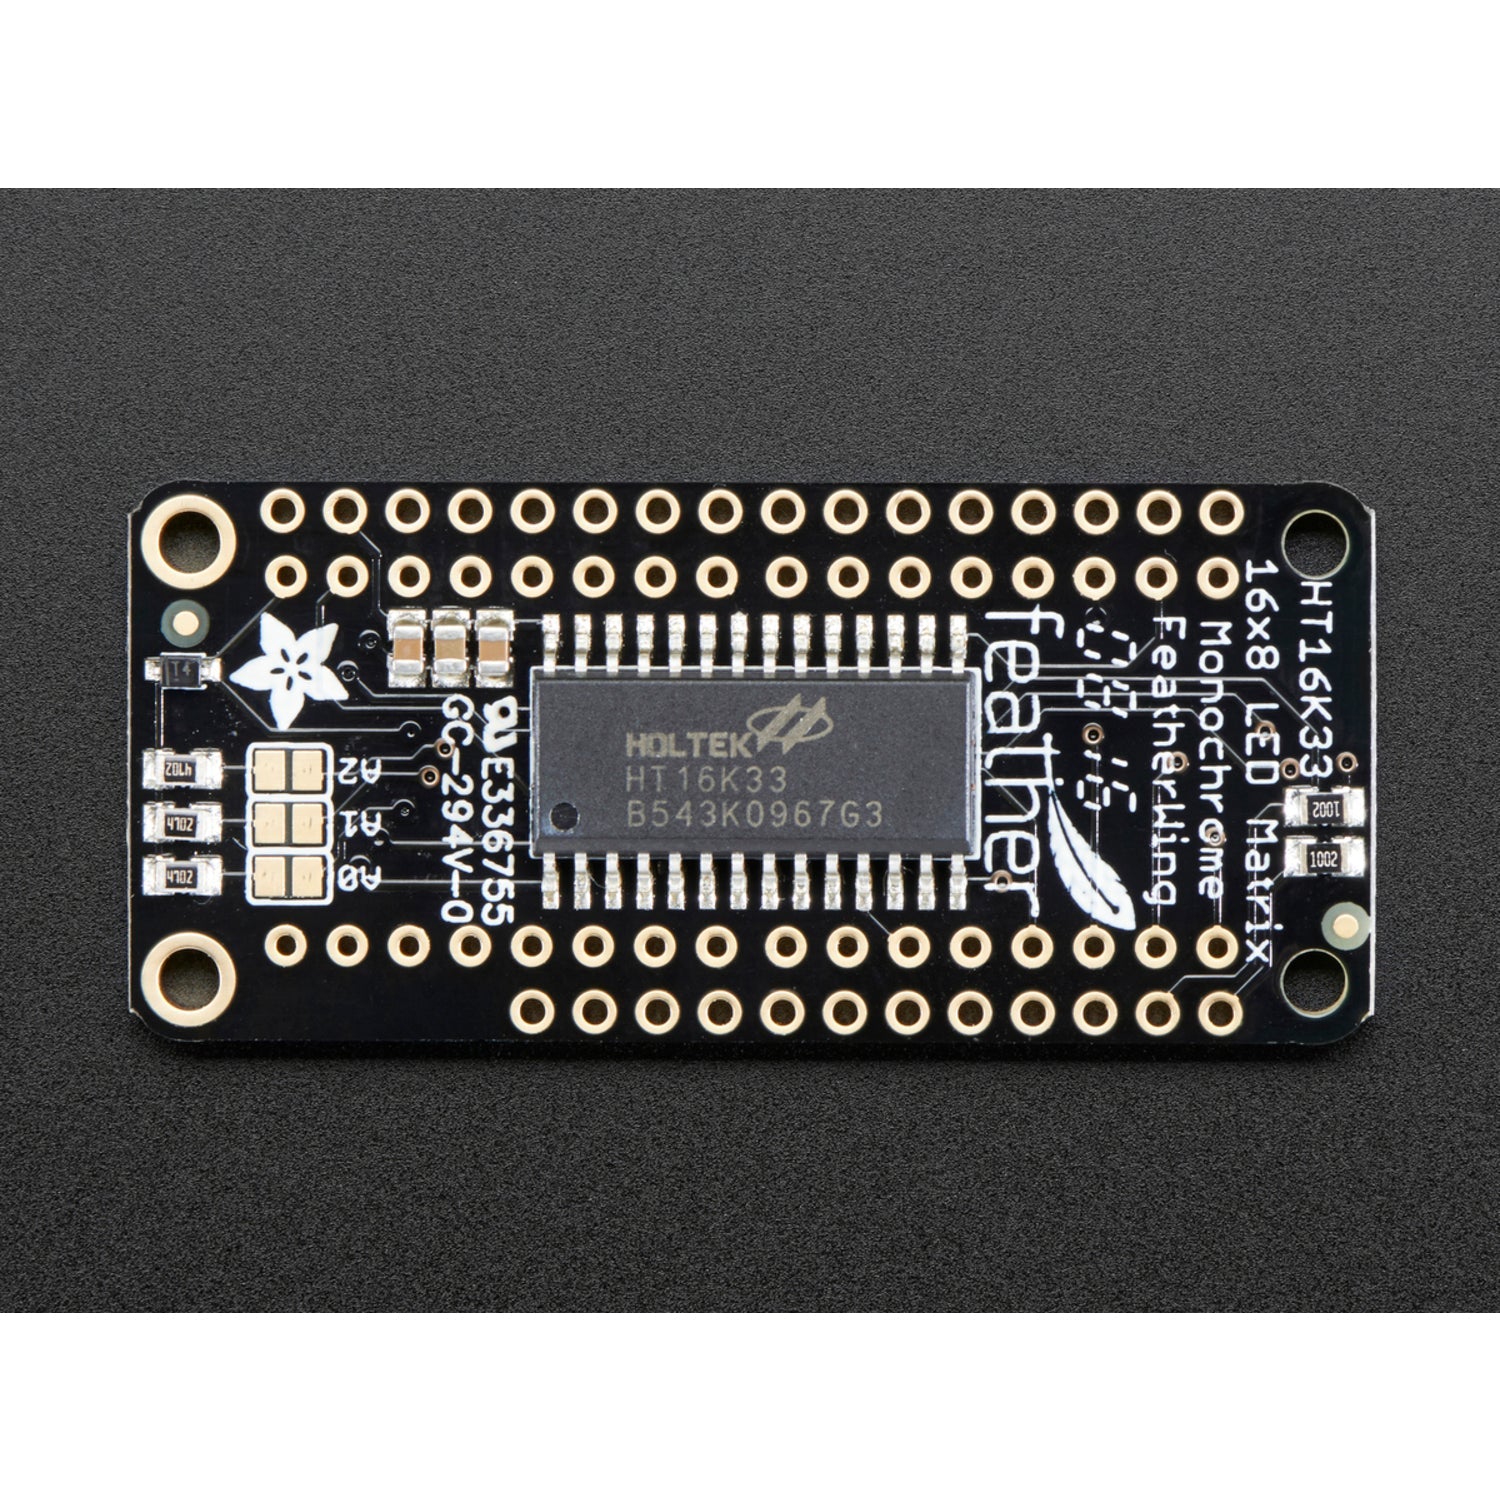
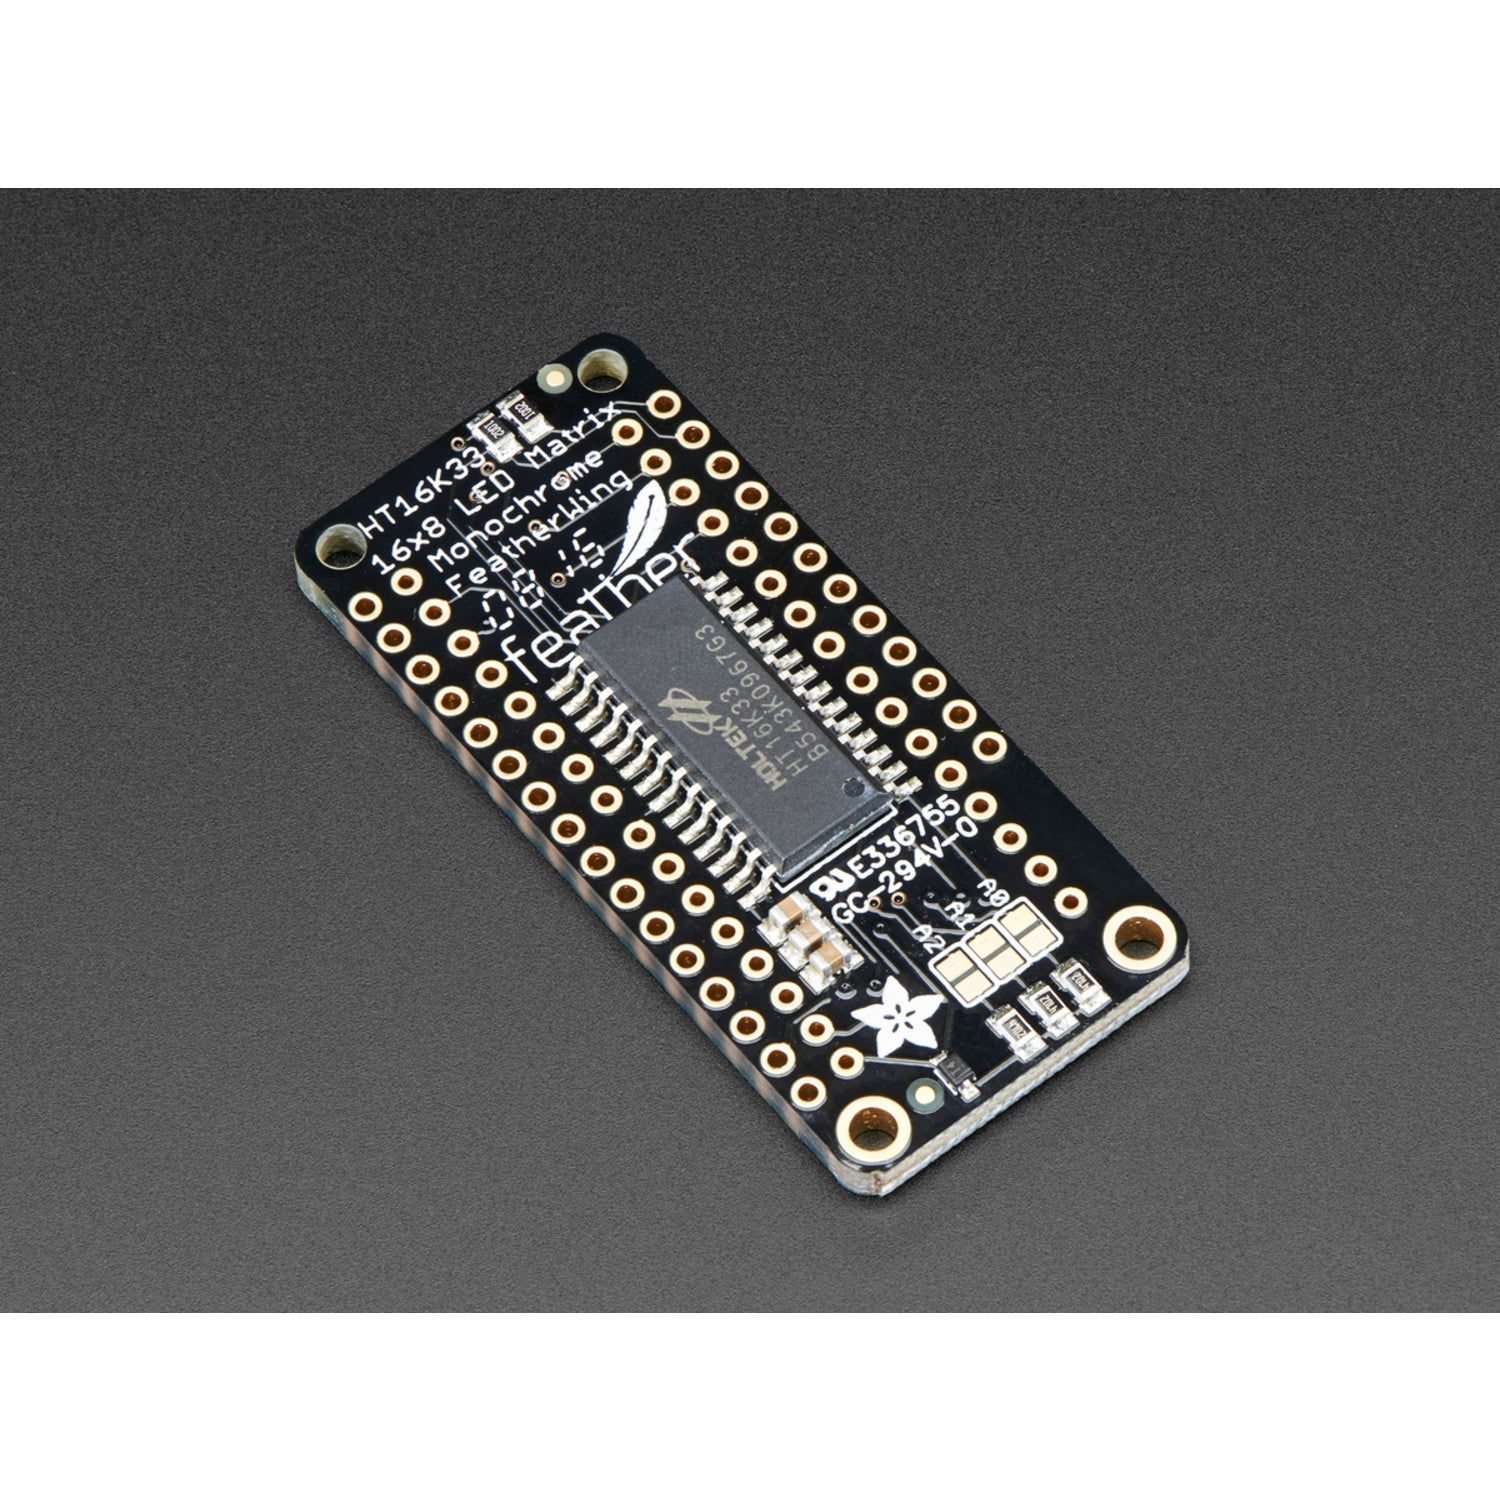
Using this Adafruit LED matrix display kit is simple. First, if you're new to soldering, make sure you have the right tools like a soldering iron and solder. Attach the two 8x8 green matrices to the FeatherWing using the 16 - pin headers. This soldering step takes about 15 minutes. Once assembled, connect the FeatherWing to your Feather board. The HT16K33 I2C LED matrix driver on the backpack PCB will handle all the multiplexing work, and you can control it via the two I2C pins. You can use the provided portable library to turn each LED on or off. To create a scrolling display or show text, just follow the example in our tutorial. As for maintenance, keep the display away from extreme temperatures and humidity. If it gets dirty, use a soft, dry cloth to gently clean it. Also, make sure to follow the safety instructions in the tutorial when working with the electrical components.