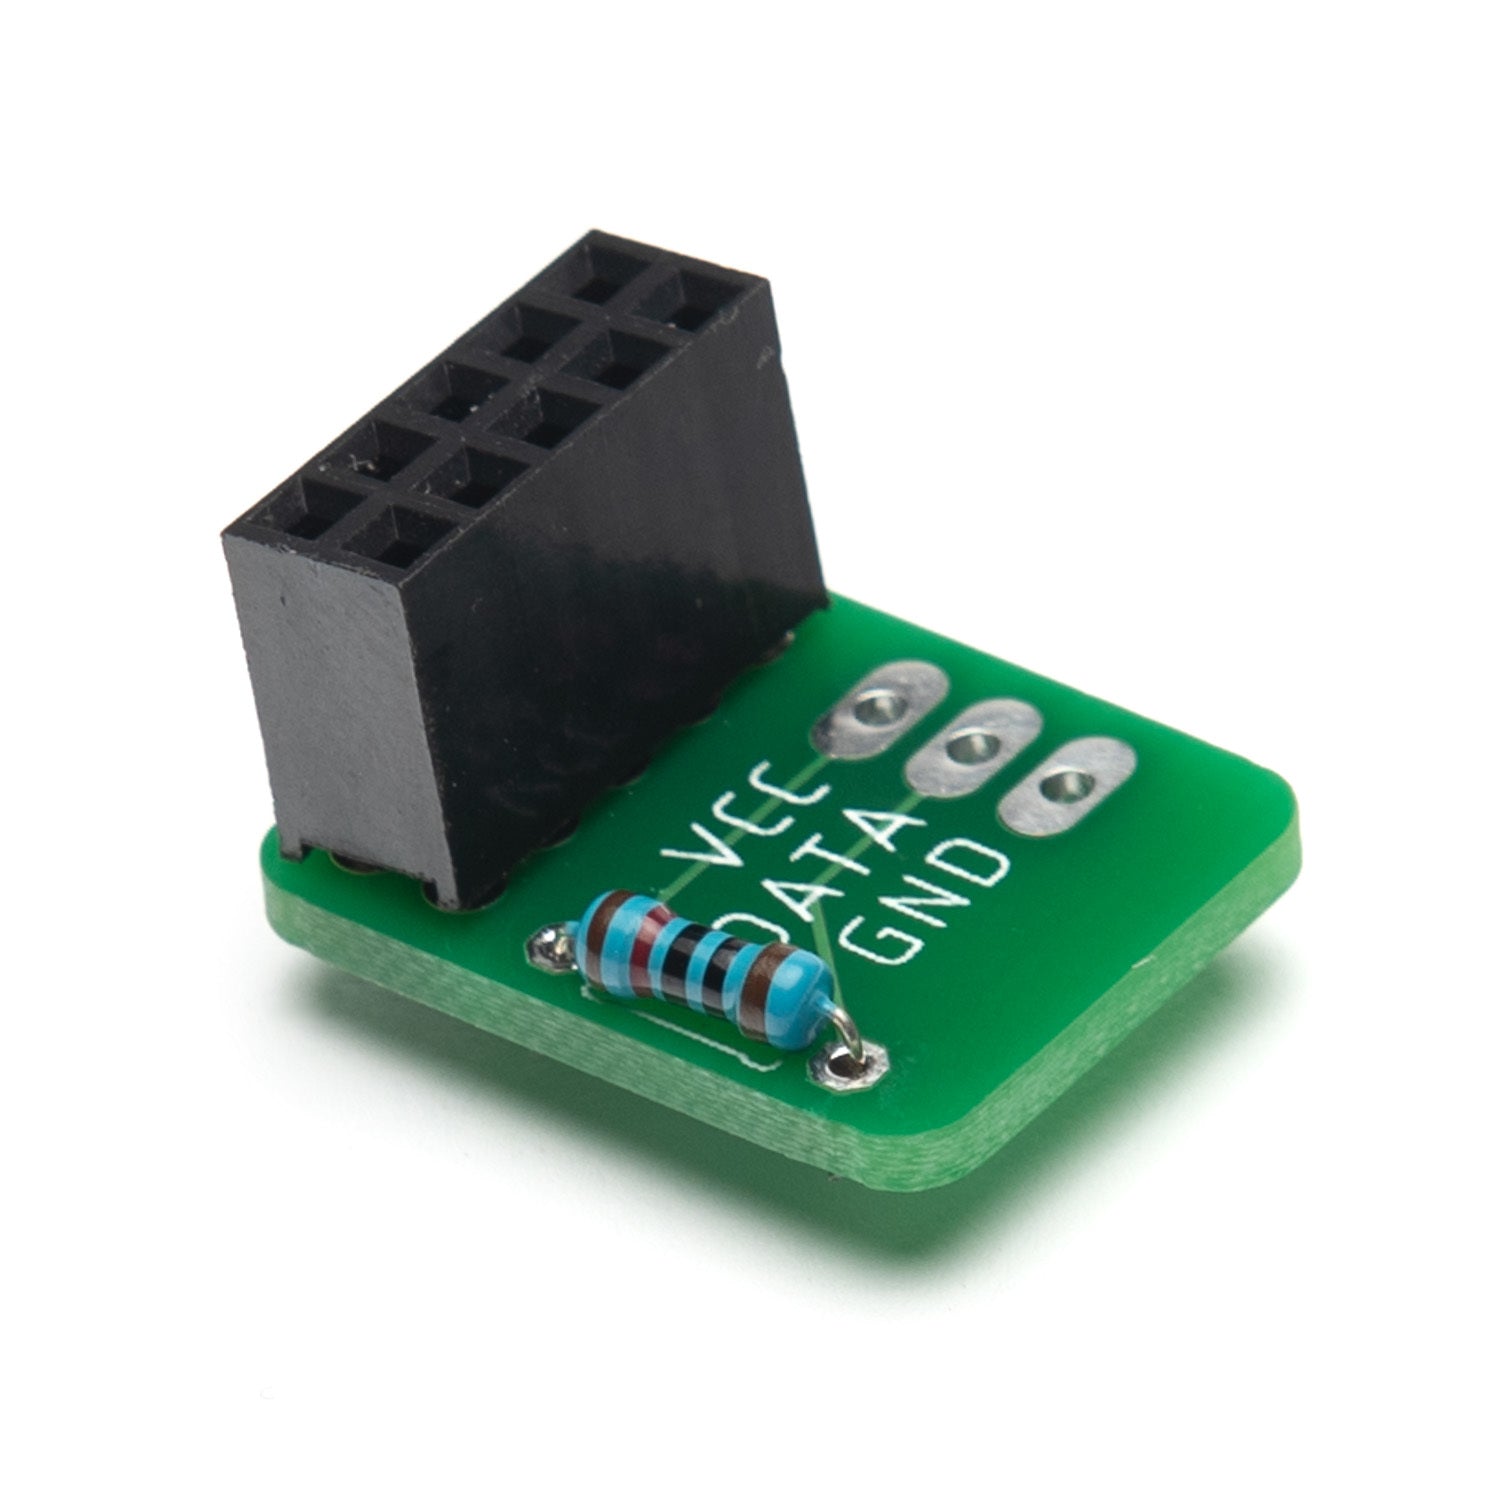
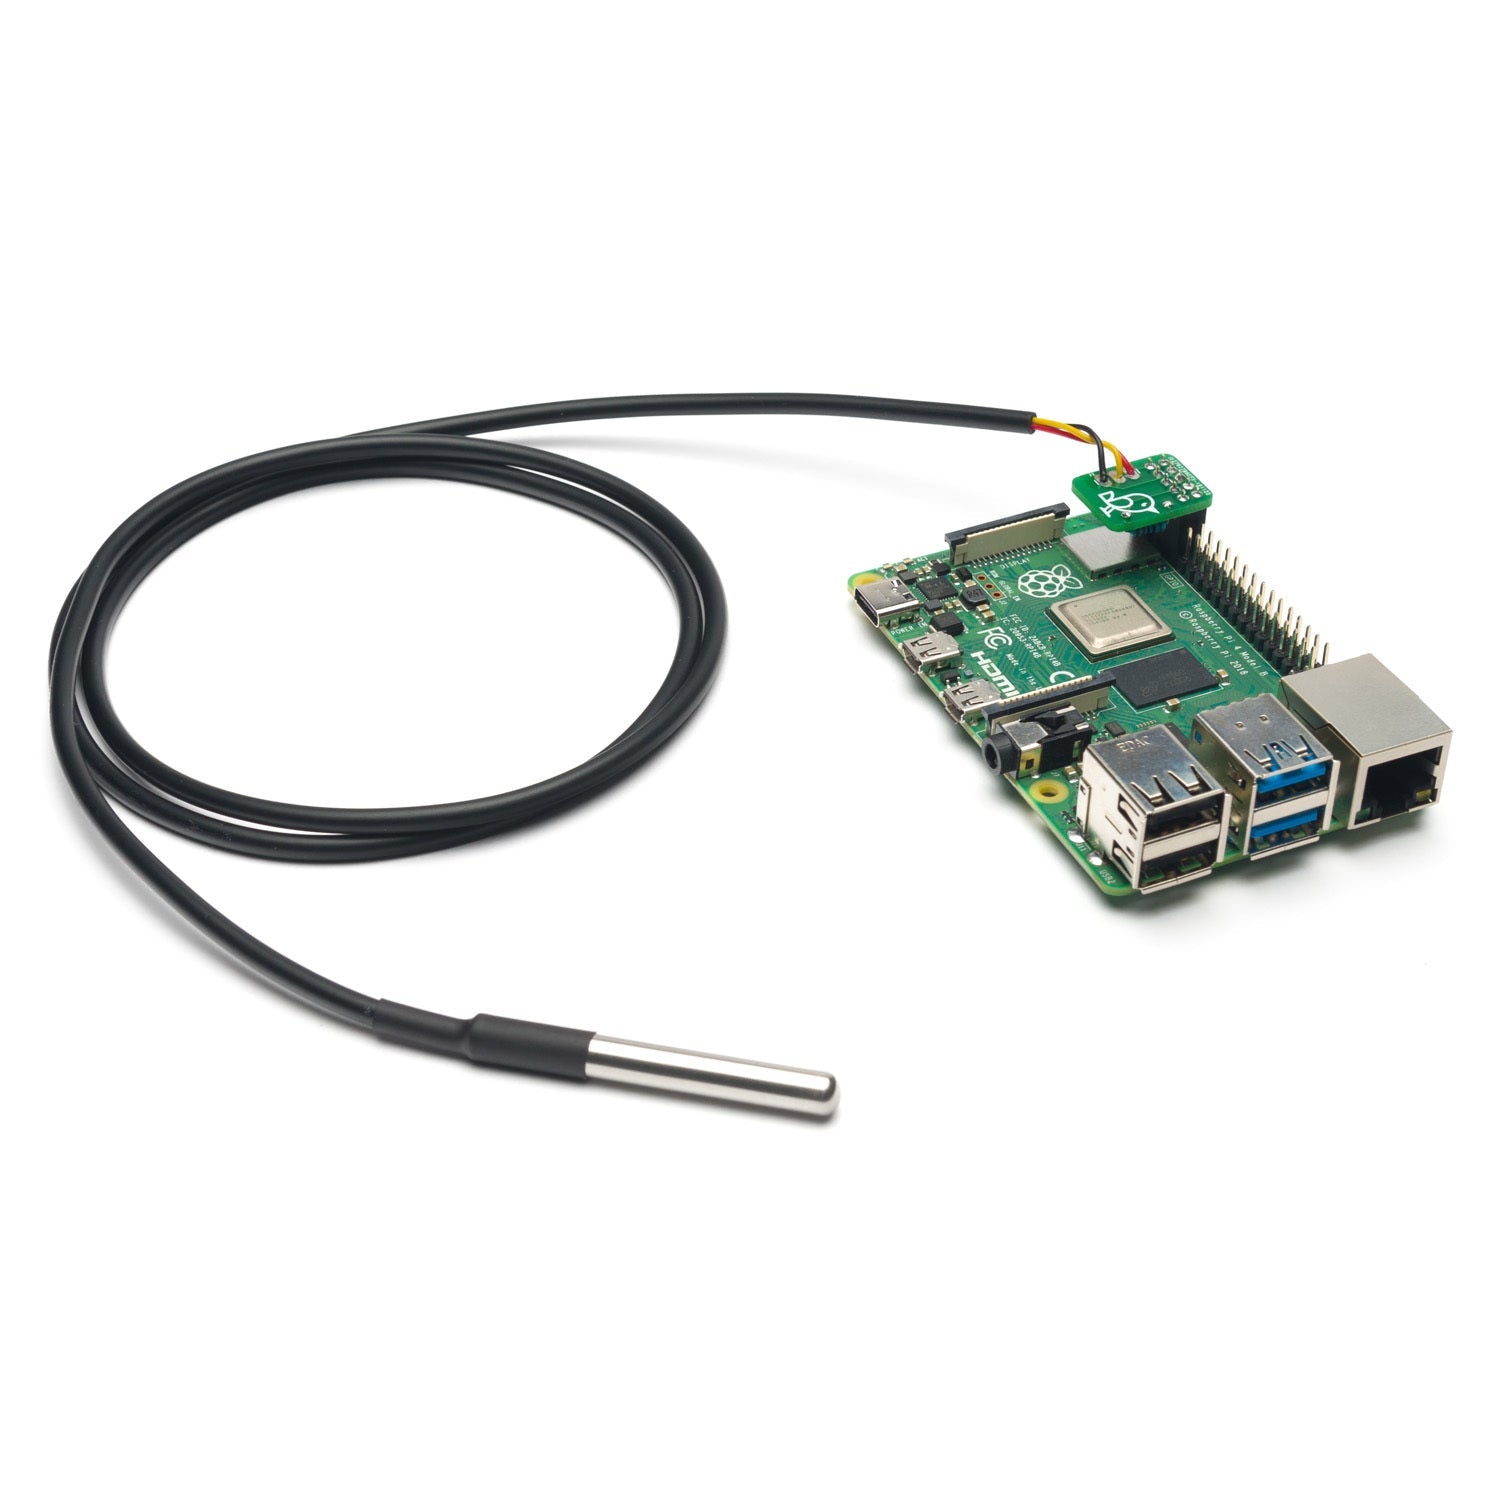
This is the Little Bird 1 - Wire Digital Temperature Sensor for Raspberry Pi. It's incredibly easy to use! In less than a second, you can start with environment sensing, data logging, and IoT applications. No need to worry about which pin goes where. Just plug it on top of the Raspberry Pi as shown. There's no need for breadboards, jumper wires, or other small parts. It comes in two options: assembled and unassembled. This is the 1 - meter long version. And there's a link to nice code to get it up and running!


Using this Little Bird 1 - Wire Digital Temperature Sensor for Raspberry Pi is a breeze. First, check if you have the unassembled version. If so, you might want to assemble it carefully following any included instructions. Then, simply plug the sensor on top of your Raspberry Pi as shown in the guide. You don't need to use breadboards or jumper wires. Once it's plugged in, access the provided link to the code. Use this code to start the sensor for environment sensing, data logging, or IoT applications. As for maintenance, keep it in a dry place away from extreme temperatures. If you're not using it for a long time, unplug it from the Raspberry Pi. Note that this is the 1 - meter long version, so make sure you have enough space for it.