This 16mm illuminated pushbutton is a wonderful blend of a button and an LED! It's a medium - sized button, big enough for easy pressing but not so large that it will clutter your project panel. The button features a built - in LED that can be controlled independently of the switch action, used for indication or just to add a nice look.
The body is made of black plastic with the LED inside. There are two contacts for the button and two for the LED, marked + and - respectively. The LED has a forward voltage of about 2.2V. Similar to other LEDs, when connecting it to a 3V or higher power supply, you should connect a 220 - 1000 ohm resistor in series.
This particular pushbutton has a yellow body and LED and is momentary, normally open. The two switch contacts are not connected under normal conditions. When you press the button, they will connect temporarily until the button is released. Since the LED is separate from the button, you can make it light up when pressed, when not pressed, or keep it always on.
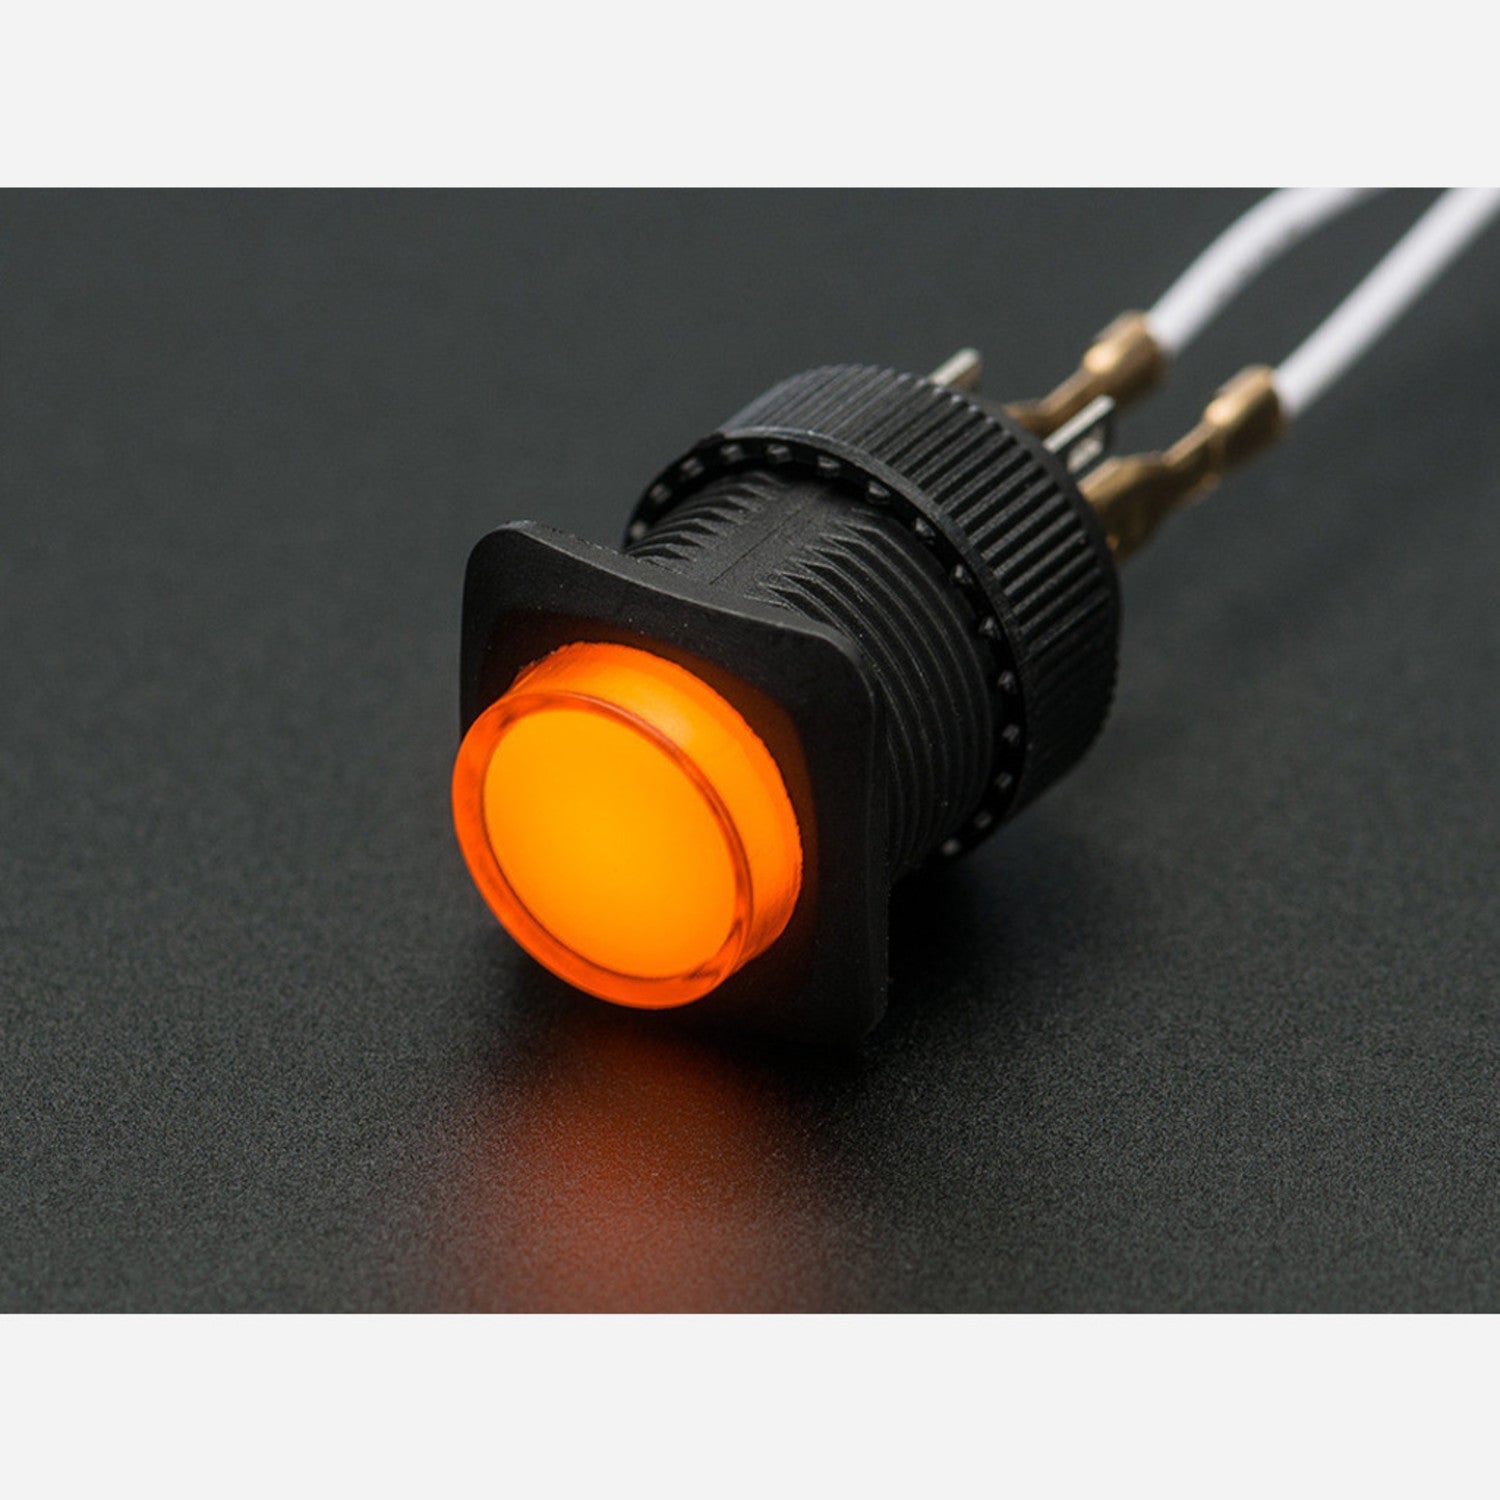
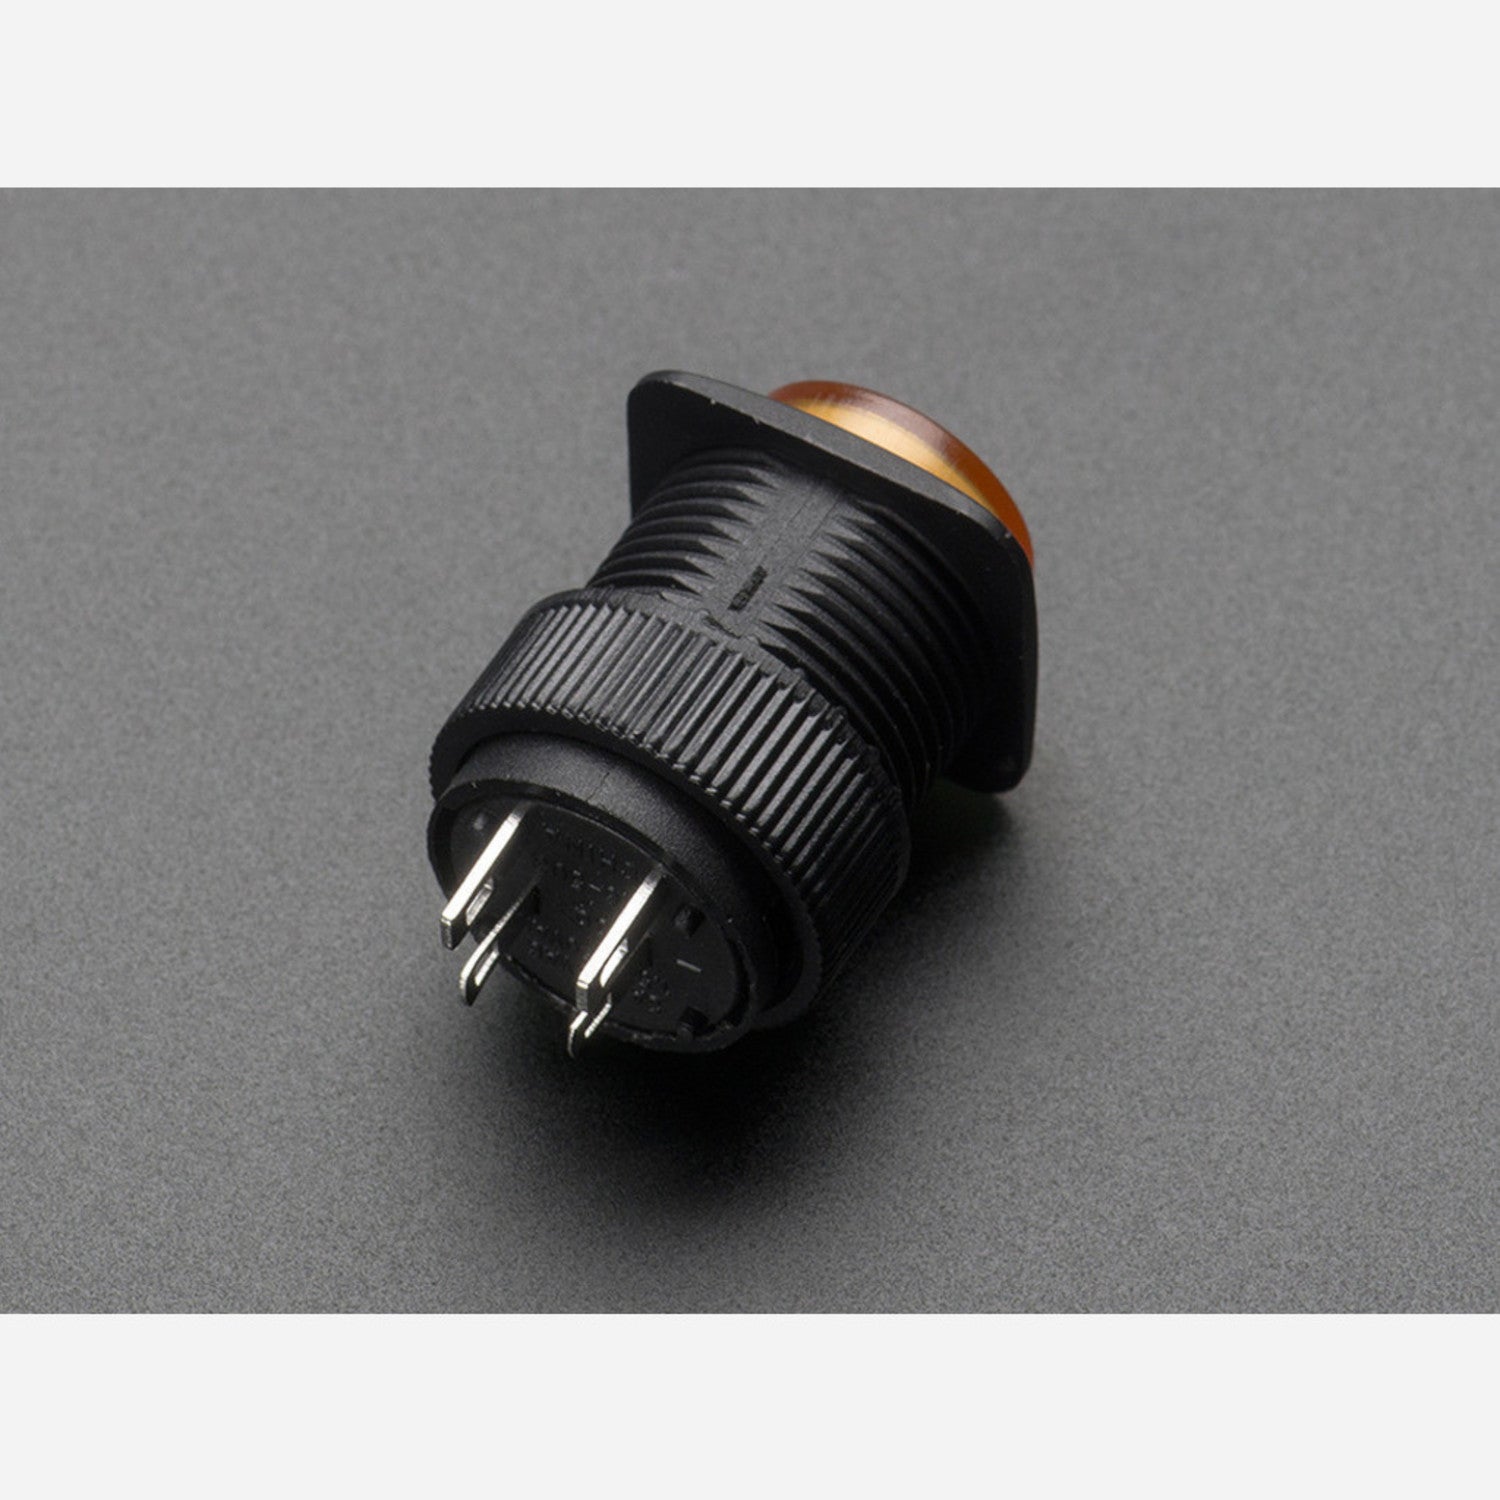
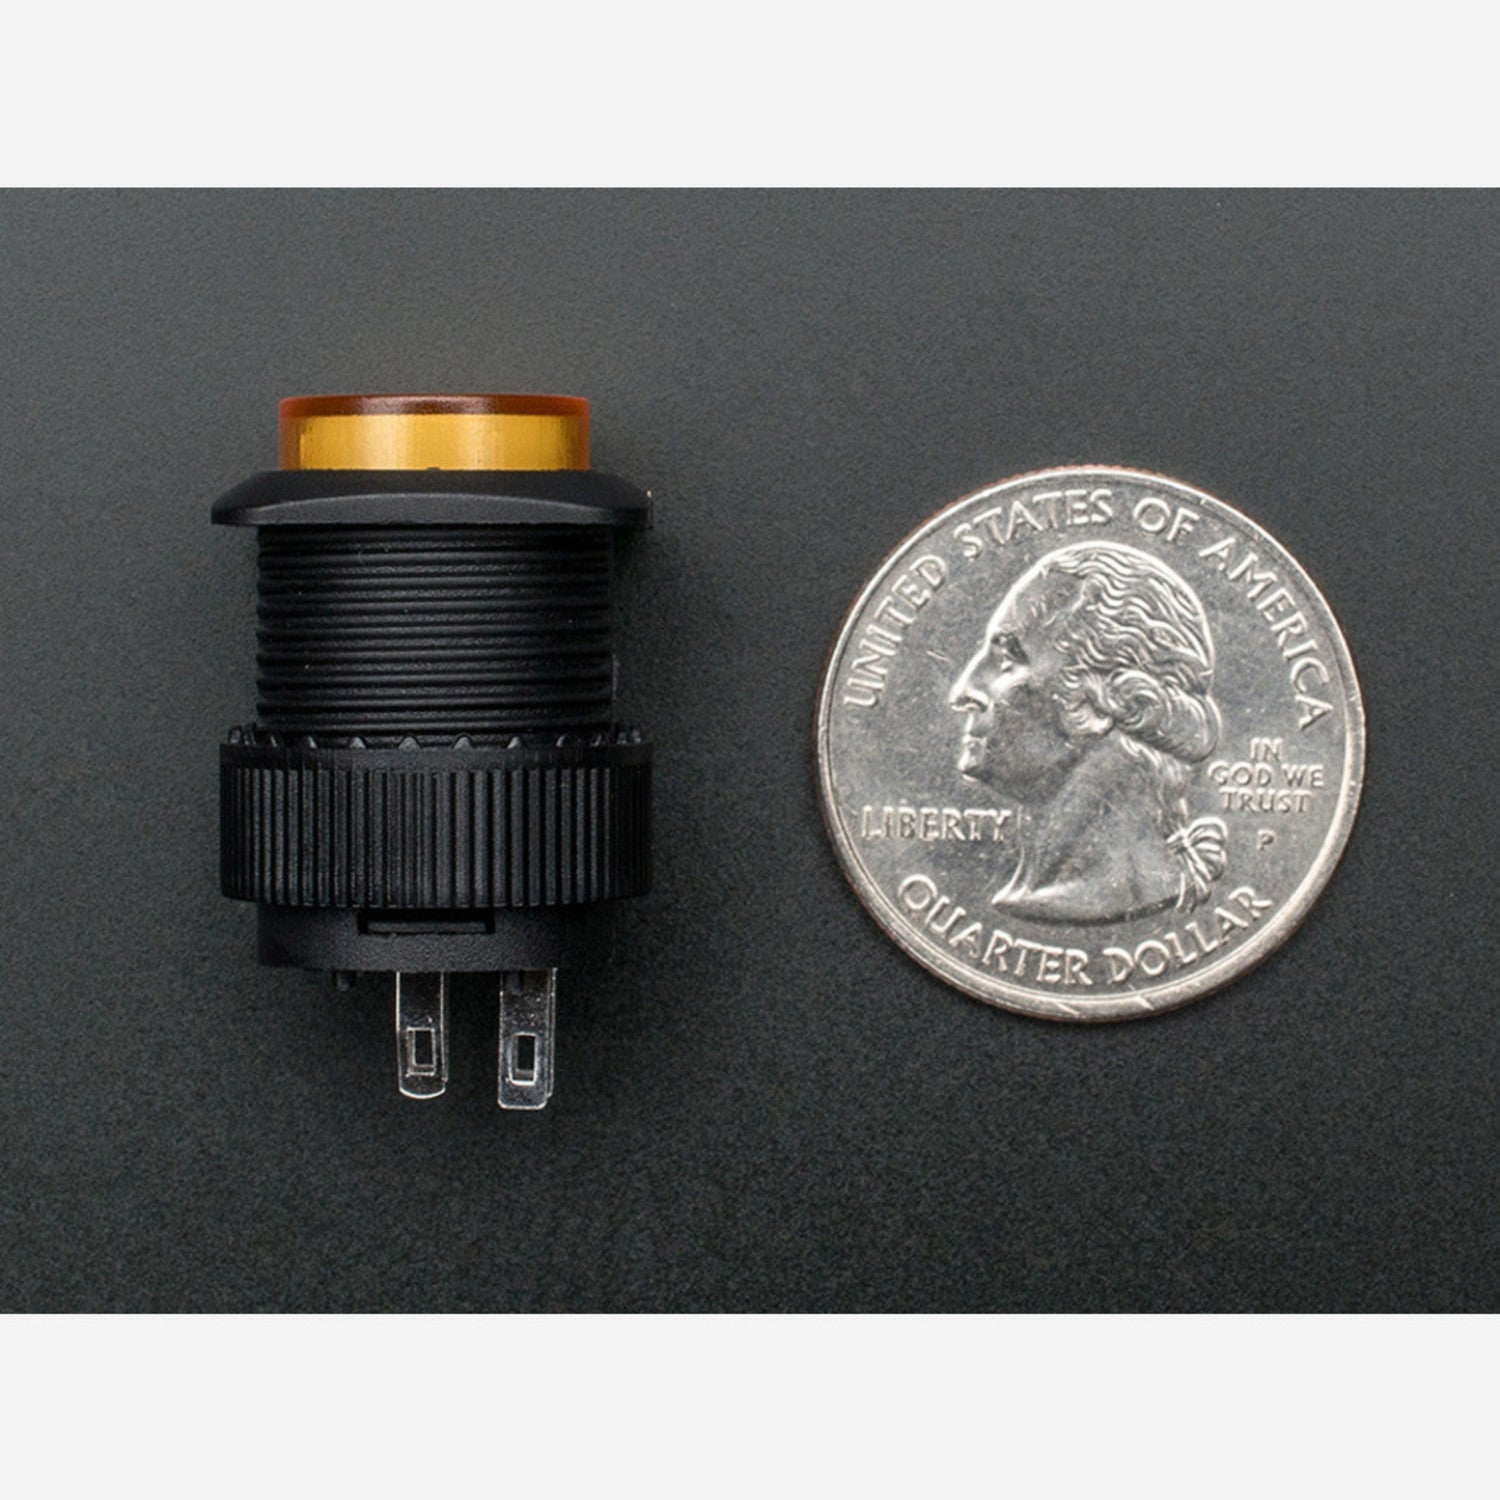
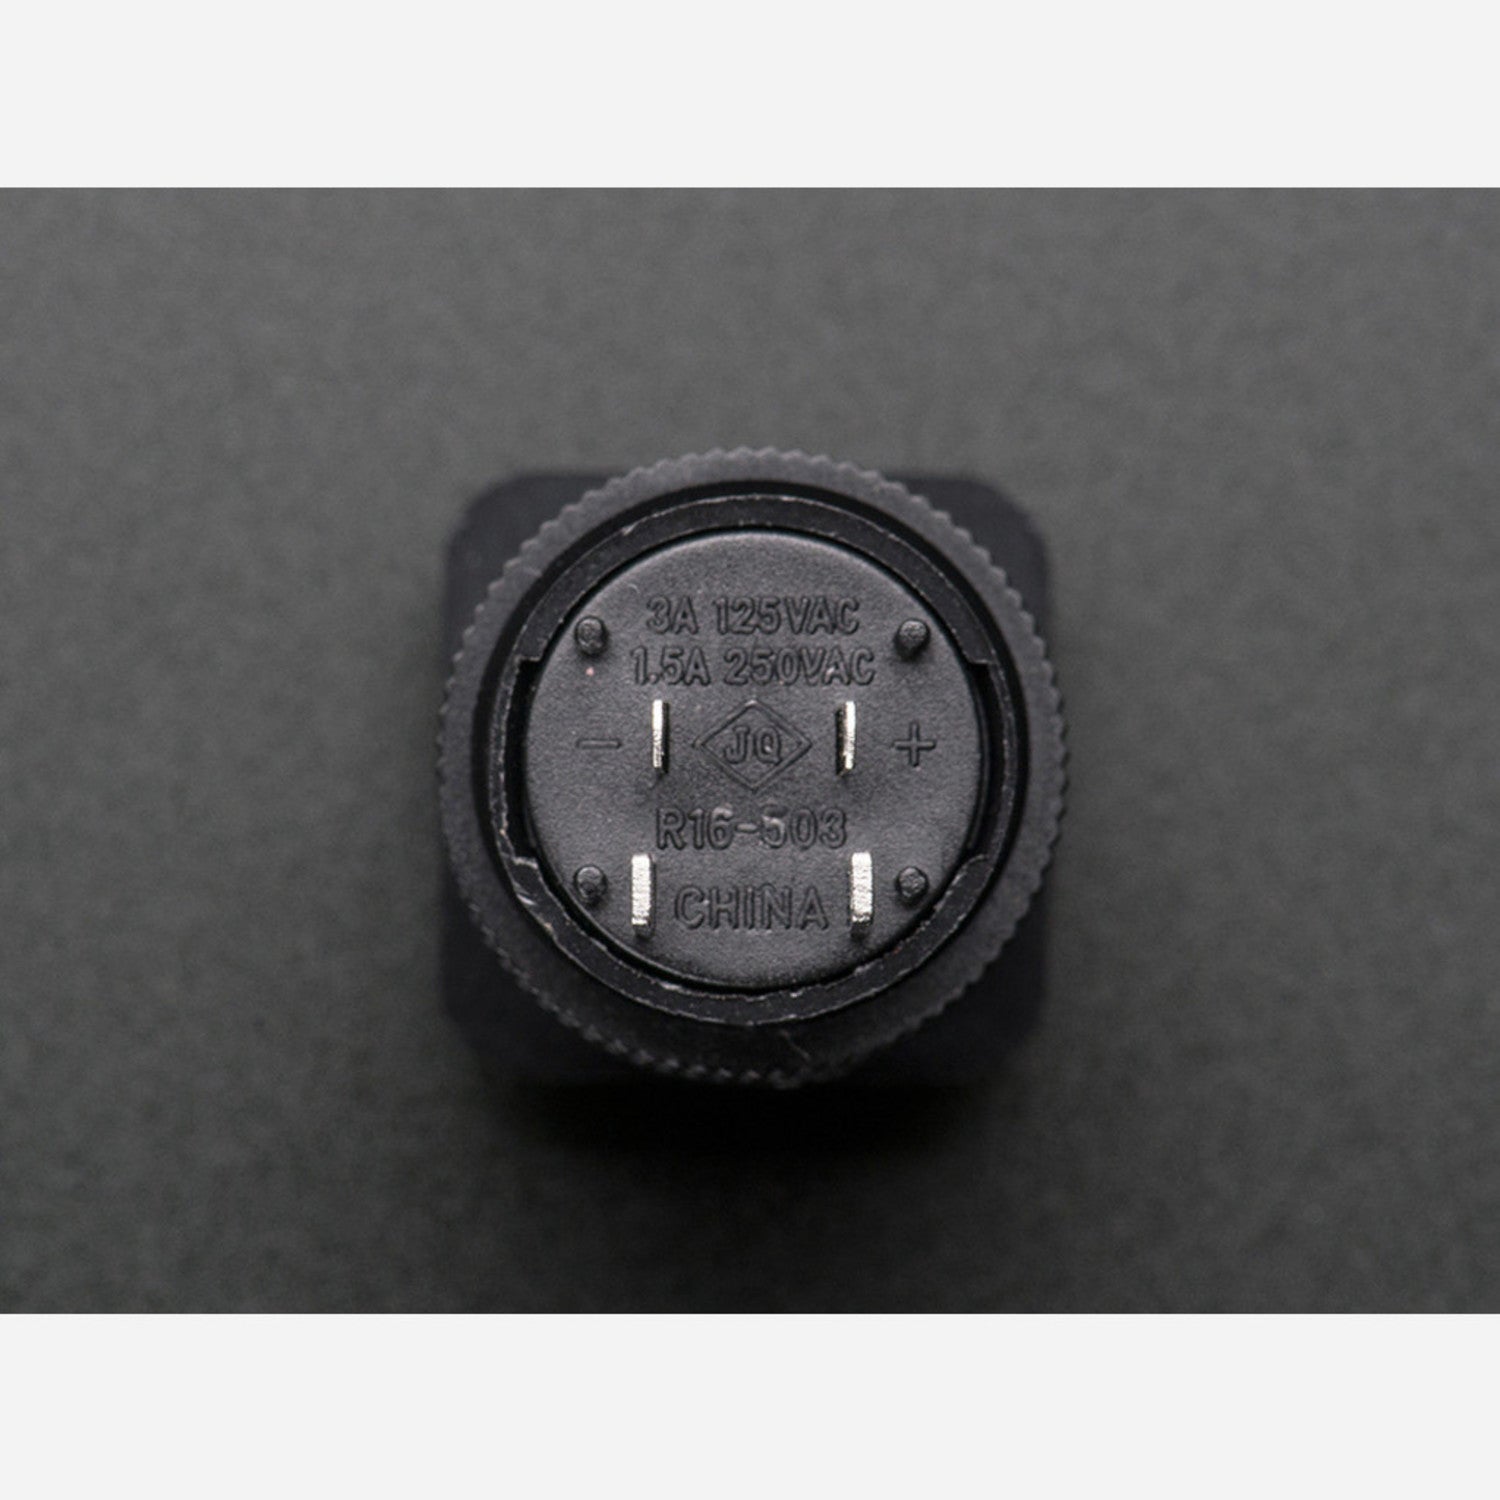
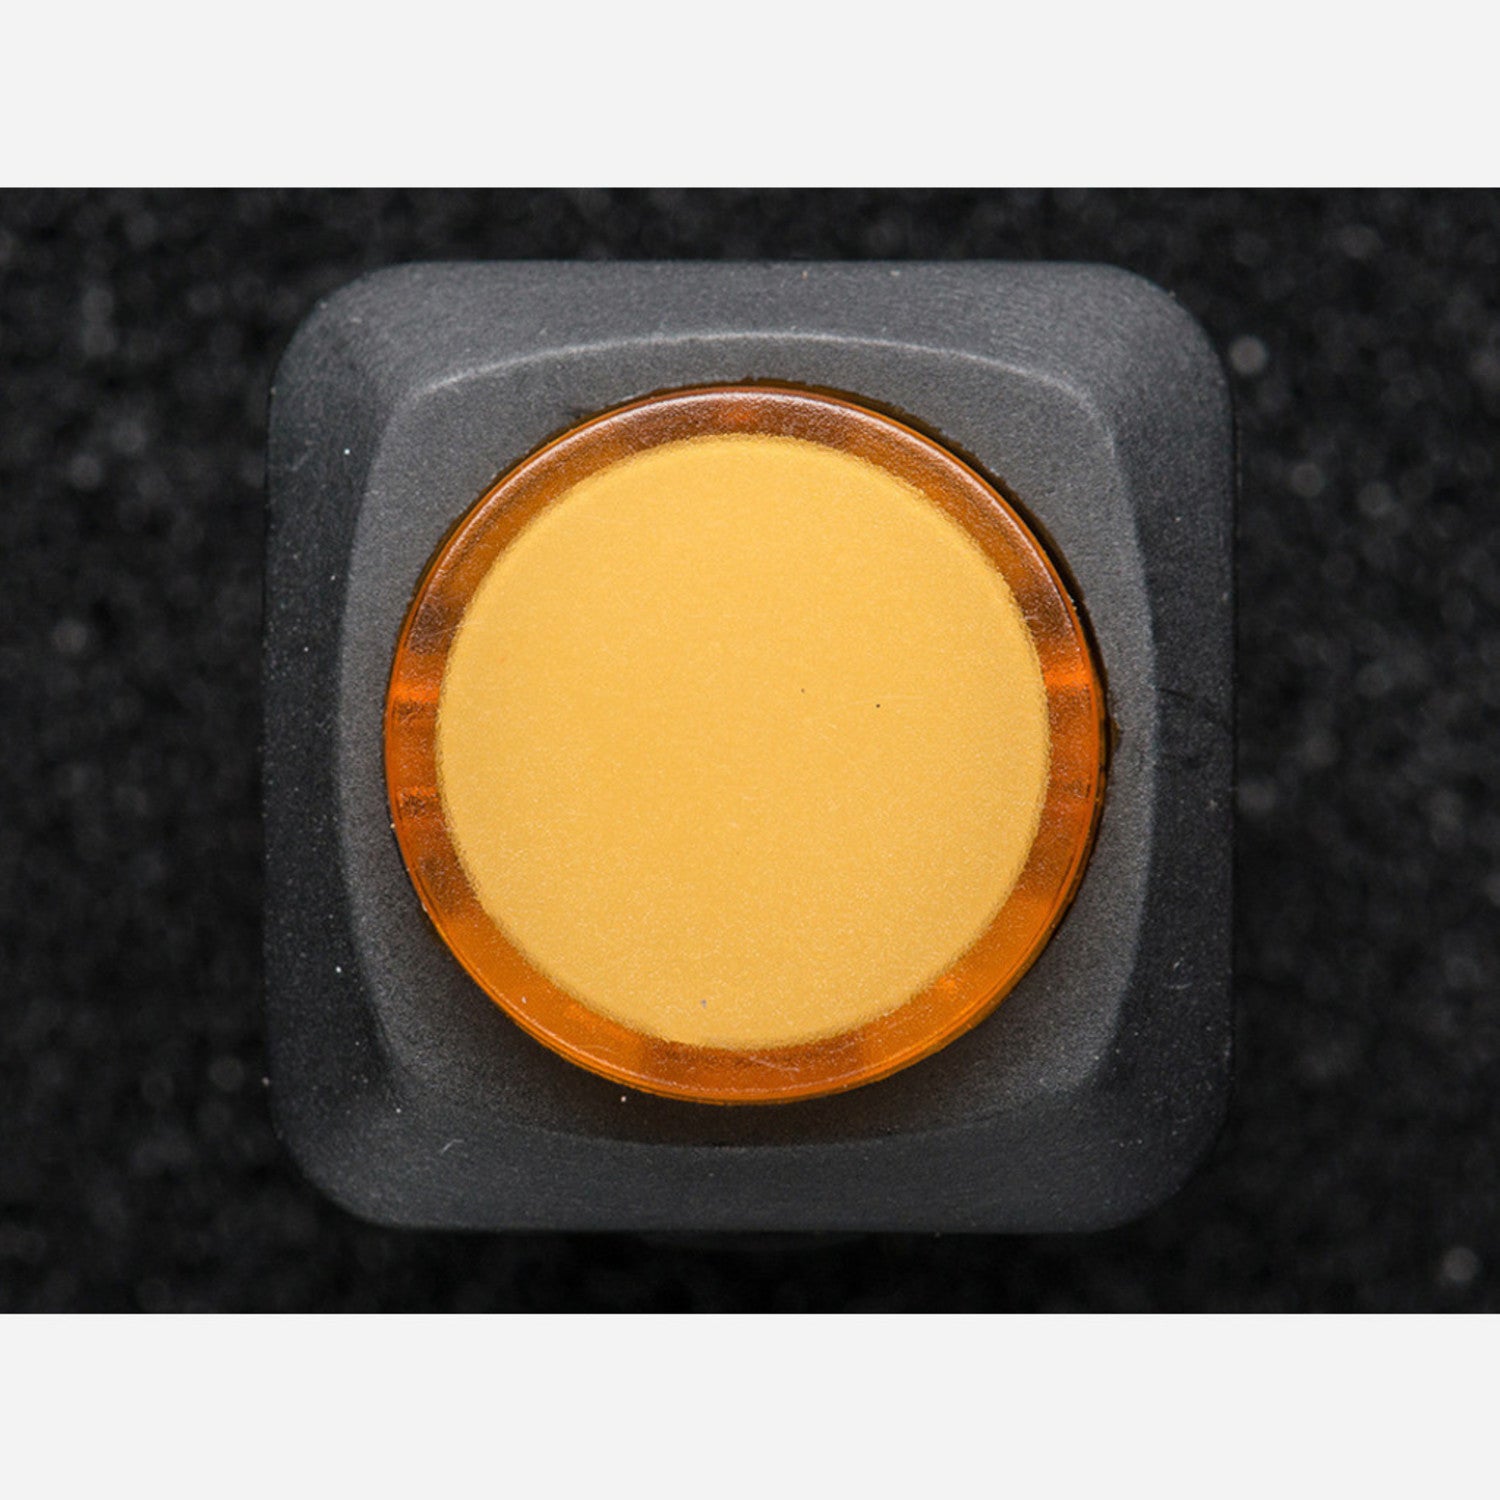
Using this 16mm yellow momentary illuminated pushbutton is quite easy. First, identify the two button contacts and the two LED contacts marked + and -. When connecting the LED to a 3V or higher power supply, remember to connect a 220 - 1000 ohm resistor in series to protect the LED. You can control the LED to light up in different ways, like making it light up when you press the button or keeping it always on.
As for the switch, just press it, and the two switch contacts will connect temporarily until you release the button.
When it comes to maintenance, keep the button clean. Avoid getting it wet or exposing it to extreme temperatures. If the LED stops working, check the resistor and the power connection first. If the switch has trouble connecting, make sure there is no dirt or debris on the contacts.