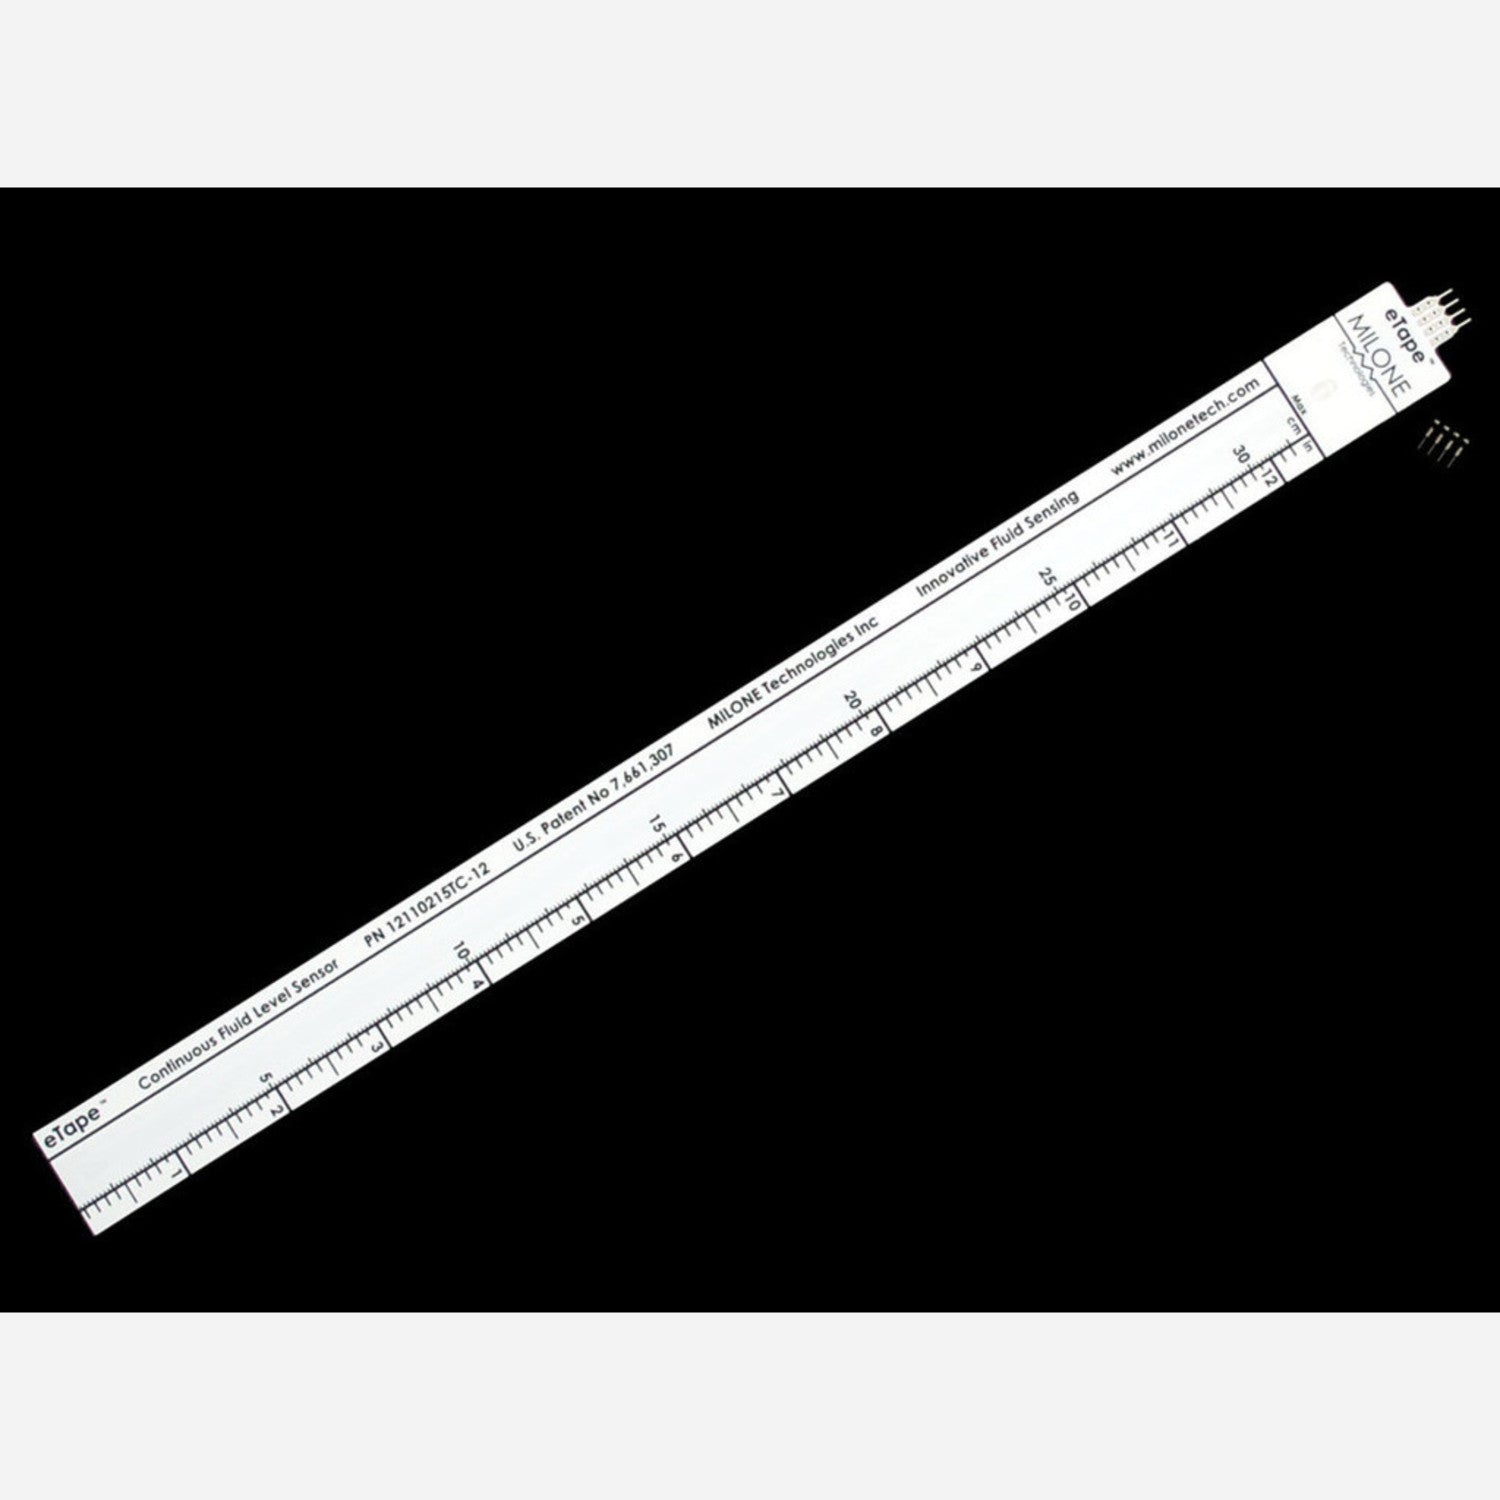
The eTape Liquid Level Sensor is an amazing solid-state sensor. It has a resistive output that changes according to the fluid level. Say goodbye to those bulky mechanical floats! This sensor easily connects with electronic control systems. When the sensor is immersed in fluid, the hydrostatic pressure compresses its envelope. This leads to a change in resistance that shows the distance from the sensor's top to the fluid surface. The sensor's resistive output and the liquid height are inversely related. A lower liquid level means a higher output resistance, and a higher liquid level means a lower output resistance. This is a truly unique sensor. It's affordable and accurate for measuring liquid levels, something we rarely see. It's a great addition to hydroponics, aquarium, fountain, or pool controllers, and can also be used for measuring rain tubes. This specific sensor is the 12 - foot model. We also provide a 4 - pin connector and a 560 - ohm resistor. With the connector, you don't need to solder directly to the delicate pins. Just solder to the connector and plug it onto the sensor. Since it's a resistive sensor, you can easily read it using a microcontroller or Arduino ADC pin. Check the tutorials tab for a quick start.

Using this eTape Liquid Level Sensor is easy. First, immerse the sensor in the fluid you want to measure. The sensor will automatically detect the fluid level through changes in resistance. If you're using the 4 - pin connector, solder your wires to the connector instead of the delicate pins on the sensor, then plug the connector onto the sensor. To read the sensor's output, connect it to a microcontroller or Arduino ADC pin. There are tutorials available in the tutorials tab to help you get started quickly. When using the sensor, make sure the fluid doesn't contain substances that could damage it. Also, avoid physical impacts on the sensor. For maintenance, keep the sensor clean. If it gets dirty, gently wipe it with a soft cloth. If you notice any problems with the sensor's performance, check the connections and the resistor first. If the issue persists, contact our customer service for further assistance.