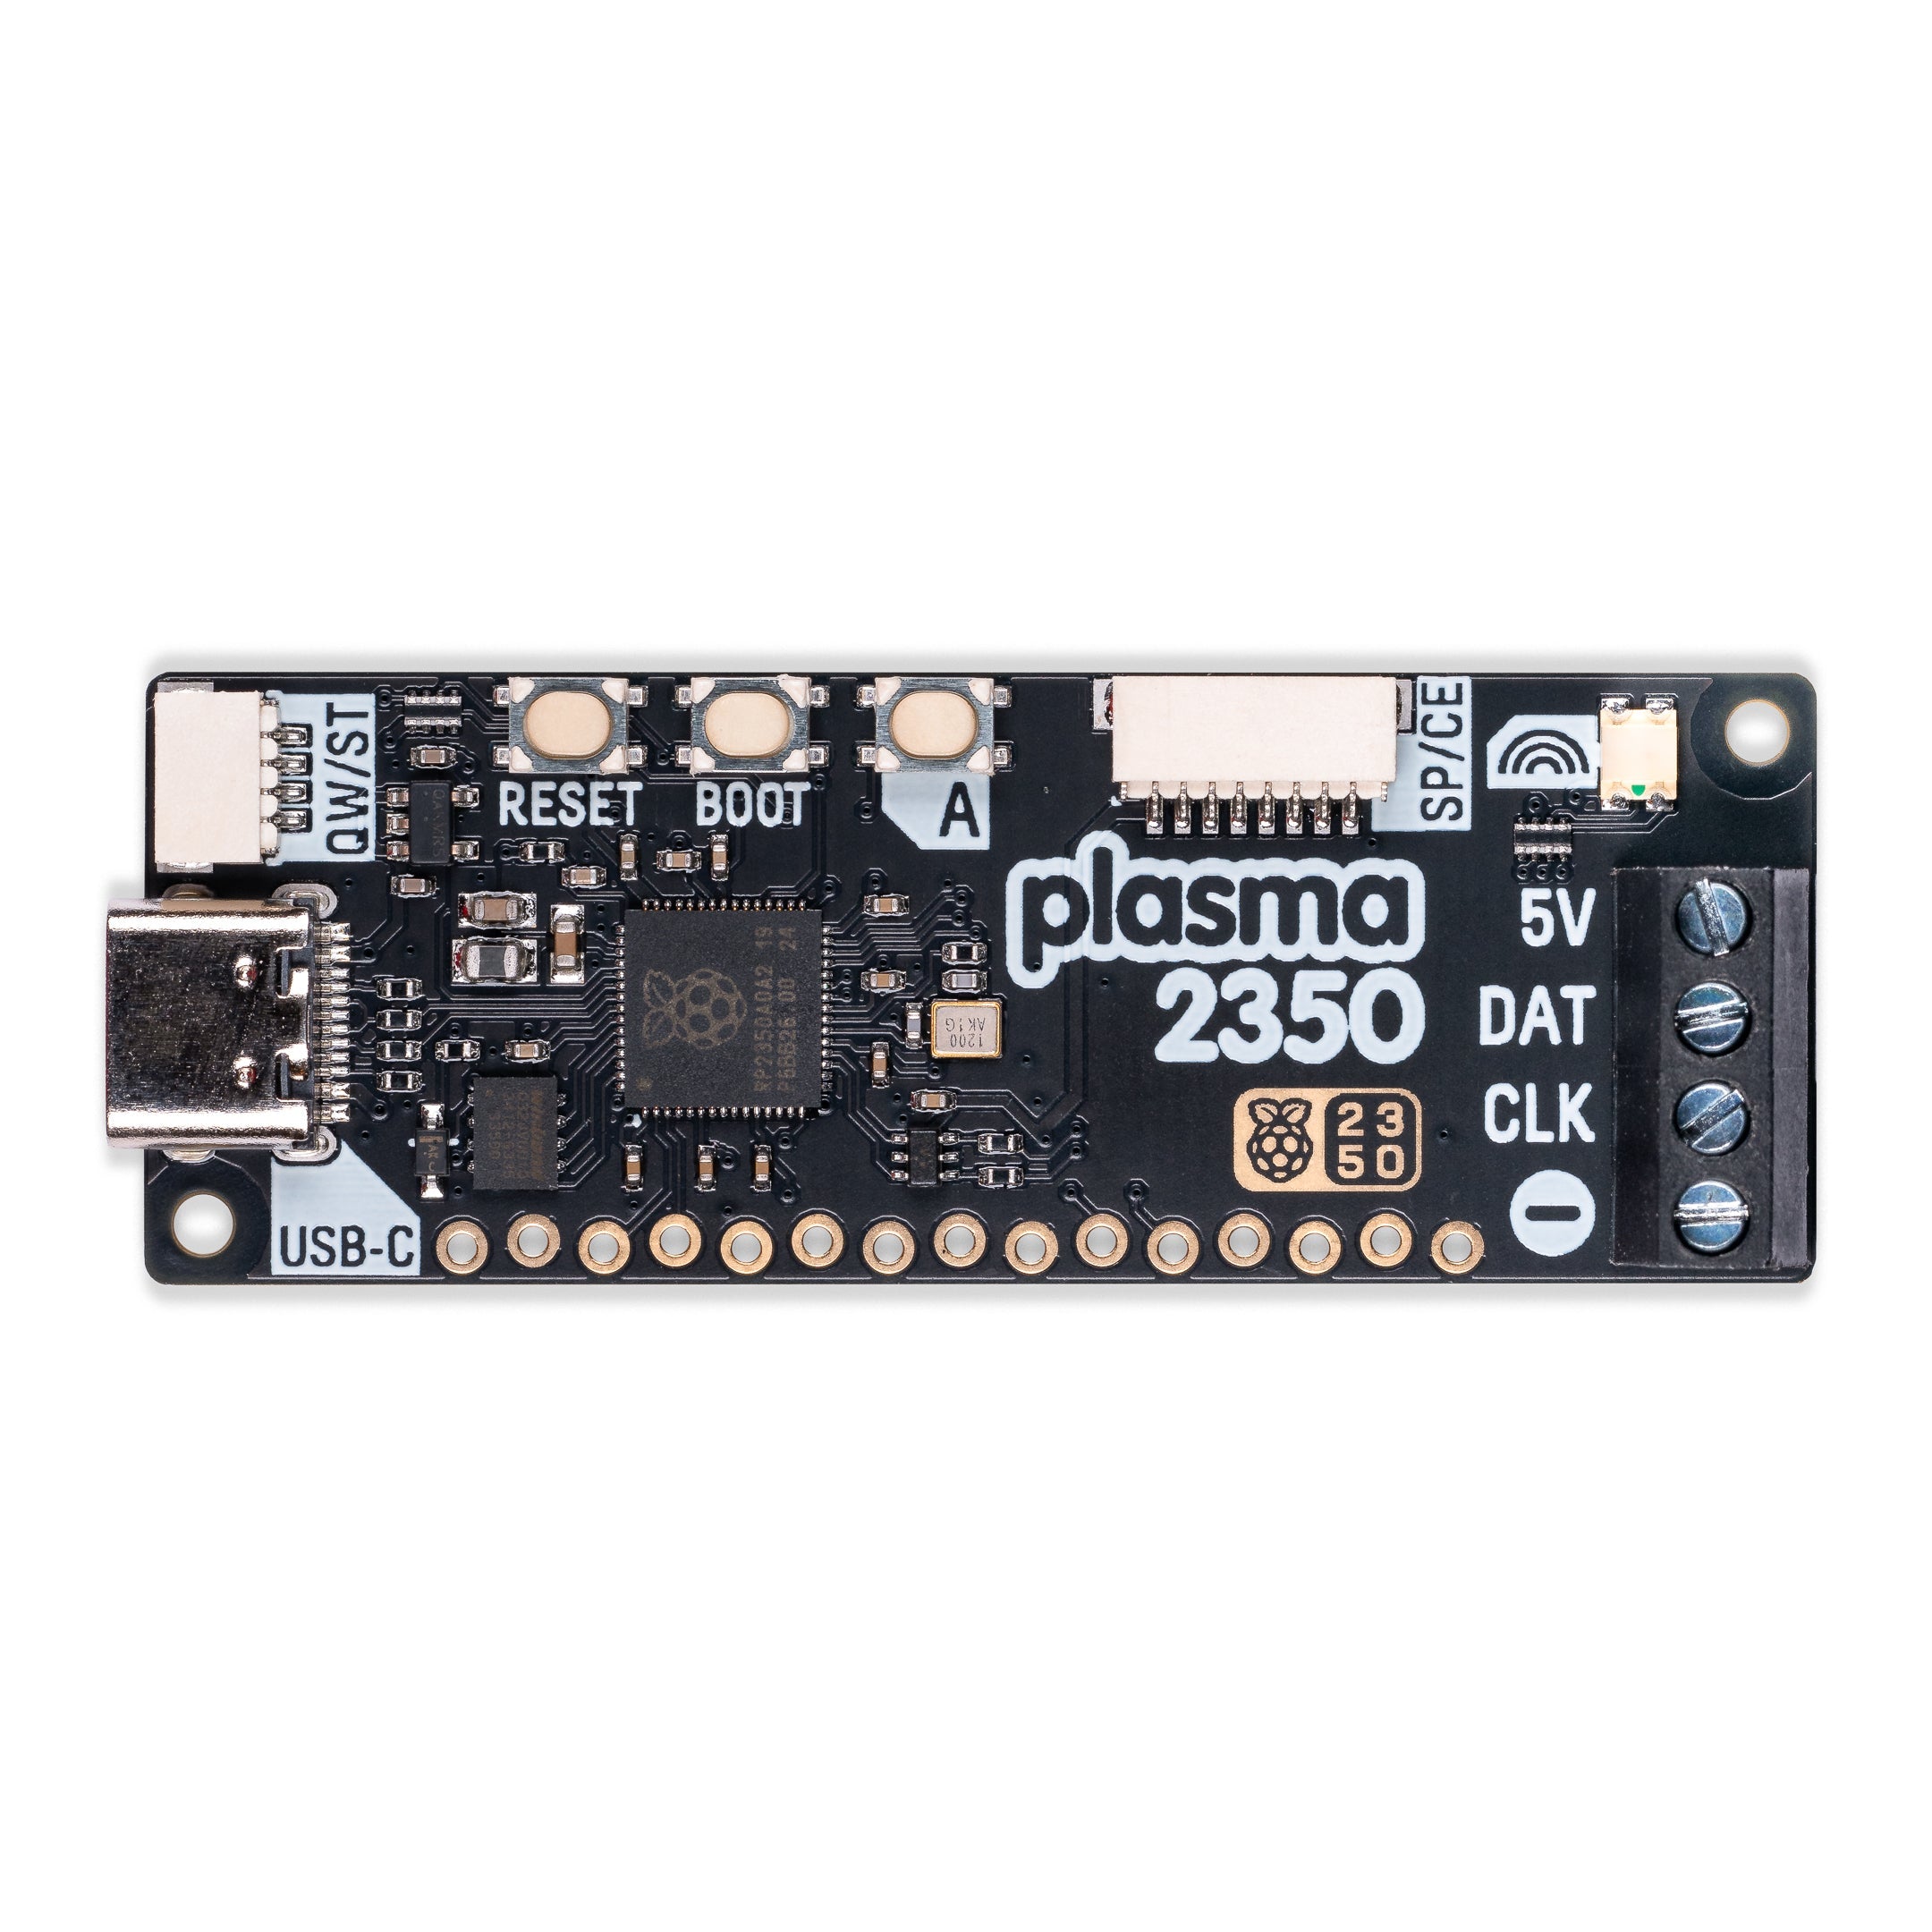
The Plasma 2350 is an all - in - one controller for WS2812/Neopixel and APA102/Dotstar addressable LED strips, powered and programmable via USB - C. With USB - C's ability to draw up to 3A of power, it can easily power a large number of LEDs. It features a useful button to switch effects, a reset button, and an onboard RGB LED. There's also a QW/ST connector for easy connection to Qwiic or STEMMA QT breakouts.
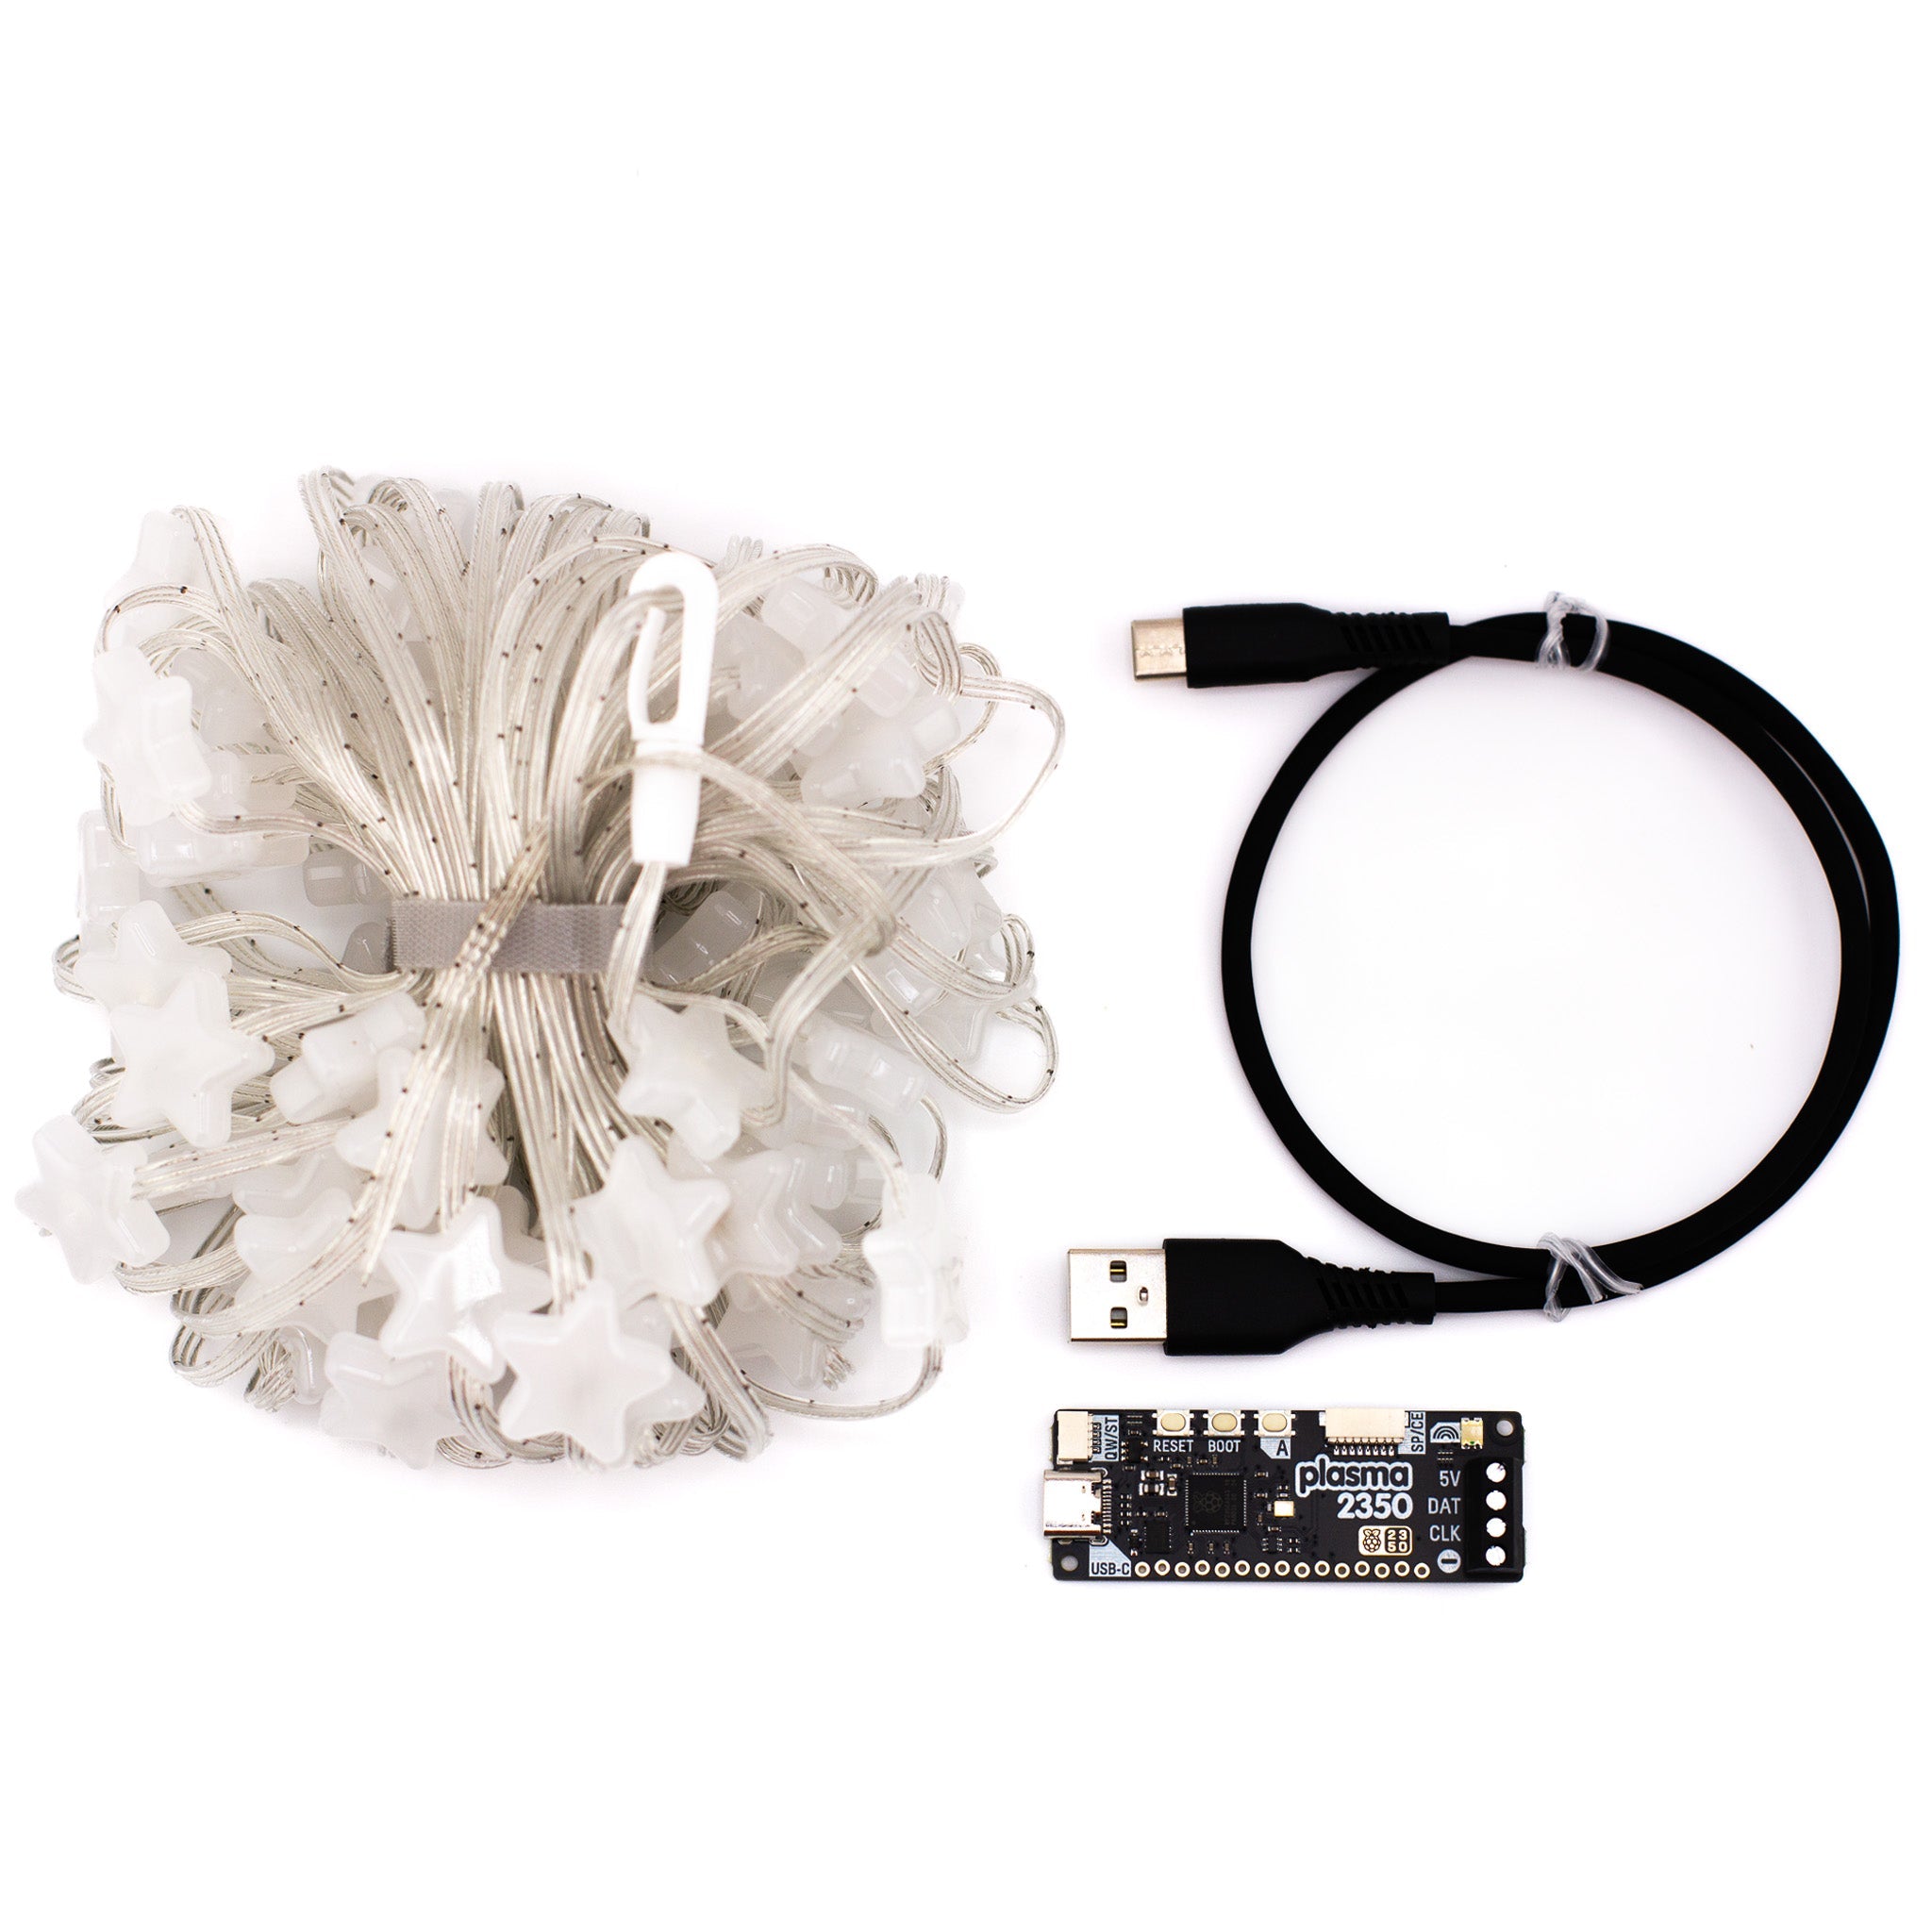
You can buy the Plasma 2350 alone or in a STARter Kit. The kit includes a USB - C cable and a 10m RGB LED Star Wire, so you can start lighting up right away.
**Features**:
- Powered by RP2350A (Dual Arm Cortex M33 at up to 150MHz with 520KB SRAM)
- 4MB QSPI flash for XiP support
- Compatible with 5V WS2812/Neopixel/SK6812 and APA102/Dotstar/SK9822 LEDs
- Screw terminals for LED strip connection
- USB - C connector for power and programming (3A max)
- Qw/ST (Qwiic/STEMMA QT) connector
- New SP/CE connector
- Reset, BOOT and user buttons
- RGB LED
- Fully assembled, no soldering needed
- Measures about 61 x 22 x 12mm (L x W x H, including connectors)
- Programmable in C/C++, MicroPython
**STARter Kit**: Plasma 2350, USB - C cable, 10m RGB LED Star Wire.
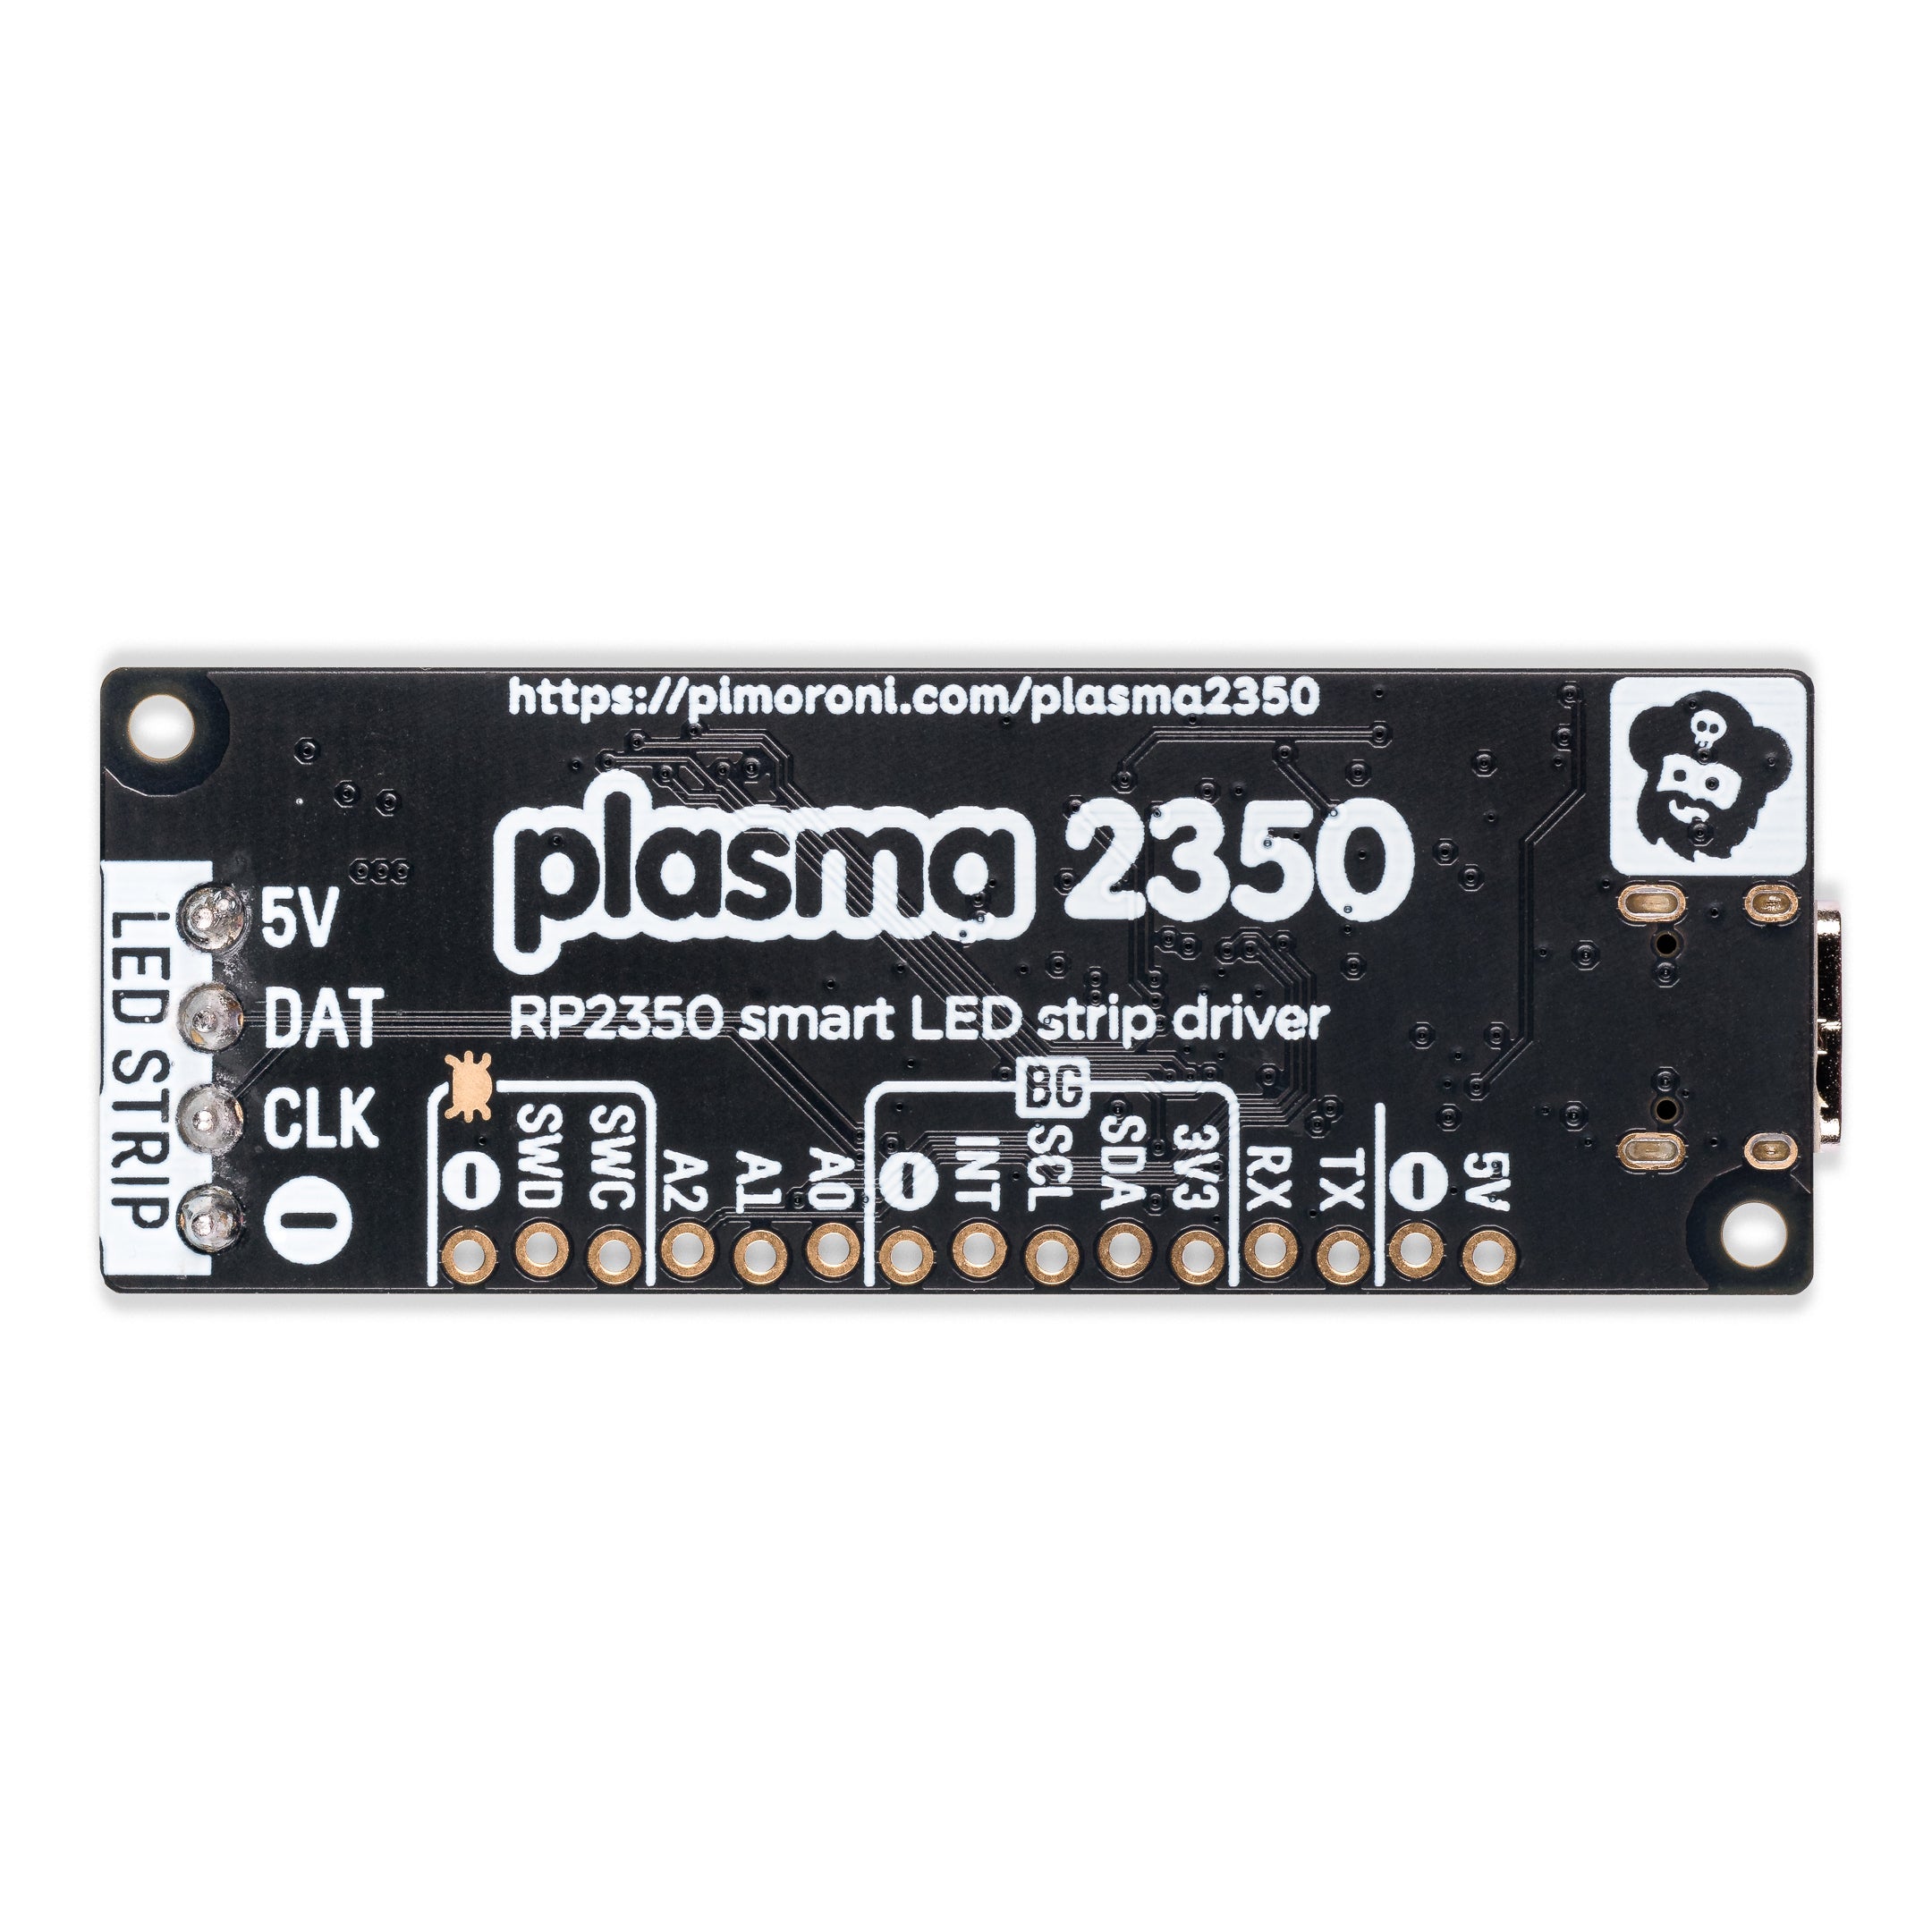
**Pinout and Schematic**: Download a printable PDF version, schematic coming soon.
**Getting Started**: RP2350 MicroPython builds and examples.
**Connecting Breakouts**: If your breakout has a QW/ST connector, use a JST - SH to JST - SH cable. Or connect I2C breakouts with a JST - SH to JST - SH cable and a Qw/ST to Breakout Garden adaptor.
The RP2350 chip offers better performance than RP2040. MicroPython tests run up to 2x faster, and C/C++ floating - point operations are up to 20x faster. It comes in A (standard) and B (all pins) versions. The B version has 48 usable GPIO pins. Click to view all RP2350 products!


Using the Plasma 2350 is quite simple. First, if you bought the STARter Kit, unpack it. Connect the Plasma 2350 to your computer using the USB - C cable for power and programming. You can choose to use C/C++ or MicroPython to program it according to your preference.
When connecting the LED strips, use the screw terminals provided on the Plasma 2350. If you have breakouts with a QW/ST connector, you can directly plug them in using a JST - SH to JST - SH cable. For other I2C breakouts, use the cable along with a Qw/ST to Breakout Garden adaptor.
If you want to switch between different lighting effects, just press the useful button on the controller. The reset button can be used to restart the device if needed.
**Note**: Don't exceed the 3A power limit of the USB - C connector. When soldering to the I2C, analog, UART and debug pins, be careful and make sure your soldering is correct.
For maintenance, keep the Plasma 2350 in a dry and clean environment. If there is dust on it, you can gently wipe it with a soft cloth. This will ensure its long - term and stable performance.