If you love our monochrome OLEDs and need a larger one, this display is perfect for you! It has a 2.42-inch diagonal screen and offers high readability thanks to the high contrast of OLED technology. Made up of 128x64 individual white OLED pixels, each controlled by the controller chip, it doesn't need a backlight as it emits its own light. This not only reduces power consumption but also gives it amazing contrast. We really love how crisp this graphic display looks!
The SSD1305 driver chip can communicate in three ways: 8-bit, I2C, or SPI. We recommend SPI as it only needs 4 or 5 wires and is super fast. The OLED requires a 3.3V power supply and 3.3V logic levels for communication. We've included a breadboard-friendly level shifter that can convert 3V or 5V to 3V, so it can work with 5V-logic devices like Arduino.
Power usage depends on how much of the display is lit, but on average, it draws about 50mA from the 3.3V supply. There's a simple switch-cap charge pump in the OLED driver that turns 3.3V into a high voltage drive for the OLEDs.
Each order comes with an assembled OLED module with a nice bezel and 4 mounting holes. It's 3V logic and power, so we've added an HC4050 level shifter and a 220uF capacitor, as an Arduino might need a bit more capacitance for this large display. The display doesn't come with a header attached, but we've included one for you to solder on. It may come in SPI mode, and you can change modes with a little soldering - check out the tutorial for how to do it. Please note: Metro is not included, and you'll need a microcontroller like Arduino to use it.
Getting started is a breeze! We have a detailed tutorial and example code in the form of an Arduino library for text and graphics. You'll need a microcontroller with over 512 bytes of RAM since the display needs to be buffered. The library can print text, bitmaps, pixels, rectangles, circles, and lines. It uses 512 bytes of RAM to buffer the whole display and is very fast. The code is easy to adapt to other microcontrollers.
Note: The cable and code on the back of the board may vary, but the displays will work the same.
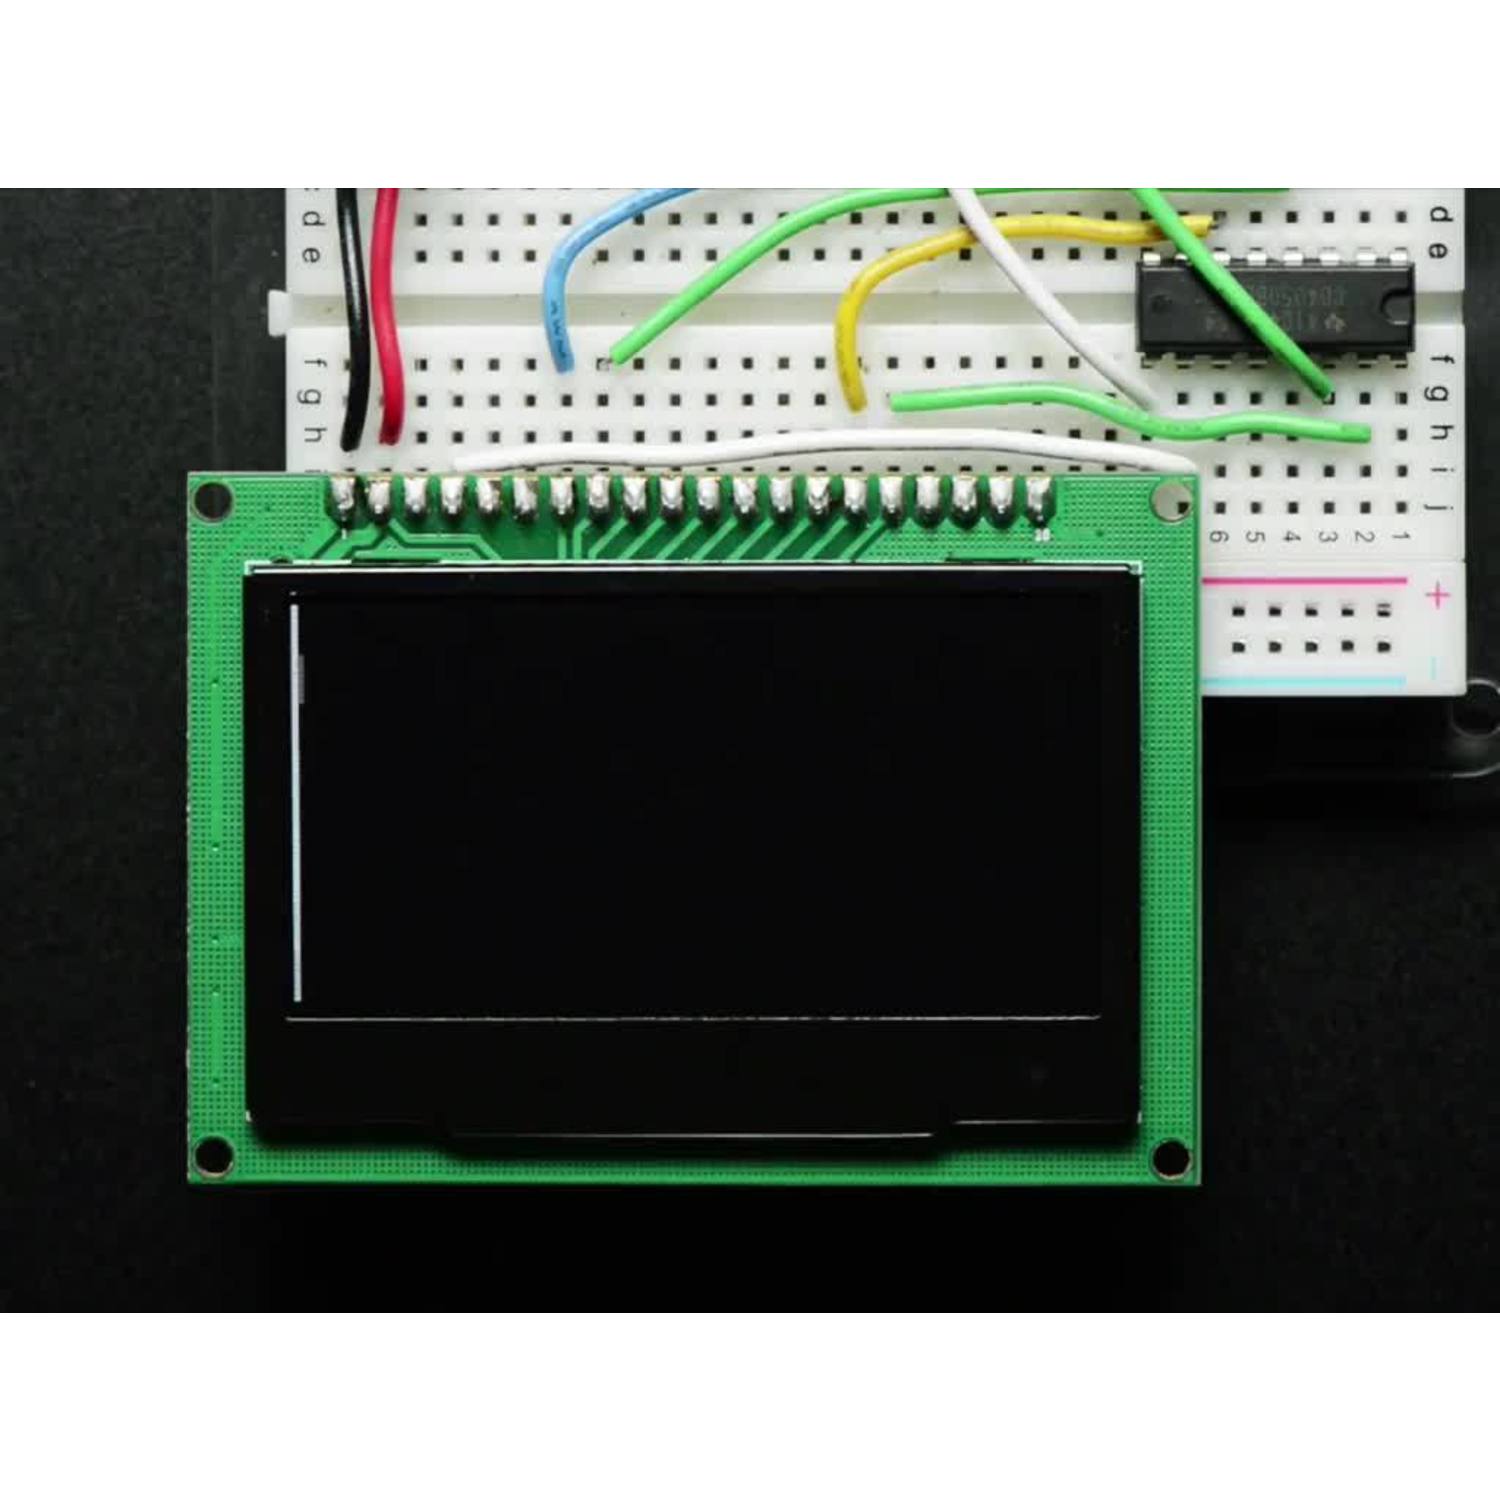
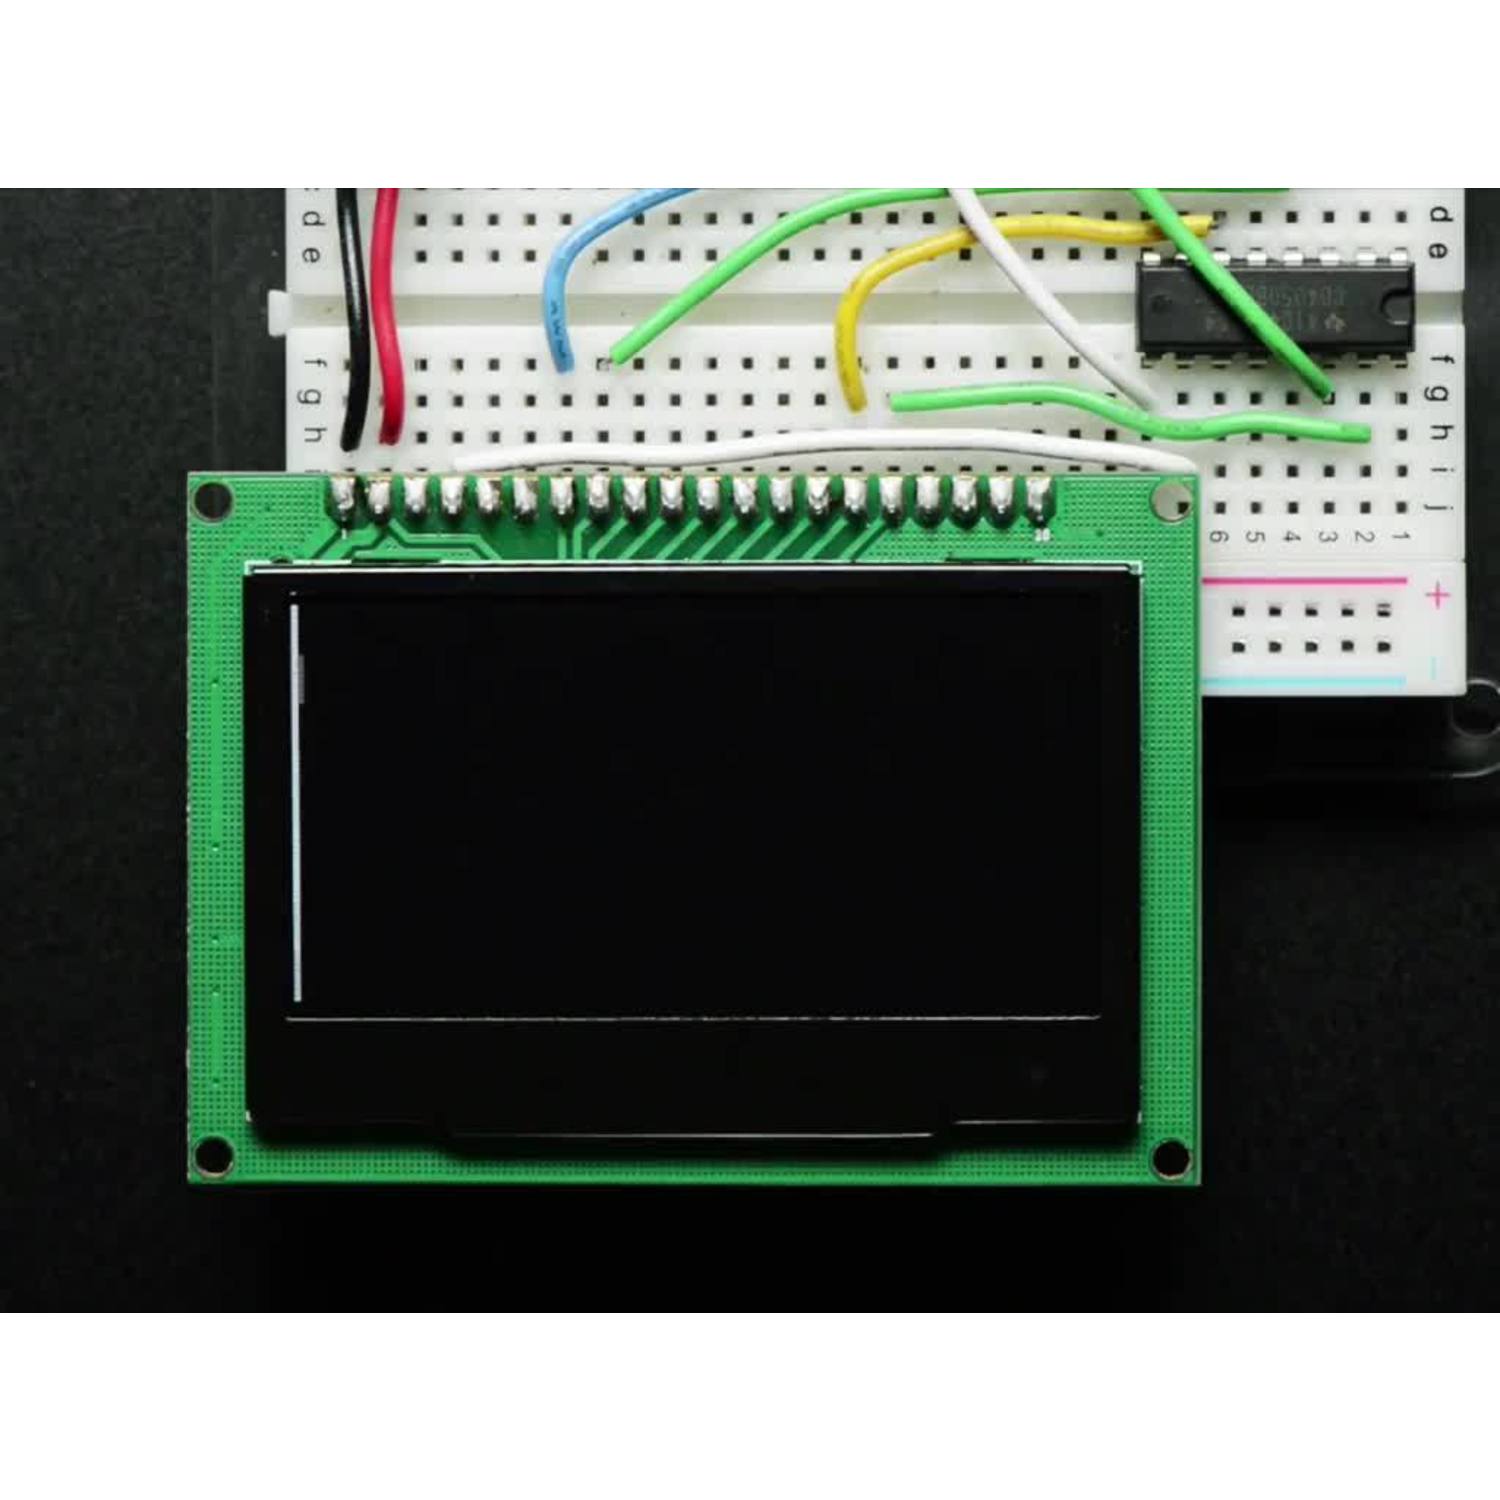
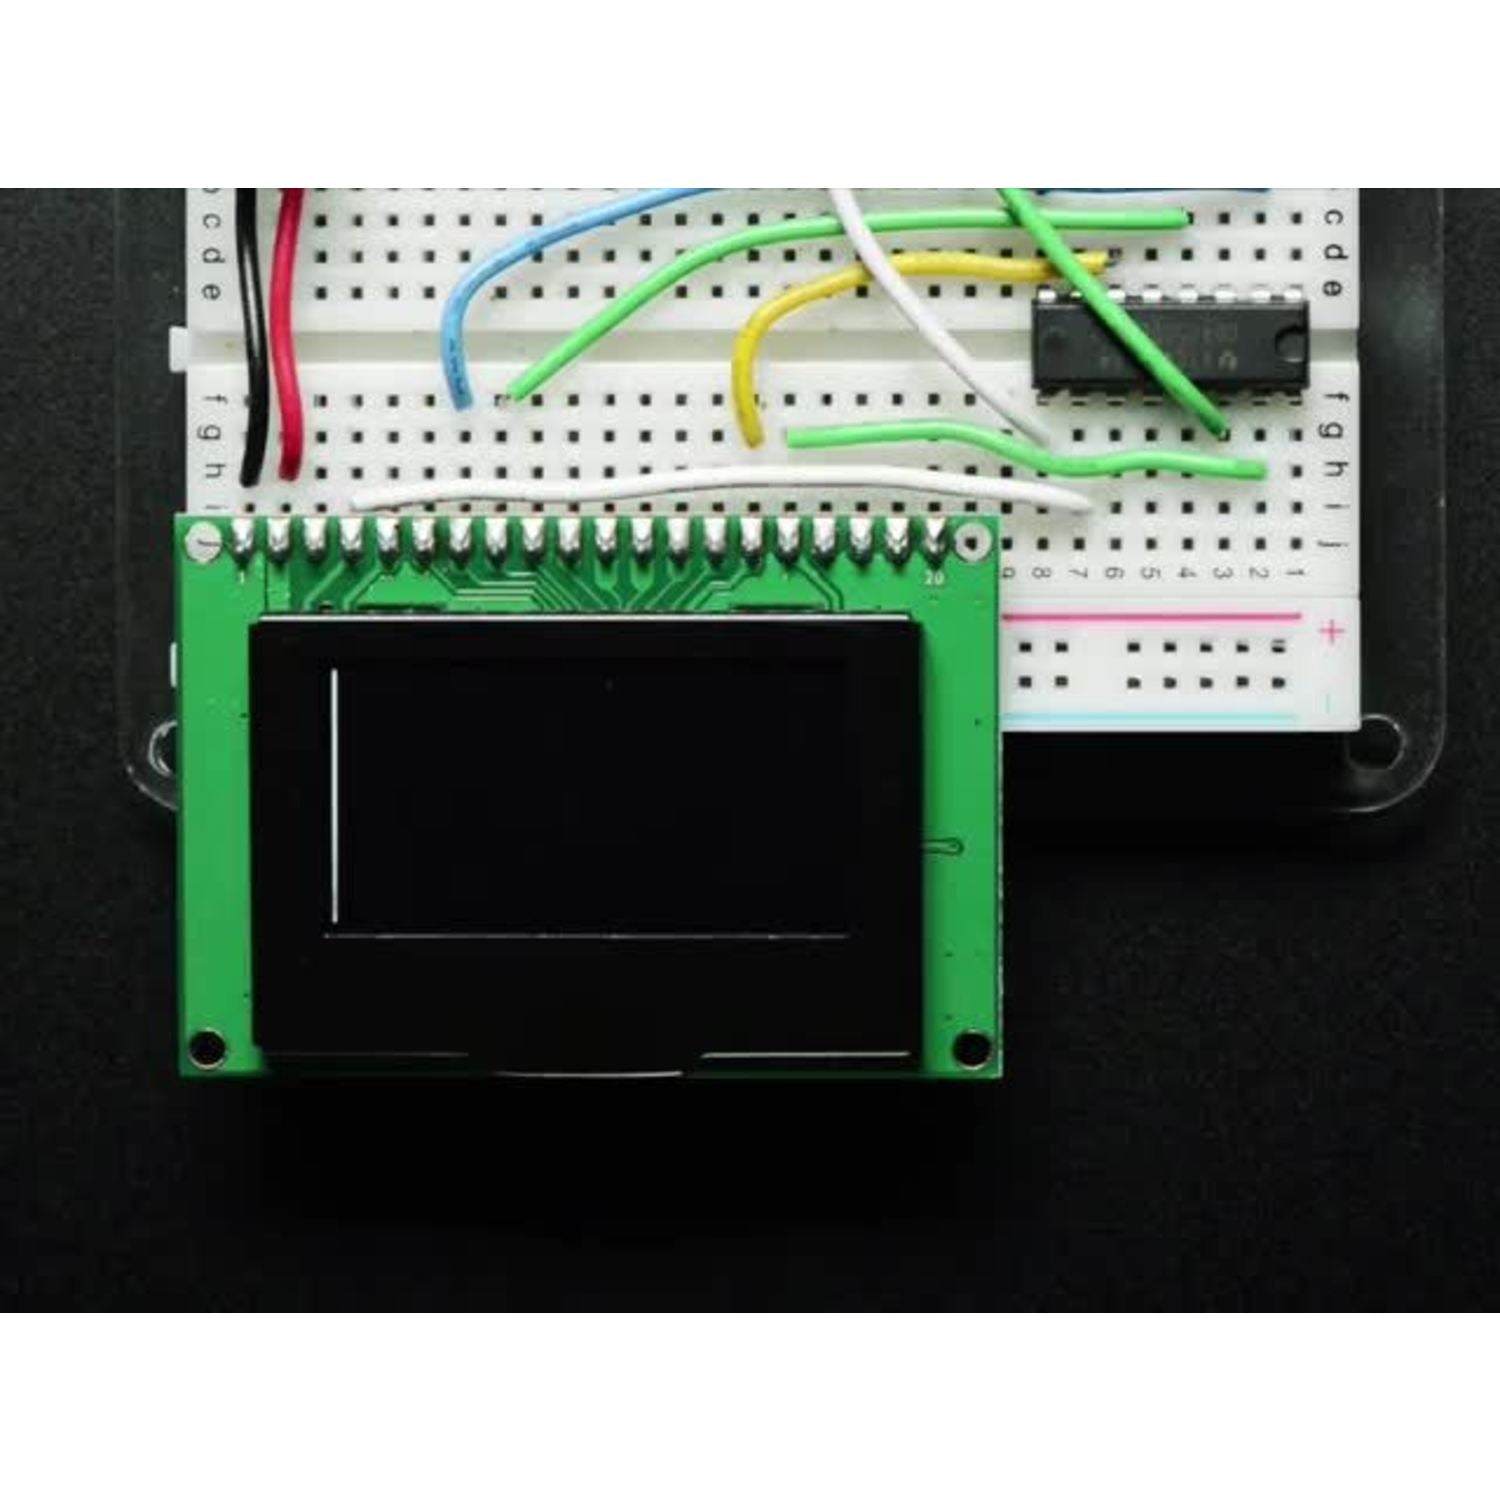

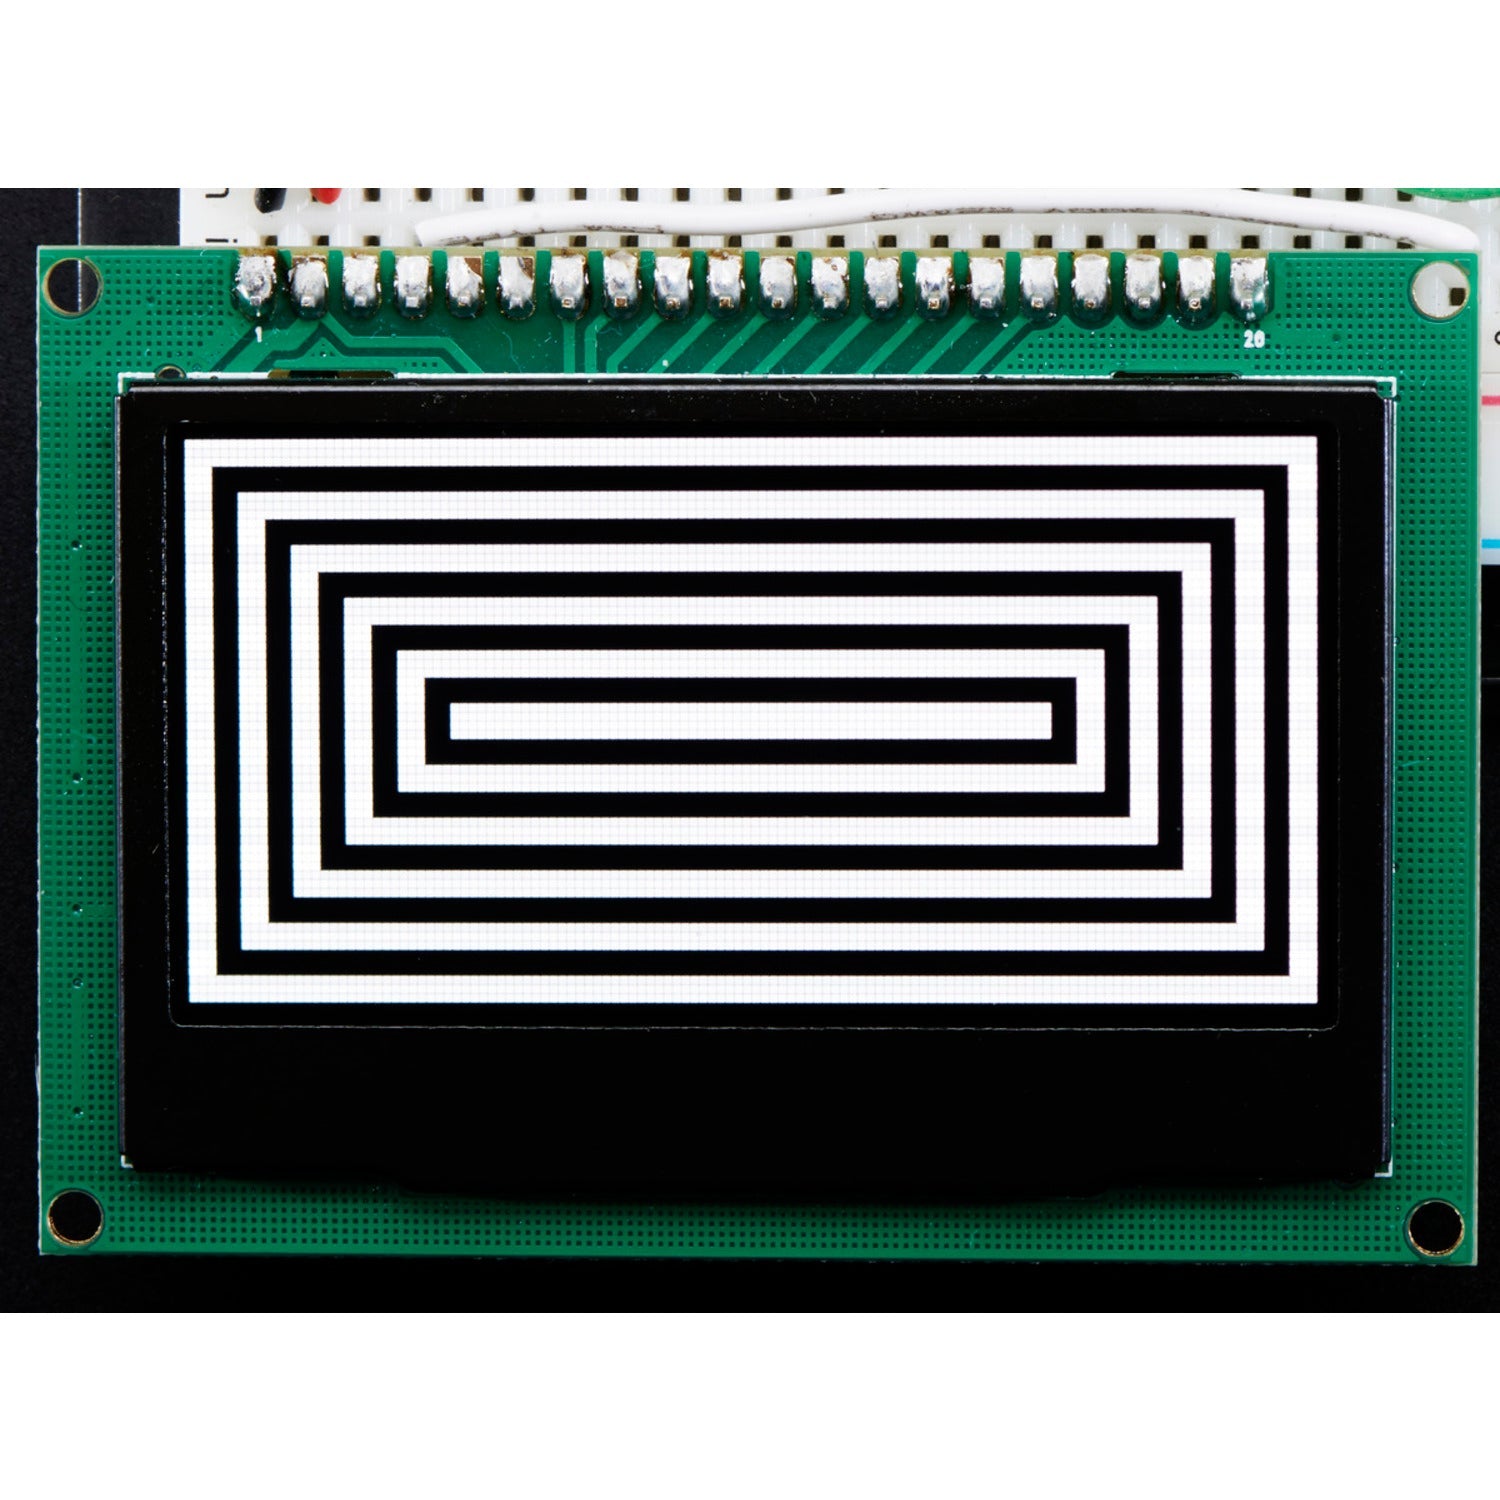
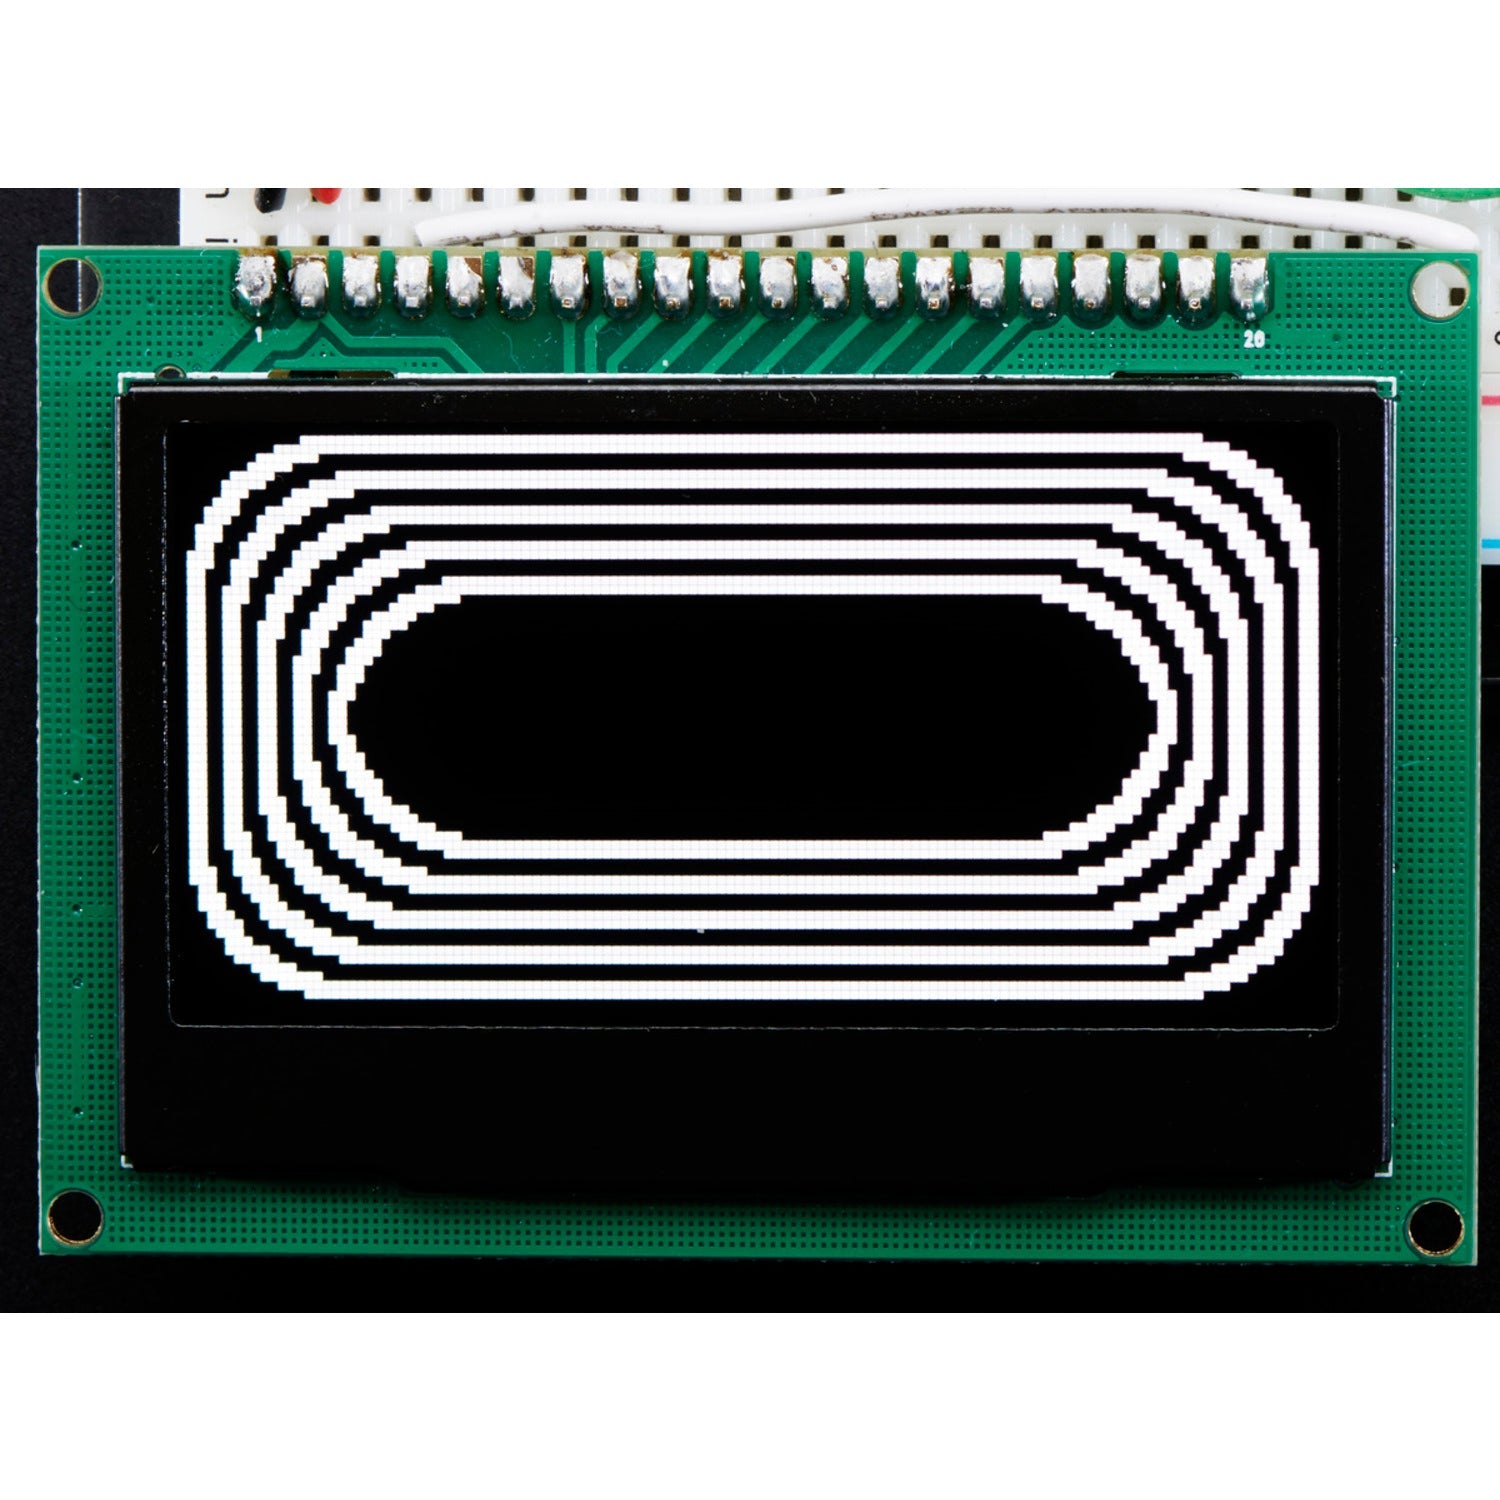
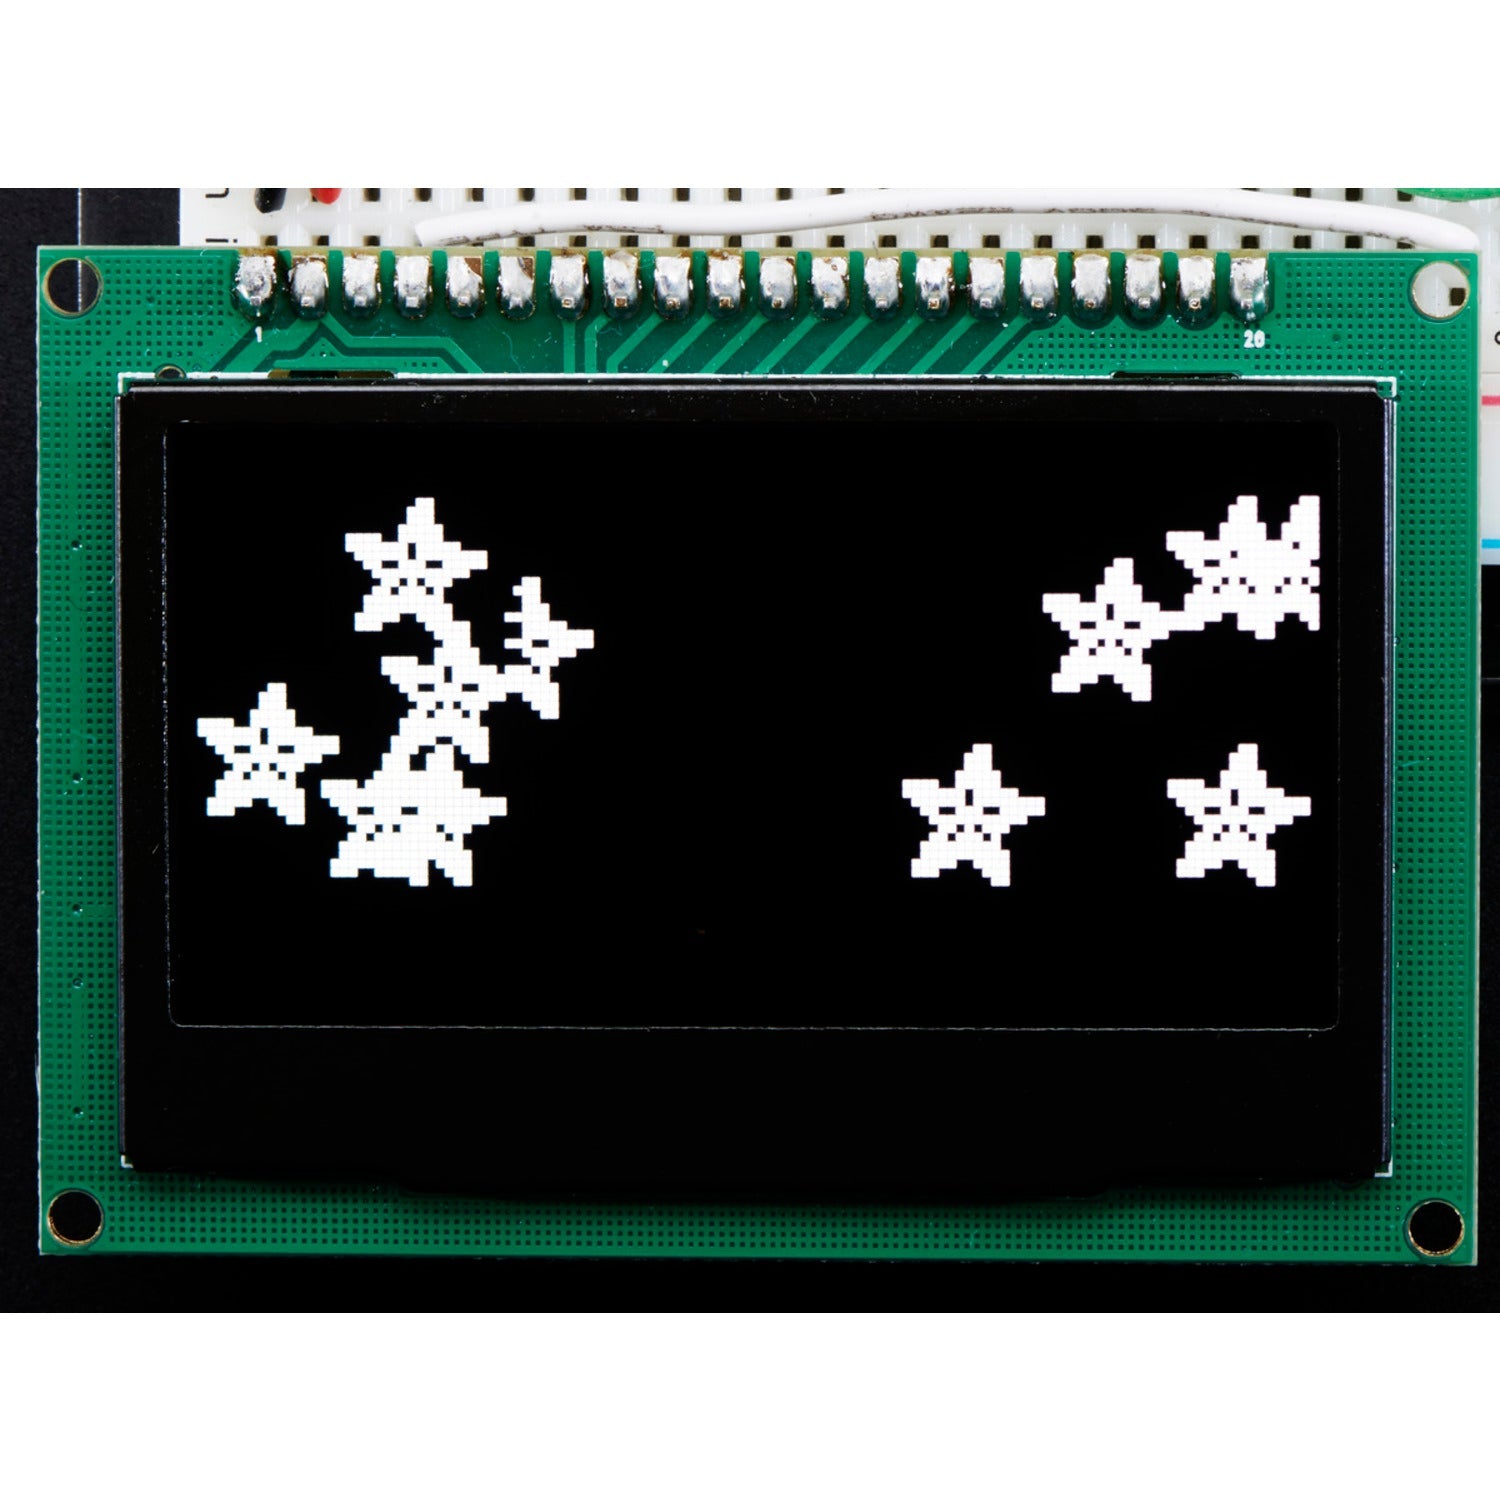
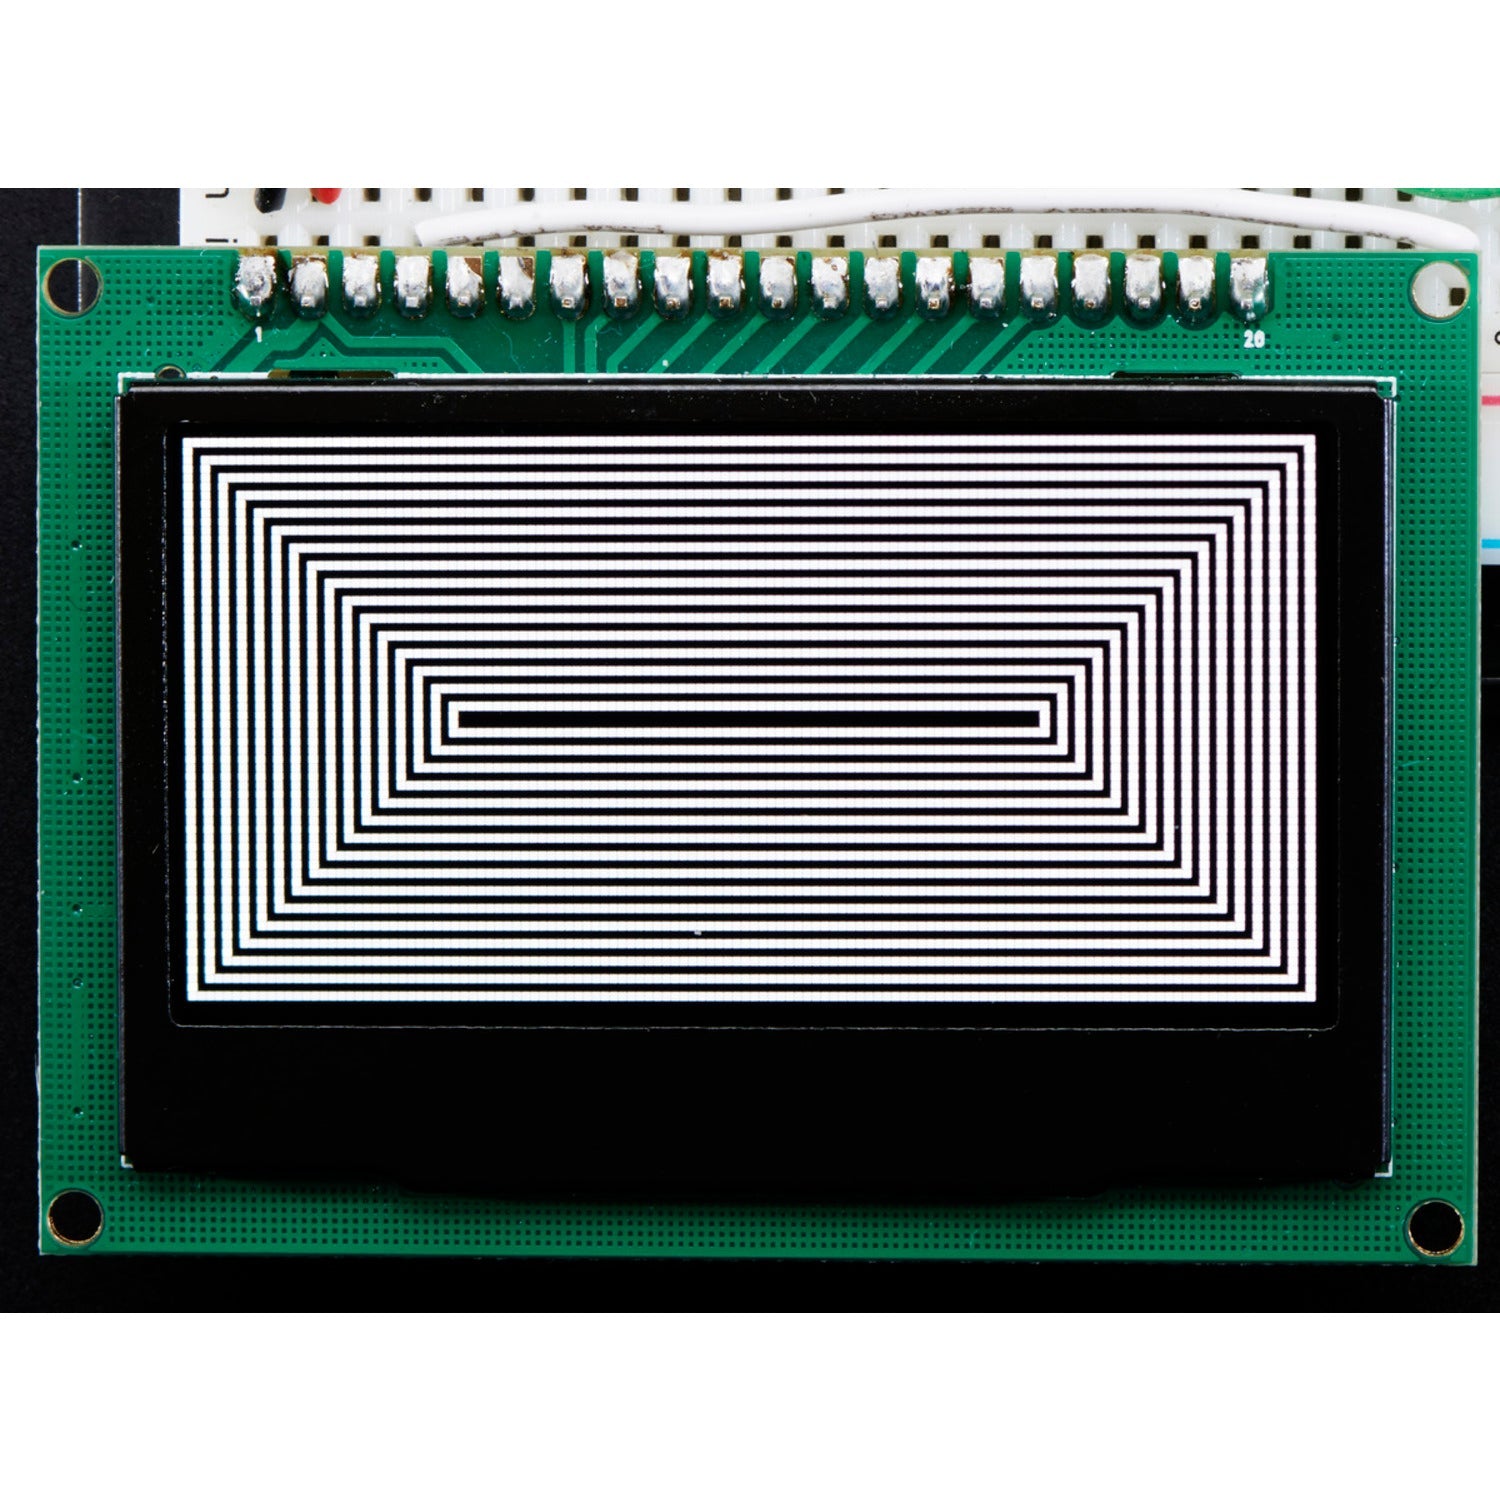
Using this 2.42-inch monochrome OLED graphic display module is quite easy. First, make sure you have a microcontroller like Arduino as it's required for the display to work. Connect the display to your microcontroller, using the appropriate communication mode (SPI is our recommended choice). The included level shifter can help you adapt the power and logic levels if needed.
When powering it up, remember that the average power consumption is about 50mA from a 3.3V supply, but it may vary depending on how much of the screen is lit. The 220uF capacitor we included can help with the power supply stability, especially when using an Arduino.
If you want to change the communication mode, you'll need to do a little soldering. Check out our tutorial for detailed instructions. Also, don't forget to solder the header onto the display if you need it.
As for maintenance, keep the display clean and avoid exposing it to extreme temperatures or humidity. The code we provide in the Arduino library is easy to use and can be adapted to other microcontrollers, so you can have fun creating text and graphics on the display. Just make sure your microcontroller has more than 512 bytes of RAM to buffer the display properly.


