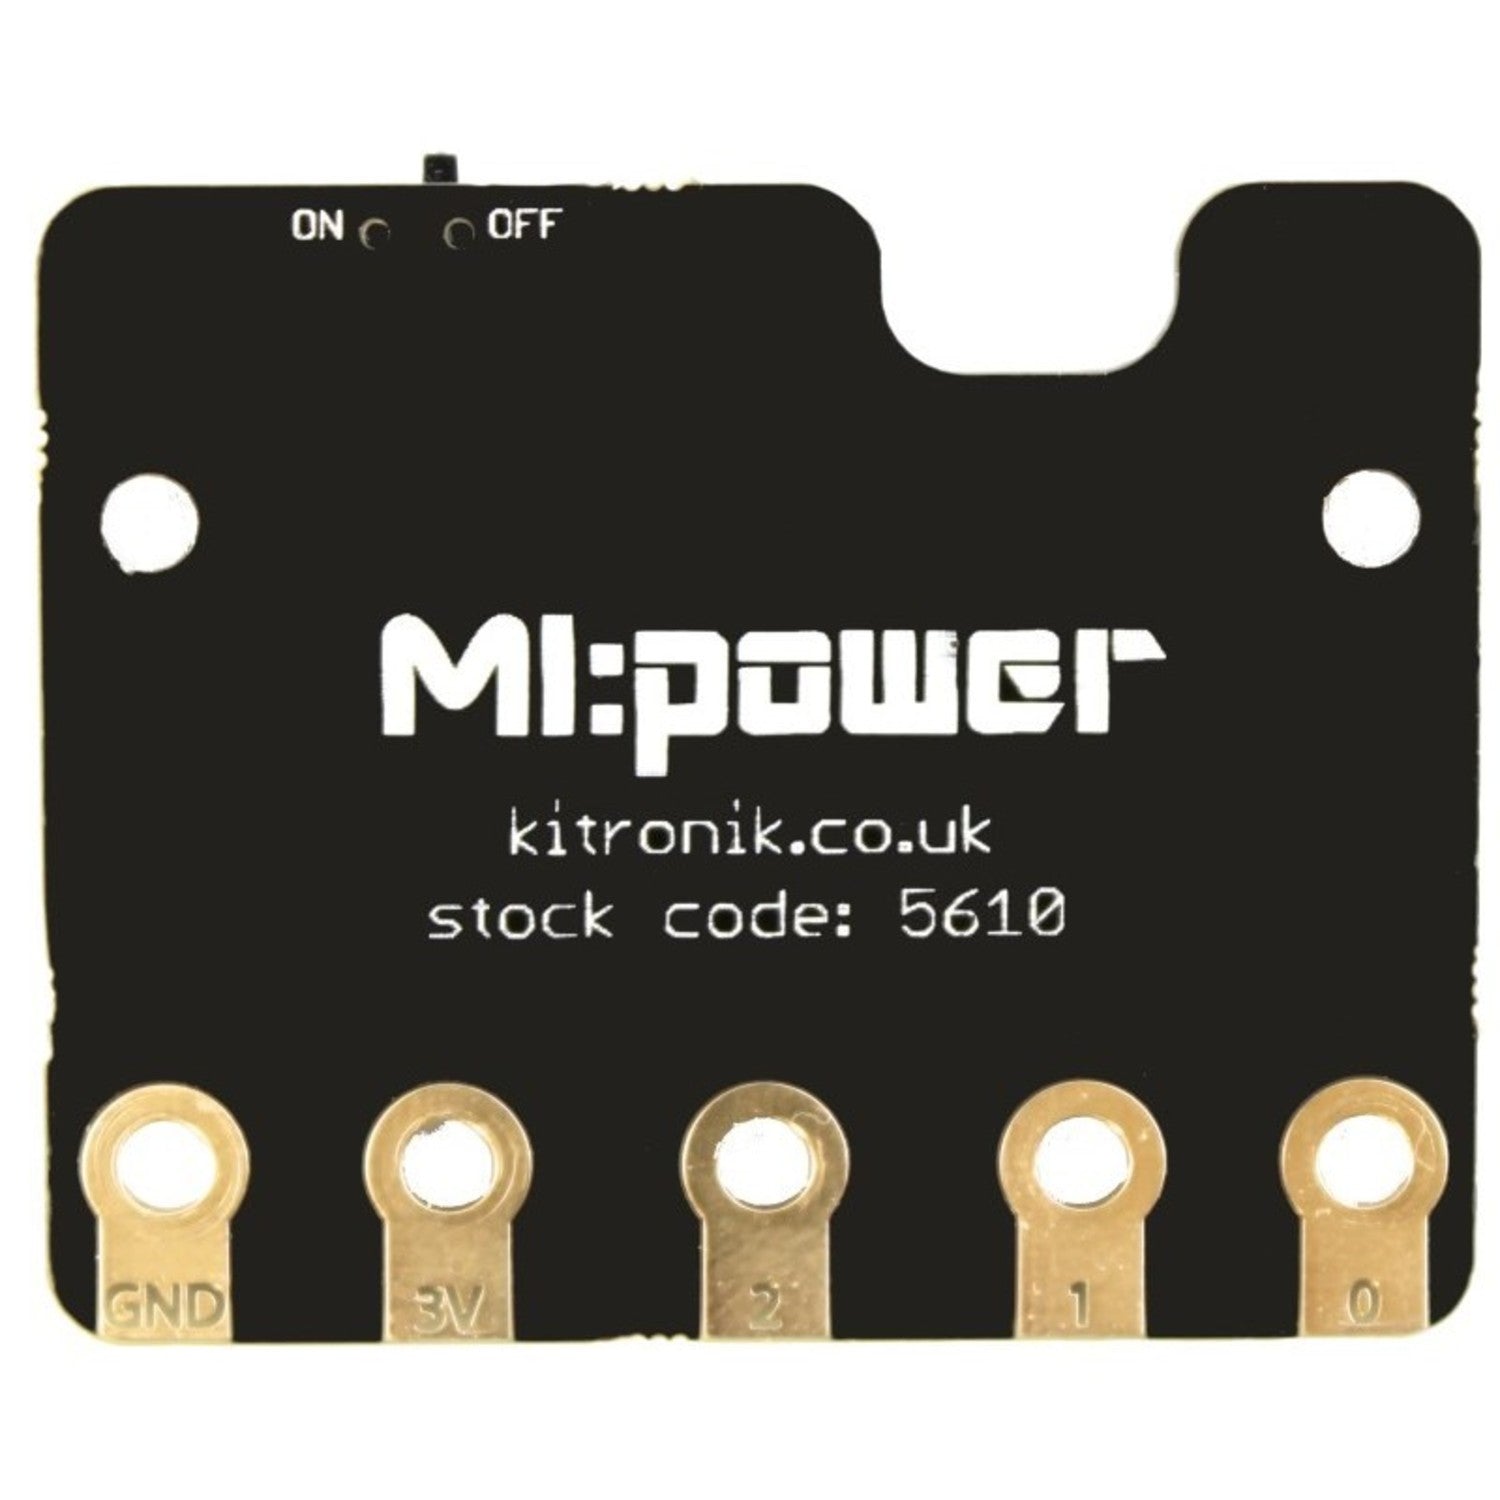
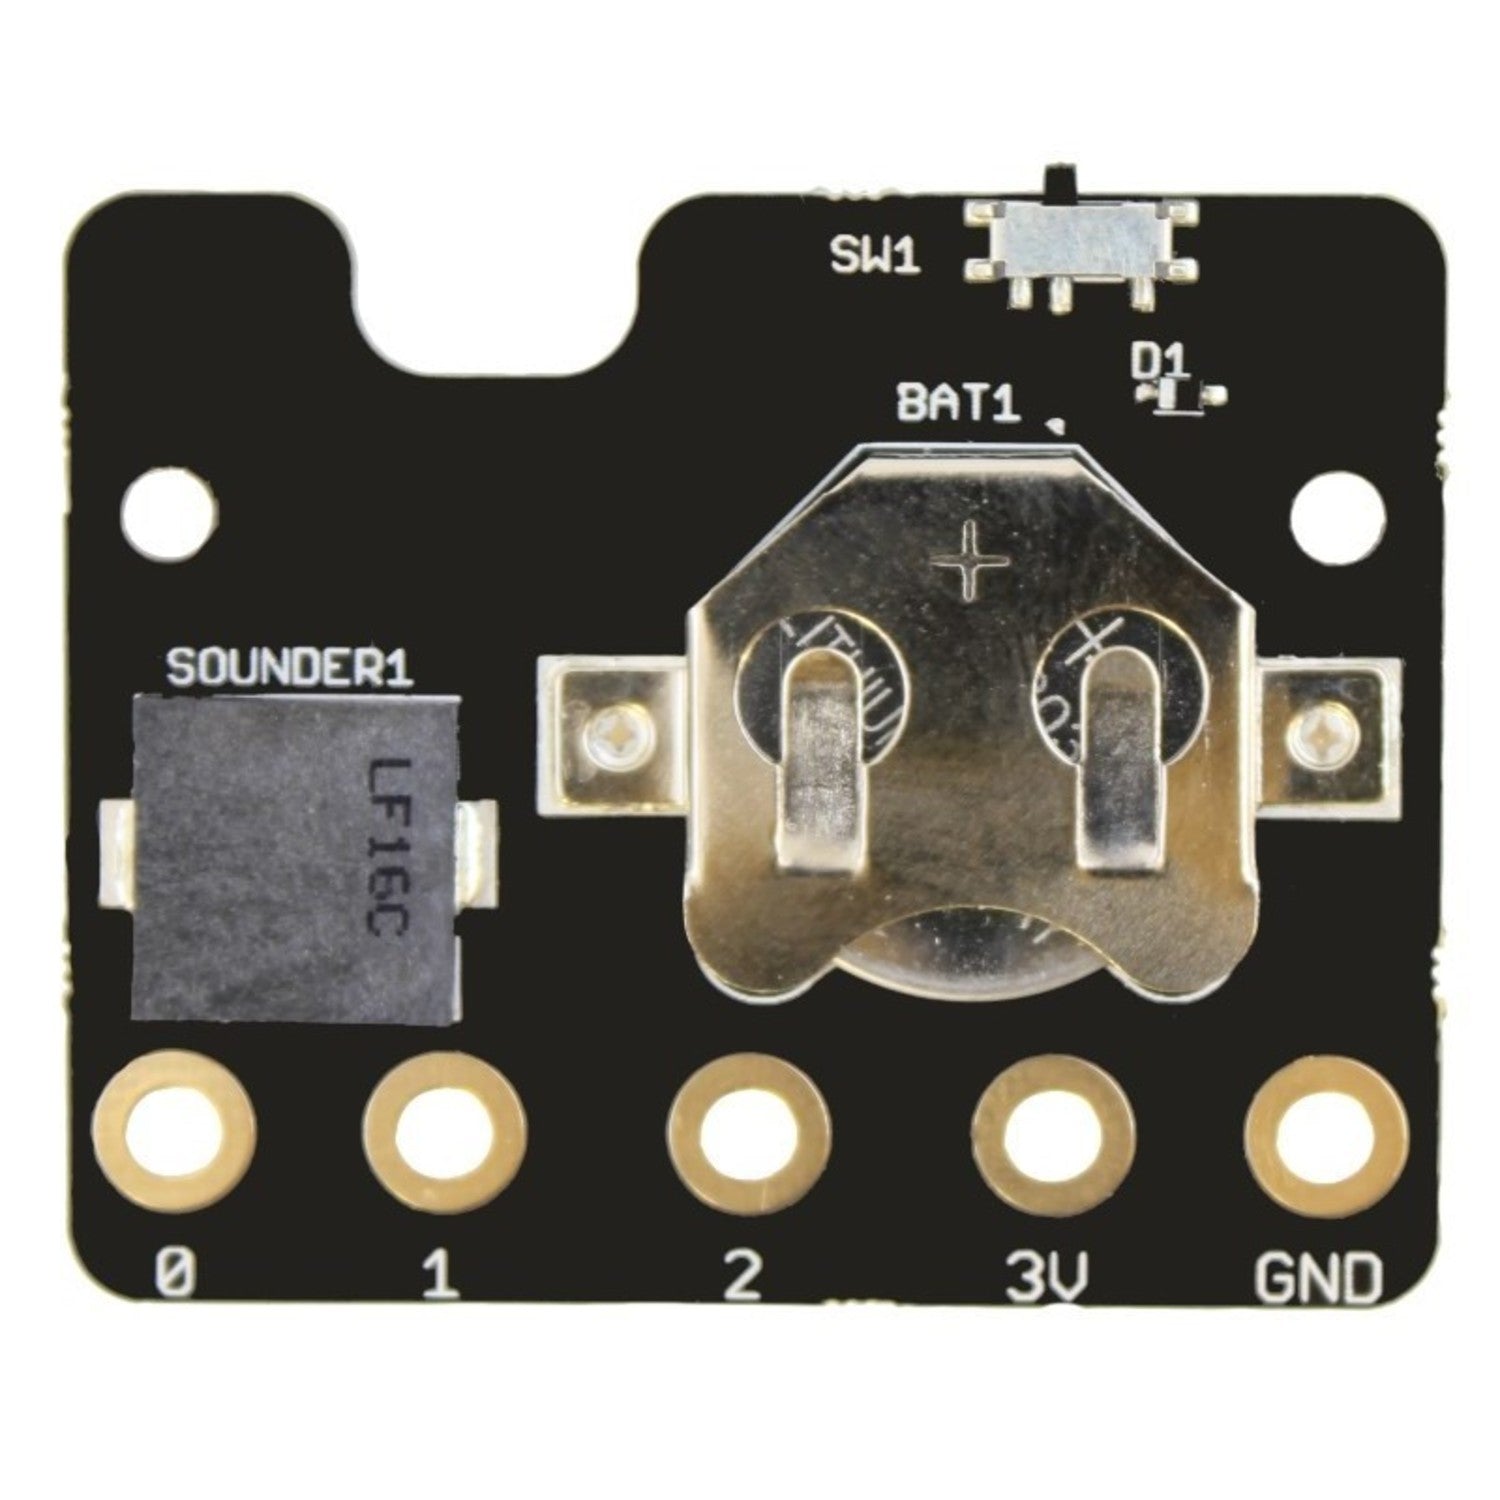
The MI power board for the BBC micro:bit is a game - changer for your wearable projects, offering true portability. This sleek and lightweight printed circuit board (PCB) is specifically crafted to fit perfectly against the BBC micro:bit. It comes with a built - in buzzer and a 3V coin cell holder.
Once assembled, it directly connects to the 3V, GND, and P0 connections on the micro:bit. The 3V and GND connections supply power to the micro:bit, while the built - in buzzer is linked to P0, the default output pin for audio functions in the Block Editor software.
An easy - to - access on/off switch simplifies project operation, eliminating the need to disconnect the power supply from the BBC micro:bit. After assembly and attachment to the micro:bit, the mechanical fixings keep the battery secure. You'll need a screwdriver to remove it, ensuring the battery stays in place.
The package includes spacers, fixings, and a battery. Note that the BBC micro:bit is not included.
Key features:
- Power your BBC micro:bit with a stylish PCB.
- On - board buzzer for added functionality.
- Easy - access on/off switch.
Contents:
- 1 x MI power board for the BBC micro:bit.
- 3 x Counter Sunk M3 x12mm Machine Screws.
- 3 x M3 Hex Full Width Nuts.
- 3 x Plastic Spacers.
- 1 x CR2032 3V Coin Cell.
Free Laser Cutter DXF Files: We've prepared free downloadable DXF files for your laser cutter. These designs fit the Mi power board and let you attach it to belts, wrist straps, lanyards, stand it on desks, or place it in gardens or plant pots.
Dimensions:
- Length: 51mm.
- Width: 42mm.
- Height: 6mm.
Requires:
- 1 x BBC micro:bit.
- Pozi drive screwdriver.
- Pliers.
Resources:
- Build Instructions.
- Watch Mount DXF Zip.
- Plant Spike DXF Zip.
- Lanyard DXF Zip.
- Character DXF Zip.
- Belt Mount DXF Zip.


Using the MI power board for your BBC micro:bit is quite simple. First, gather all the required tools - a Pozi drive screwdriver and pliers, and of course, your BBC micro:bit. Then, assemble the MI power board according to the build instructions provided. Connect it to the 3V, GND, and P0 connections on the micro:bit. This will power the micro:bit and enable the buzzer.
To turn your project on or off, just use the easy - to - access on/off switch. You don't have to go through the hassle of disconnecting the power supply.
When it comes to the battery, once the unit is assembled and attached to the micro:bit, it's held in place by mechanical fixings. You'll need a screwdriver to remove it. So, don't try to take out the battery without the right tool.
For maintenance, keep the board clean and dry. If you use the free DXF files to create different mounts, make sure they are also in good condition. If you face any issues during assembly or use, refer to the build instructions or the other resources provided.