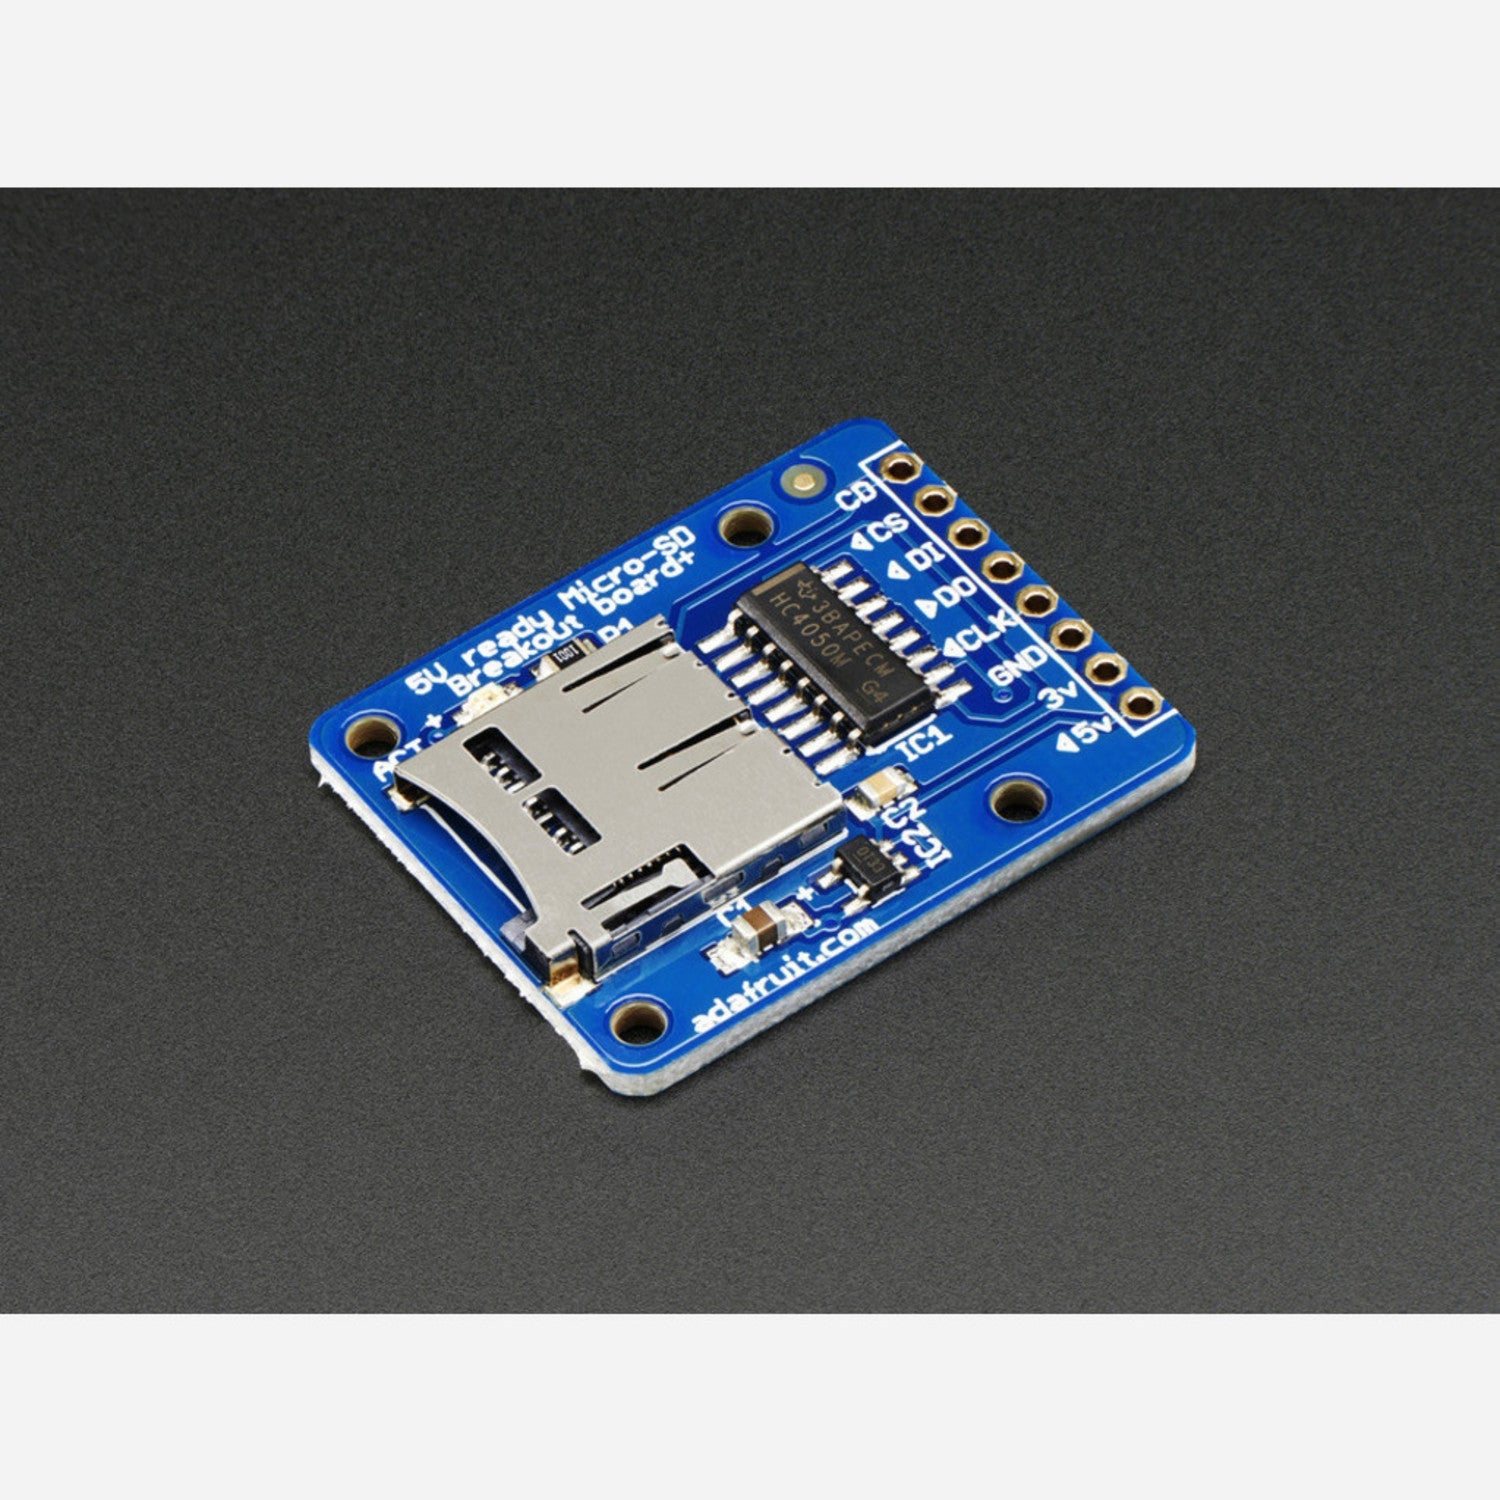
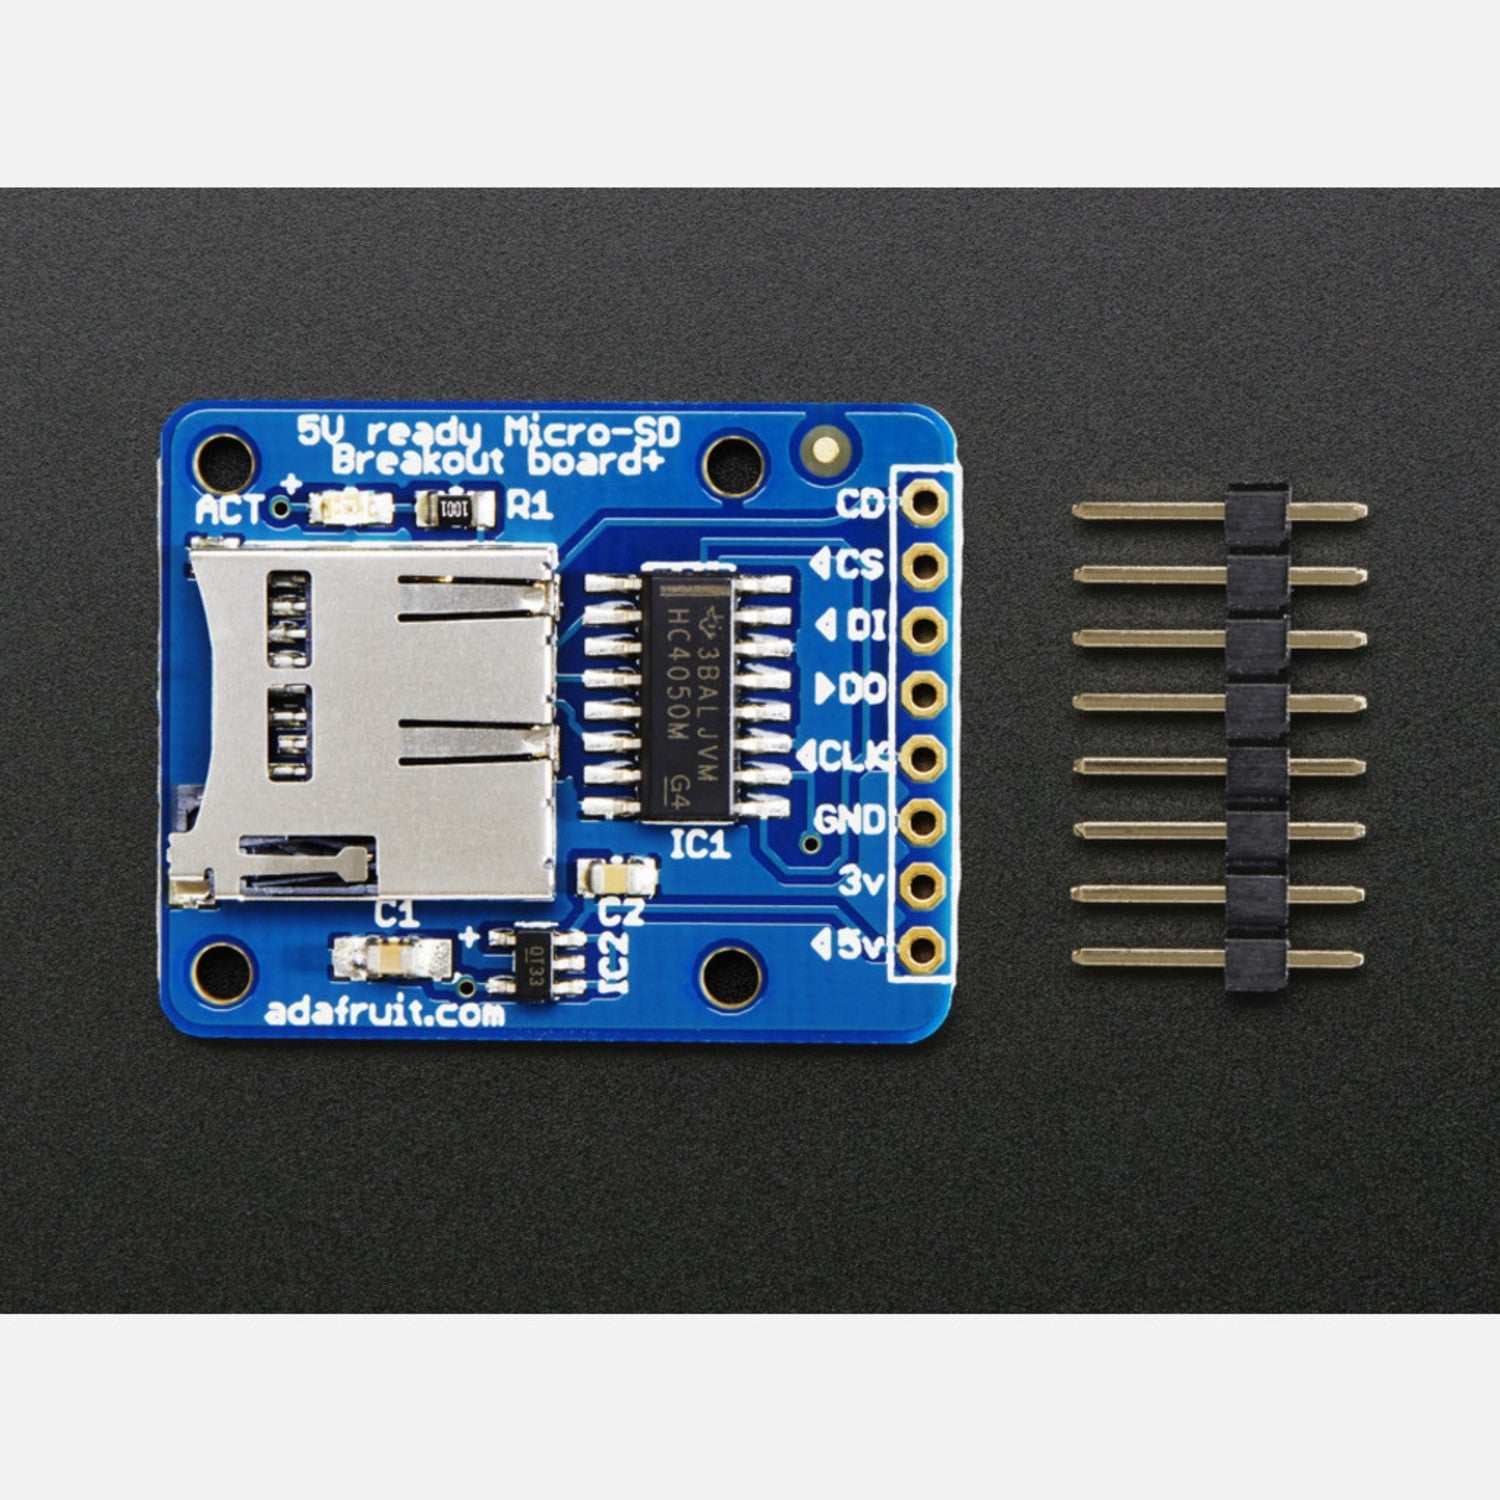
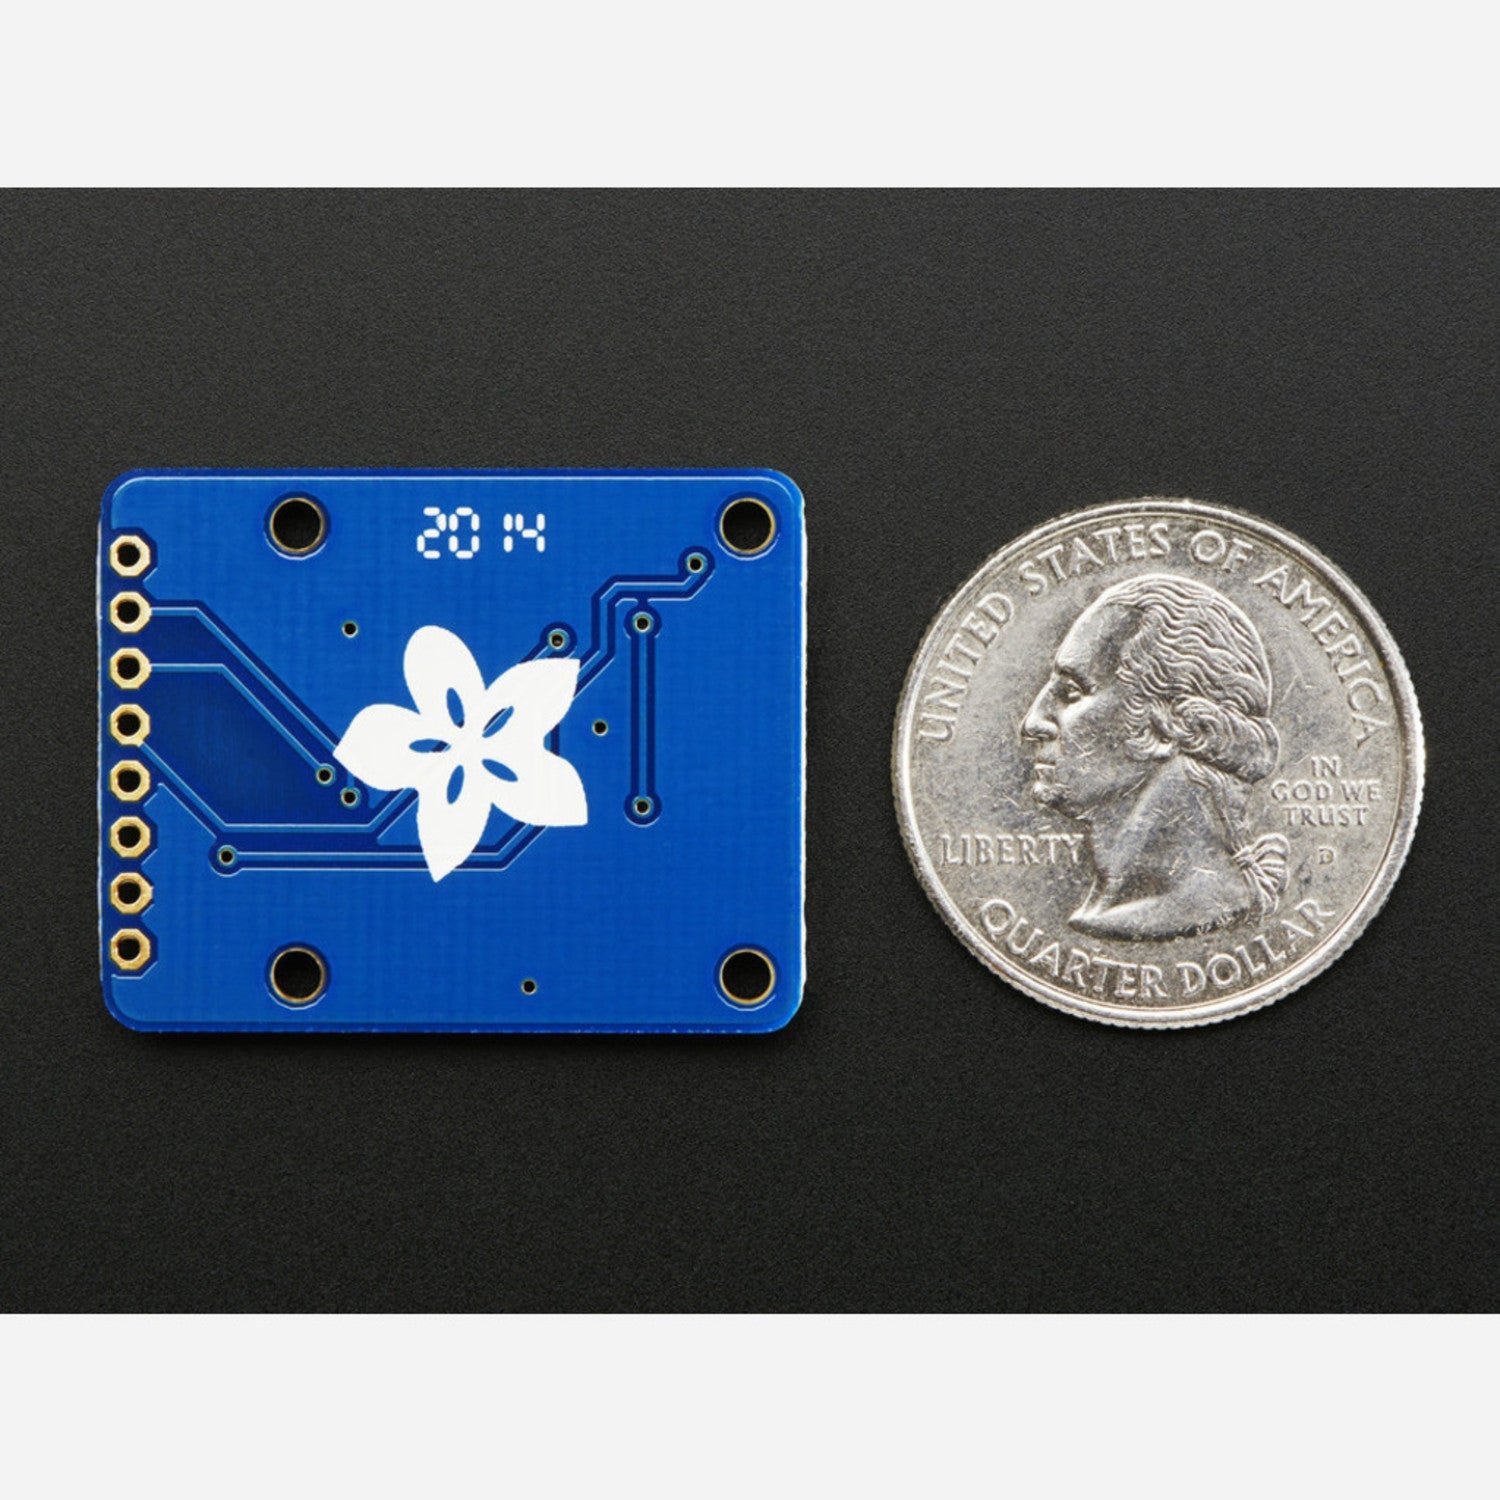
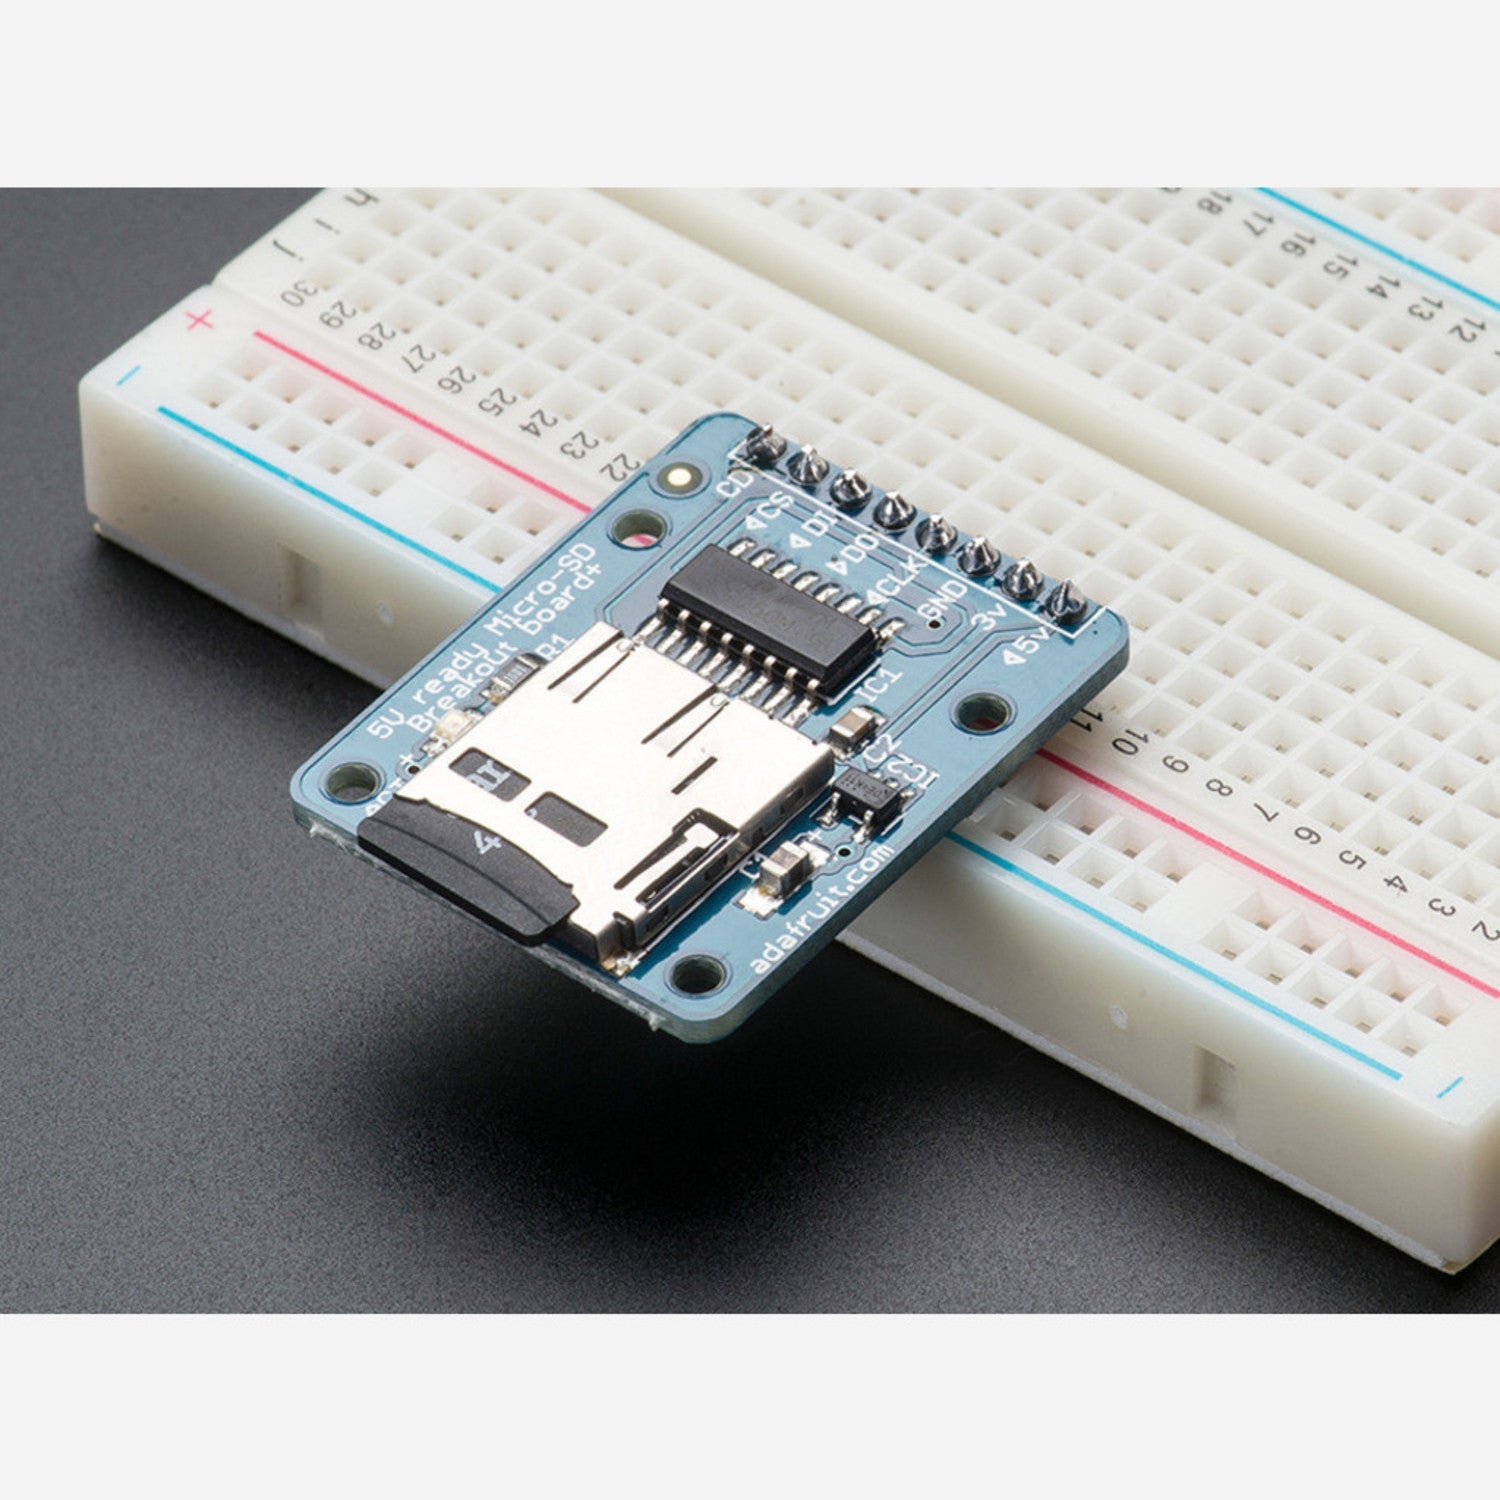
This isn't just an ordinary breakout board. Our microSD adapter is designed for ultimate user - friendliness. It has an onboard 5v - to - 3v regulator that can supply 150mA, perfect for power - hungry cards. With 3v level shifting, it works smoothly on both 3v and 5v systems. It uses a proper level - shifting chip instead of resistors, which means fewer problems and faster read/write access. You can use just 3 or 4 digital pins to read and write over 2Gb of storage. An activity LED lights up when the SD card is in use. It comes with four #2 mounting holes. The push - push socket has the card slightly over the PCB edge for easy insertion and removal. It includes an unattached 0.1' header, so you can either use it on a breadboard or with wires. Tested and assembled at the Adafruit factory, it works great with Arduino, offering tons of example code and wiring diagrams. To use it with an Arduino, connect GND to ground, 5V to 5V, CLK to pin 13, DO to pin 12, DI to pin 11, and CS to pin 10. Then use the Arduino IDE's SD library for FAT and FAT32 SD cards. Check out our detailed tutorial for a great start.


Using this microSD card breakout board is a breeze. First, if you're using it with an Arduino, connect the pins as described in the product description - GND to ground, 5V to 5V, and so on. Then you can use the Arduino IDE's SD library to work with FAT and FAT32 SD cards. When inserting or removing the SD card, just use the push - push socket. It's designed to make this easy. For power, the onboard regulator will handle the voltage conversion, but make sure your power source can supply enough current for power - hungry cards. As for maintenance, keep the board clean and dry. If you're not using it for a long time, store it in a safe place. And if you have any questions, refer to the example code and wiring diagrams provided, or check out our detailed tutorial.