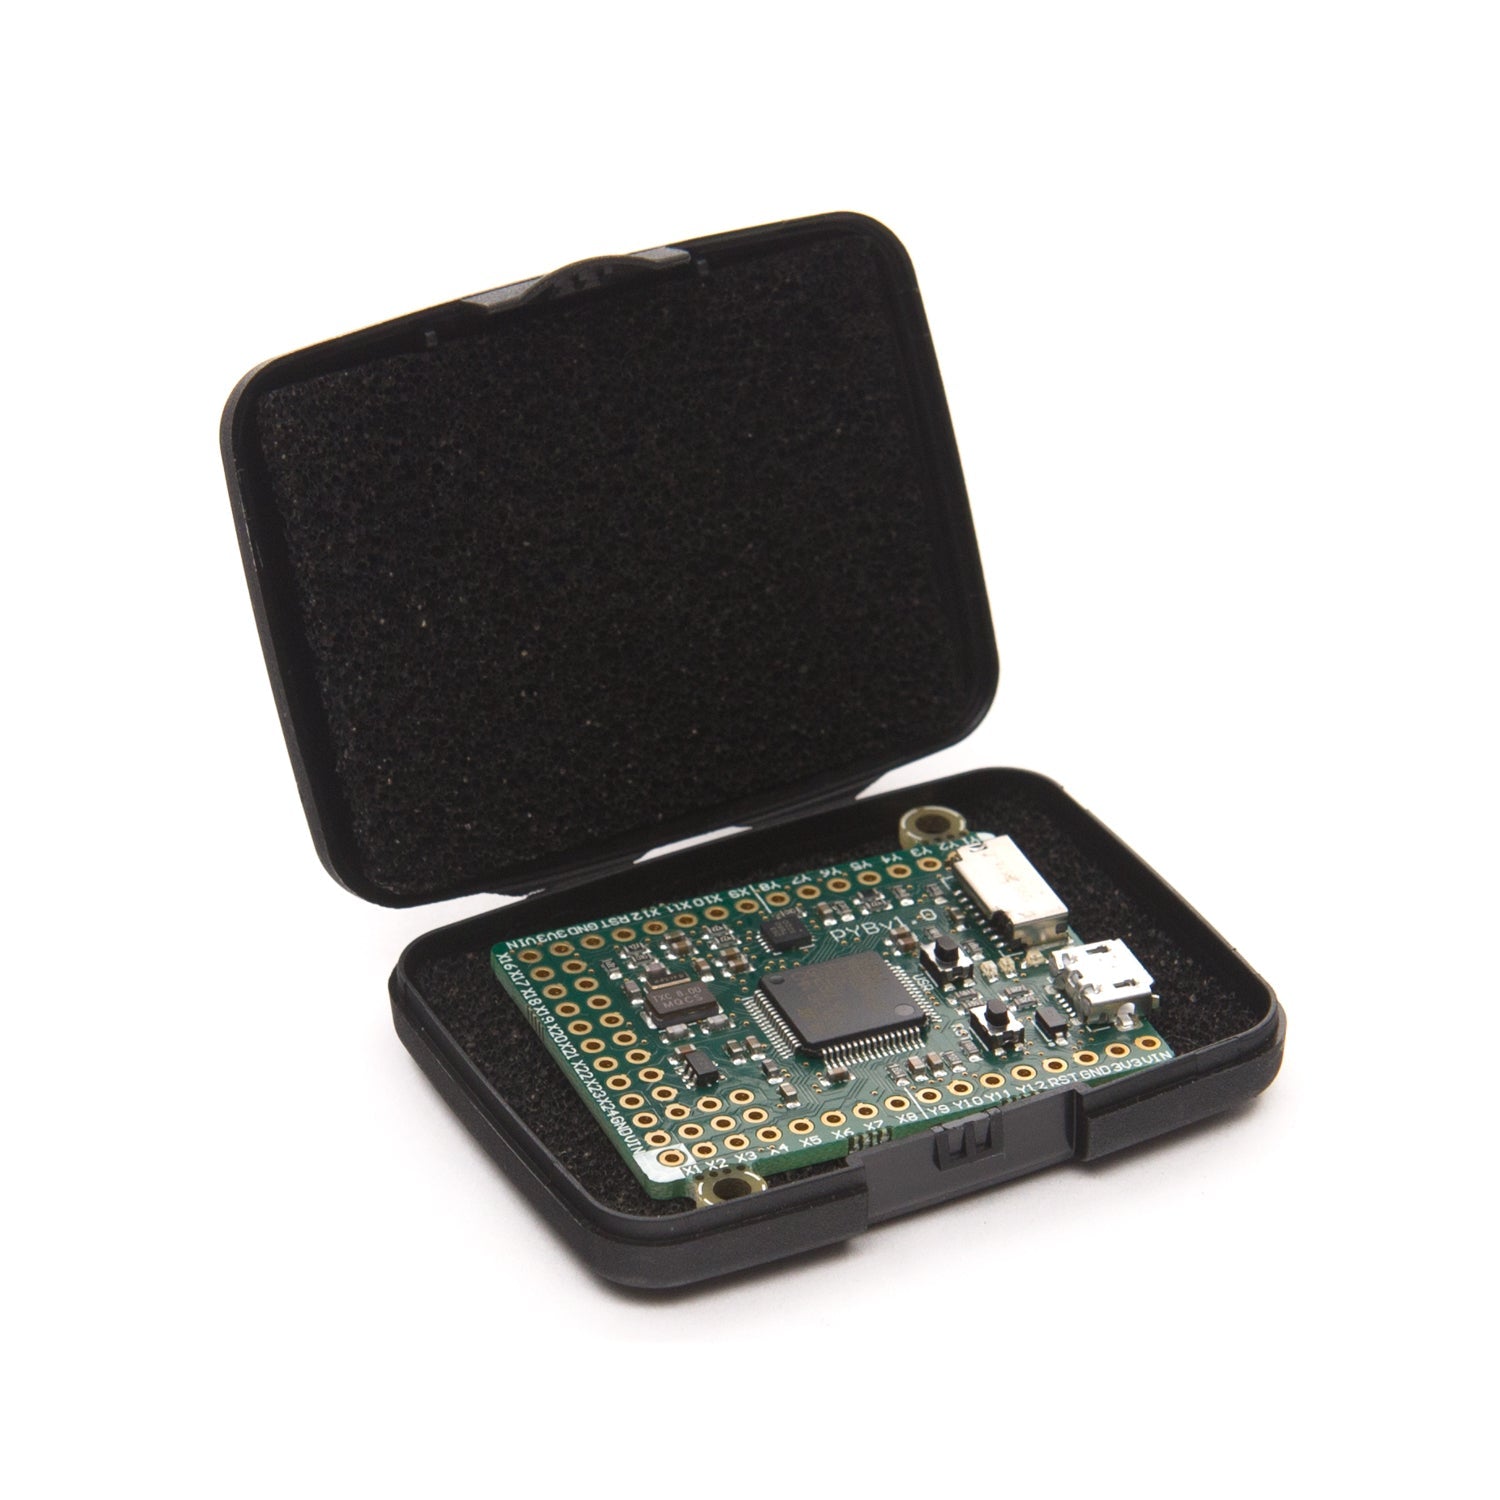
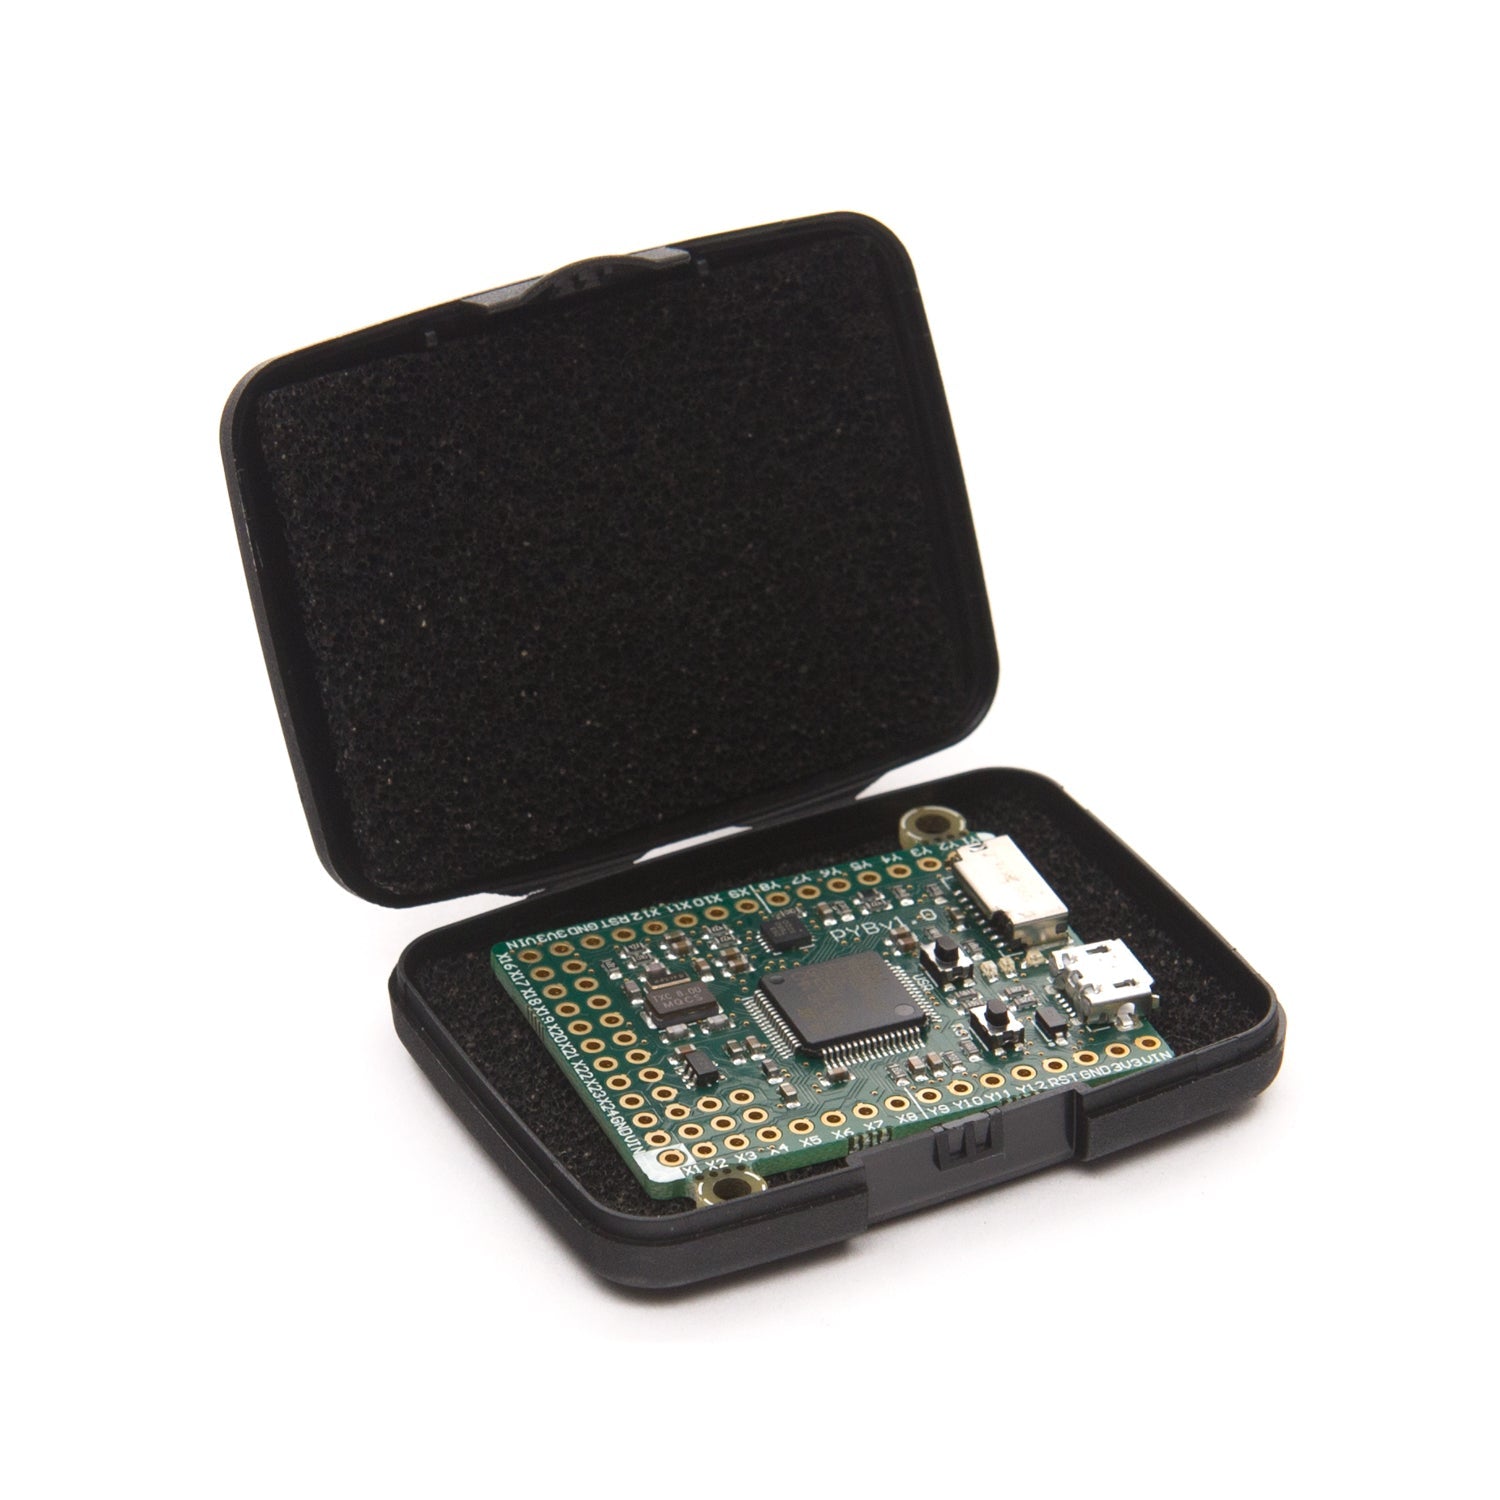
The pyboard is an incredibly compact yet highly powerful electronics development board that runs MicroPython. It easily connects to your PC via USB, acting as a USB flash drive to store your Python scripts and providing a serial Python prompt (a REPL) for instant programming. You'll need a micro USB cable, and it's compatible with Windows, Mac, and Linux. MicroPython is a full rewrite of the Python (version 3.4) programming language, designed to fit and run on a microcontroller. It has many optimizations, ensuring efficient operation and minimal RAM usage. MicroPython runs directly on the pyboard, giving you a Python operating system. The built - in pyb module has functions and classes to control the board's peripherals like UART, I2C, SPI, ADC, and DAC. There are three main ways to control the pyboard: 1. REPL: Connect to your PC via USB, and the board shows up as a USB virtual comms port. You can use any serial program to connect and get a Python REPL prompt. You can type and execute Python commands right away, just like on your PC. You can also redirect the REPL to any of the pyboard's UARTs. 2. Remote script: Switch from REPL to raw REPL mode by sending ctrl - A. In raw REPL mode, you can send a Python script to the board for immediate execution. There's a Python script that makes this easy: run python pyboard.py script_to_run.py, and it will execute the script on the pyboard and return any output. 3. From file: The pyboard has a small built - in filesystem in the microcontroller's flash memory. It also has an SD card slot for extra storage. When connected to your PC, it appears as a USB flash storage device, allowing you to access the internal filesystem and SD card. Copy a Python script named main.py to the filesystem, and the board will run it on startup, so you can run scripts without a PC connection. The hardware's main features include an STM32F405RG microcontroller, a 168 MHz Cortex M4 CPU with hardware floating point, 1024KiB flash ROM and 192KiB RAM, a Micro USB connector for power and serial communication, a Micro SD card slot for standard and high - capacity SD cards, a 3 - axis accelerometer (MMA7660), a real - time clock with optional battery backup, multiple GPIO pins, 3x 12 - bit analog - to - digital converters on 16 pins (4 with analog ground shielding), 2x 12 - bit digital - to - analog (DAC) converters on pins X5 and X6, 4 LEDs (red, green, yellow, and blue), 1 reset and 1 user switch, an on - board 3.3V LDO voltage regulator that can supply up to 300mA with an input voltage range of 3.6V to 10V, a DFU bootloader in ROM for easy firmware upgrades, and two mounting tabs with perforations that can be snapped off if needed. Watch a video for an overview of the pyboard and visit micropython.org/doc/ for schematics, layout, and documentation.


Using the pyboard is quite straightforward. First, connect it to your PC with a micro USB cable. This connection lets you use it as a storage for your Python scripts and gives you access to the Python REPL. To control the pyboard, you have three options. For the REPL method, just connect to your PC via USB and use a serial program to get a prompt where you can type and run Python commands right away. If you want to use the remote script method, switch to raw REPL mode by sending ctrl - A and then send your Python script to the board. There's a script that simplifies this process. When using the 'from file' method, connect the pyboard to your PC, access the internal filesystem or SD card, and copy a script named main.py. The board will run it on startup. When it comes to maintenance, keep the board clean and dry. Avoid exposing it to extreme temperatures or moisture. If you need to upgrade the firmware, the built - in DFU bootloader in the ROM makes it easy. Just follow the instructions on the official documentation. Also, be careful when handling the board, especially the GPIO pins. Don't apply excessive force or voltage that could damage the components. Remember, you'll need a micro USB cable to use the board, and it works with Windows, Mac, and Linux operating systems.


