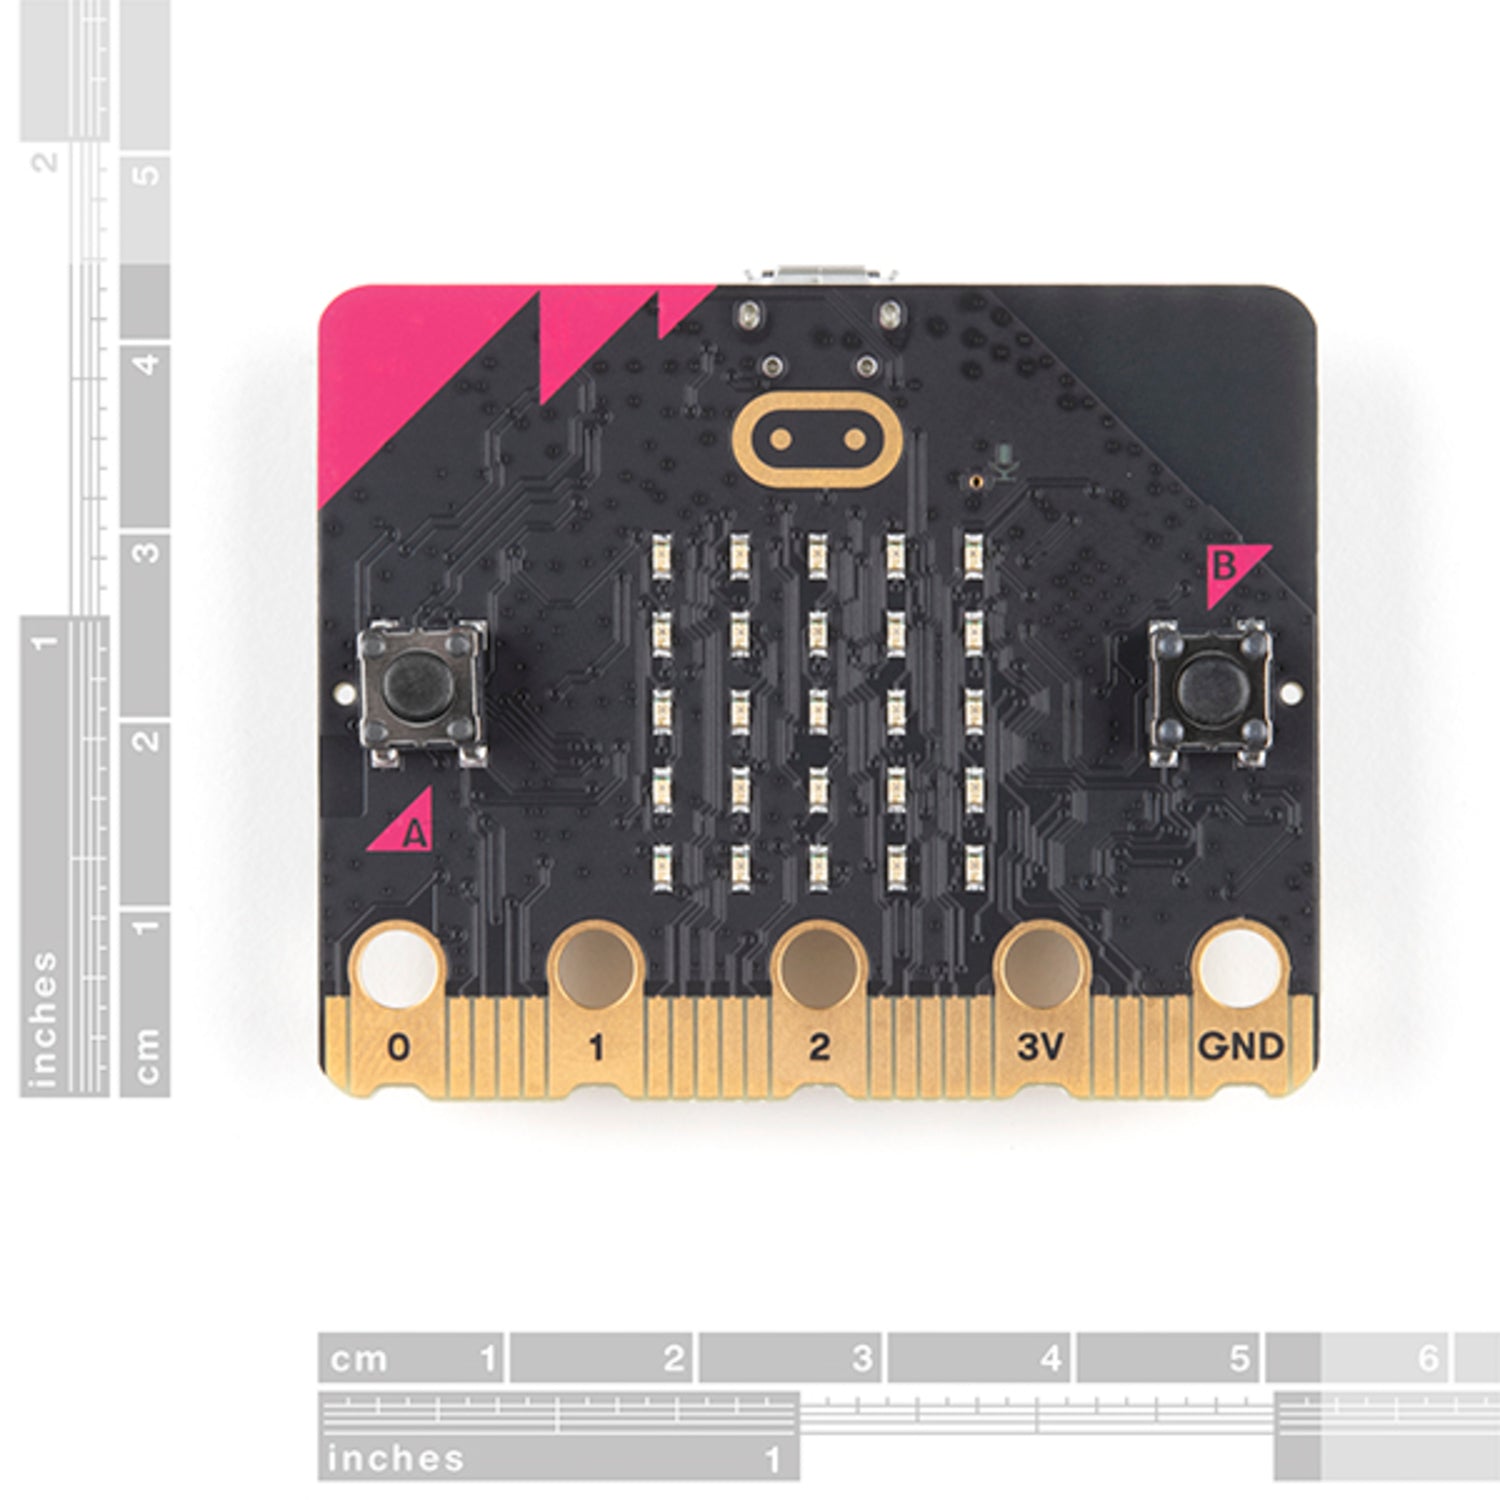
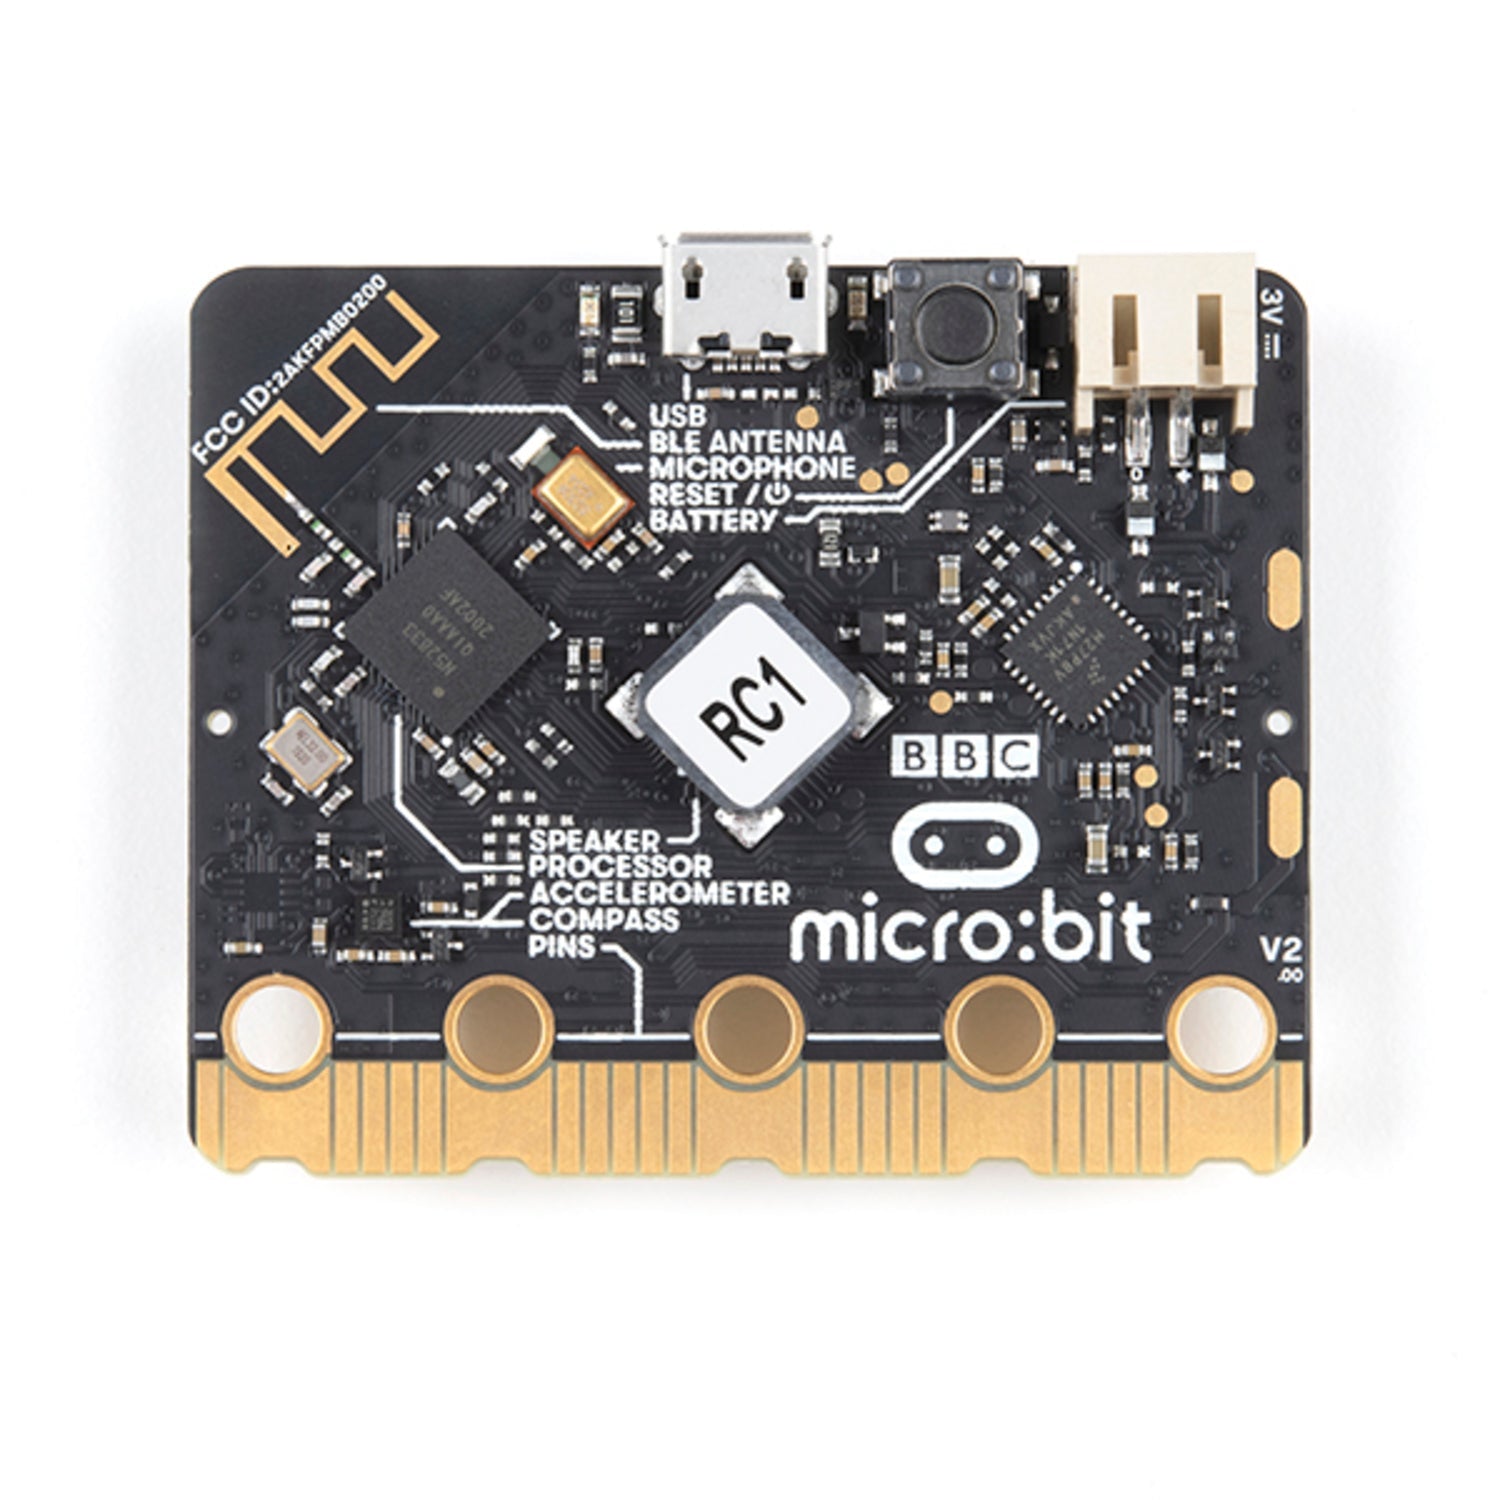
Introducing the new BBC micro:bit v2, a pocket-sized wonder that unleashes your creativity in the digital world. Each order comes with just the micro:bit v2 board. You can code, customize, and control it from anywhere! Use it to create all kinds of unique things, like robots and musical instruments. At half the size of a credit card, it's packed with amazing hardware. It has 25 red LED lights to flash messages, two programmable tactile buttons, and a touch-sensitive logo for game control or music playlist management. It can detect motion and tell your direction, and uses Bluetooth Low Energy (BLE 5.0) to connect with other devices and the Internet. On the front, there's a 5x5 LED array that acts as a light sensor, a small drawing screen, microphone input, and LED indicator. The back houses a powerful 64 MHz, ARM Cortex - M4 microcontroller with FPU, 512KB Flash, 128KB RAM, a temperature sensor, an accelerometer, compass, MEMS microphone, speaker, Bluetooth Smart antenna, and connectors for different power options. At the bottom, 25 gold - tabbed edge pins and five ring connectors make it easy to hook up external components. Micro:bit also provides an intuitive mobile app. You can send code to your micro:bit via Bluetooth without a USB cable. Note that the micro:bit v2 doesn't include cables or power sources. We suggest getting a micro:bit AAA battery holder or a micro USB cable to power it. This versatile board has endless potential for your digital creations!


Using your micro:bit v2 is a breeze. First, you'll need to power it up. You can use a micro USB cable or an AAA battery holder (not included in the package). Once it's powered, you can start coding. You can use the built - in mobile app to send your code to the micro:bit over Bluetooth. The 5x5 LED array on the front can be used as a light sensor, or you can draw on it, display words, and more. The two programmable tactile buttons and the touch - sensitive logo are great for interactive projects, like controlling games or managing music playlists. When using external components, connect them to the gold - tabbed edge pins and ring connectors at the bottom of the board. The tabs with larger holes can be easily connected using alligator clips. Remember, this is just the board, so make sure to have the necessary power sources. Keep it in a dry place and avoid exposing it to extreme temperatures. If you're not using it for a long time, remove the power source to save battery life. With a little creativity, your micro:bit v2 can bring all your digital ideas to life!