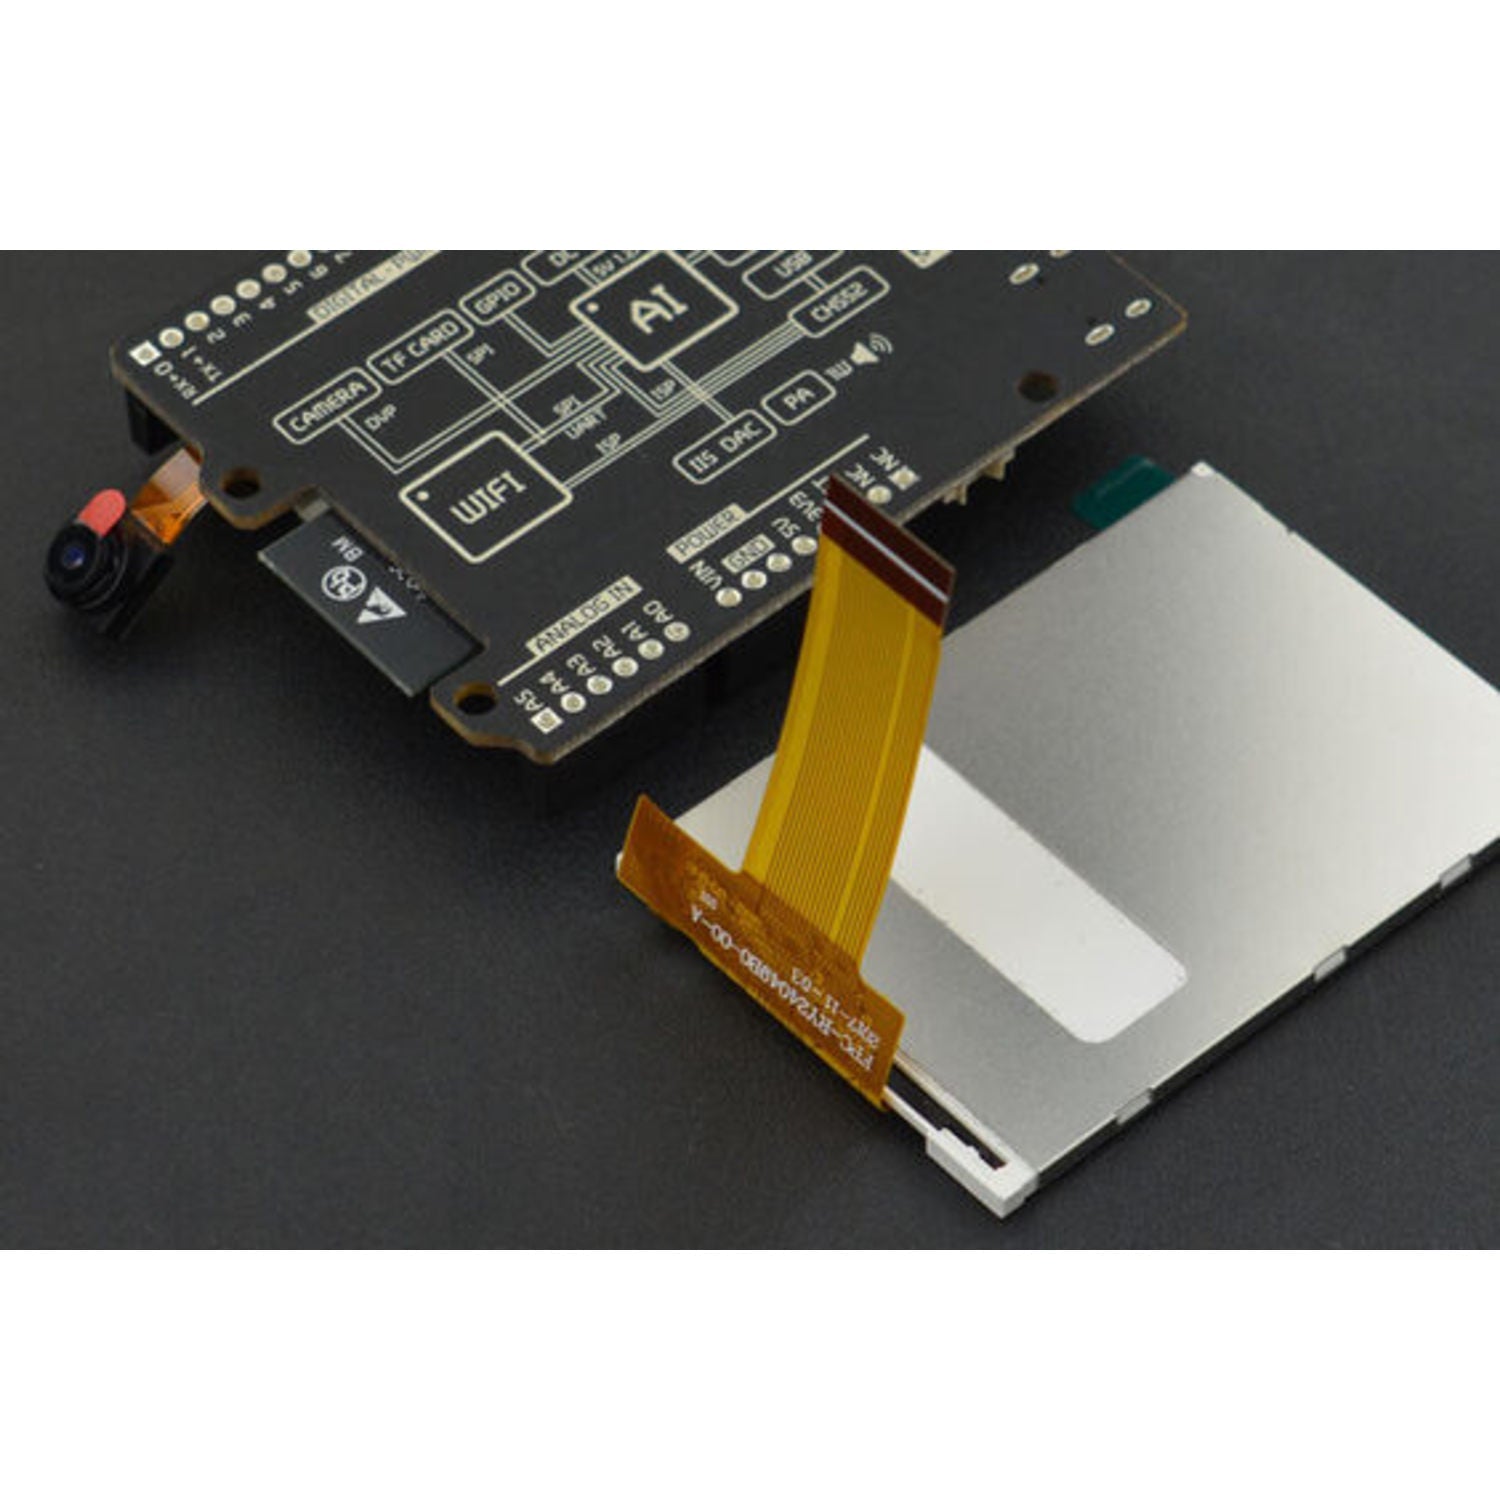
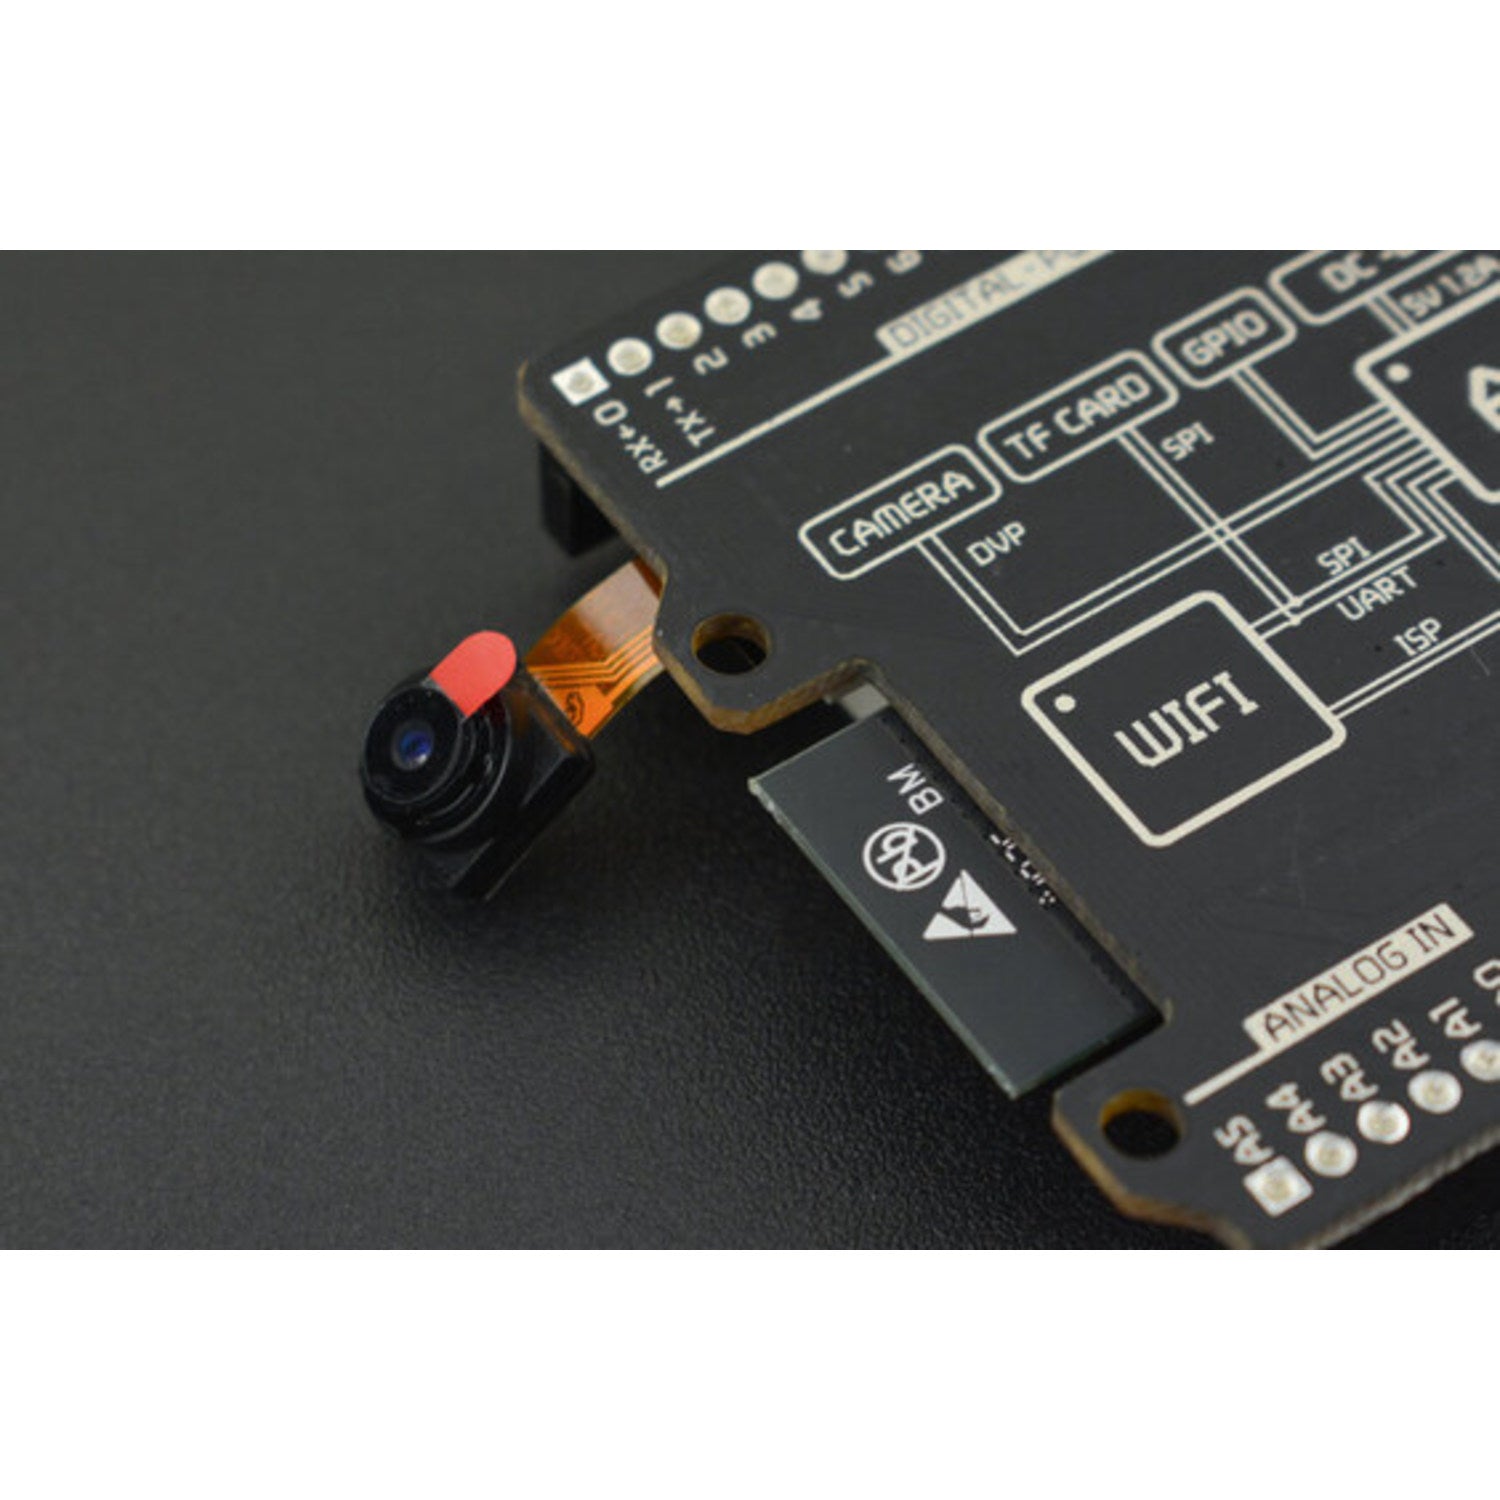
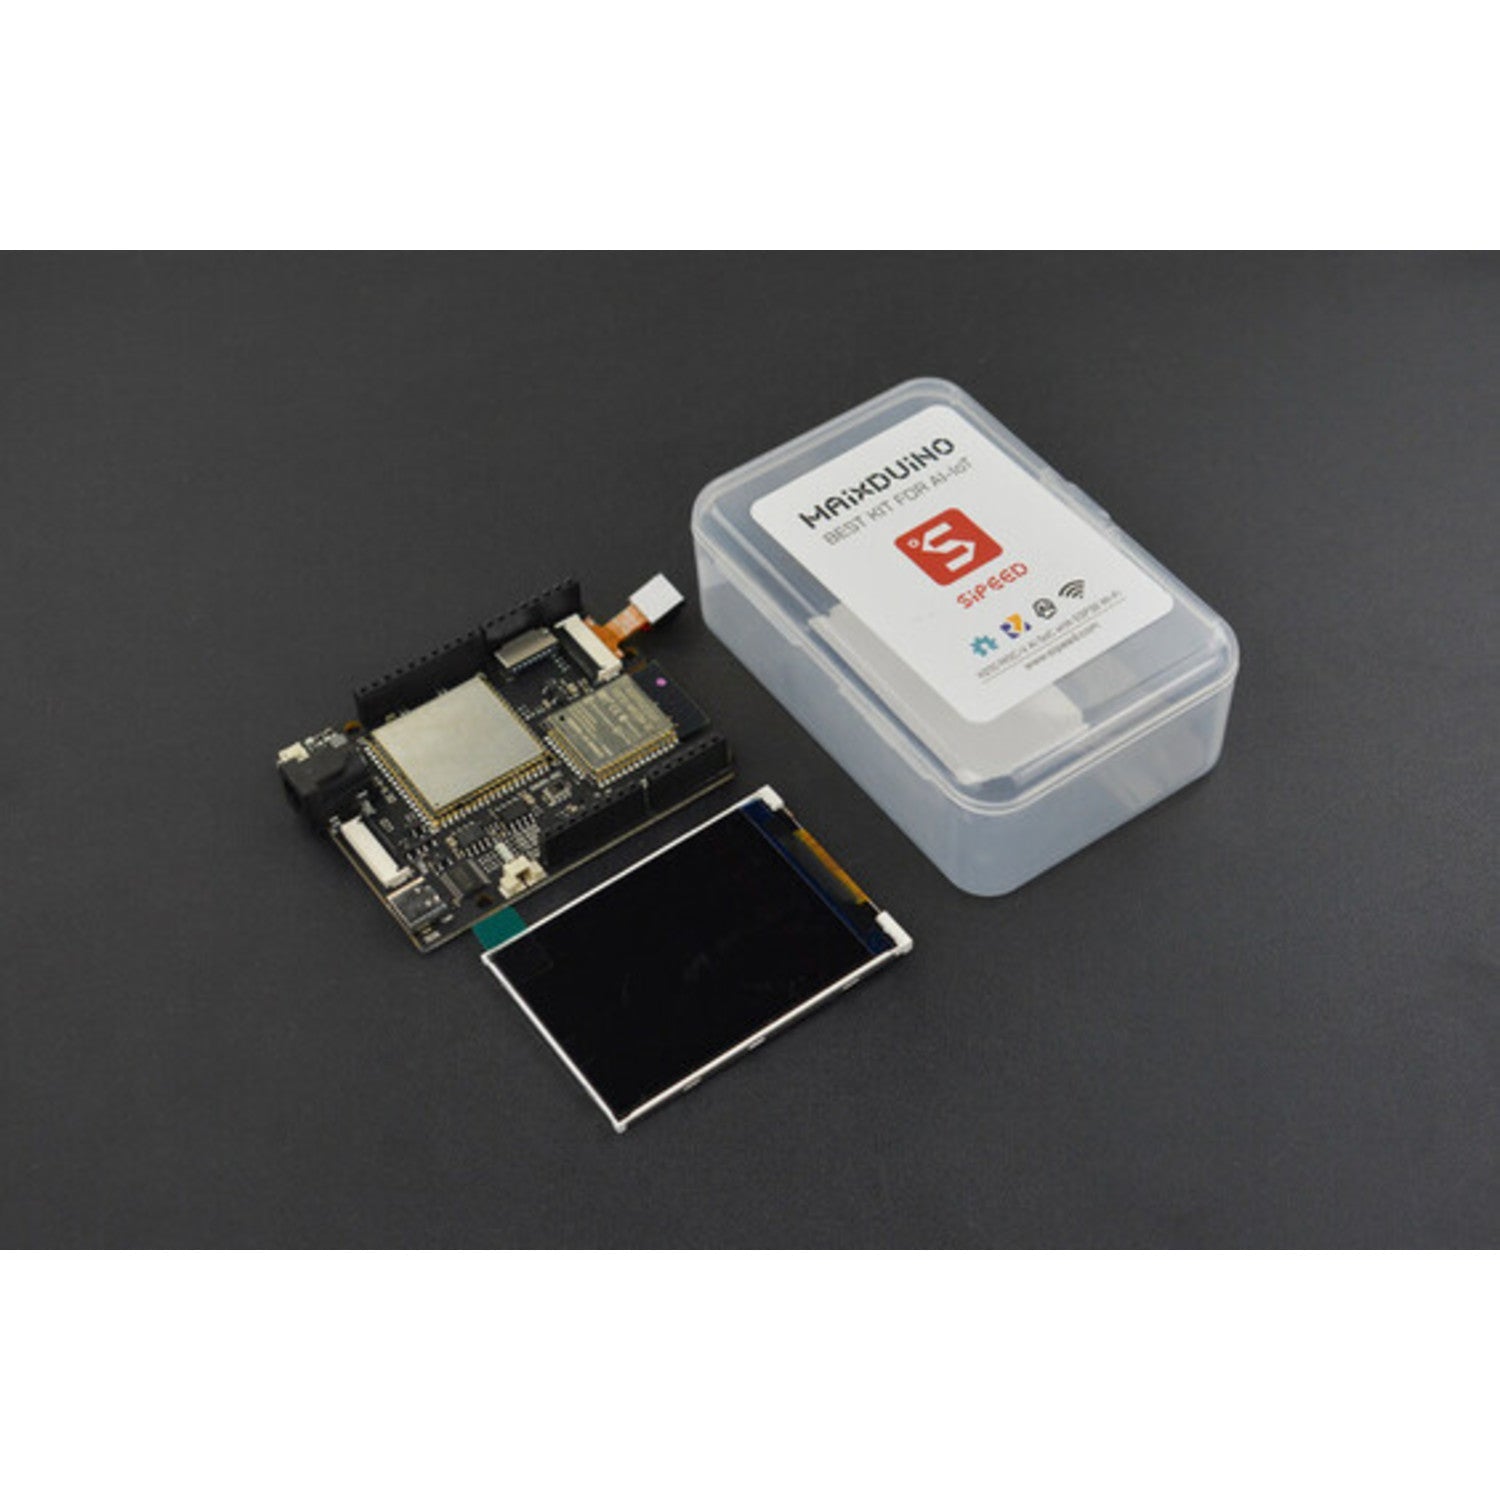
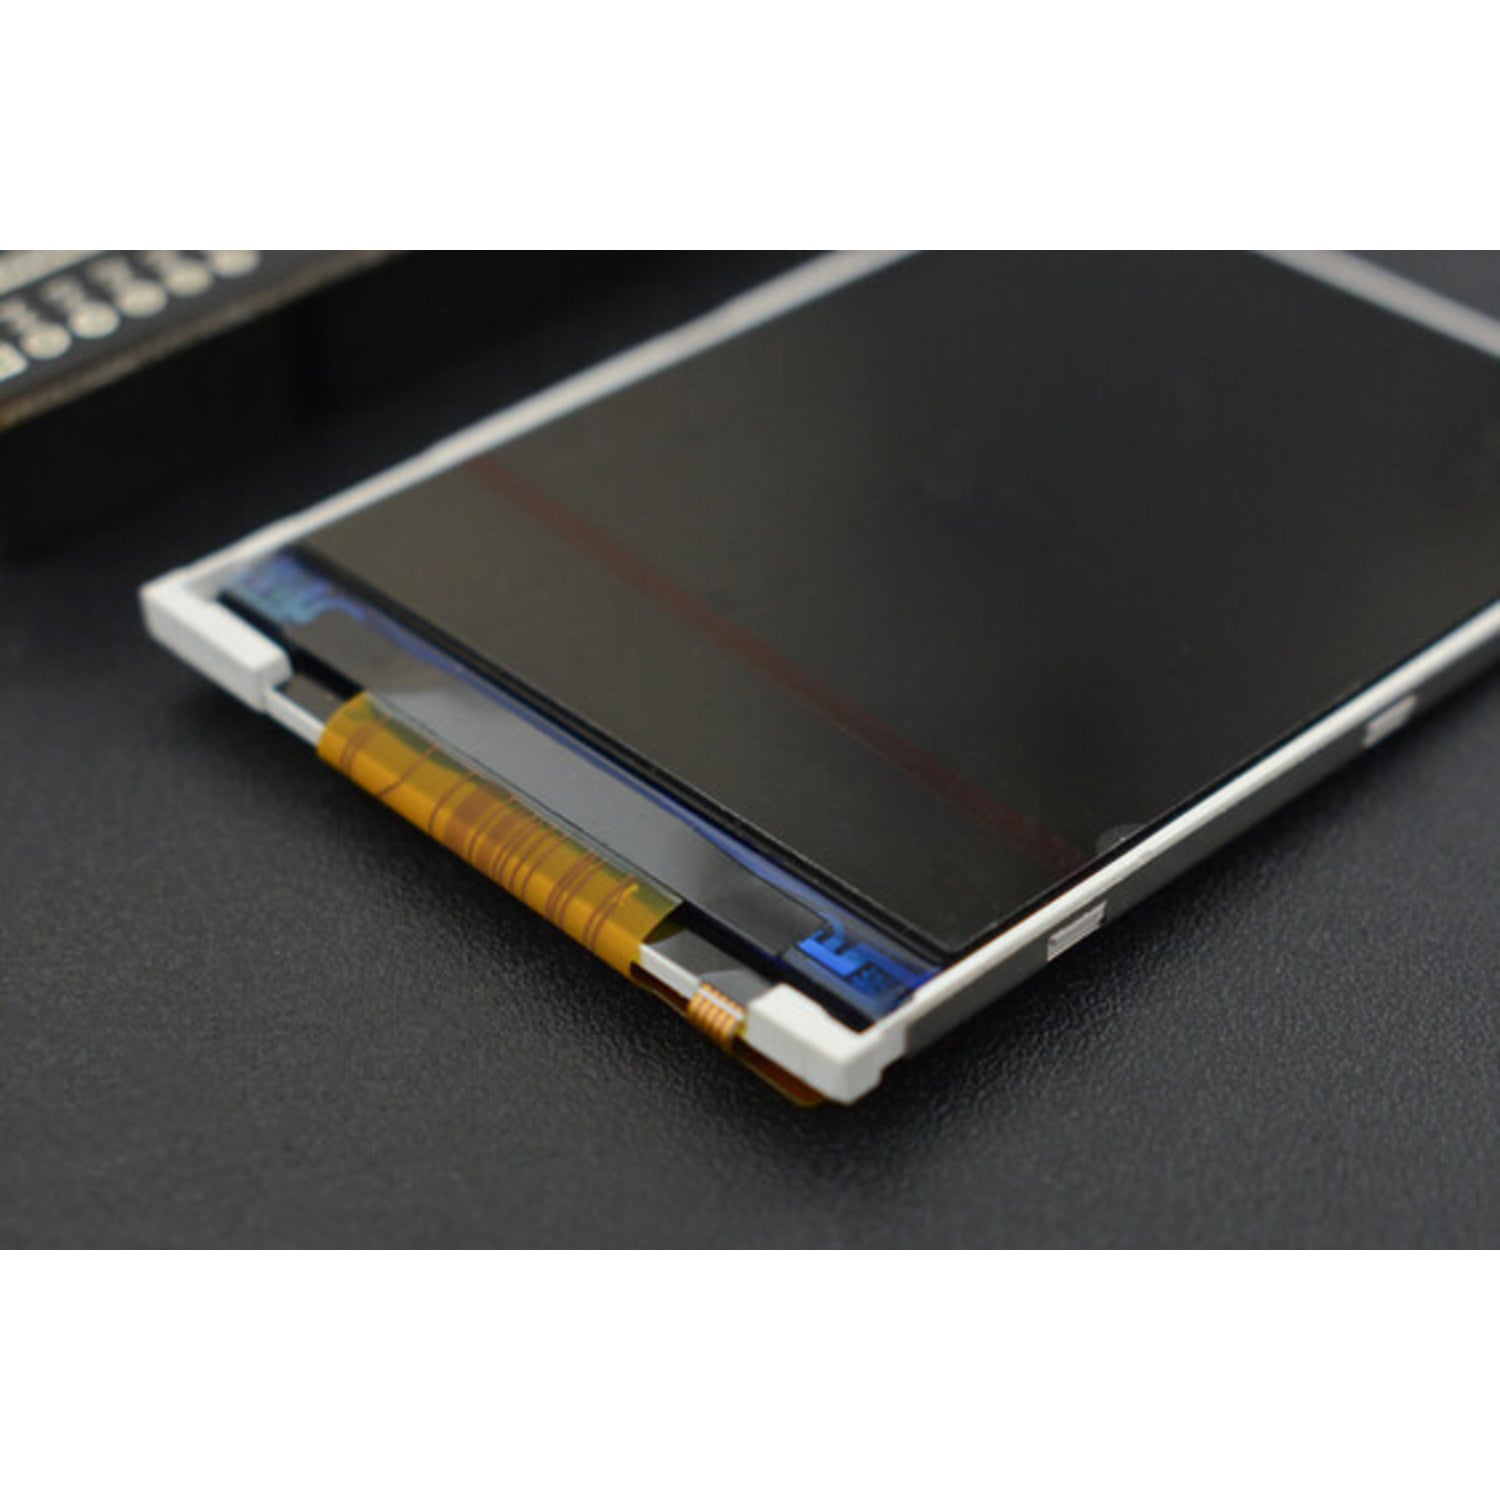
The Maixduino AI development board, based on the K210 RISC-V AI processor, comes in an Arduino UNO form factor. It features an MI AI module and an ESP32 module for seamless WiFi and Bluetooth connectivity. The K210 has a dual-core processor chip with an independent FPU, 64-bit CPU, 8 MB on-chip SRAM, a 400MHz adjustable frequency, and a double-precision FPU for multiplication, navigation, and square root operations. It also has a neural network hardware accelerator KPU, a voice processing unit (APU), a programmable IO array (FPIOA/IOMUX), and a Fast Fourier Transform Accelerator. In AI processing, it can handle convolution, batch normalization, activation, and pooling, and also pre-process voice direction scanning and voice data output. The on-board wireless module is the ESP32-WROOM-32 with a dual-core ESP32 Xtensa LX6 processor, 2.4GHz 802.11.b/g/n WiFi 4, and Bluetooth 4.2 LE. It has a DVP camera connector, an LCD display connector, a built-in MEMS microphone, a TM8211 I2S audio DAC, a 3W power amplifier, and a USB 2.0 Device type C port for powering and programming via a dual-channel CH522 chip to support both K210 and ESP32. It also has Arduino UNO compatible headers with digital I/Os / PWM, I2C, UART, 6x analog inputs, and power signals. This kit is ideal for applications in smart home (like robotic vacuum cleaners and smart speakers), medical devices, Industry 4.0, agriculture, and education. The kit includes a Maixduino controller, a 2.4” LCD screen, and an OV2640 camera. Note that while the shape and pins are compatible with Arduino UNO R3, the voltage levels are not. Maixduino supports 3.3V and 1.8V levels, and the pins are divided into several BANKs that can be set to 1.8V or 3.3V by software, but they are not 5V tolerant. So, be careful not to short the 5V to the pin or RST (1.8V) pin when using Arduino peripherals. Features include a RISC-V Dual Core 64-bit CPU with FPU, a built-in neural network processor, connectors compatible with Arduino interfaces, a TF card slot, a speaker port, support for 2.4G 802.11.b/g/n and Bluetooth 4.2, an MEMS microphone, 3W speaker output, 8-bit (256 levels) adjustable color, 5-bit (32 levels) brightness adjustment, a DVP camera interface with a 24P 0.5mm FPC connector supporting various cameras, an LCD interface with a 24P 0.5mm FPC connector supporting 8-bit MCU LCDs, and an ESP32 module supporting 2.4G 802.11.b/g/n with 802.11 n (2.4 GHz) speed reaching 150 Mbps and Bluetooth v4.2 full specification. It supports development environments like Arduino IDE, MaixPy IDE, and OpenMV IDE. Specifications include dimensions of 68x 54mm/2.68x 2.13”, power input via USB Type-C (6~12V), a temperature rise of <20K, an operating temperature range of -30~85ºC, an MCU of ESP8285, a wireless standard of 802.11 b/g/n, a frequency range of 2400Mhz~2483.5Mhz, transmit power levels for different 802.11 standards, a wireless connector of IPEX 3.0x3.0mm, and WiFi modes of Station/SoftAP/SoftAP+Station. Documents include the Maixduino Development Board and Peripheral Wiki.


Using the Maixduino AI Development Kit is easy. First, connect the kit to your computer using the USB Type-C port. Make sure to use a power supply within the 6 - 12V range. Once connected, you can choose your preferred development environment like Arduino IDE, MaixPy IDE, or OpenMV IDE. For the camera and LCD screen, just plug them into the corresponding connectors on the board. When using it with Arduino peripherals, always remember that the voltage levels are different. Maixduino supports 3.3V and 1.8V, and the pins can't tolerate 5V. So, be very careful not to short the 5V to any pin or the RST (1.8V) pin, or you might damage the board. In terms of maintenance, keep the board in a dry place within the operating temperature range of -30 to 85ºC. Avoid exposing it to extreme heat or cold. If there's dust on the board, you can use a soft brush to gently clean it. That's all you need to know to get the most out of your Maixduino AI Development Kit.