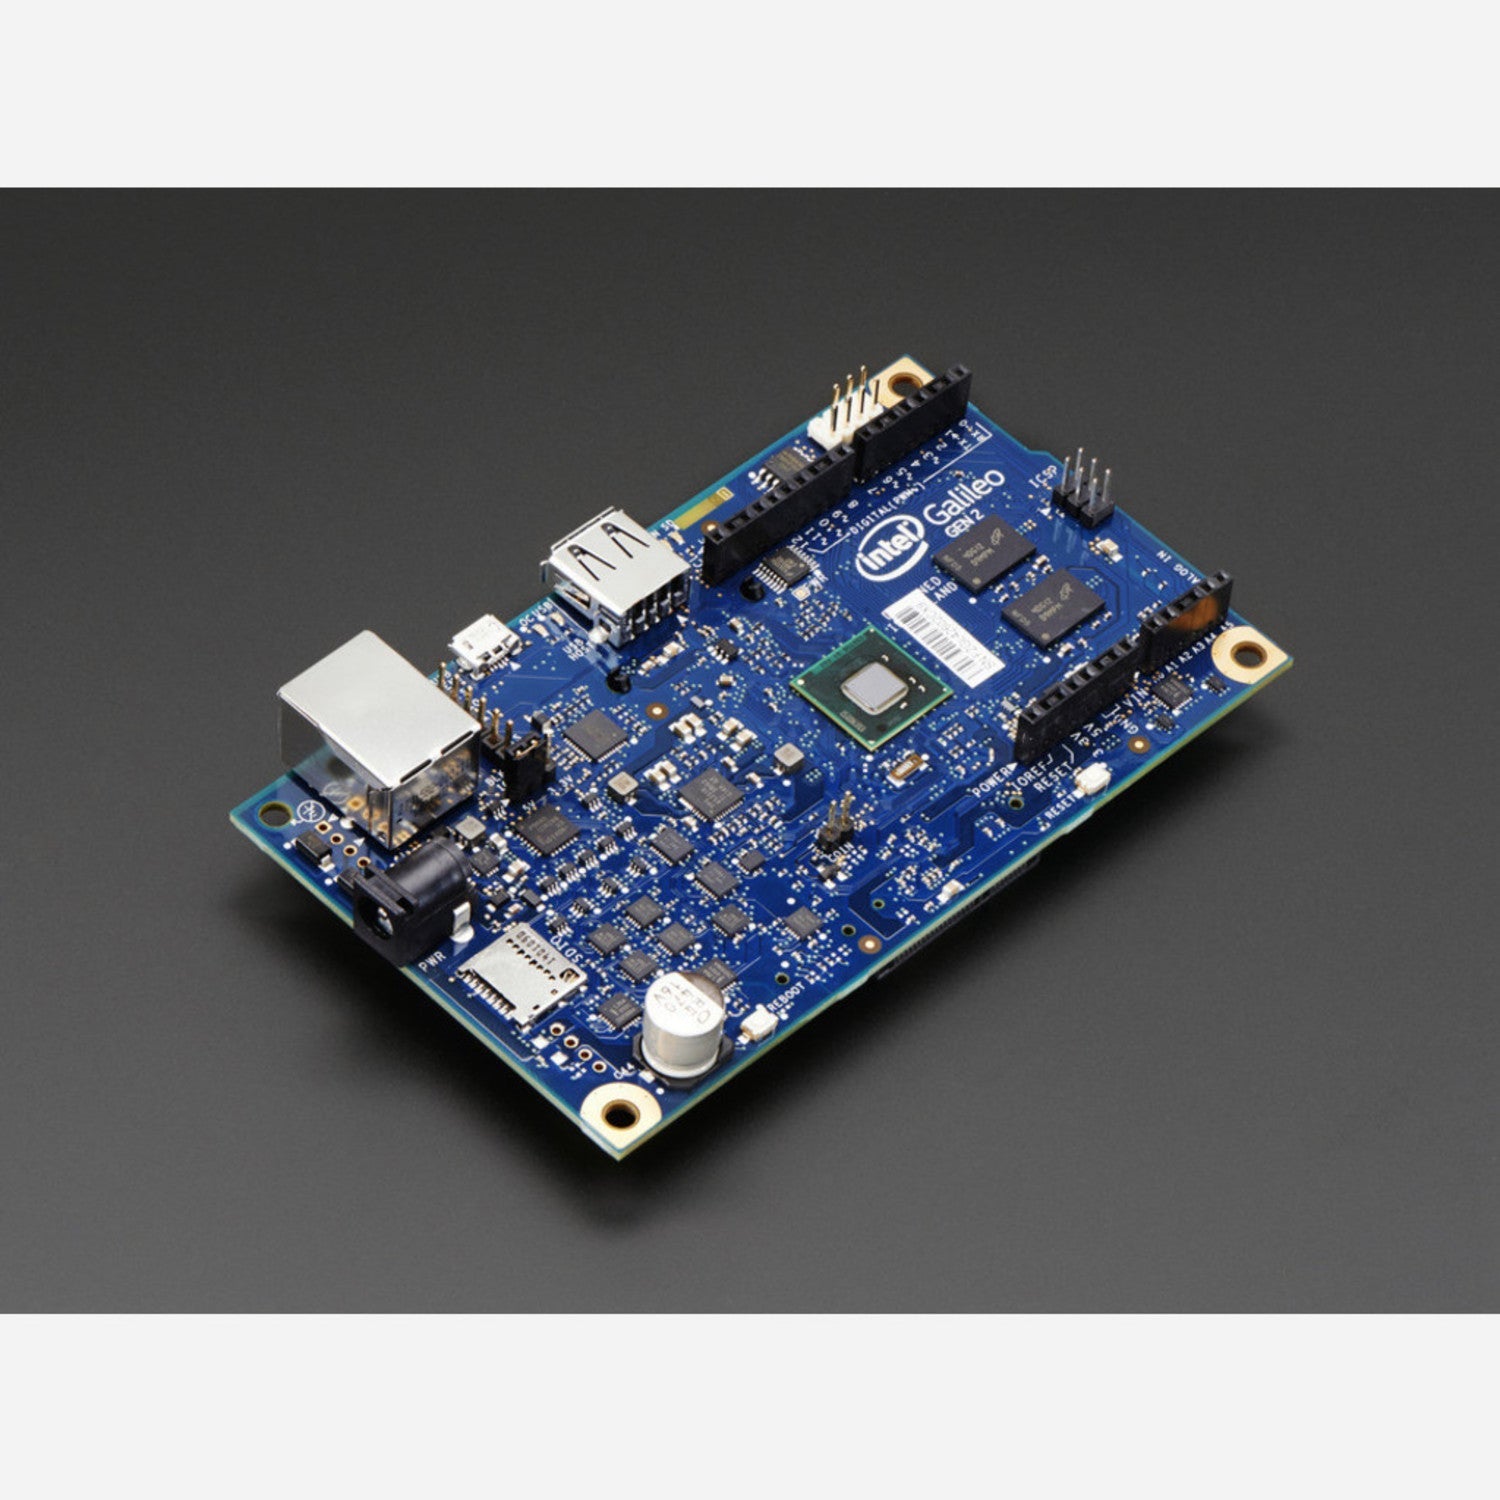
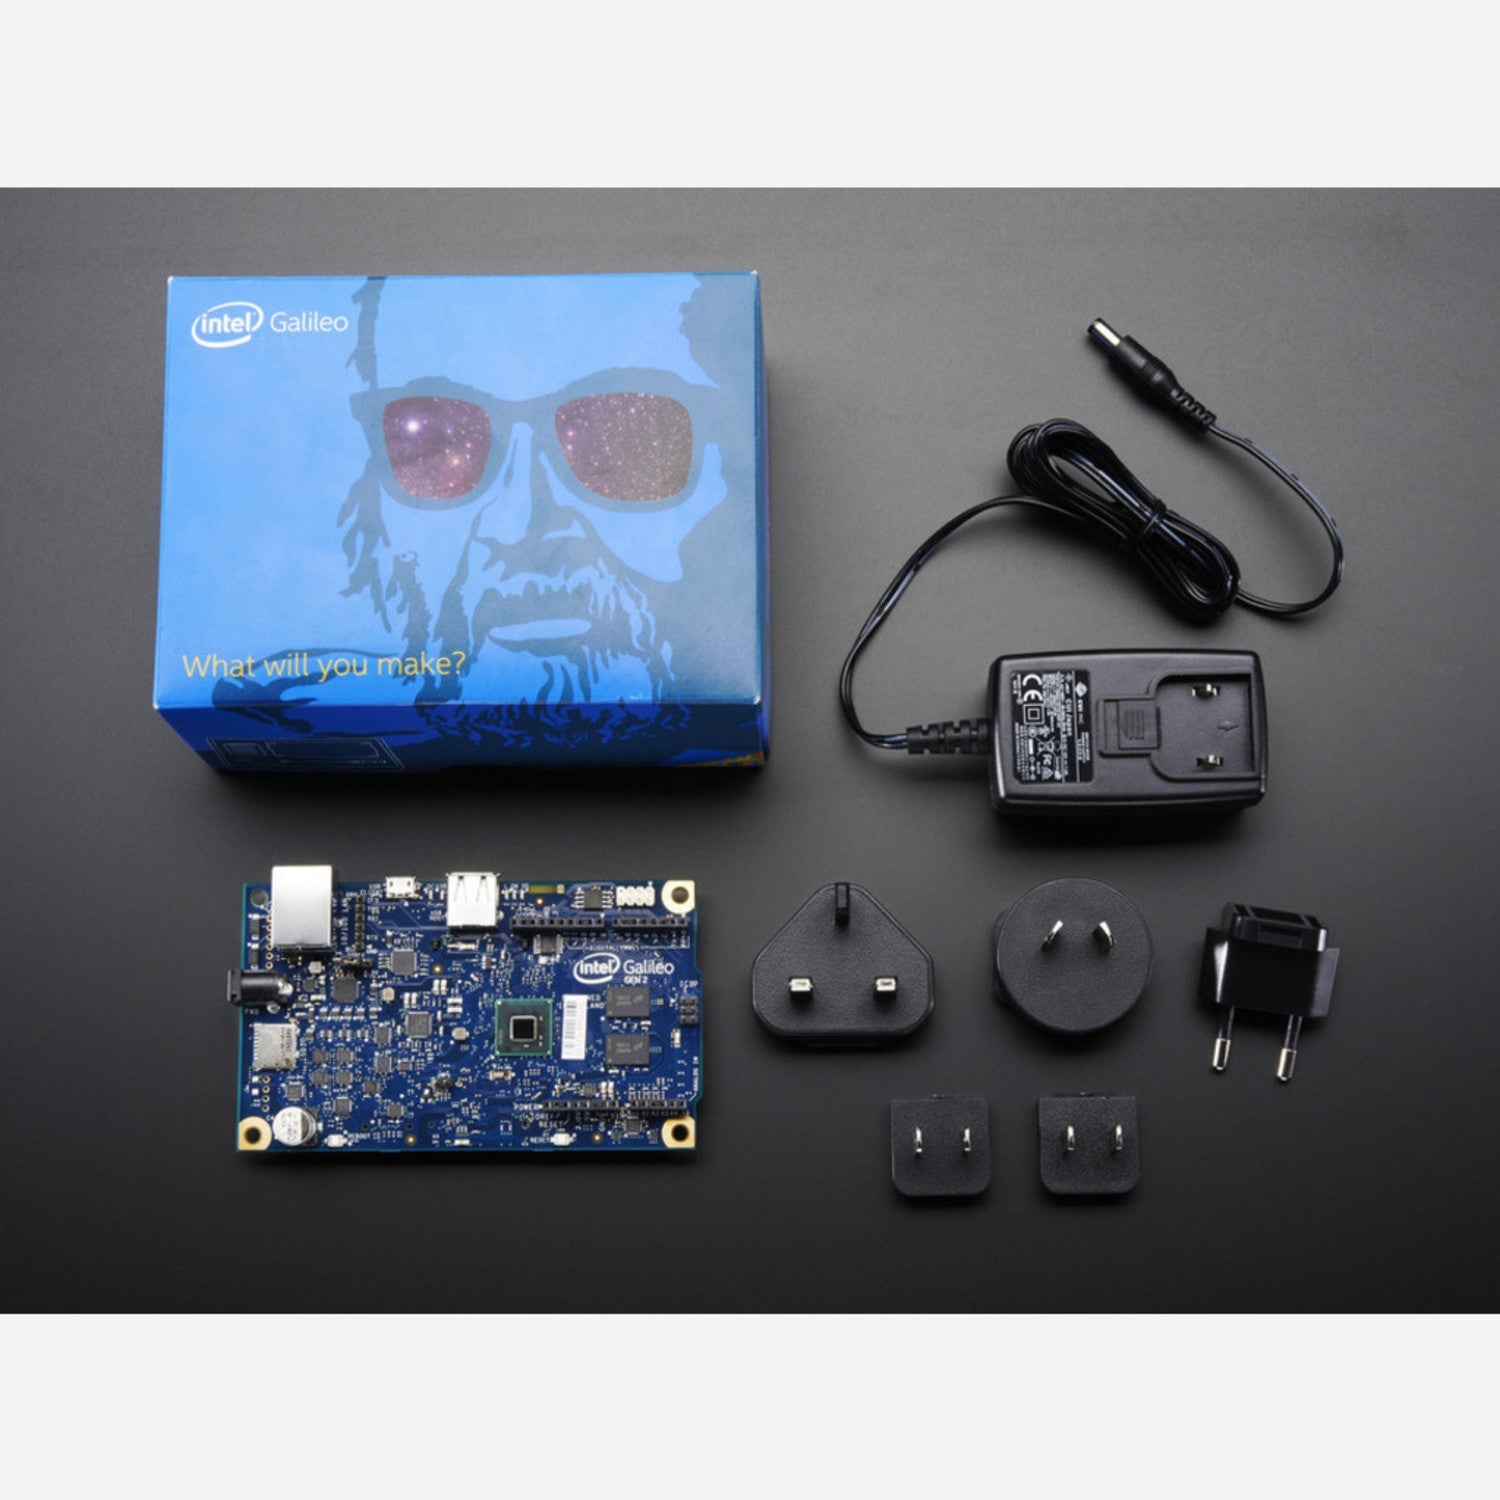
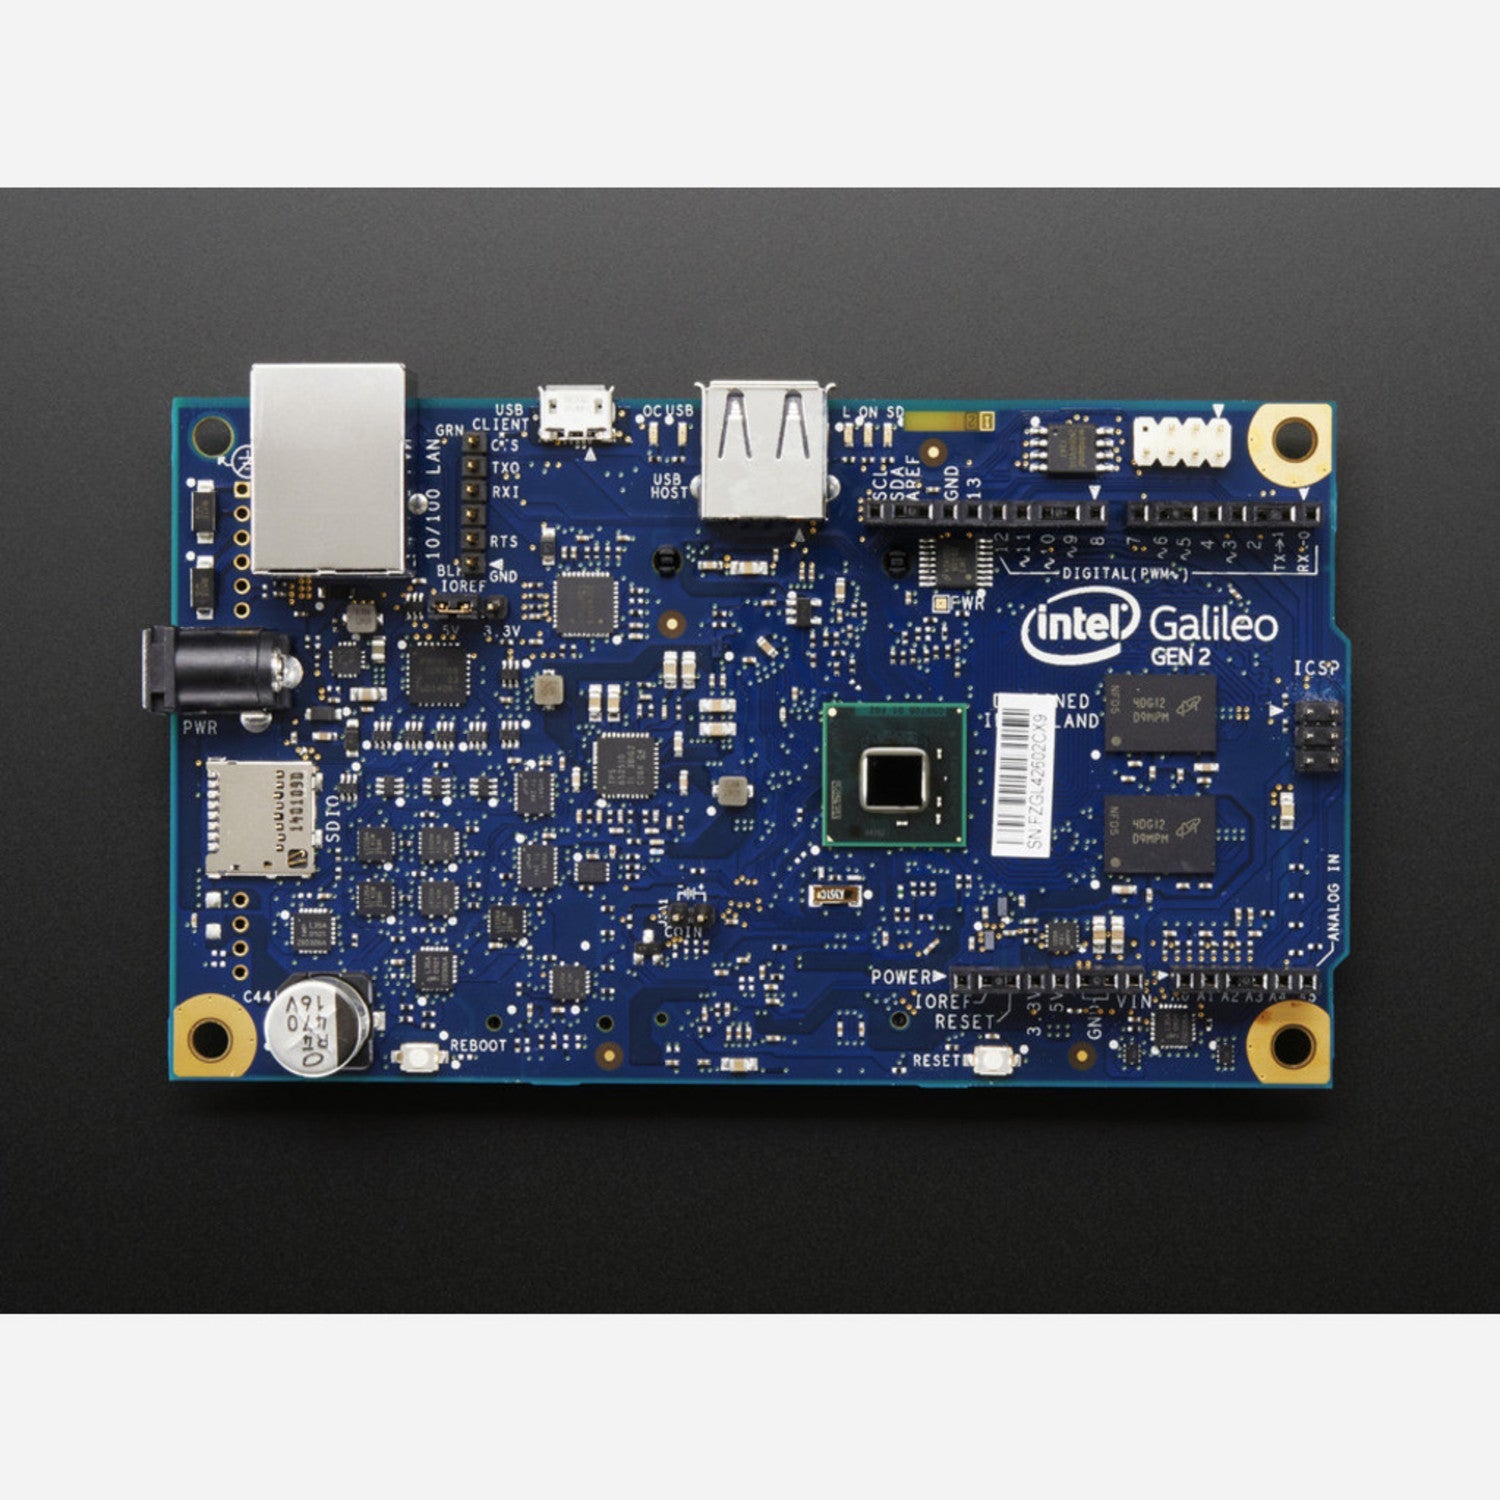
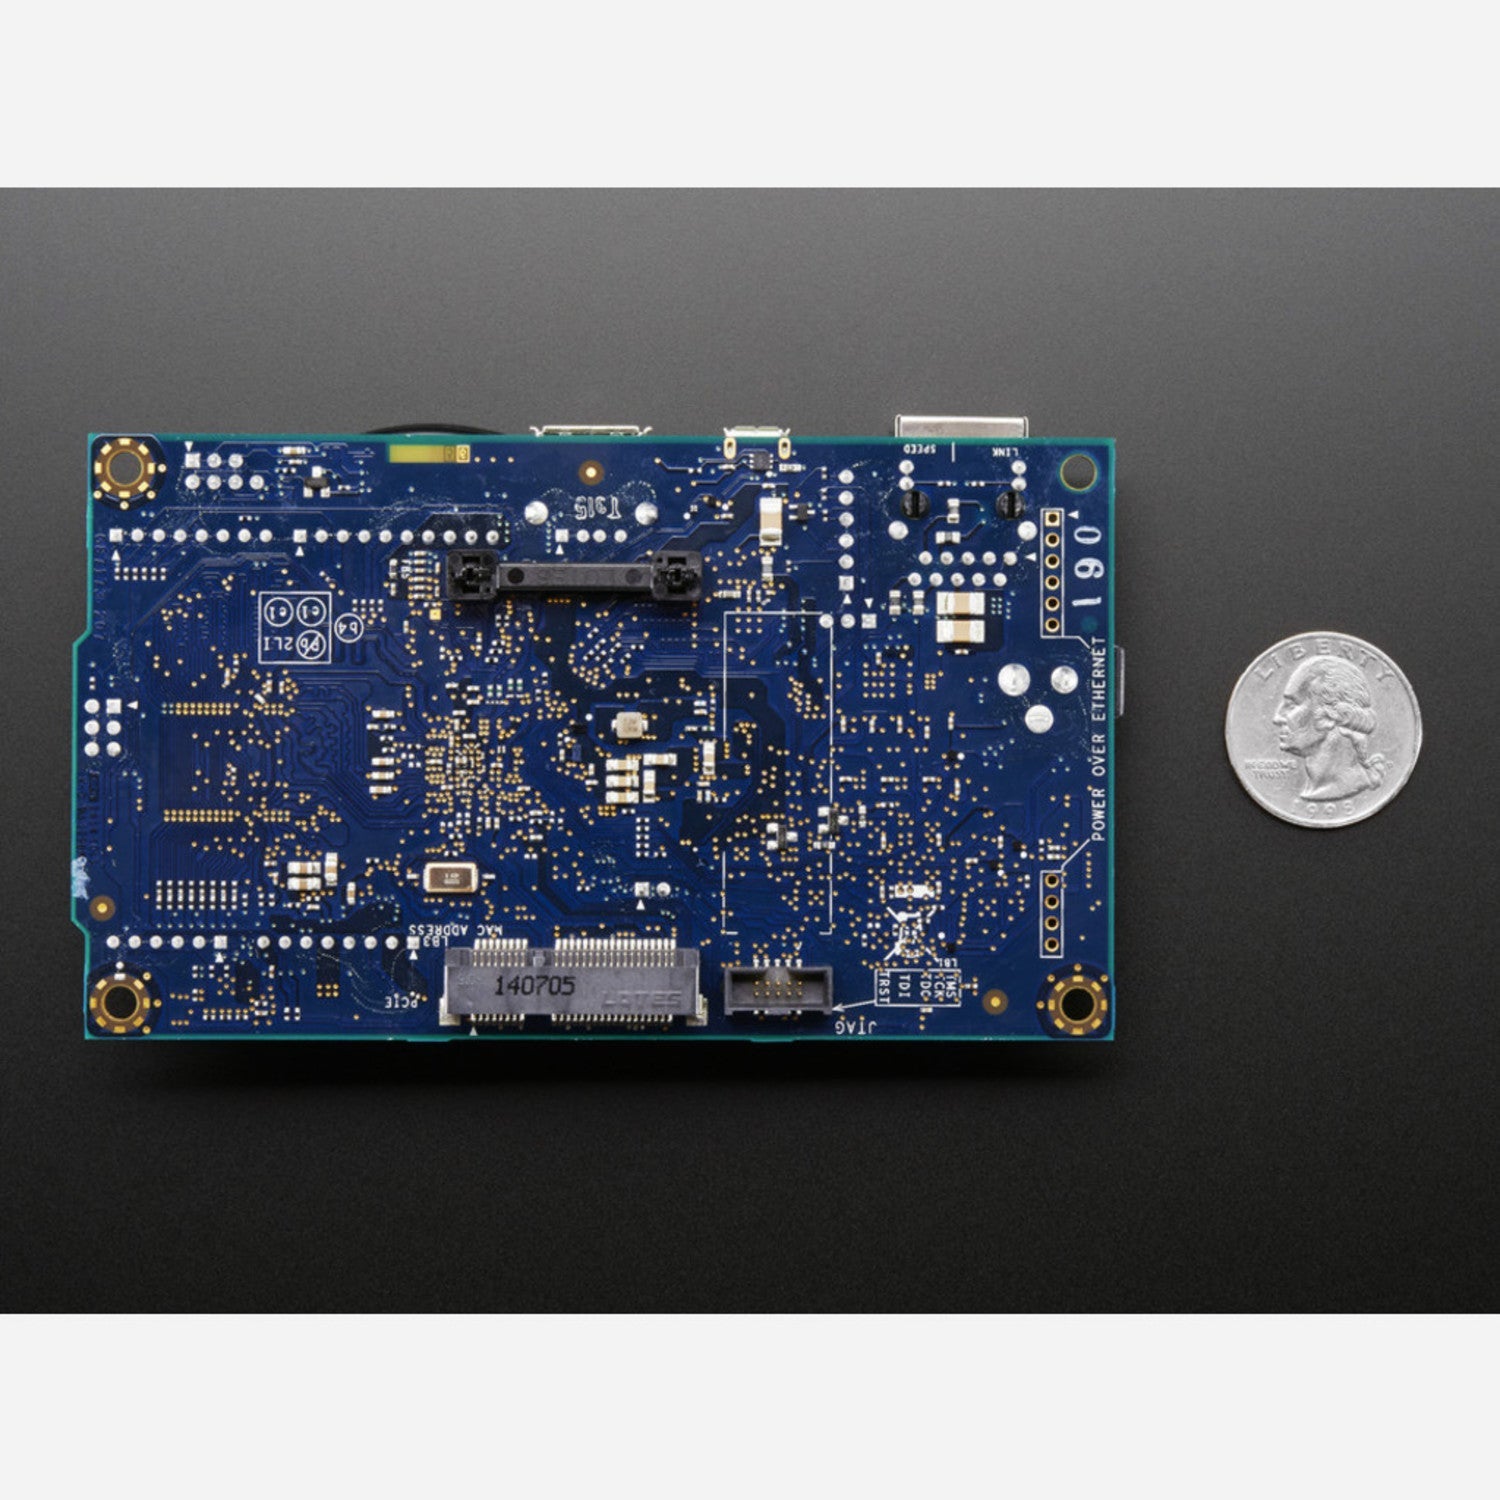
Galileo 2 is an amazing microcontroller board powered by the Intel® Quark SoC X1000 Application Processor, a 32 - bit Intel Pentium - class system on a chip. It's the second - gen board based on Intel® architecture, pin - compatible with Arduino Uno R3 shields in both hardware and software. Here are the cool new features of the Intel® Galileo Gen 2 board: It has a 6 - pin 3.3V USB TTL UART header for Linux debug, replacing the old 3.5 mm jack RS - 232 console port. The new connector works well with standard FTDI* USB serial cables and popular USB - to - Serial breakout boards. Also, 12 GPIOs are now fully native, offering greater speed and better drive strength. With 12 - bit pulse - width modulation, it allows for more precise servo control and smoother response. The Console UART1 can be redirected to Arduino headers in sketches, often eliminating the need for soft - serial. It can support 12V power - over - Ethernet with a PoE module installation and its power regulation system can accept power supplies from 7V to 15V. The digital pins 0 to 13, analog inputs 0 to 5, power header, ICSP header, and UART port pins are in the same positions as the Arduino Uno R3, known as the Arduino 1.0 pinout. Galileo supports shields operating at 3.3V or 5V. Its core voltage is 3.3V, but a jumper can translate the voltage to 5V at I/O pins for 5V Uno shields (default), or you can disable it for 3.3V operation. The board is software - compatible with the Arduino IDE, making it easy to use. Besides Arduino compatibility, it has PC industry standard I/O ports like a full - sized mini - PCI Express slot, 100Mb Ethernet port, Micro - SD slot, RS - 232 serial port, USB Host port, USB Client port, and 8MByte NOR flash. Visit the FAQ page for more details.


Using the Intel® Galileo Gen 2 board is quite straightforward. First, if you want to use it with a Linux system for debugging, connect the 6 - pin 3.3V USB TTL UART header to a standard FTDI* USB serial cable or a popular USB - to - Serial breakout board. When it comes to power, you can use a power supply between 7V and 15V. If you want to use power - over - Ethernet, install the PoE module. For connecting Arduino shields, just plug them in as the pinout is compatible with Arduino Uno R3. When using servos, the 12 - bit PWM feature will give you more precise control. If you're writing sketches, you can redirect the Console UART1 to Arduino headers to avoid using soft - serial in many cases. As for the voltage, if your shield requires 5V, leave the jumper in the default position. If it's a 3.3V shield, switch the jumper to disable voltage translation. To start programming, use the Arduino IDE as the board is software - compatible with it. When it comes to maintenance, keep the board in a clean and dry environment. Avoid exposing it to extreme temperatures or humidity. If you're not using it for a long time, store it in an anti - static bag. Also, be careful when handling the board to avoid any physical damage to the pins or components.