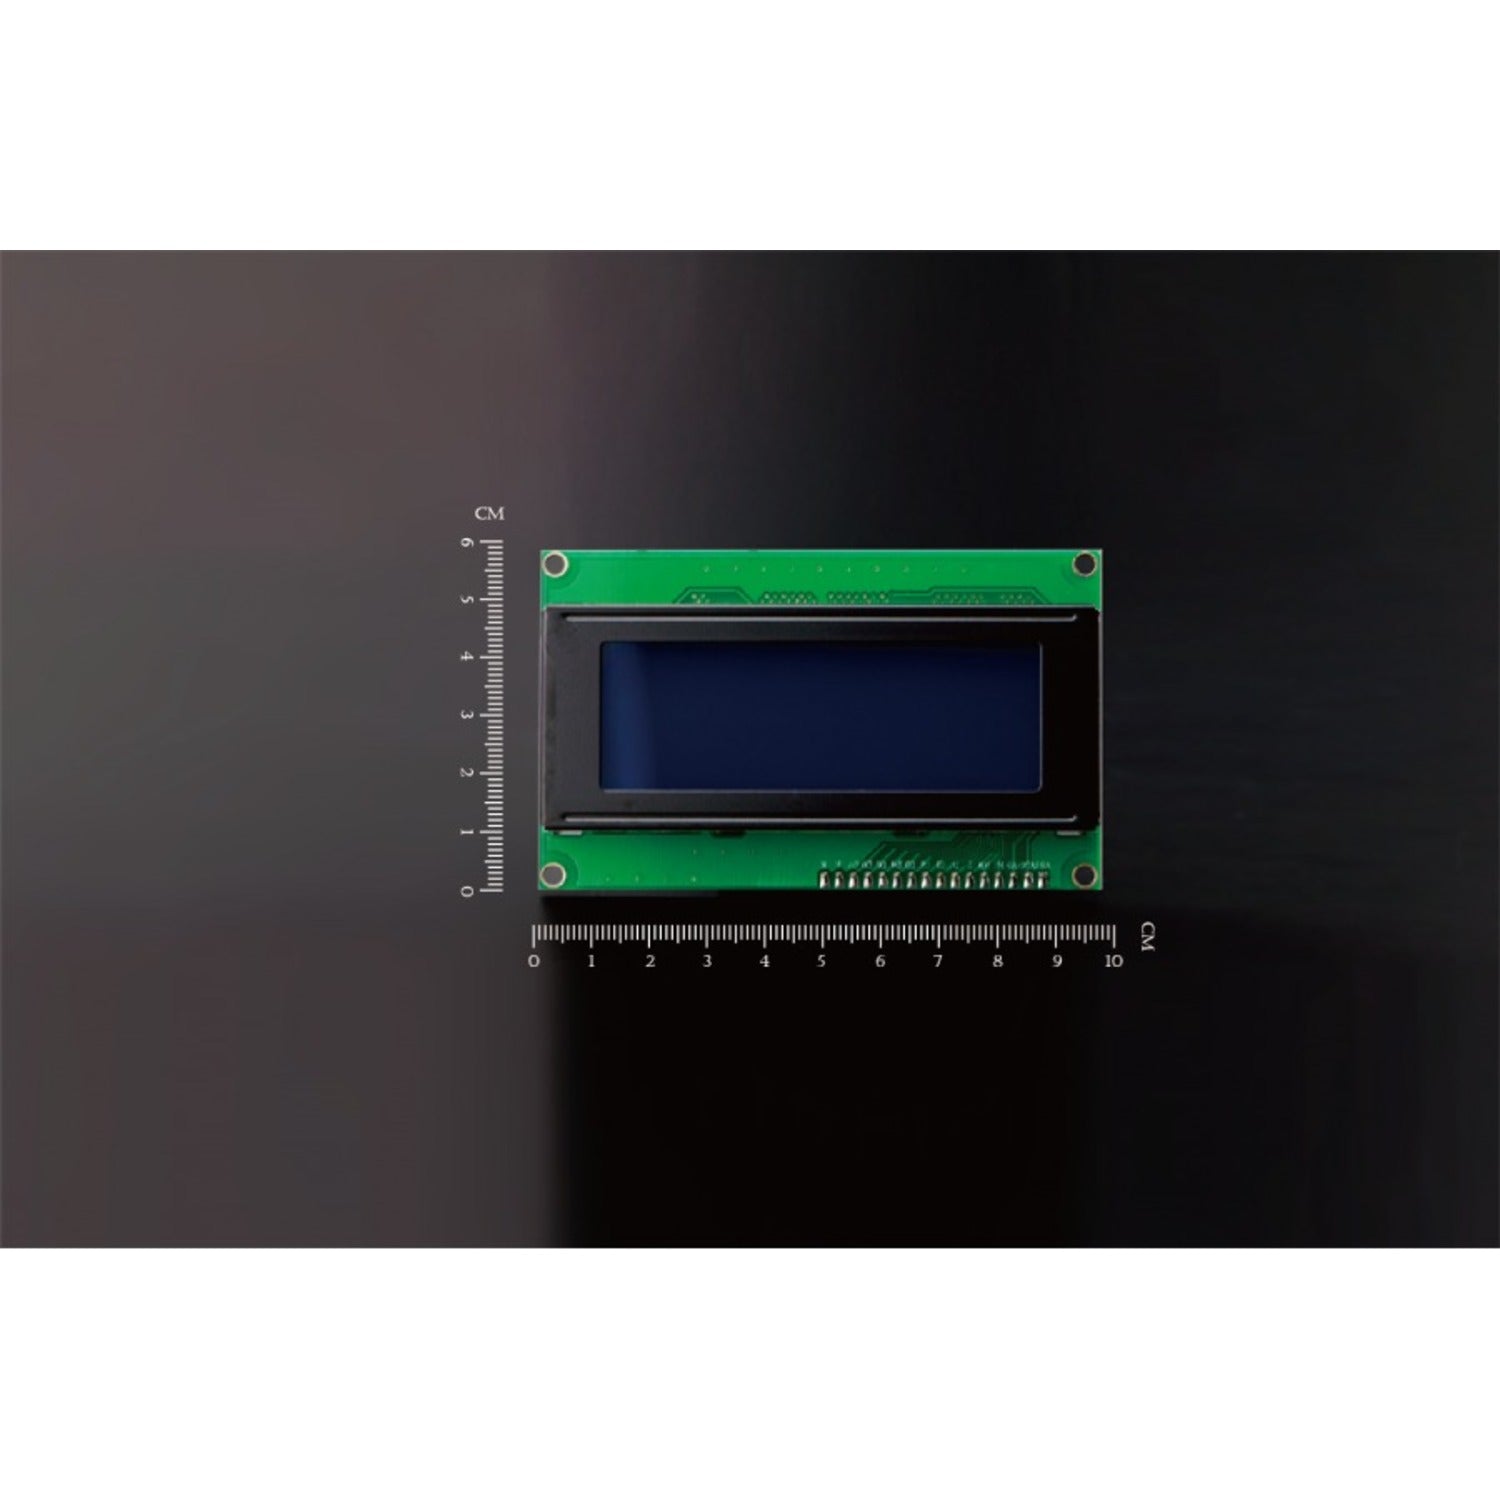
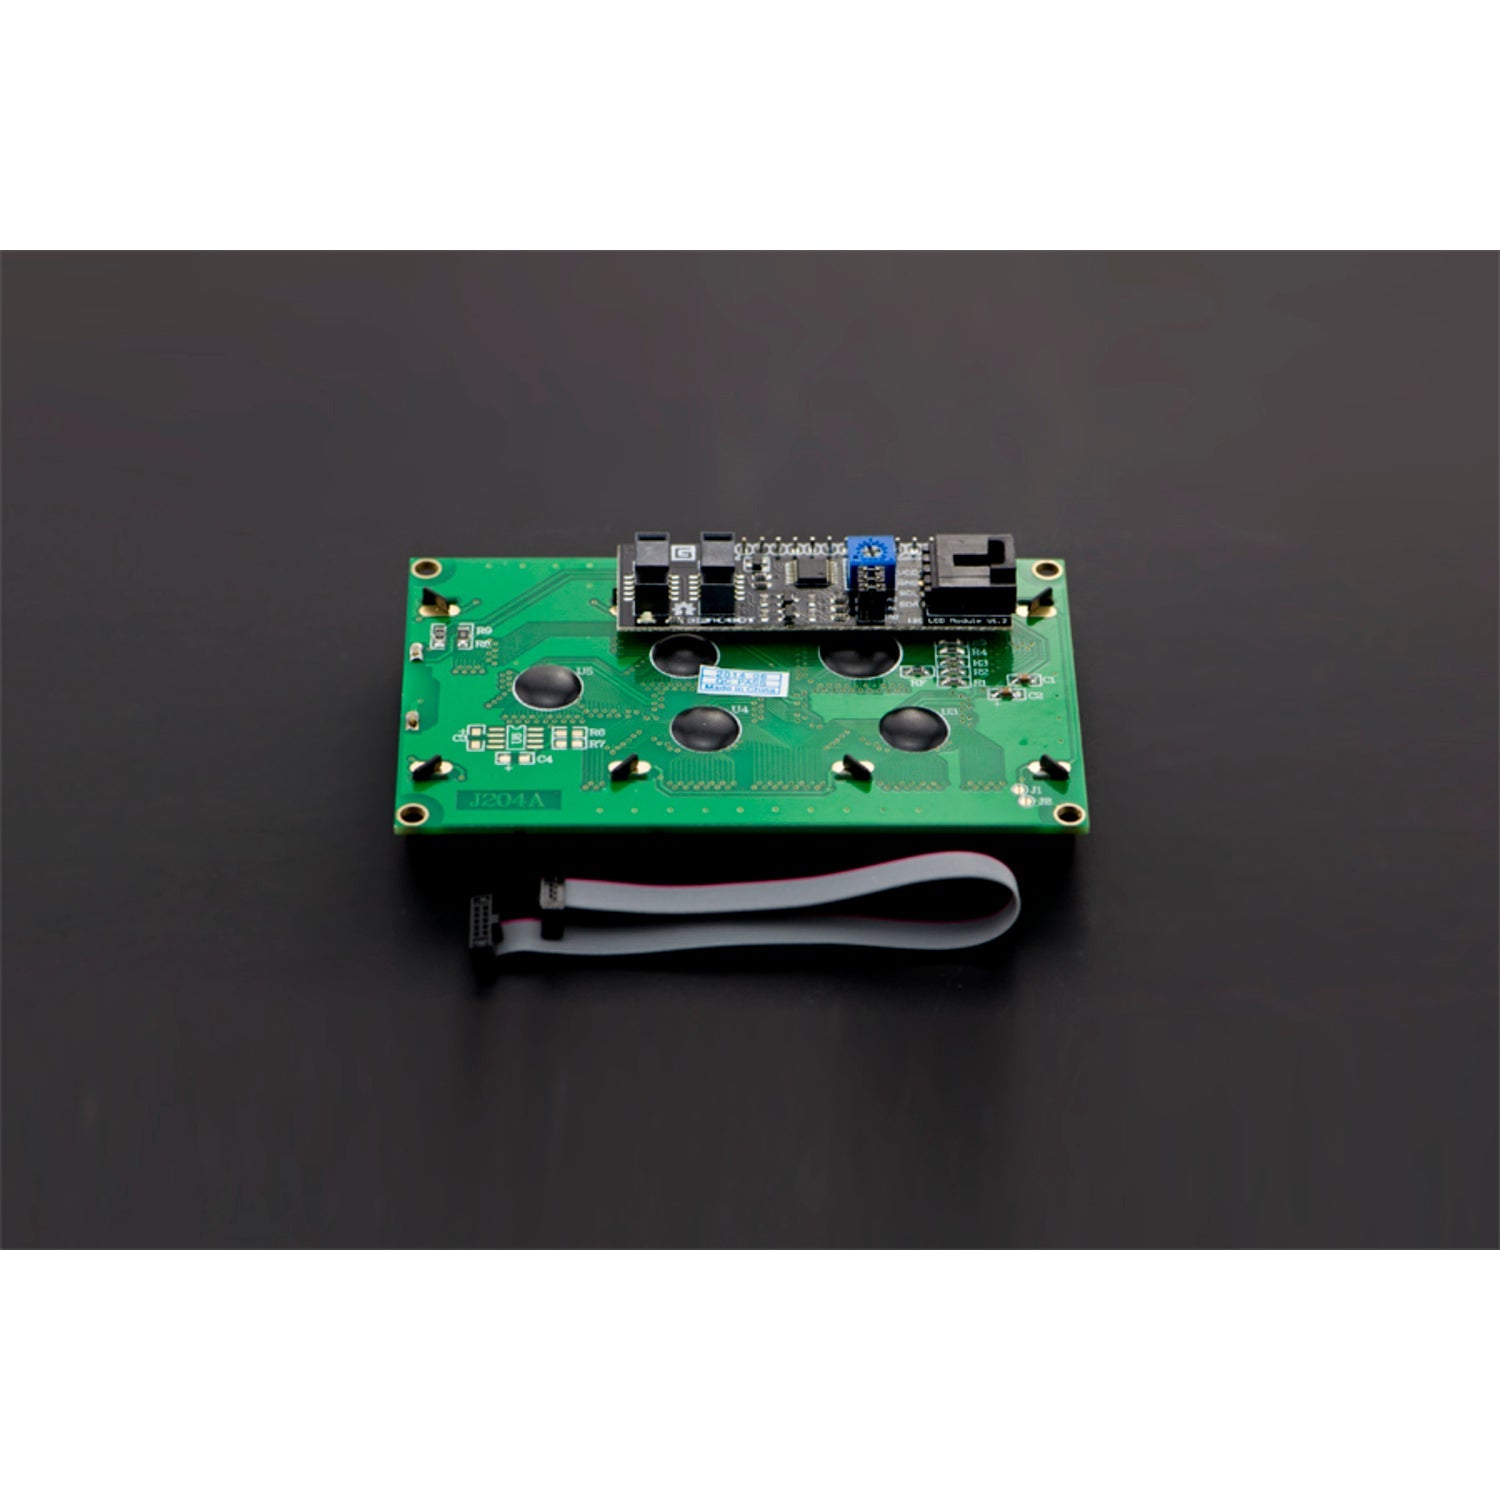
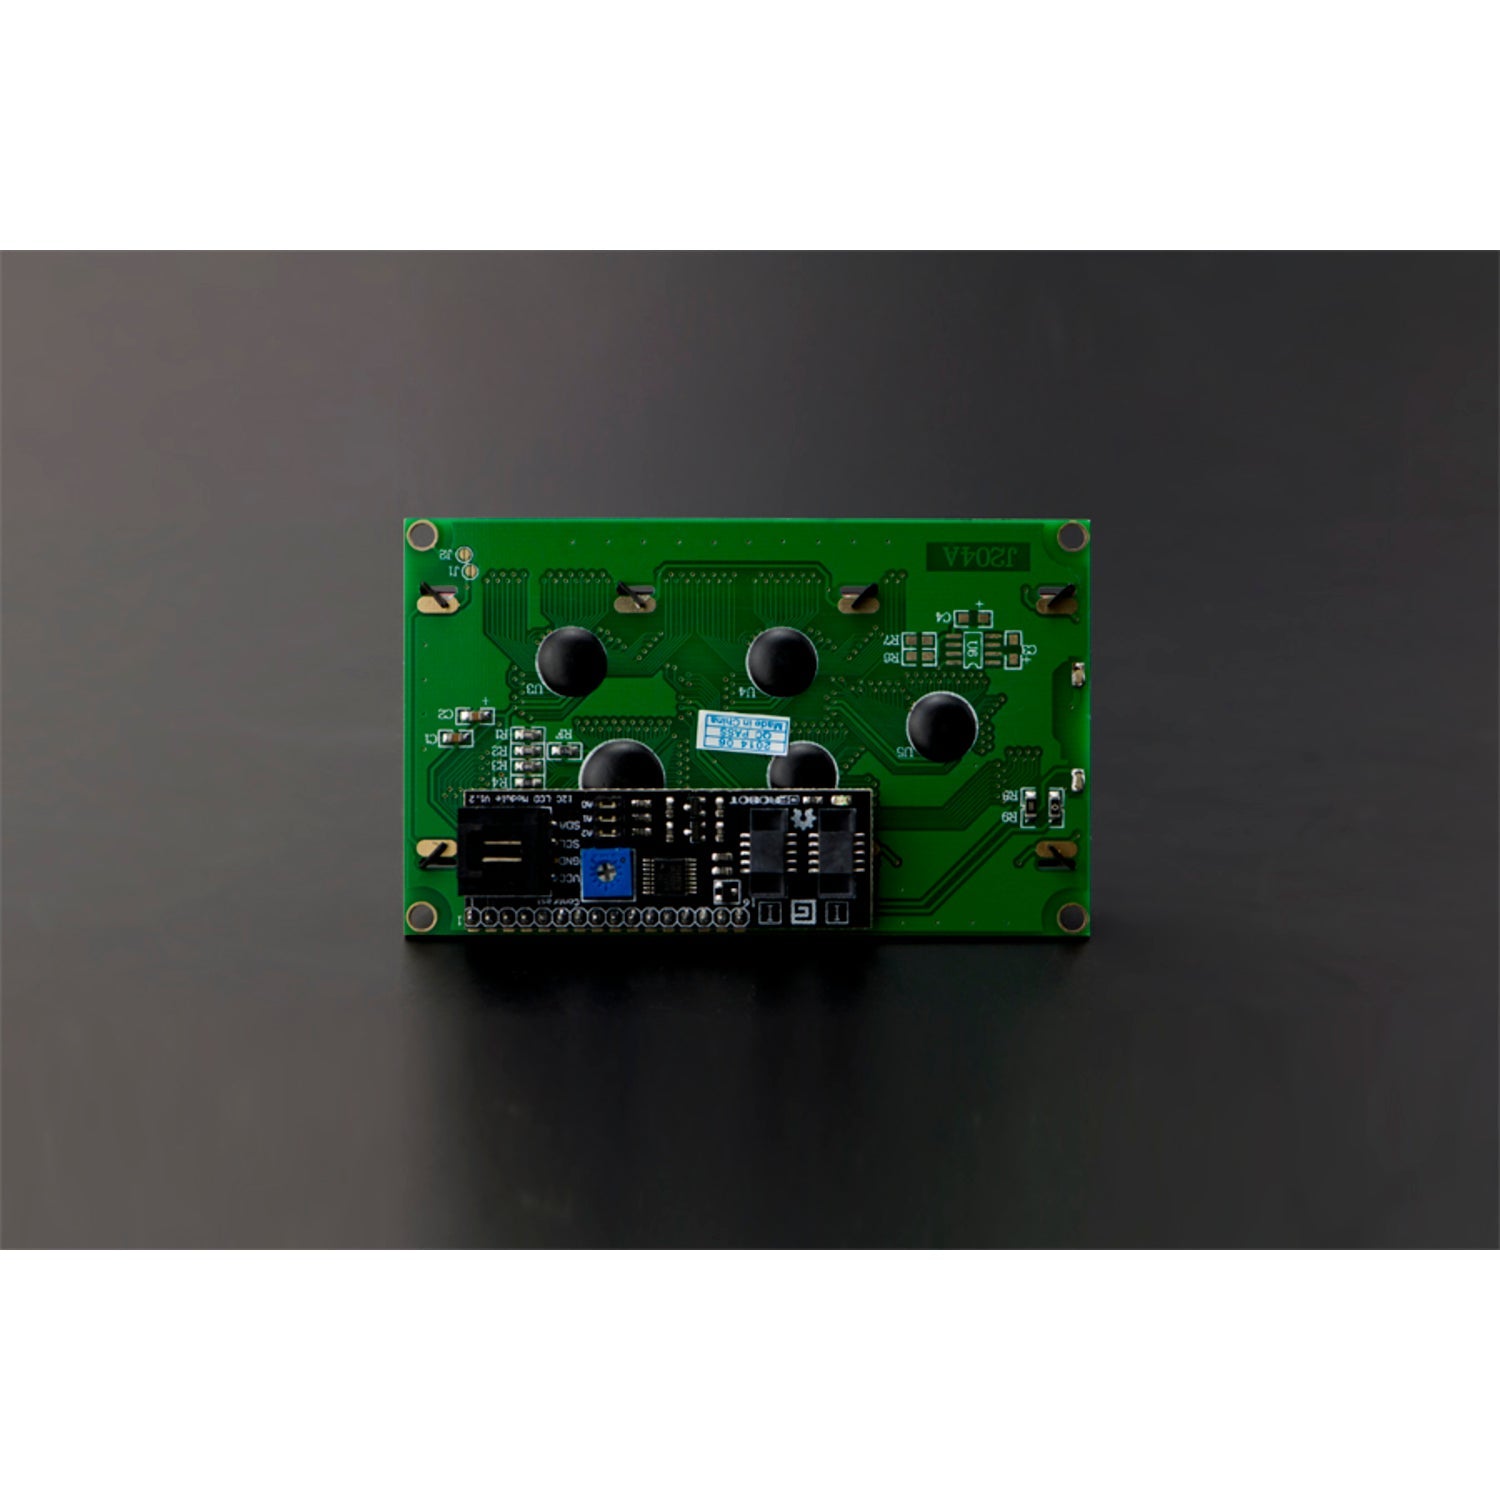
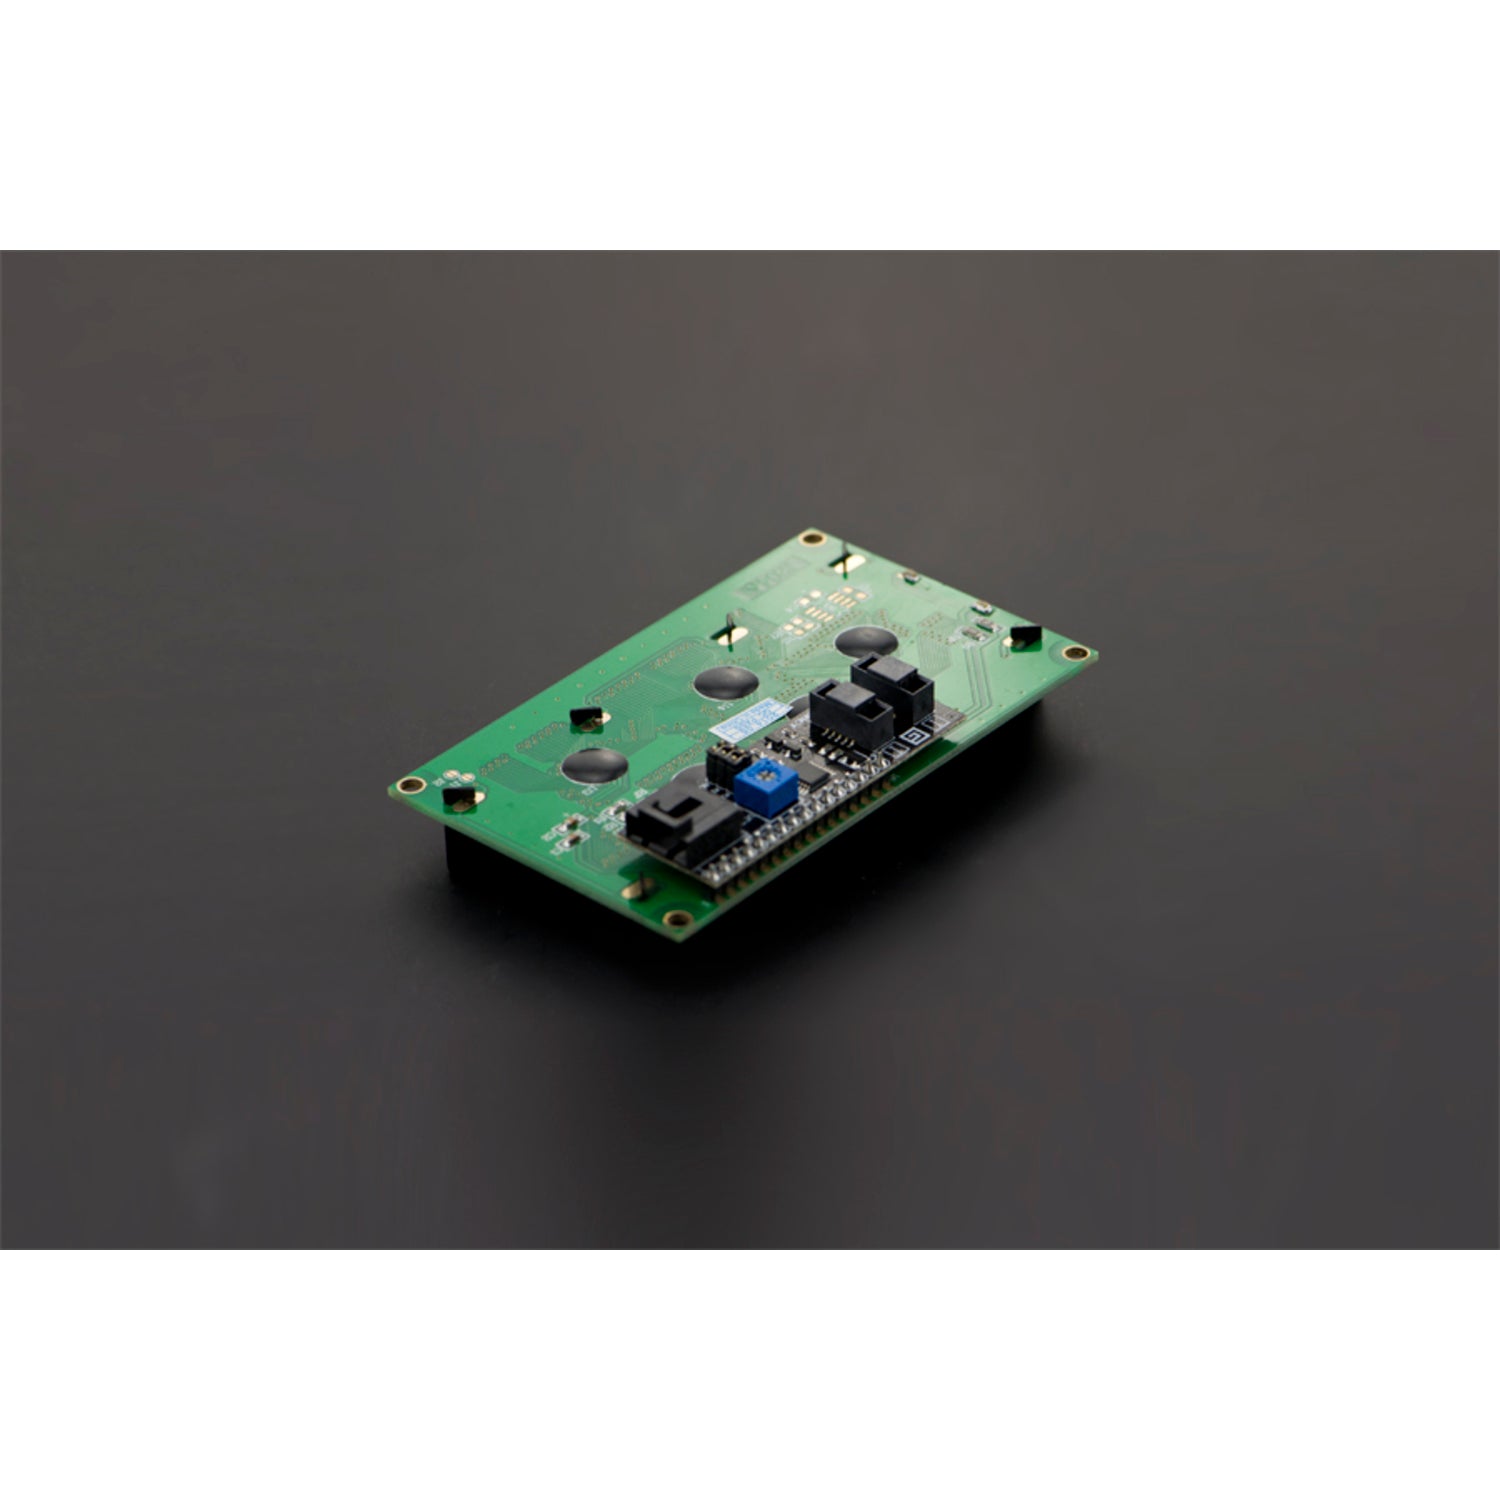
This is a 20x4 LCD display module that works great with Arduino. It features a high - speed I2C interface, allowing it to show 20x4 characters on two lines with white characters against a blue background. Regular LCD displays can use up a lot of Arduino's pin resources, needing 6 digital pins and 2 power pins. But this I2C 20x4 module only requires 2 I2C lines to display information in Arduino - based projects, saving at least 4 digital/analog pins on Arduino. All connectors are standard XH2.54 (Breadboard type), so you can connect it directly with jumper wires. It has 8 I2C addresses from 0x20 to 0x27, and you can set one as you need to avoid address conflicts. You can also manually adjust its contrast. This board can be powered by 5V or 3.3V, making it compatible with Arduino 101, Arduino DUE, Intel Edison 3.3V system, and standard Arduino UNO/Arduino Mega 5V system. There's also an alternative I2C 1602 LCD Screen for fewer characters. The last update was V1.2, with IIC connector: VCC, GND, SCL, SDA. Specifications include an I2C Address of 0x20 - 0x27 (0x20 default), 20 characters x 4 Lines, blue LED backlight with white characters, adjustable contrast, supply voltage of 5V (via Pin) or 3.3V (via IDC10), interface of IIC/TWI x1, IDC10 x2, wide viewing angle, dot size of 0.55 x 0.55 mm(0.02x0.02'), dot pitch of 0.60 x 0.60 mm(0.023x0.023'), character size of 2.96 x 4.75 mm(0.11x0.19'), character pitch of 3.55 x 5.35 mm(0.14x0.21'), and size of 98x60x24mm(3.86x2.36x0.94'). Documents available are Wiki page, Schematic, Arduino Sample code, Arduino LCD Screen Library (compatible with IDE V1.0 and earlier), LCD datasheet, and PCA8574 Datasheet. The shipping list includes one I2C 20x4 Arduino LCD Display Module.


Using this I2C 20x4 LCD display for Arduino is easy. First, connect it to your Arduino board using jumper wires with the standard XH2.54 connectors. You'll only need to use 2 I2C lines, which saves a lot of your Arduino's pins. Then, power it up. You can choose either 5V or 3.3V depending on your Arduino model. Before you start showing information on the screen, set the I2C address according to your needs from 0x20 to 0x27 to avoid conflicts. You can also adjust the contrast manually to get the best view. When it comes to programming, you can use the provided Arduino sample code and the LCD screen library. Just make sure your Arduino IDE is compatible. As for maintenance, keep it away from water and extreme temperatures. If you're not using it for a long time, store it in a dry and clean place. Also, be gentle when handling the display to avoid damaging the screen.


![MiniPOV 4 Kit - DIY Full-Color POV and Light Painting Kit [v4.0]](https://img.freedoshvs.com/usImg/3f/a24e059d76107661e4620526fc2bd8b8.jpg?fX9wTOtgVc41a8qG3)


