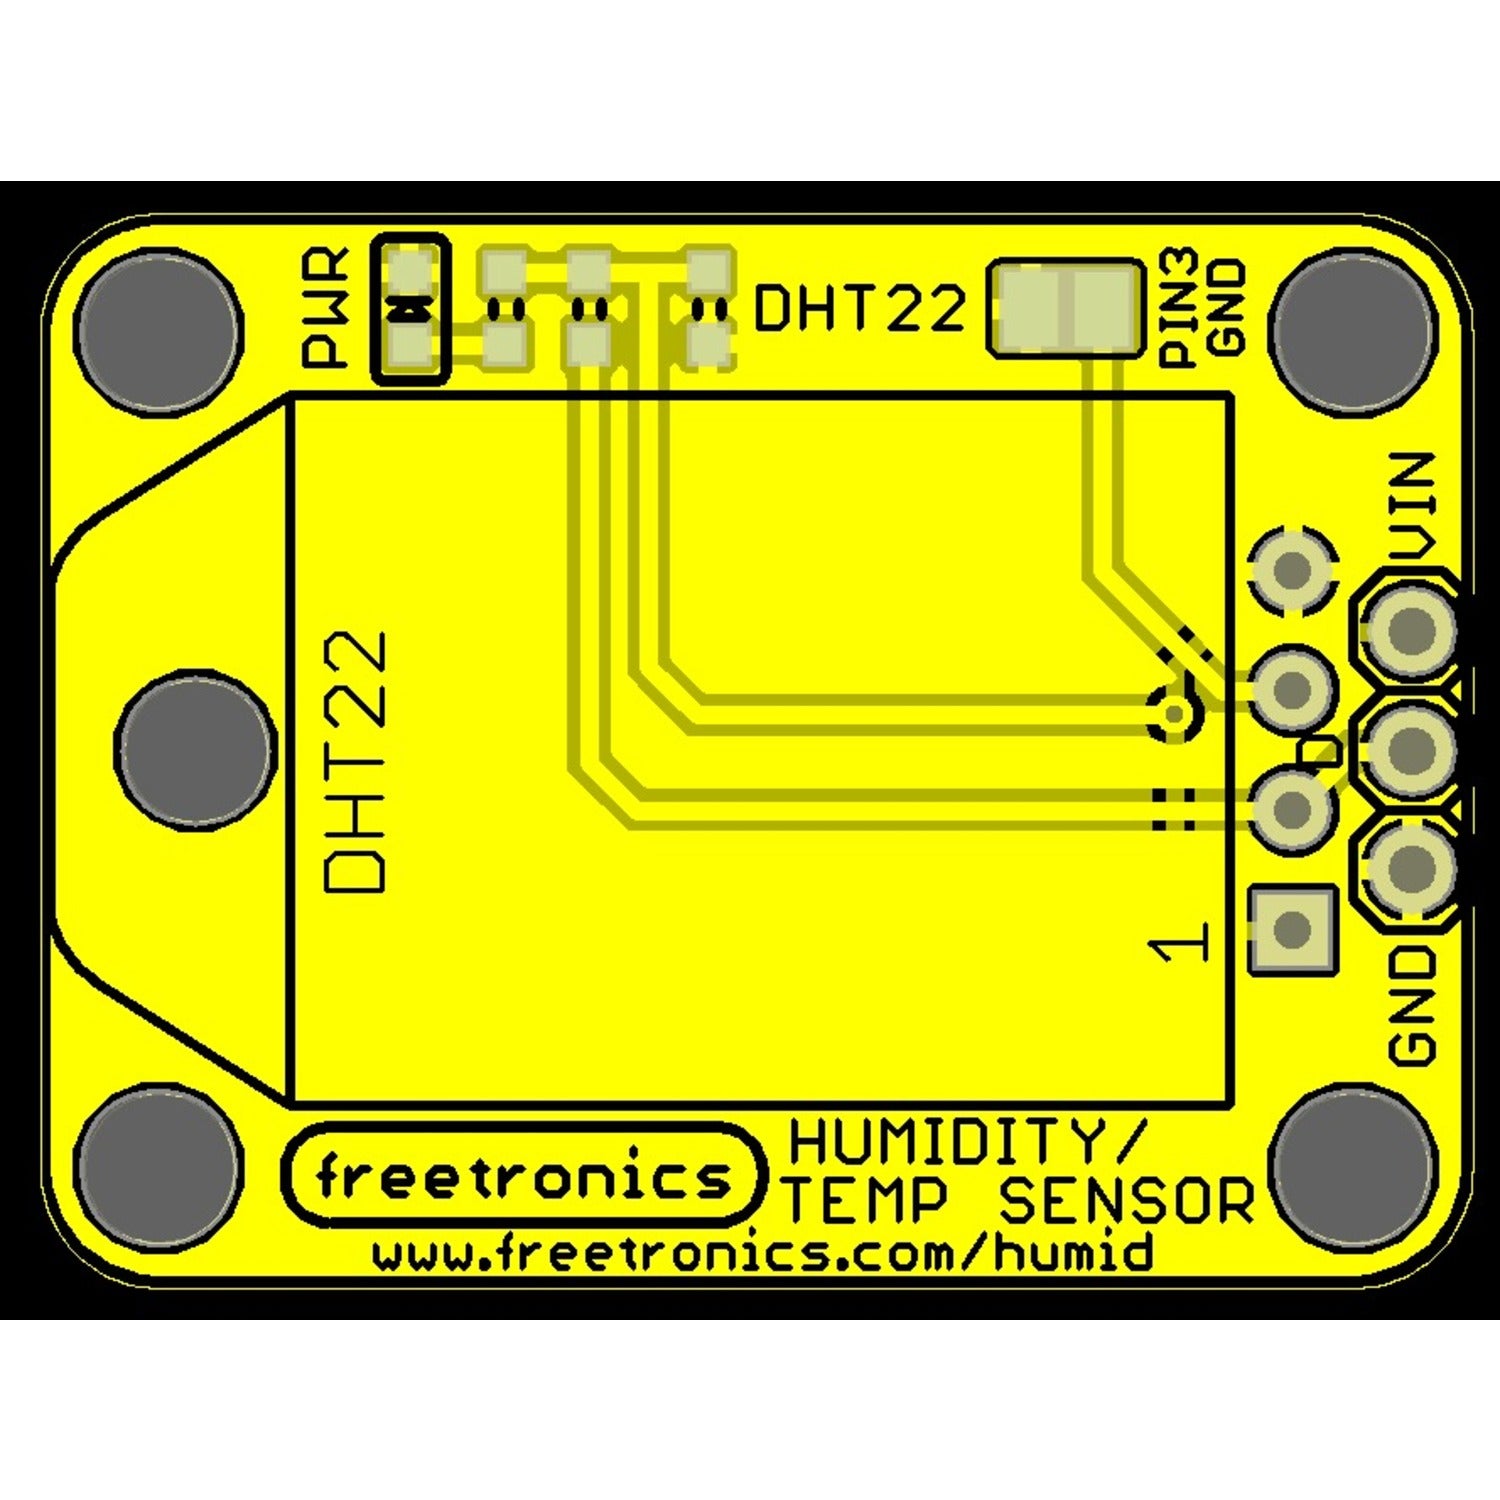
This humidity and temperature sensor module allows you to measure temperature and relative humidity easily. It has a simple three - wire interface (GND, power, and data) connected to the sensor. With the support of an Arduino library, it's a breeze to read temperature and humidity values into your project using just a single I/O line from your microcontroller.
Key features include a temperature range from - 40°C to + 80°C with +/-0.5°C accuracy, 0 - 100% relative humidity measurement with 2 - 5% accuracy, a 0.5Hz sample rate (one sample every 2 seconds), 3 to 5V operation, and low power consumption (just 4.3mA during reads and even less when idle). It also has a blue power LED.
The module measures 31(W) x 23(H) x 4(D)mm and comes with mounting holes for M3 or 1/8' bolts. Its flat rear face makes it easy to glue to any surface. You can get it here or at a nearby Freetronics reseller.
Resources available are a tutorial and getting - started guide, a HUMID schematic and reference (PDF), a DHT22 humidity/temperature sensor datasheet (PDF). You can also discuss it in the forum and access design files.


Using this humidity and temperature sensor module is easy. First, connect the three wires (GND, power, and data) to the corresponding pins on your device. If you're using an Arduino, the included library will help you quickly read the temperature and humidity values. Just connect a single I/O line from your microcontroller to the module.
When it comes to power, make sure to use a voltage between 3 and 5V. The module consumes little power, but during reads, it uses about 4.3mA. When it's not in use, the power consumption is even lower.
Keep in mind that the module has an accuracy of +/-0.5°C for temperature measurement in the range of - 40°C to + 80°C, and 2 - 5% for relative humidity in the 0 - 100% range. For mounting, you can use M3 or 1/8' bolts through the provided holes, or simply glue the flat rear face to a surface.
For maintenance, keep the module clean and dry. Avoid exposing it to extreme conditions or physical damage. If you have any questions, refer to the tutorial, getting - started guide, schematic, or datasheet. You can also join the forum to discuss with others.


