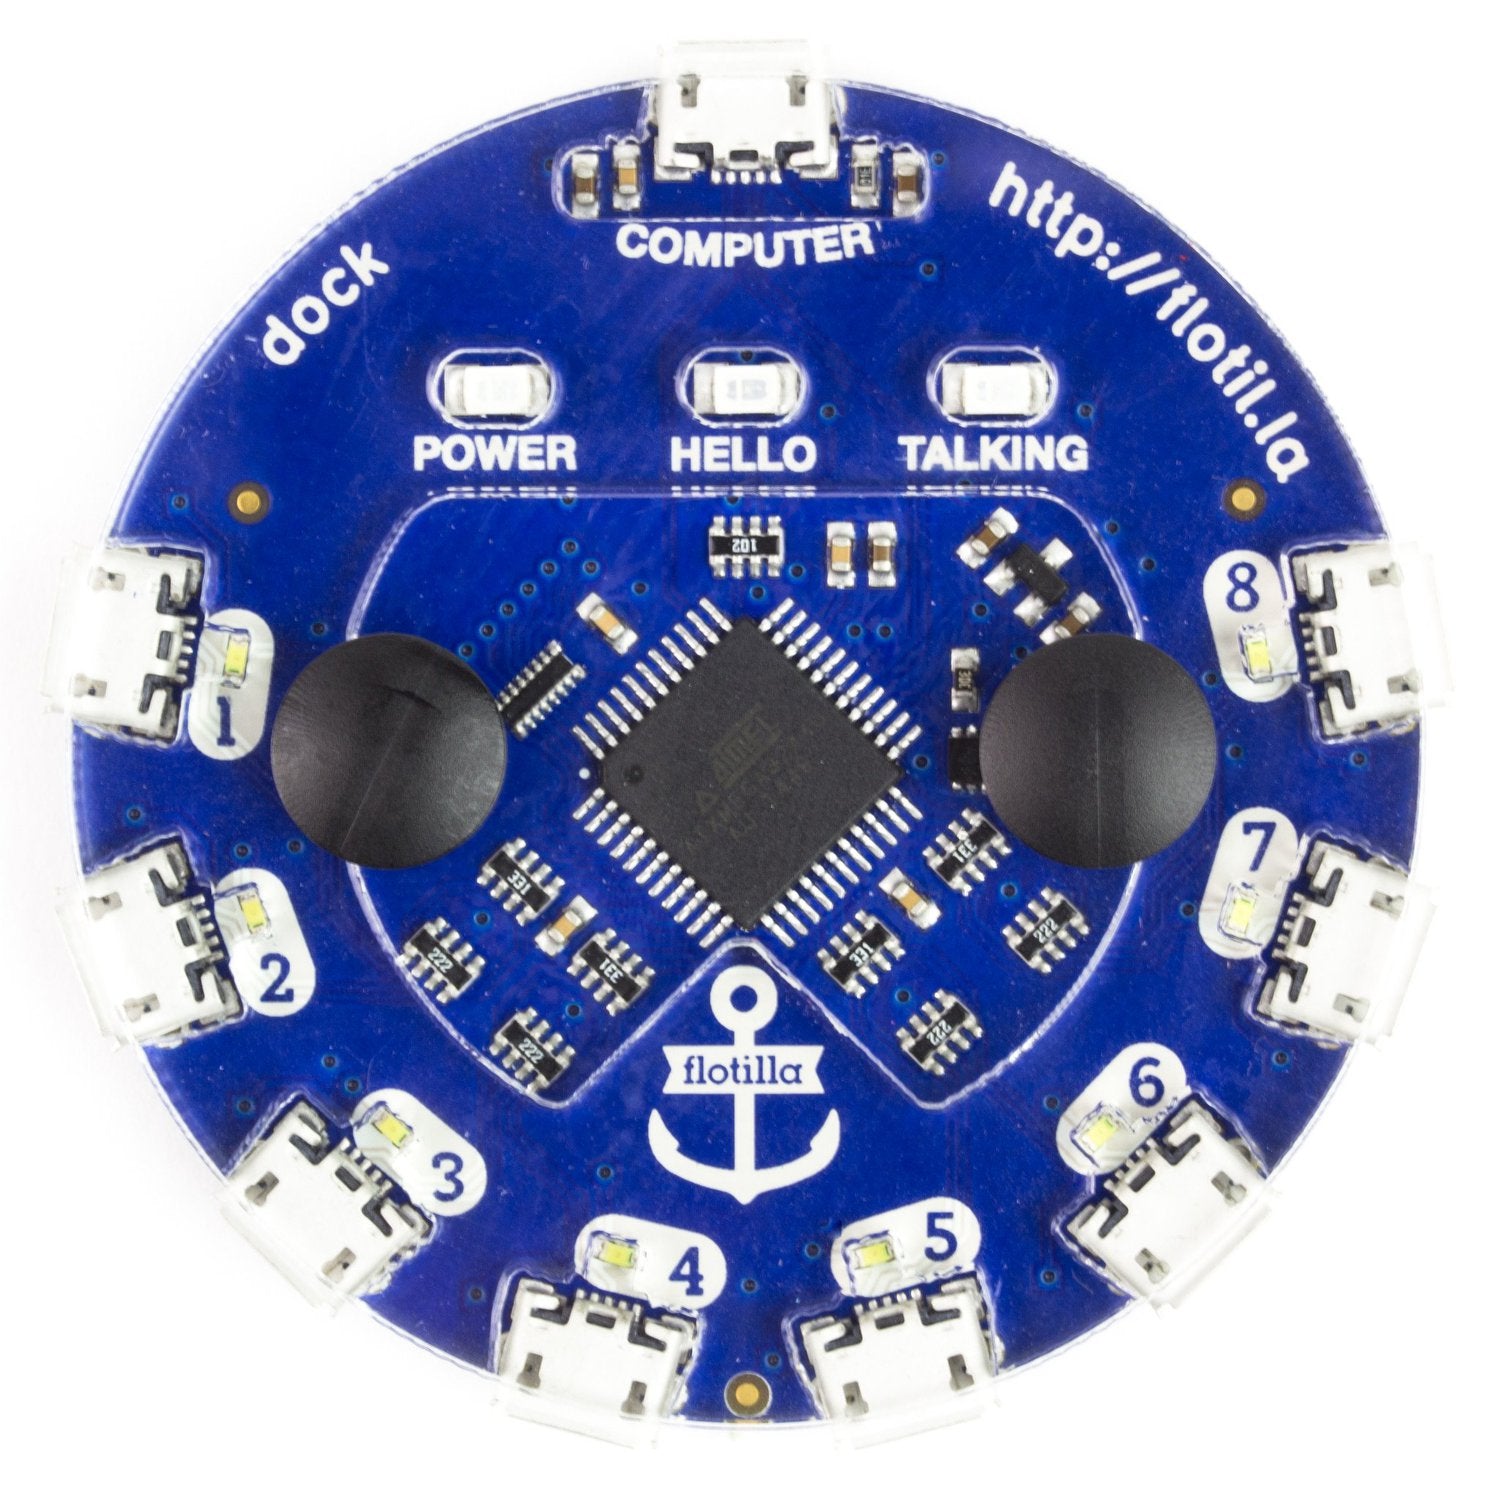
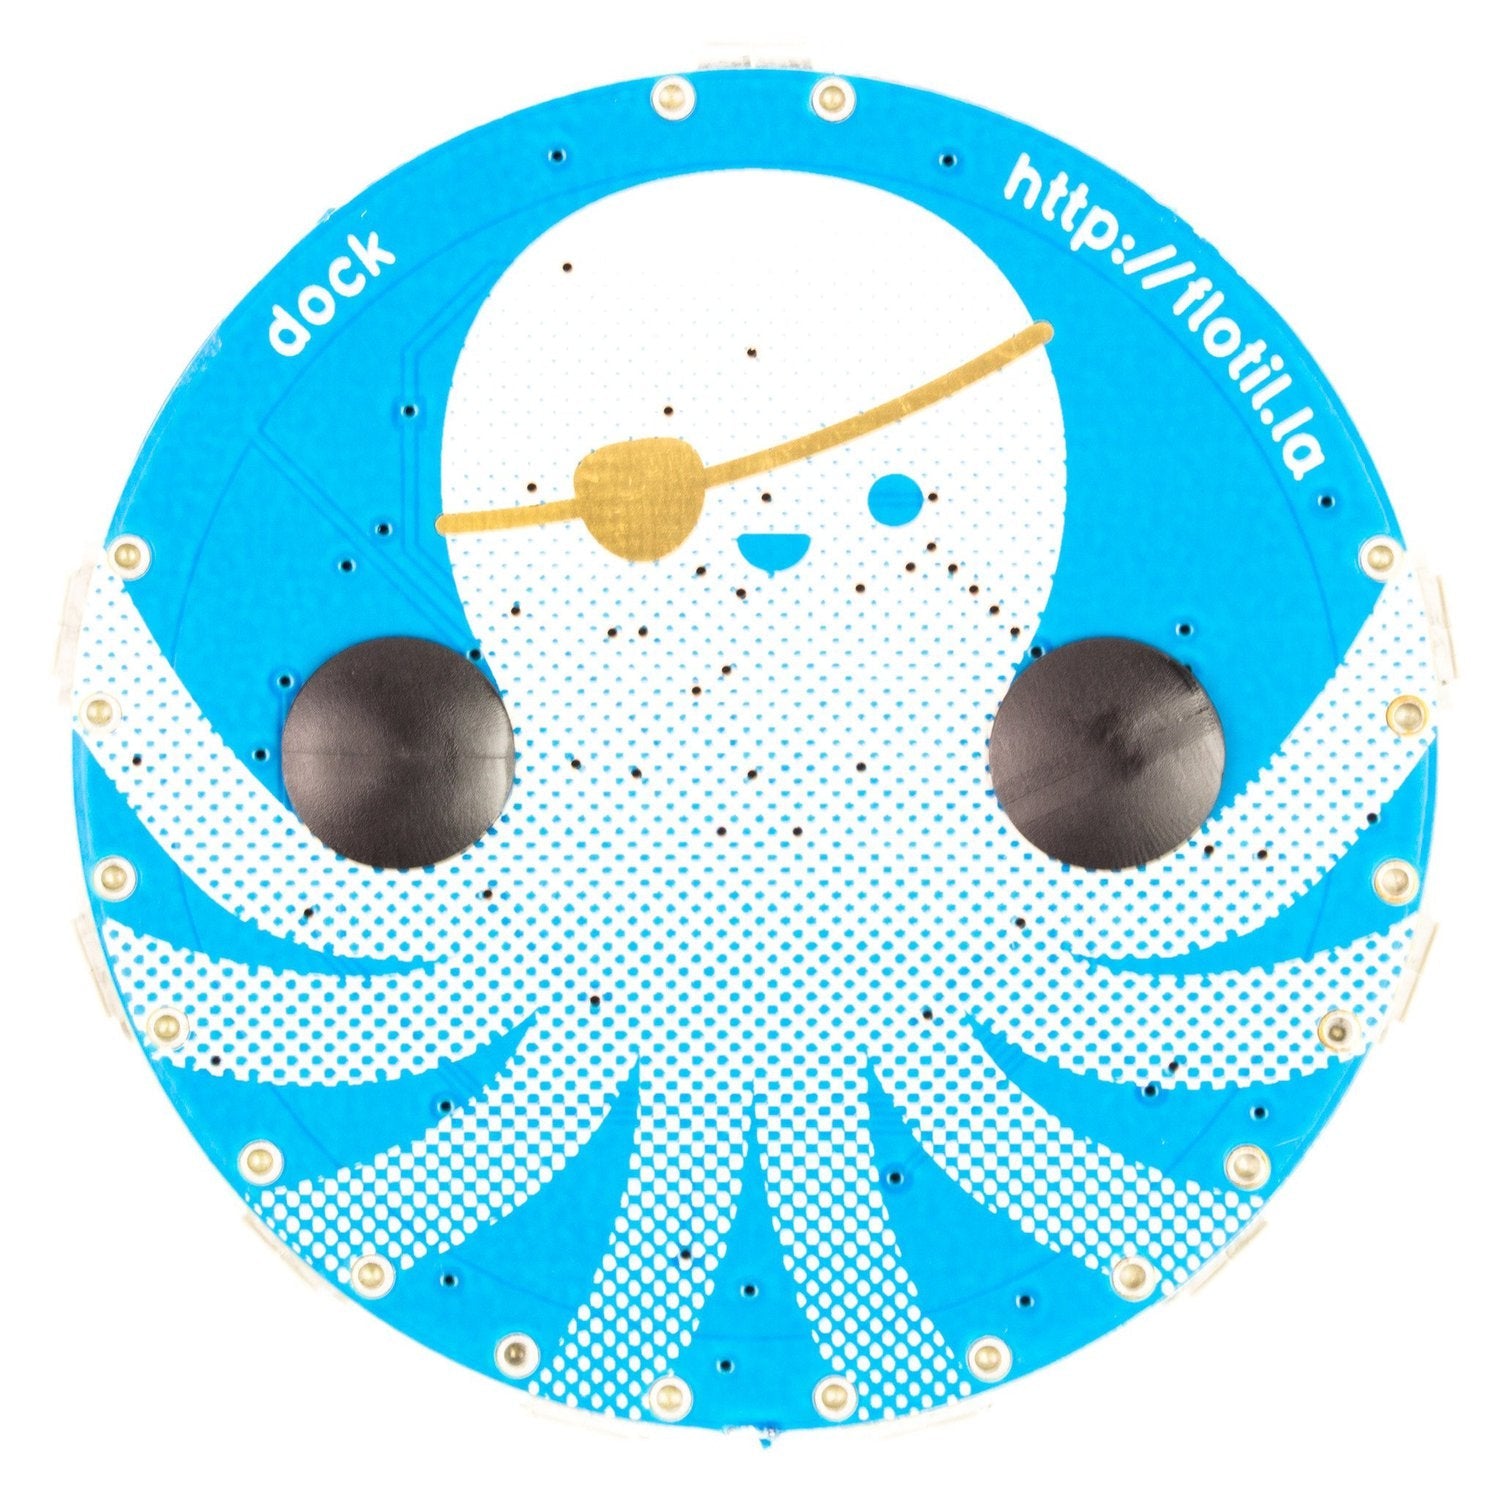
The Flotilla Dock is the core of the Flotilla system. It communicates via serial USB with all Flotilla modules connected to its eight ports. Connect it to your Raspberry Pi using a high - quality USB A to micro B cable, then attach your Flotilla modules to the eight ports with Flotilla cables. The Dock features three bright blue status LEDs and eight bright white LEDs that indicate activity on each port. It comes with a sturdy acrylic case to safeguard the delicate components on the board. Using the ATMEGA32A4U microcontroller, it can talk to Flotilla modules and transfer data to and from the connected computer. You can use up to four docks simultaneously on a Raspberry Pi 3. Check our Flotilla getting - started guides at http://learn.flotil.la/getting - started/ for software installation and Rockpool setup. We also offer simple Cookbook recipes for beginner programmers.


Using the Flotilla Dock is easy. First, connect it to your Raspberry Pi with a good - quality USB A to micro B cable. Then, use Flotilla cables to connect your Flotilla modules to the eight ports on the dock. You can tell the status of the dock by looking at the three bright blue status LEDs and the eight bright white port activity LEDs. When using multiple docks on a Raspberry Pi 3, remember you can use up to four at once. For maintenance, keep the dock in a dry and clean place. The sturdy acrylic case protects the delicate parts on the board, but try to avoid knocking it around. If you're new to programming or using the Flotilla system, check out the getting - started guides at http://learn.flotil.la/getting - started/ and our simple Cookbook recipes to get you going.


