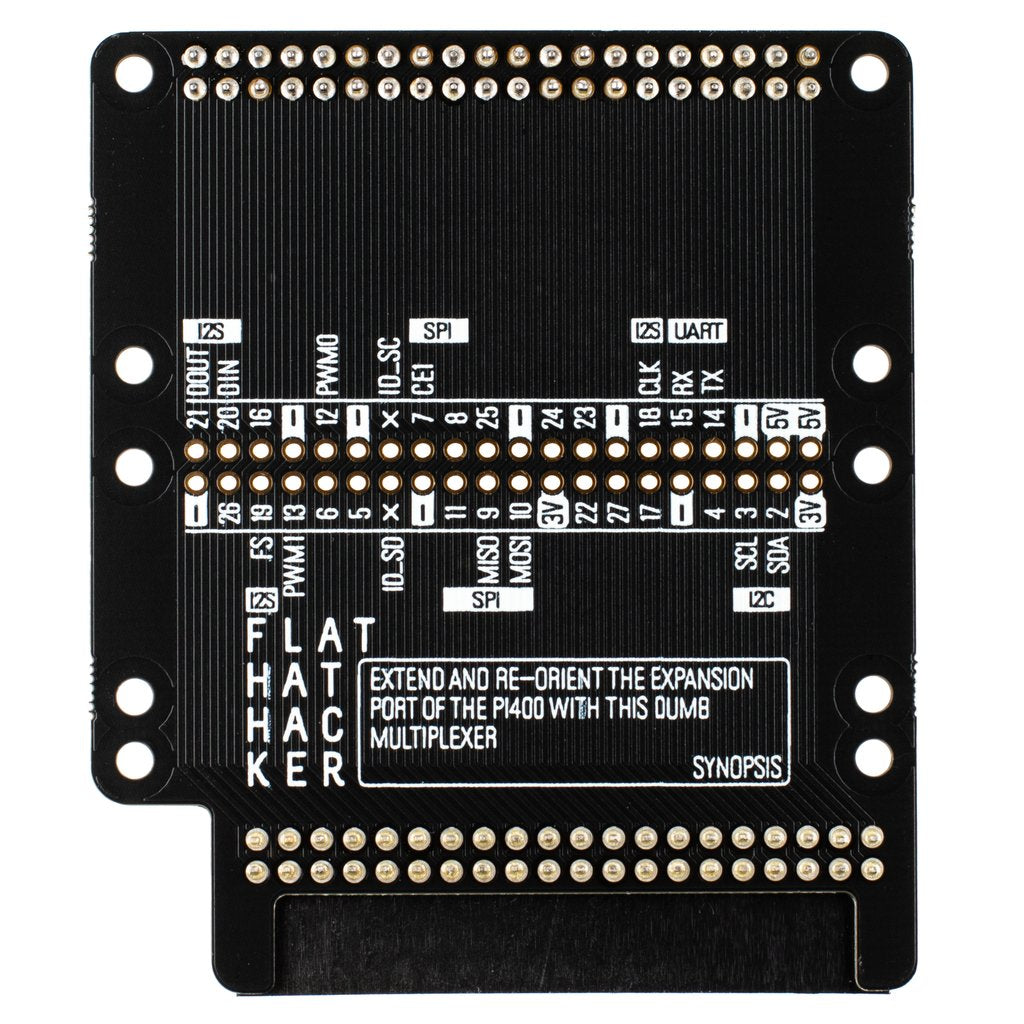
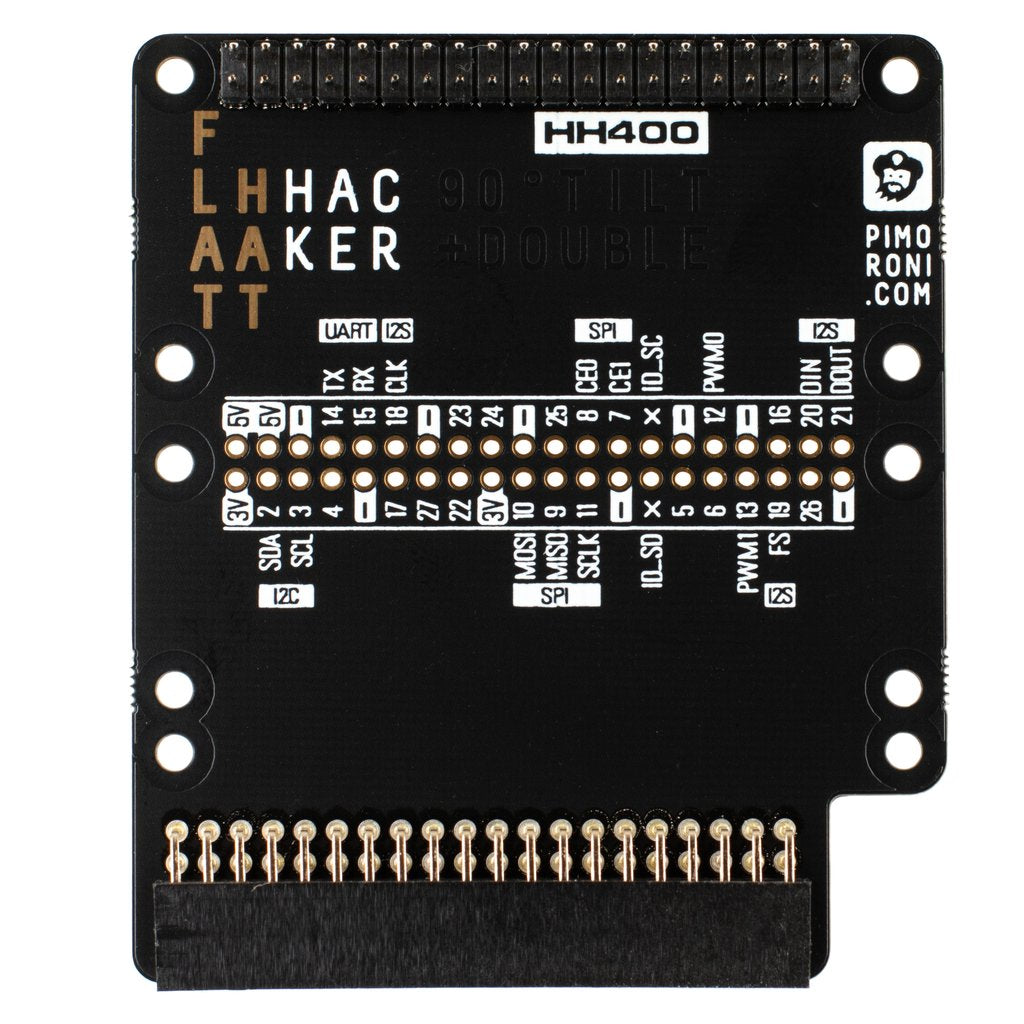
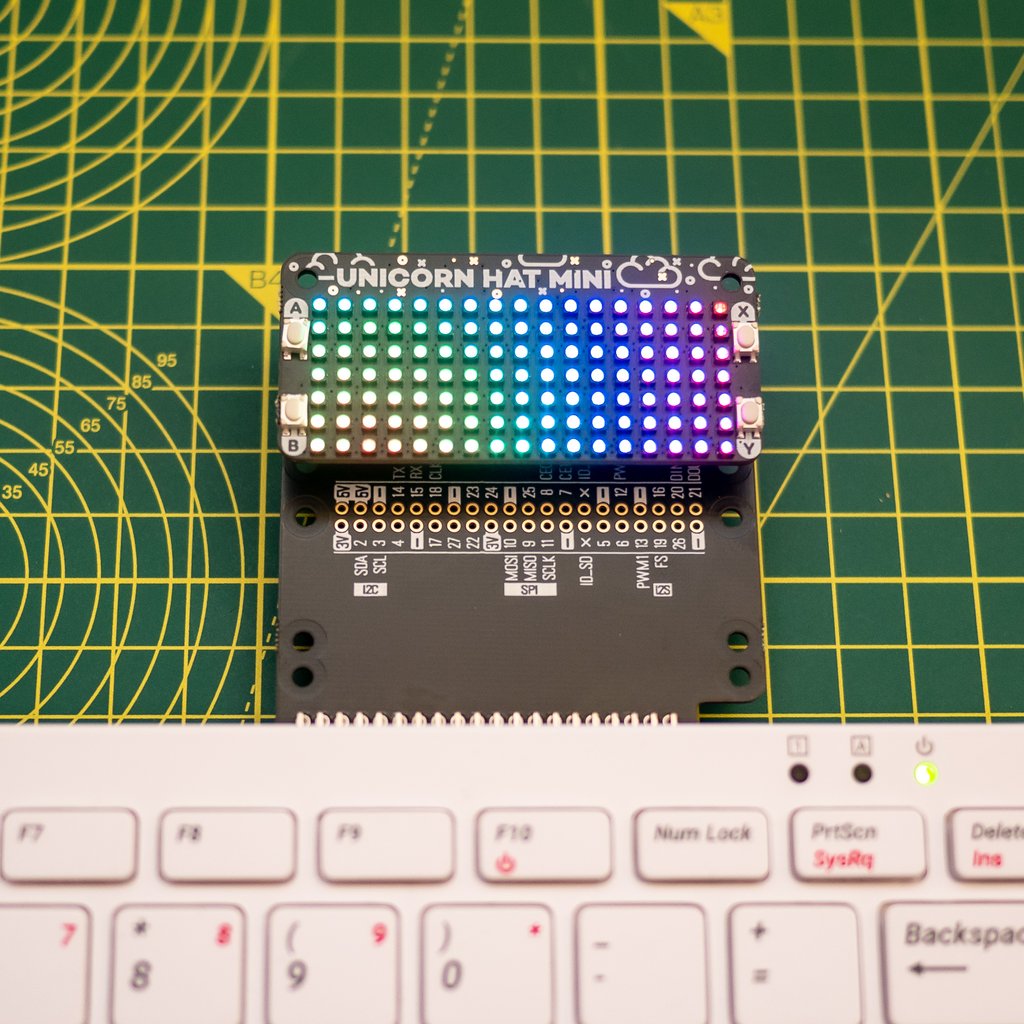
Get your HATs at right angles! Effortlessly attach a HAT or two mini HATs to your Raspberry Pi 400, making them point upwards and align perfectly. The Flat HAT Hacker offers an easy - peasy way to mount HATs and mini HATs on the back of your Pi 400, ensuring their alignment matches the Pi 400's keyboard. You can use it to add a high - resolution touchscreen display or control panel within reach, that missing 3.5mm audio hardware, or even a super - showy caps lock indicator. The top row of GPIO pins has a pre - soldered header, allowing for quick and hassle - free HAT or mini HAT attachment. There's a second set of contacts in the middle of the board with clear labels. You can solder a 40 - pin header here to use two mini HATs at once or run wires for prototyping. We've also added well - spaced mounting holes to secure your HATs with standoffs. Note: Headers and standoffs are sold separately; check the extras tab! Key features include one landing area with a pre - installed 40 - pin male connector for HATs or mini HATs, one landing area without a pre - installed connector for a mini HAT, labelled GPIO pins on the second landing area, 10 mounting holes, a pre - installed right - angle 40 - pin female connector for the Pi's GPIO, and soldering is only needed for the second landing area. If using multiple mini HATs, check for GPIO conflicts with Pinout.xyz and pHAT Stack Configurator. You can also use this board with an ordinary Raspberry Pi, having it stand vertically like a 'Flag HAT Hacker' for right - angle HAT mounting.


Using the Flat Raspberry Pi 400 HAT and Mini HAT Attachment Hacker Device is a breeze. First, if you want to attach a single HAT or a mini HAT, simply use the top row of GPIO pins with the pre - soldered header. It's quick and doesn't require any soldering. If you plan to use two mini HATs at once, you'll need to solder a 40 - pin header onto the second set of contacts in the middle of the board. Make sure to check the labels on these contacts to get it right. Use the 10 mounting holes to secure your HATs or mini HATs in place with standoffs (you'll need to buy these separately). When using multiple mini HATs, don't forget to check for GPIO conflicts using Pinout.xyz and pHAT Stack Configurator. As for maintenance, keep the board clean and free from dust. If you've soldered components, make sure the solder joints are intact. You can also use this device with an ordinary Raspberry Pi, but it'll stand up vertically. Just ensure proper alignment when doing so.


