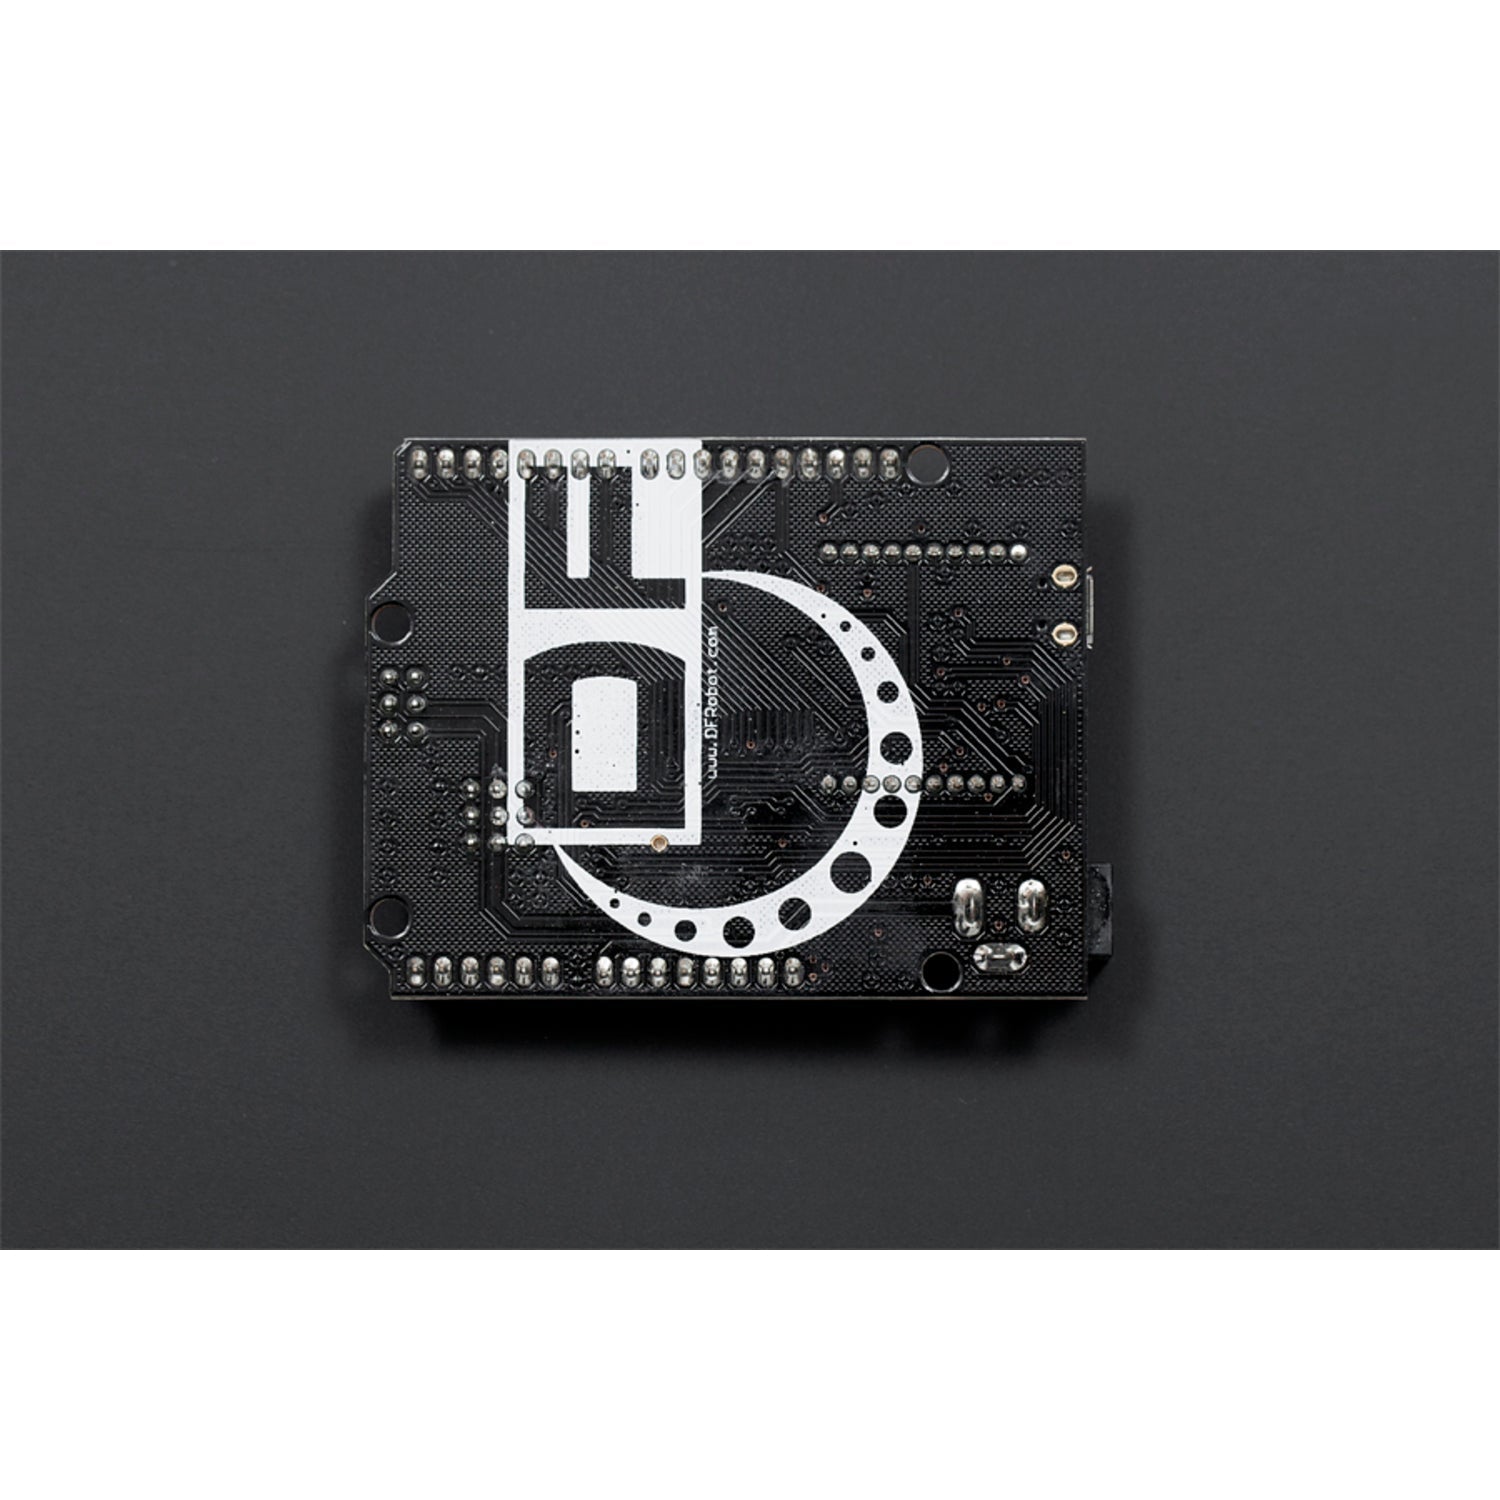
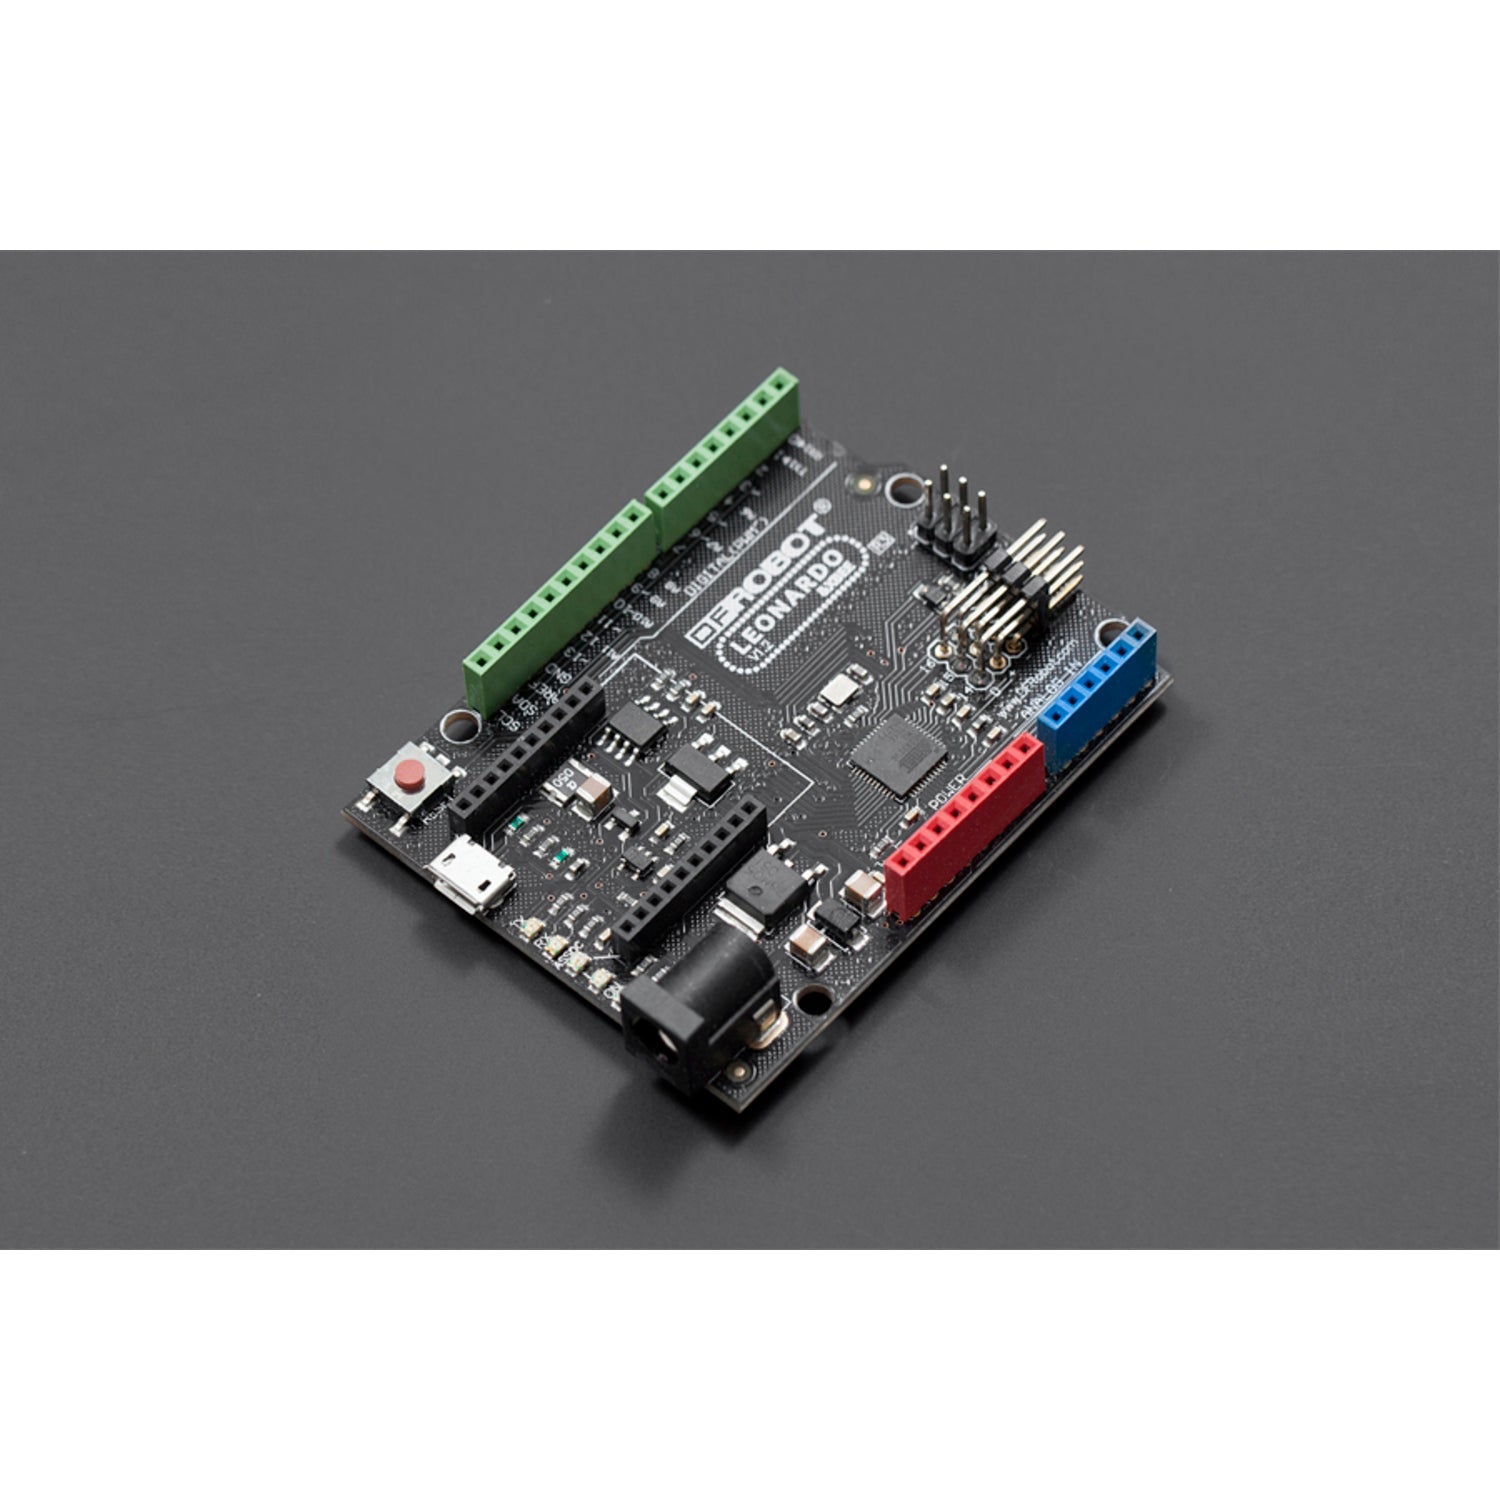
Featured in Make: The Maker's Guide to Boards, the DFRobot Leonardo with Xbee Socket is an awesome Arduino Leonardo variant. It's based on the ATmega32u4 chip, the latest in the Arduino family. Using the ATmega32U4 as the sole microcontroller makes it cheaper and easier to use than earlier Arduino controllers. Since the 32U4 handles USB directly, you can use code libraries to make the board act like a computer keyboard, mouse, and more via the USB - HID protocol!This DFRobot board, based on the official Arduino Leonardo, comes with an xbee socket and 3 sensor extension pins. The Xbee is a well - known wireless communication module available in 2.4G Zigbee, 900Mhz versions, etc. With the socket, you can directly add xbee or XBee form - factor wifi, bluetooth, and RF modules to your Arduino. The D14 - D16 extension pins with power supply let you fully use the ATmega32u4 microcontroller and directly support DFRobot's digital sensors and modules. Note that this board only works with the latest Arduino IDE 1.0.1 or later, so you'll need to update the IDE. Specifications include an input voltage of 7 - 12V (recommended) and 6 - 12V (limits), a 5V operating voltage, a Micro USB interface, compatibility with Arduino R3 series pin mapping, and more. Documents available are the wiki, Atmega32u4 datasheet, schematic, Arduino Leonardo product page, and the latest Arduino IDE. The shipping list includes one DFRobot Leonardo & Xbee R3.


Using the DFRobot Leonardo with Xbee Socket is a breeze. First, make sure you have the latest Arduino IDE 1.0.1 or later installed on your computer. Connect the board to your computer via the Micro USB interface. The recommended input voltage is between 7 - 12V, but it can handle a range from 6 - 12V. You can use the xbee socket to add wireless communication modules like xbee, wifi, bluetooth, or RF modules directly to the board. The D14 - D16 extension pins with power supply can be used to connect digital sensors and modules from DFRobot. When using code libraries, take advantage of the fact that the ATmega32U4 handles USB directly to make the board act as a keyboard or mouse. As for maintenance, keep the board in a dry and clean place. Avoid exposing it to extreme temperatures or moisture. If you need more information, check out the provided documents such as the wiki and datasheet.