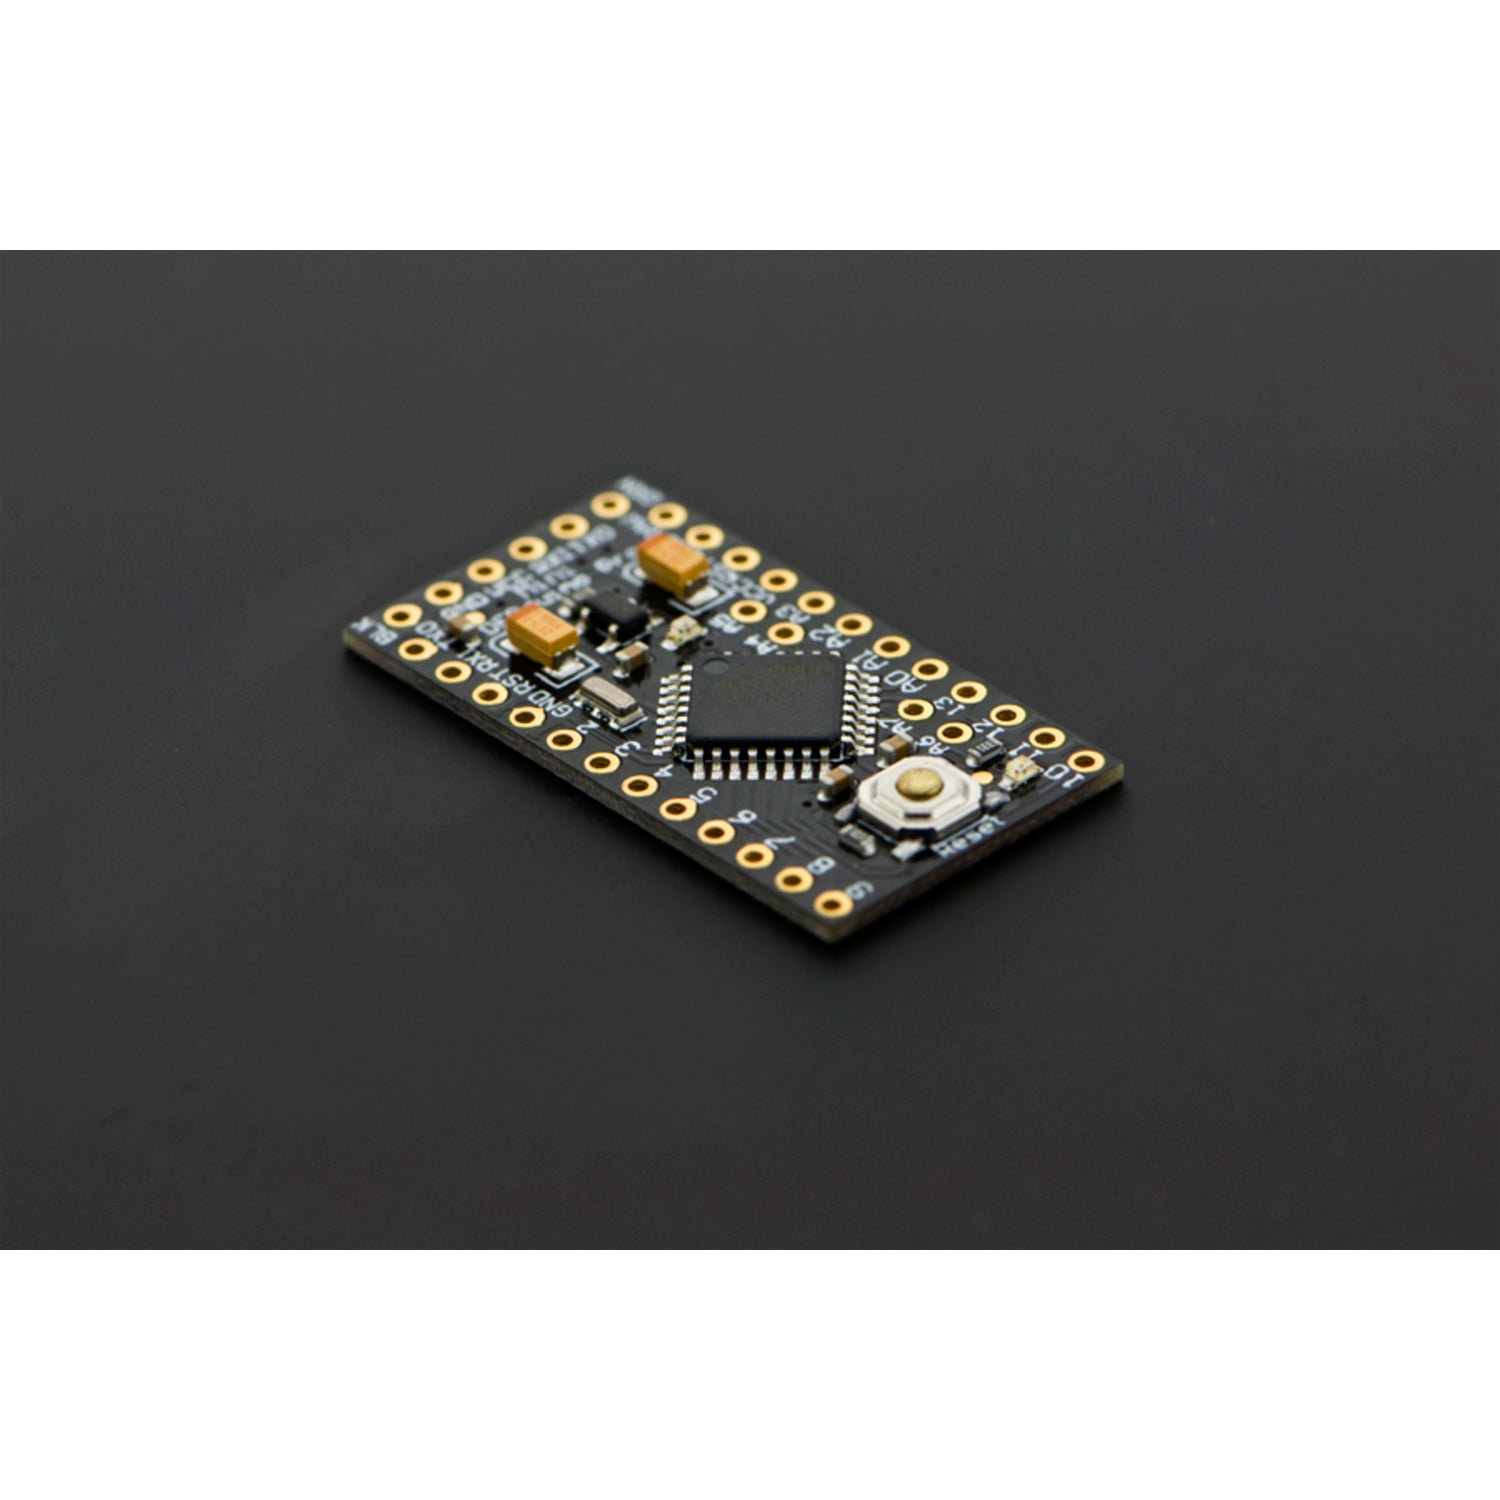
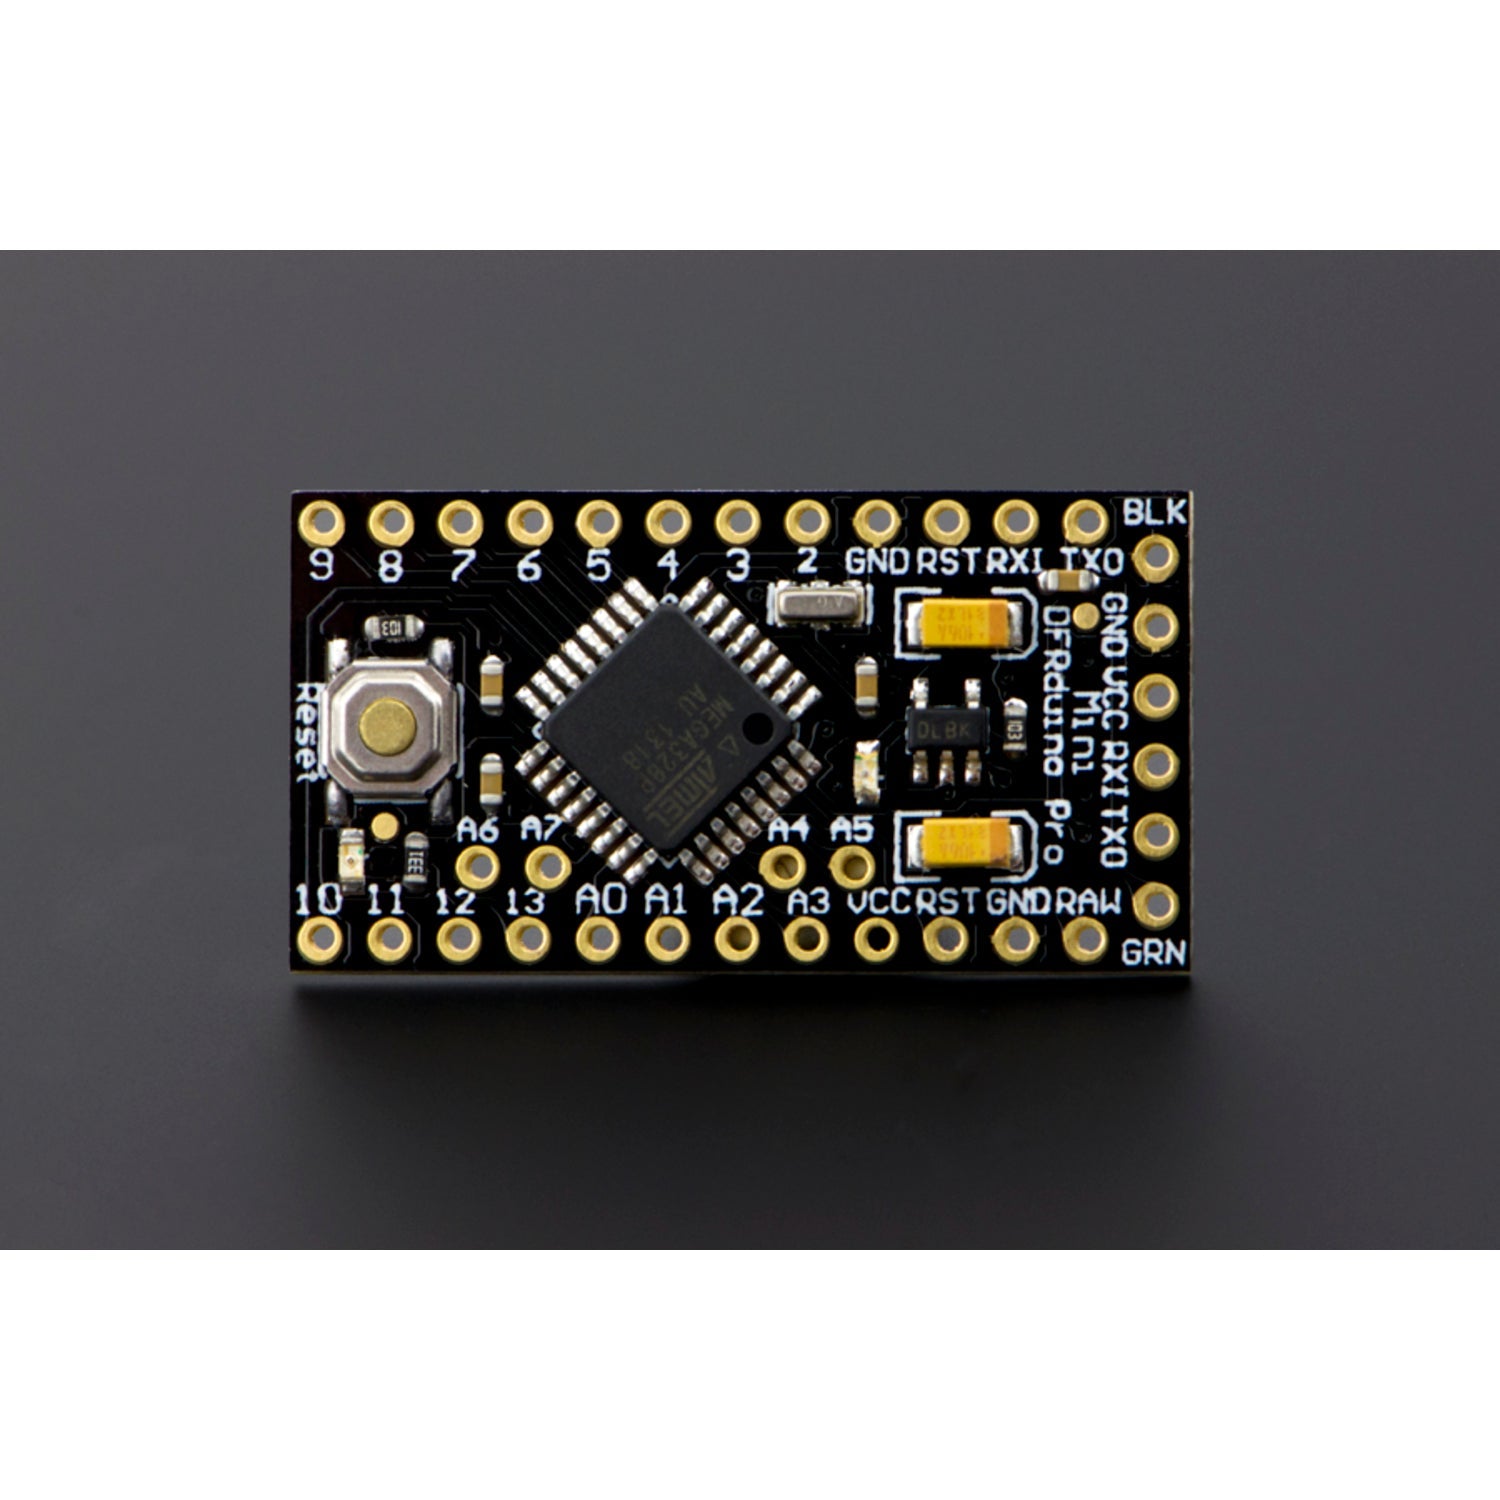
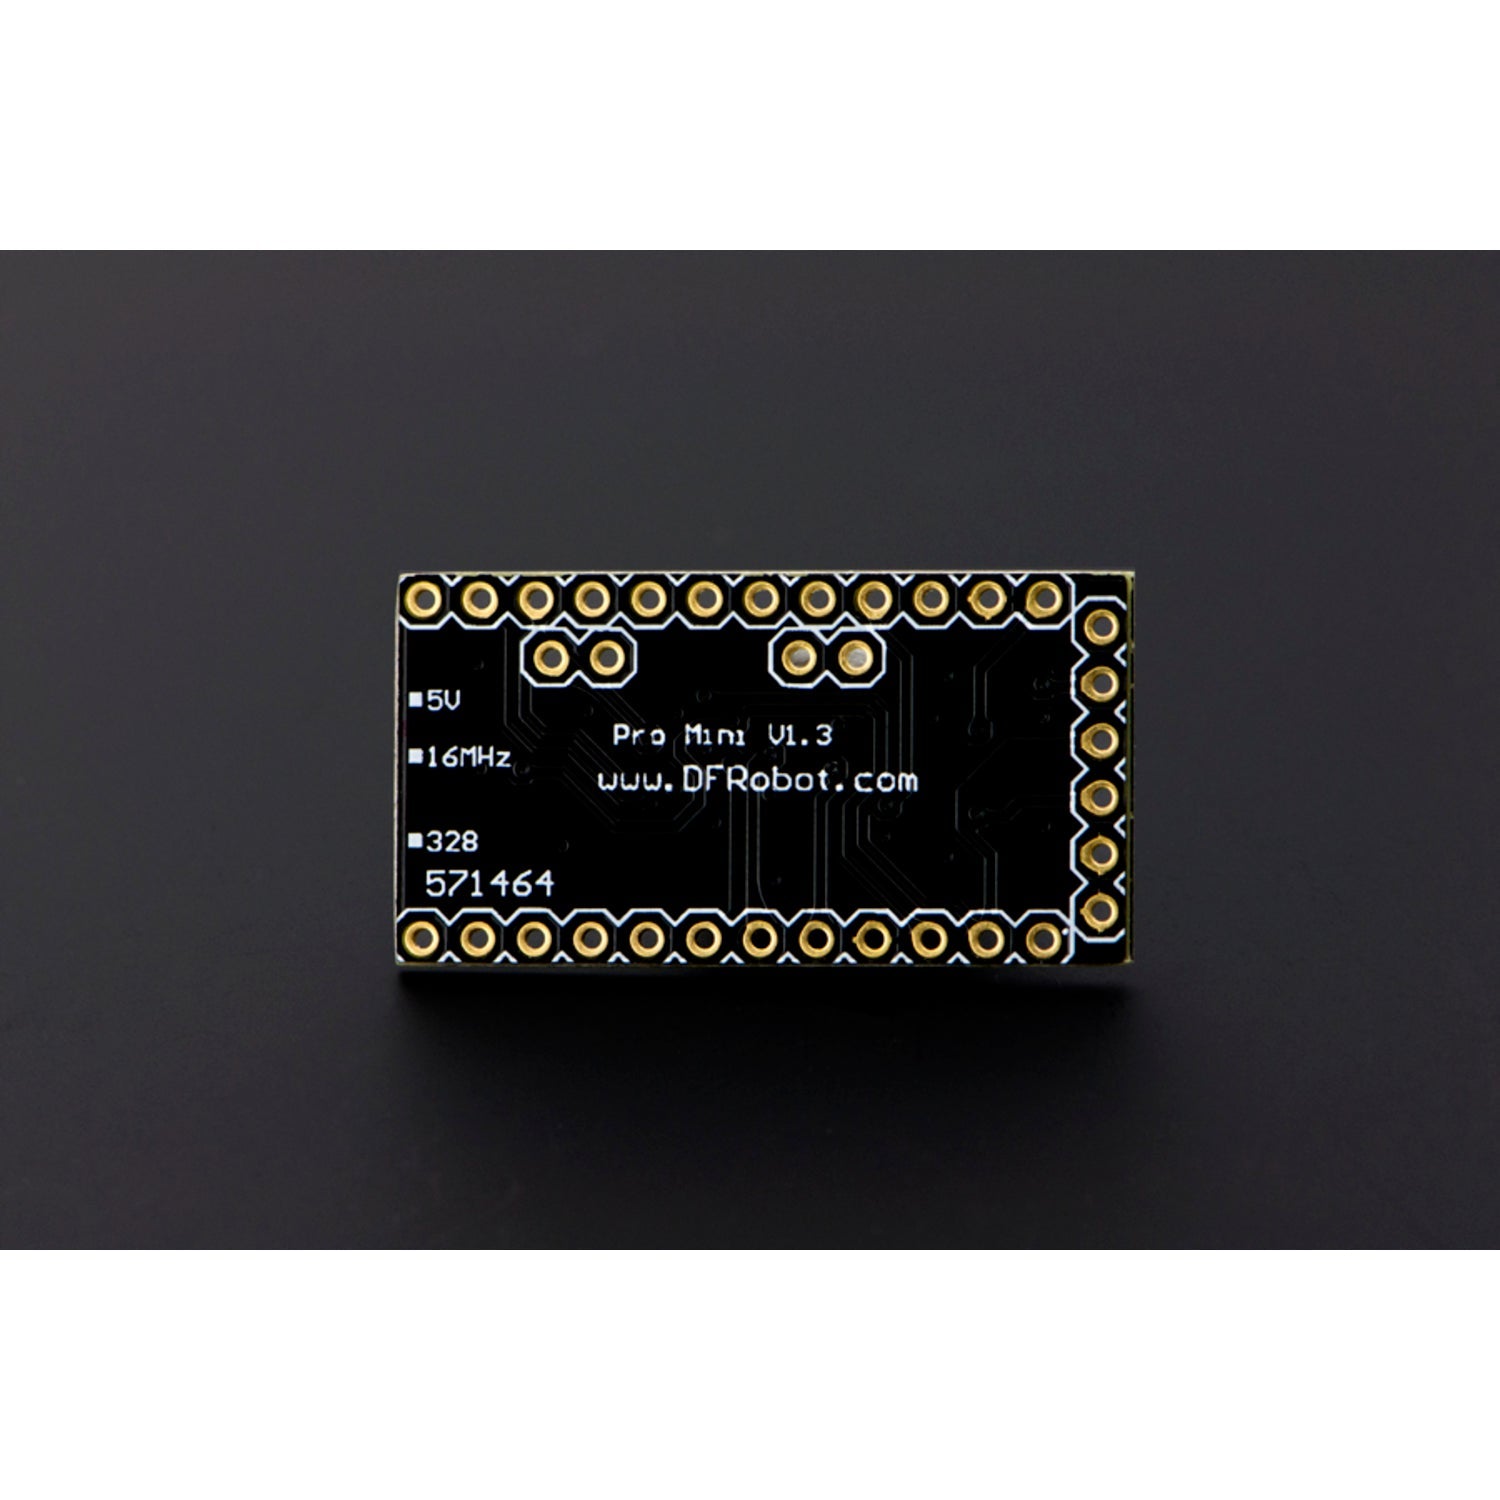
The DFRduino Pro Mini V1.3 is a 5V microcontroller board based on the ATmega328, fully compatible with the Arduino Pro Mini. It runs a 16MHz bootloader and you can select 'Arduino Duemilanove w/ 328' in the Arduino software. This is an advanced version of the official Arduino Pro Mini, boasting 8 analog inputs compared to the official's 6, while the rest of the features are identical. It comes with 14 digital input/output pins (6 can be used as PWM outputs), 8 analog inputs, an on - board resonator, a reset button, and holes for mounting pin headers. A six - pin header can connect to an FTDI cable or DFRobot breakout board for USB power and communication. Ideal for semi - permanent installation in objects or exhibitions, the board doesn't have pre - mounted headers, allowing for various connectors or direct wire soldering. Its pin layout is compatible with the Arduino Mini. We suggest choosing either the FTDI Basic Breakout 3.3/5V (Arduino Compatible) or the USB Serial Light Adapter (Arduino Compatible) to program and power your Mini pro board. Note that compared to the DFduino Pro Mini V1.2, V1.3 has reversed the pins of the programming interface. Specifications include a DC input of 5V up to 8V from the RAW pin or 5V from the VCC pin, an Arduino Pro/Pro Mini (5V, 16Mhz) w/ Atmega328 bootloader, a 5V regulator, a max 150mA output, and more. It also has many protections and on - board LEDs. The board size is 0.7x1.3' (18x33mm). Documents available are the schematic, LDO regulator datasheet, and a getting - started tutorial. The shipping list includes one DFRduino Pro Mini V1.3.


Using the DFRduino Pro Mini V1.3 is easy. First, decide on your power source. You can use a DC input of 5V up to 8V from the RAW pin or 5V from the VCC pin. To program the board, you can choose between the FTDI Basic Breakout 3.3/5V or the USB Serial Light Adapter, both being Arduino Compatible. Connect the six - pin header to an FTDI cable or DFRobot breakout board for USB power and communication. When installing it, remember this board is designed for semi - permanent use in objects or exhibitions. Since it doesn't have pre - mounted headers, you can choose different types of connectors or solder wires directly. Be careful when programming as compared to the V1.2 version, the pins of the programming interface are reversed in V1.3. For maintenance, keep the board in a dry and clean environment. Avoid over - current situations as it has over - current protection, but it's still good practice. Also, make sure not to connect the power with reverse polarity as it's reverse - polarity protected. If you need more information, refer to the schematic, LDO regulator datasheet, and the getting - started tutorial that come with the board.