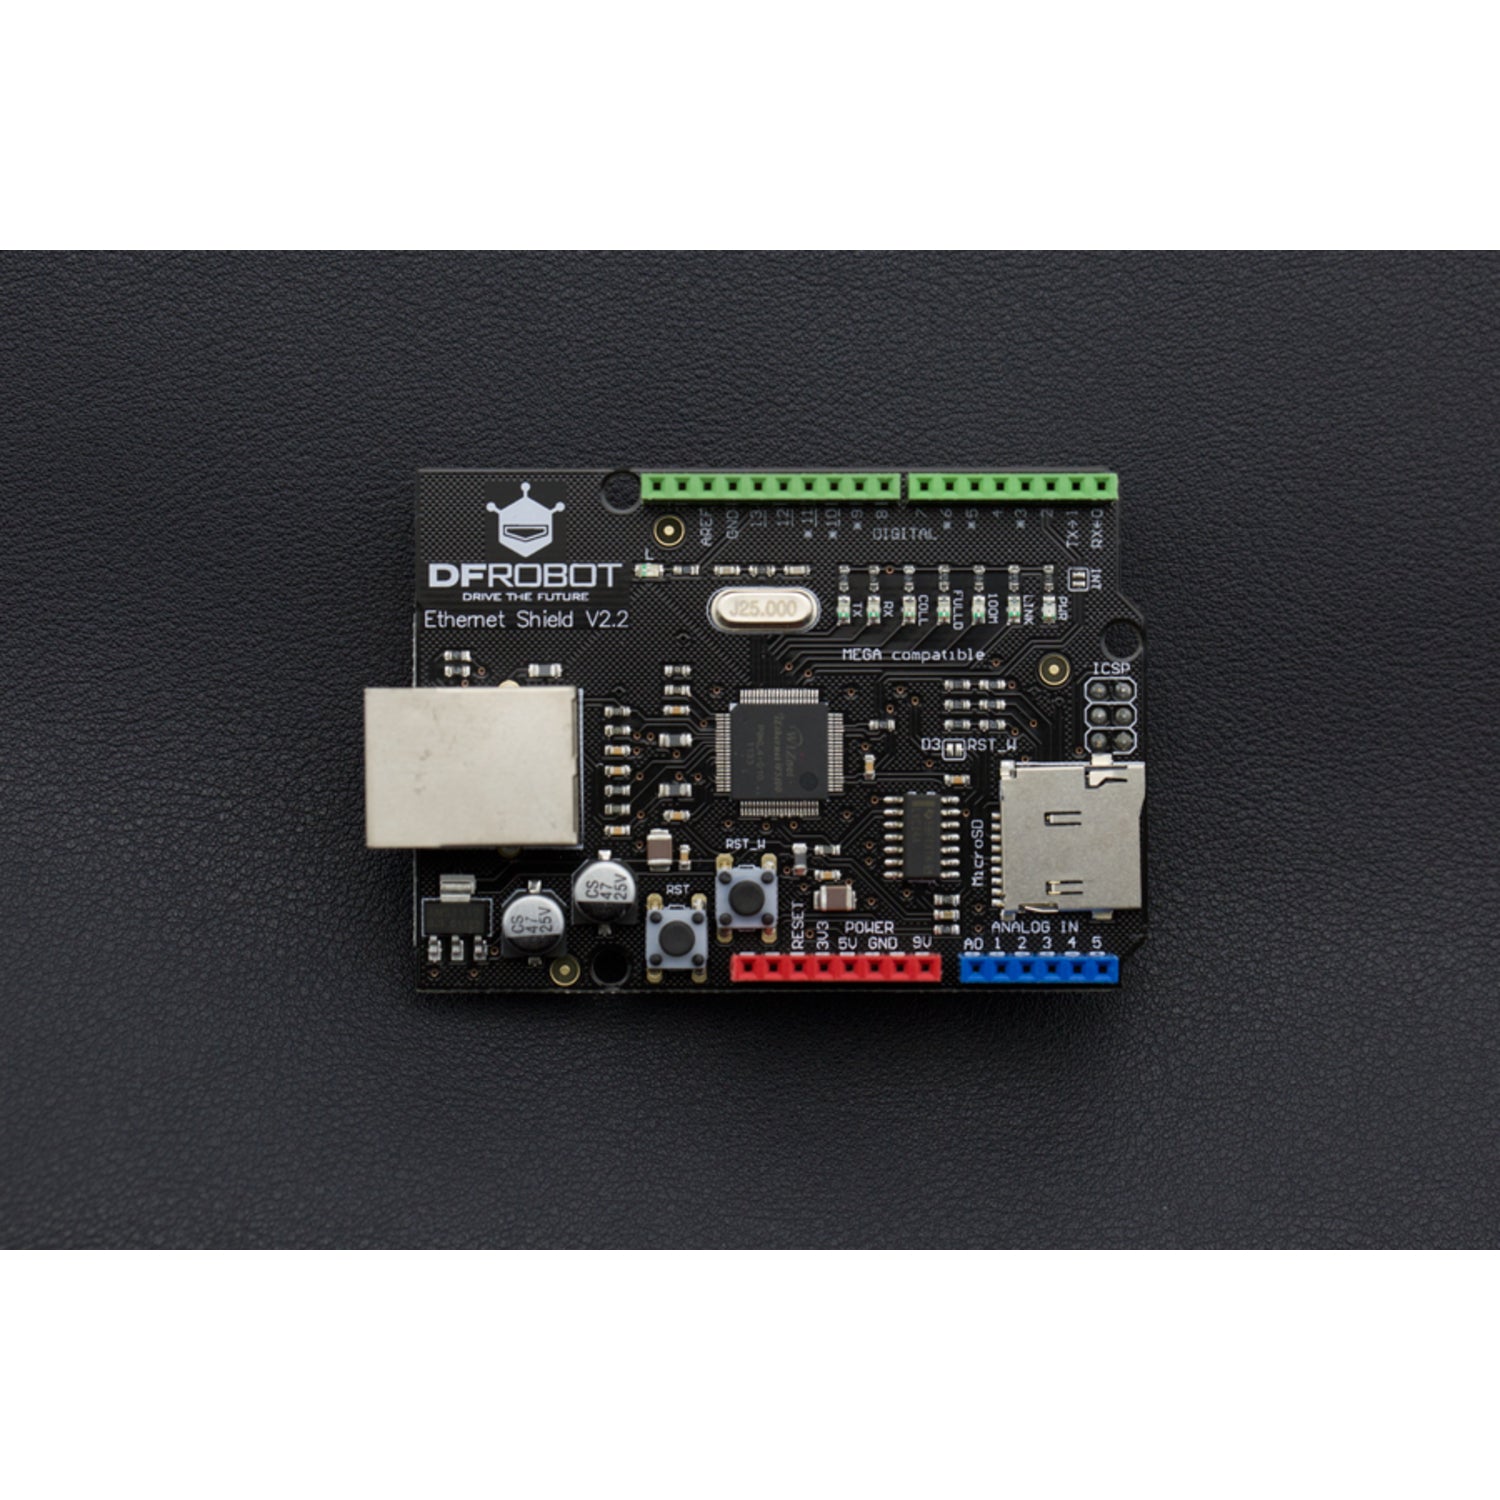
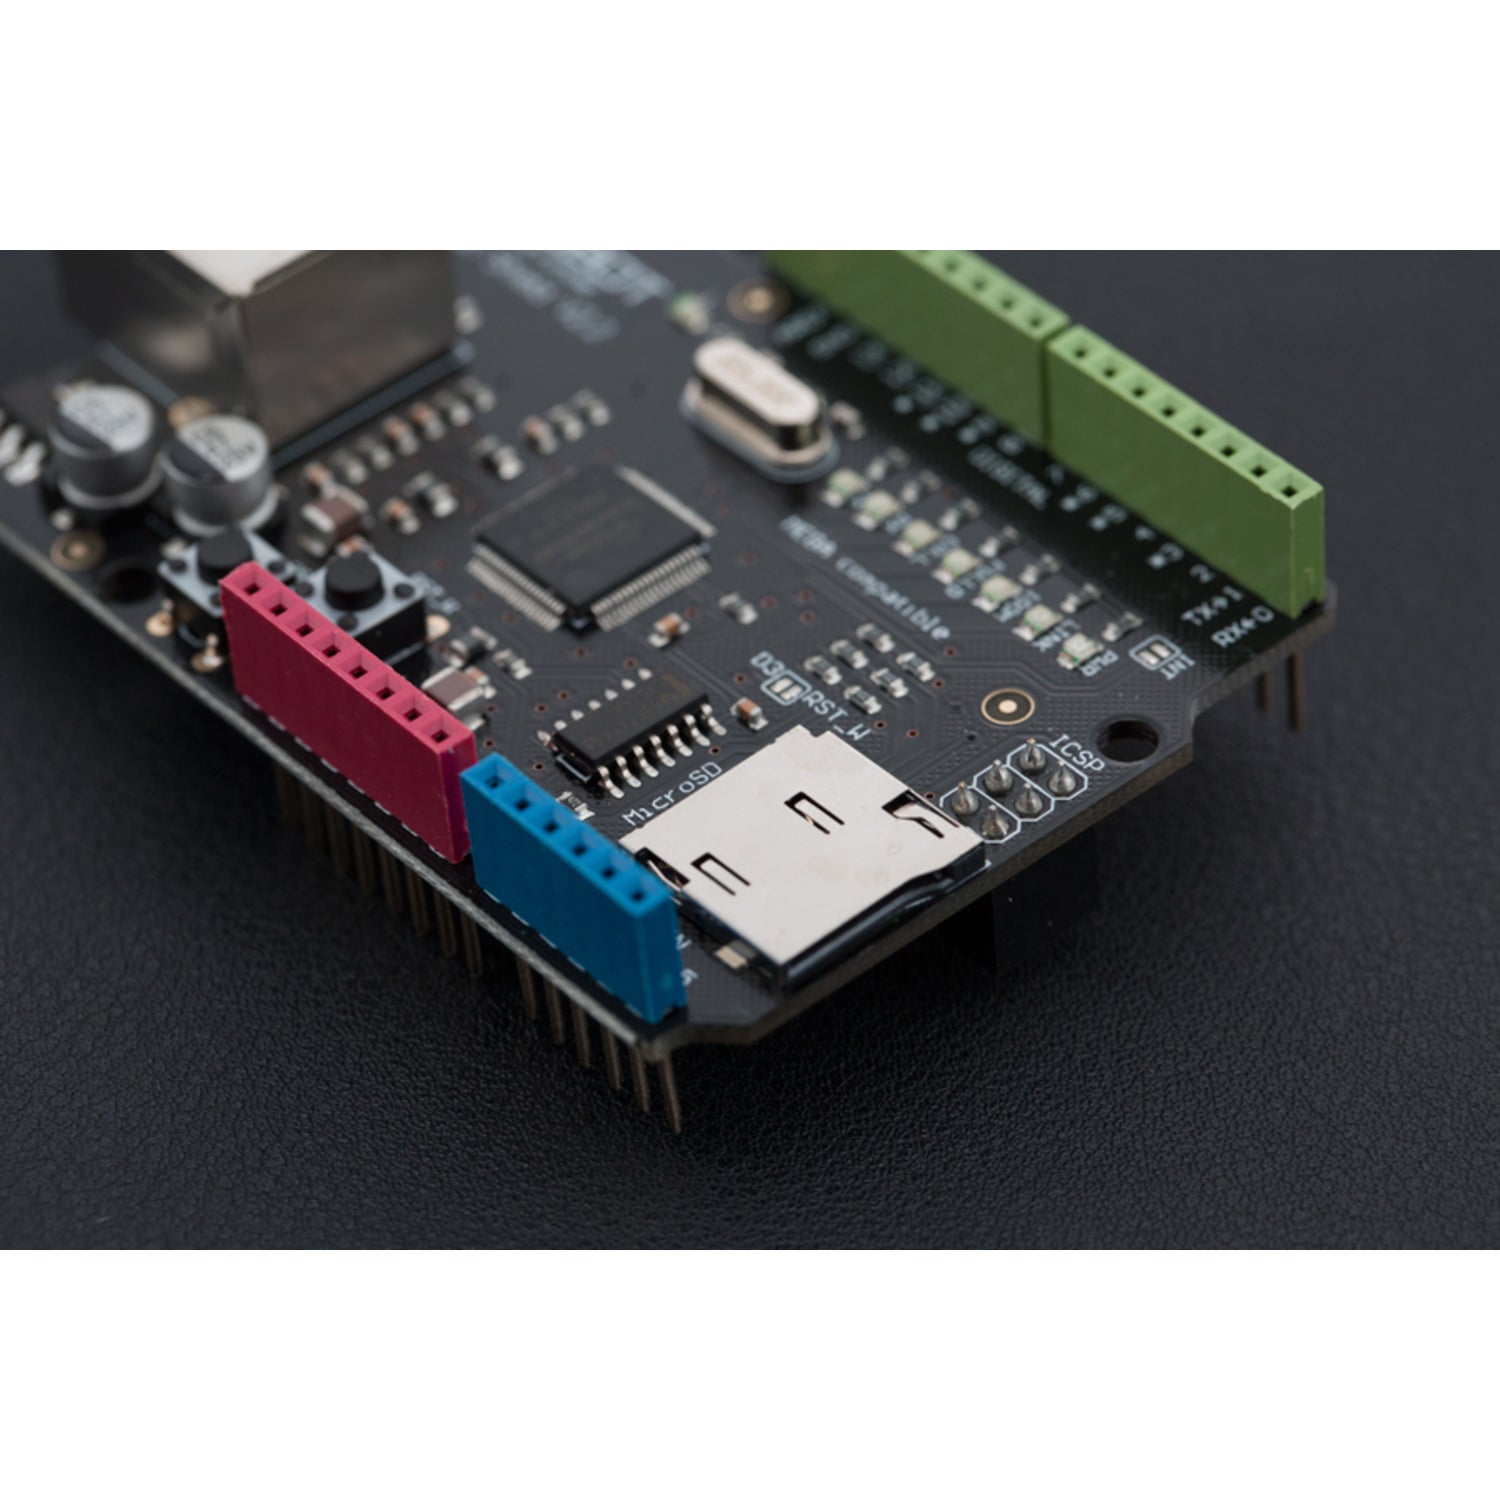
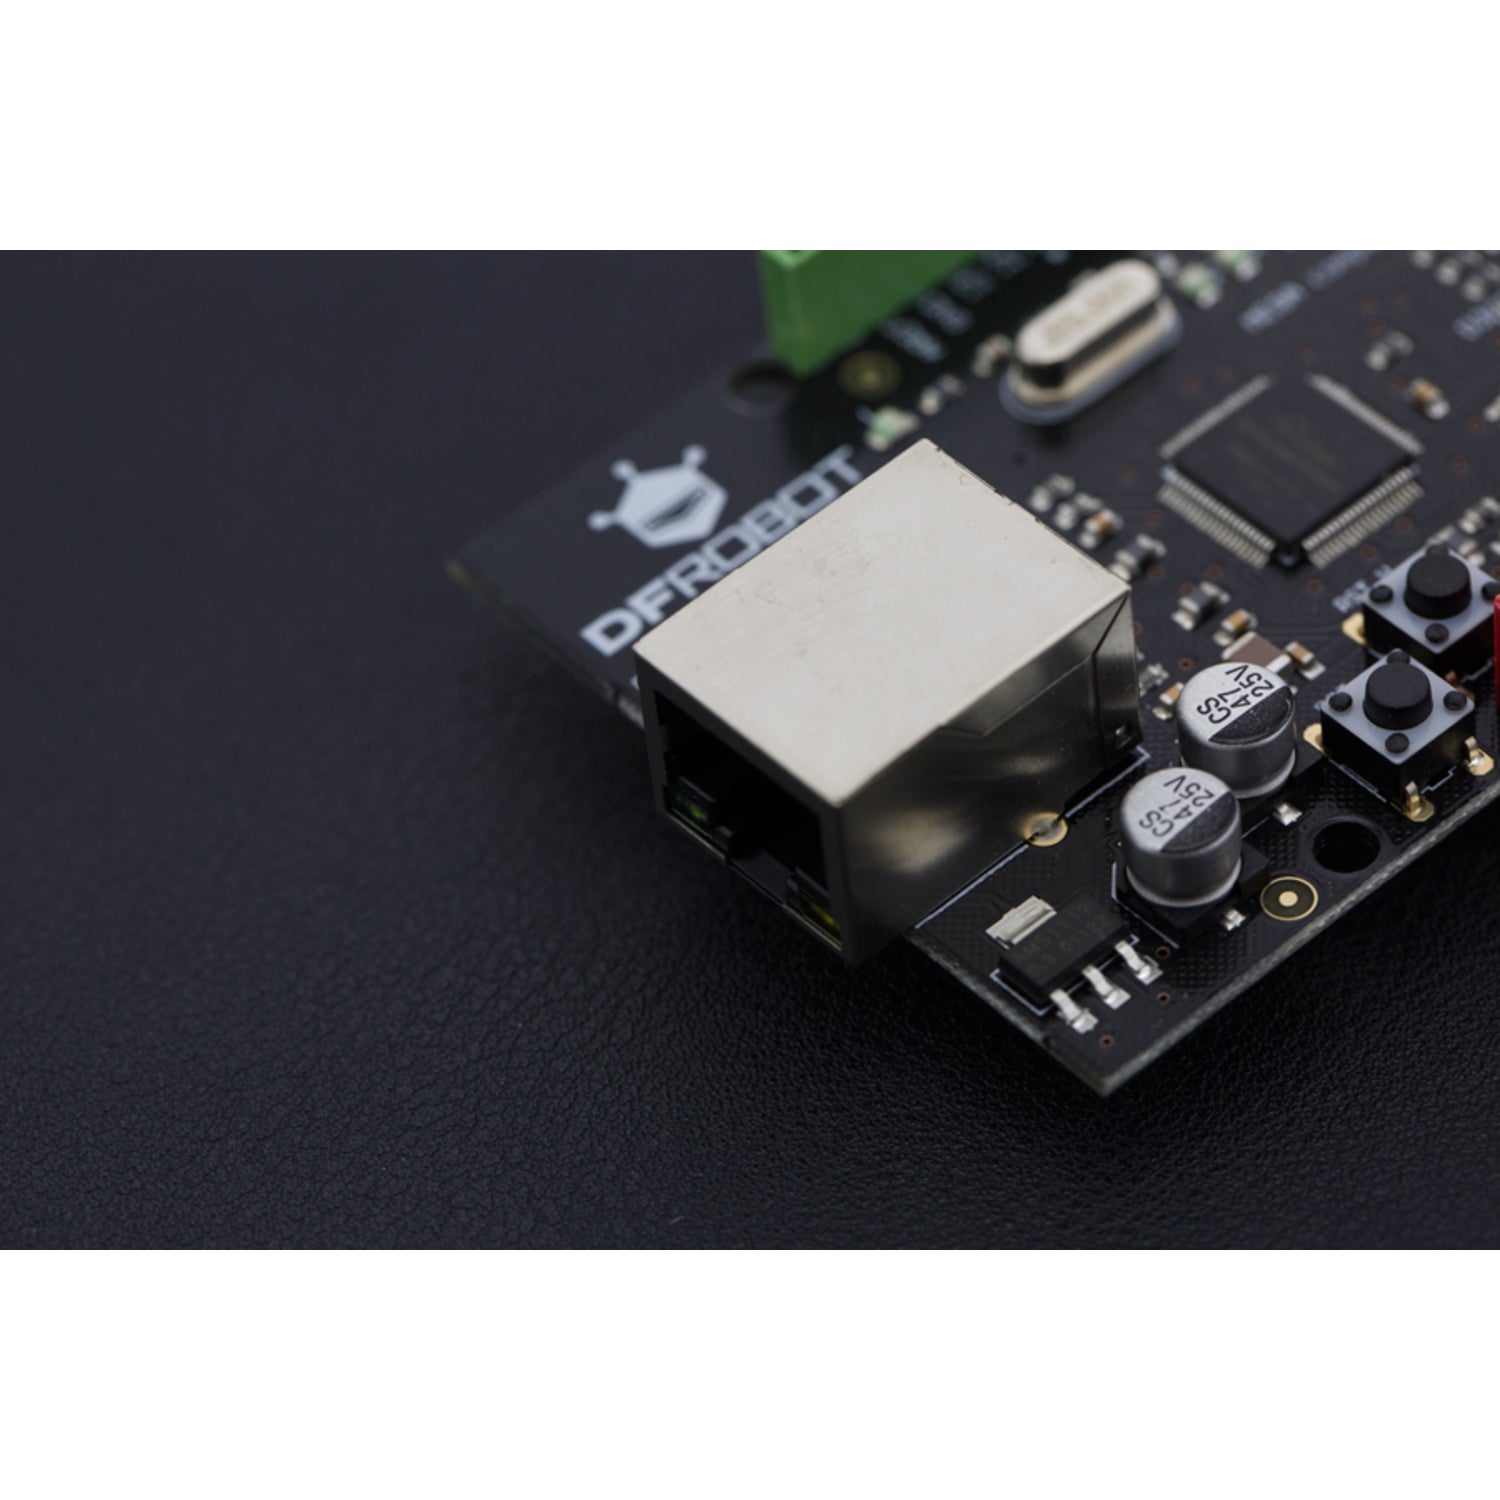
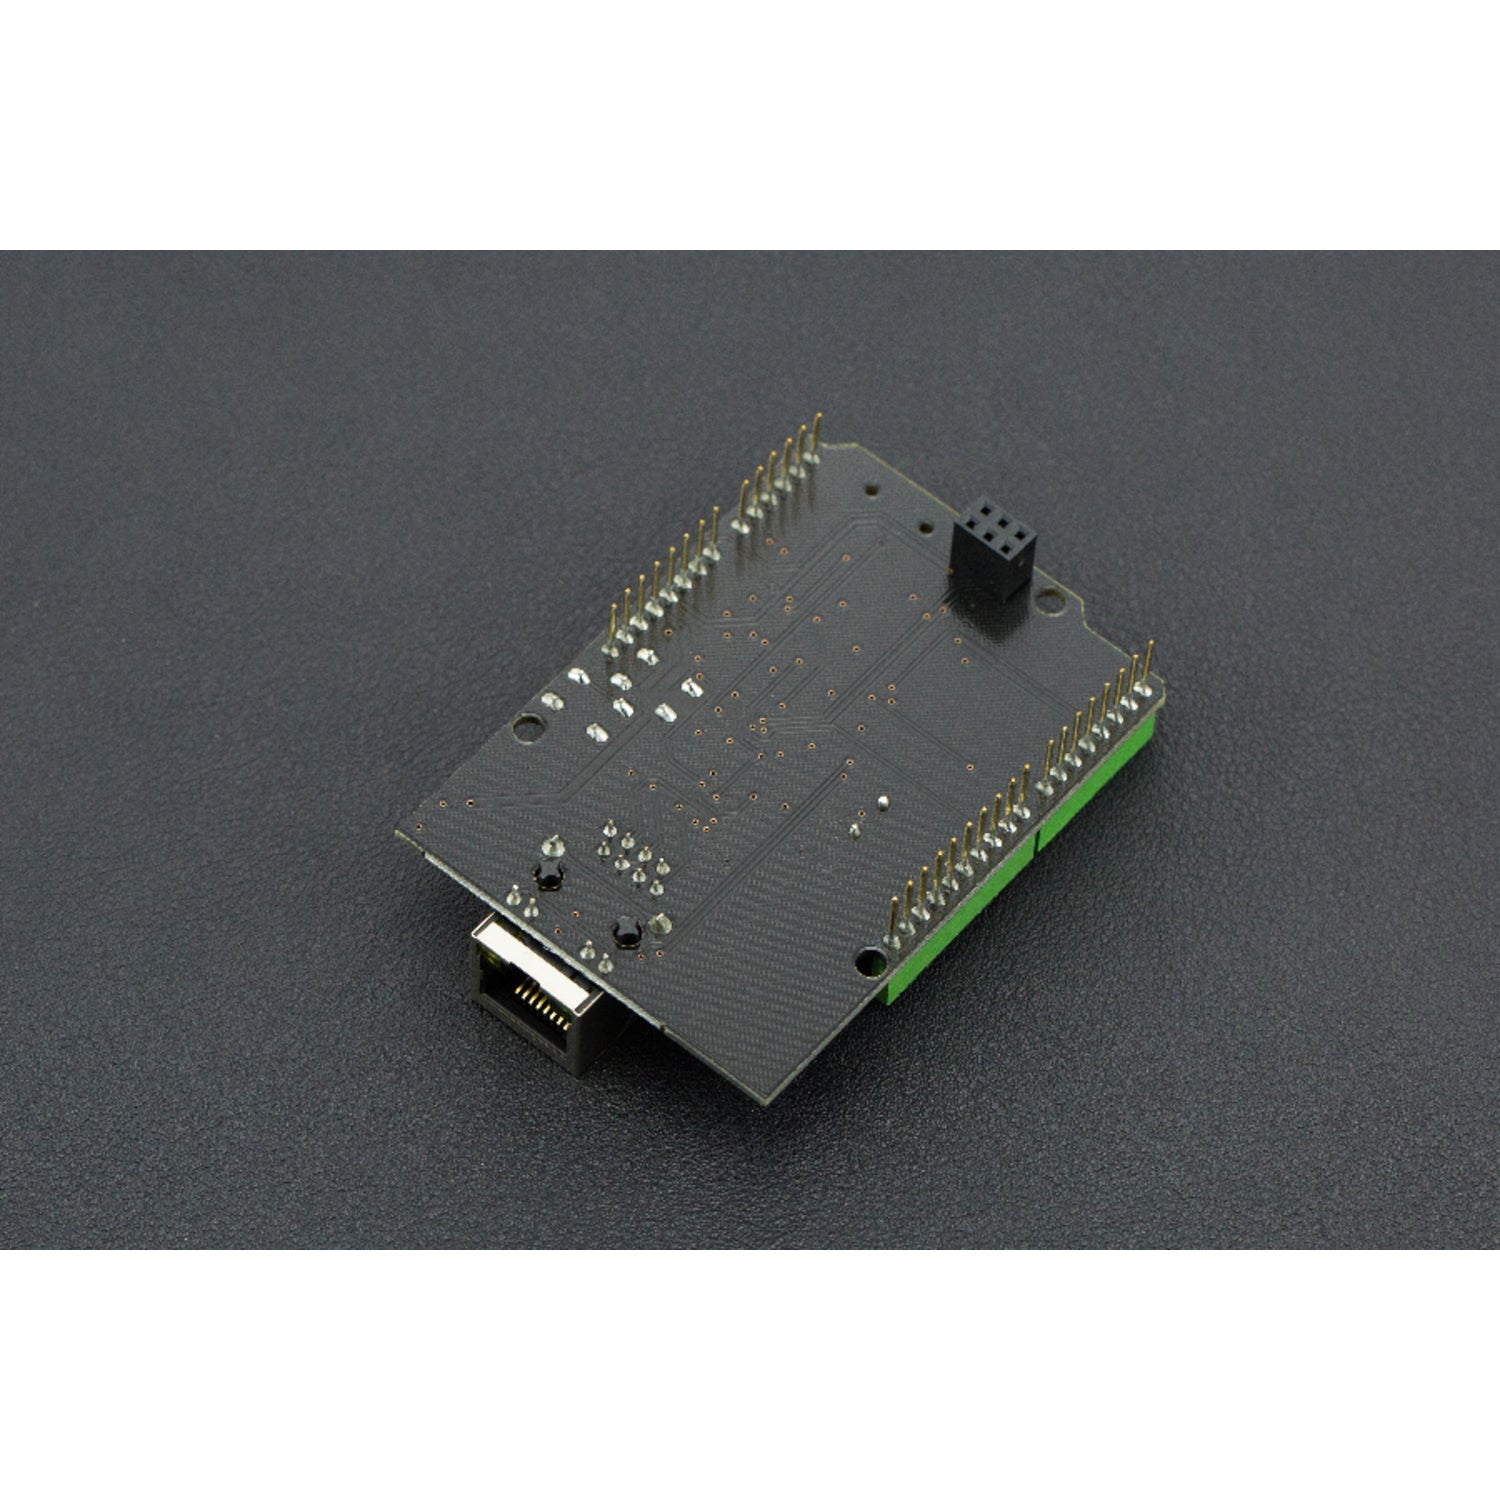
The DFRduino Ethernet Shield V2.1 is now out! This amazing Ethernet Shield version is not only compatible with Mega 1280 and 2560 but also comes with a Micro SD card slot for easy reading and writing. It's fully compatible with the Arduino Ethernet Shield. Using the official ethernet library, you can achieve the same results as the original one, but at a much more budget - friendly price. This shield gives your Arduino controller board internet access. It's based on the Wiznet W5100 ethernet chip, which offers a network (IP) stack for both TCP and UDP and supports up to four simultaneous socket connections. You can use the Ethernet library to create sketches for internet connection via the shield. Connect the Ethernet Shield to an Arduino board using long wire - wrap headers that go through the shield, keeping the pin layout intact and allowing another shield to be stacked on top. Arduino uses digital pins 10, 11, 12, and 13 (SPI) to communicate with the W5100 on the ethernet shield, so these pins can't be used for general I/O. The shield features a standard RJ45 ethernet jack, and its reset button resets both the W5100 and the Arduino board. There are also several informational LEDs on the shield: PWR shows power, LINK indicates network link and flashes during data transmission or reception, FULLD means full - duplex network connection, 100M shows a 100 Mb/s network connection, RX flashes when receiving data, TX flashes when sending data, and COLL flashes when network collisions are detected. It's compatible with Arduino Mega 1280/2560, Arduino UNO, and Arduino Dumlinove. You can refer to the Wiki (DFRduino Ethernet Shield), Ethernet Library Reference, and Schematics for more details. The shipping list includes one DFRduino Ethernet Shield.


Using the DFRduino Ethernet Shield V2.1 is quite easy. First, connect it to your Arduino board using the long wire - wrap headers. Make sure to connect it properly so that the pin layout remains intact. You can stack another shield on top if you want. To get your Arduino board connected to the internet, use the Ethernet library in your sketches. Just keep in mind that digital pins 10, 11, 12, and 13 on the Arduino are used to communicate with the shield, so you can't use them for other general input - output tasks. When it comes to the Micro SD card slot, you can use it for reading and writing data as needed. Notice the informational LEDs on the shield. They will tell you the status of the power, network link, data transmission, and more. If the LINK LED is flashing, it means data is being sent or received. As for maintenance, keep the shield in a dry and clean place. Avoid exposing it to extreme temperatures or humidity. When you're done using it, you can store it safely to ensure its long - term performance. If you run into any issues, refer to the provided documents like the Wiki and Ethernet Library Reference for solutions.