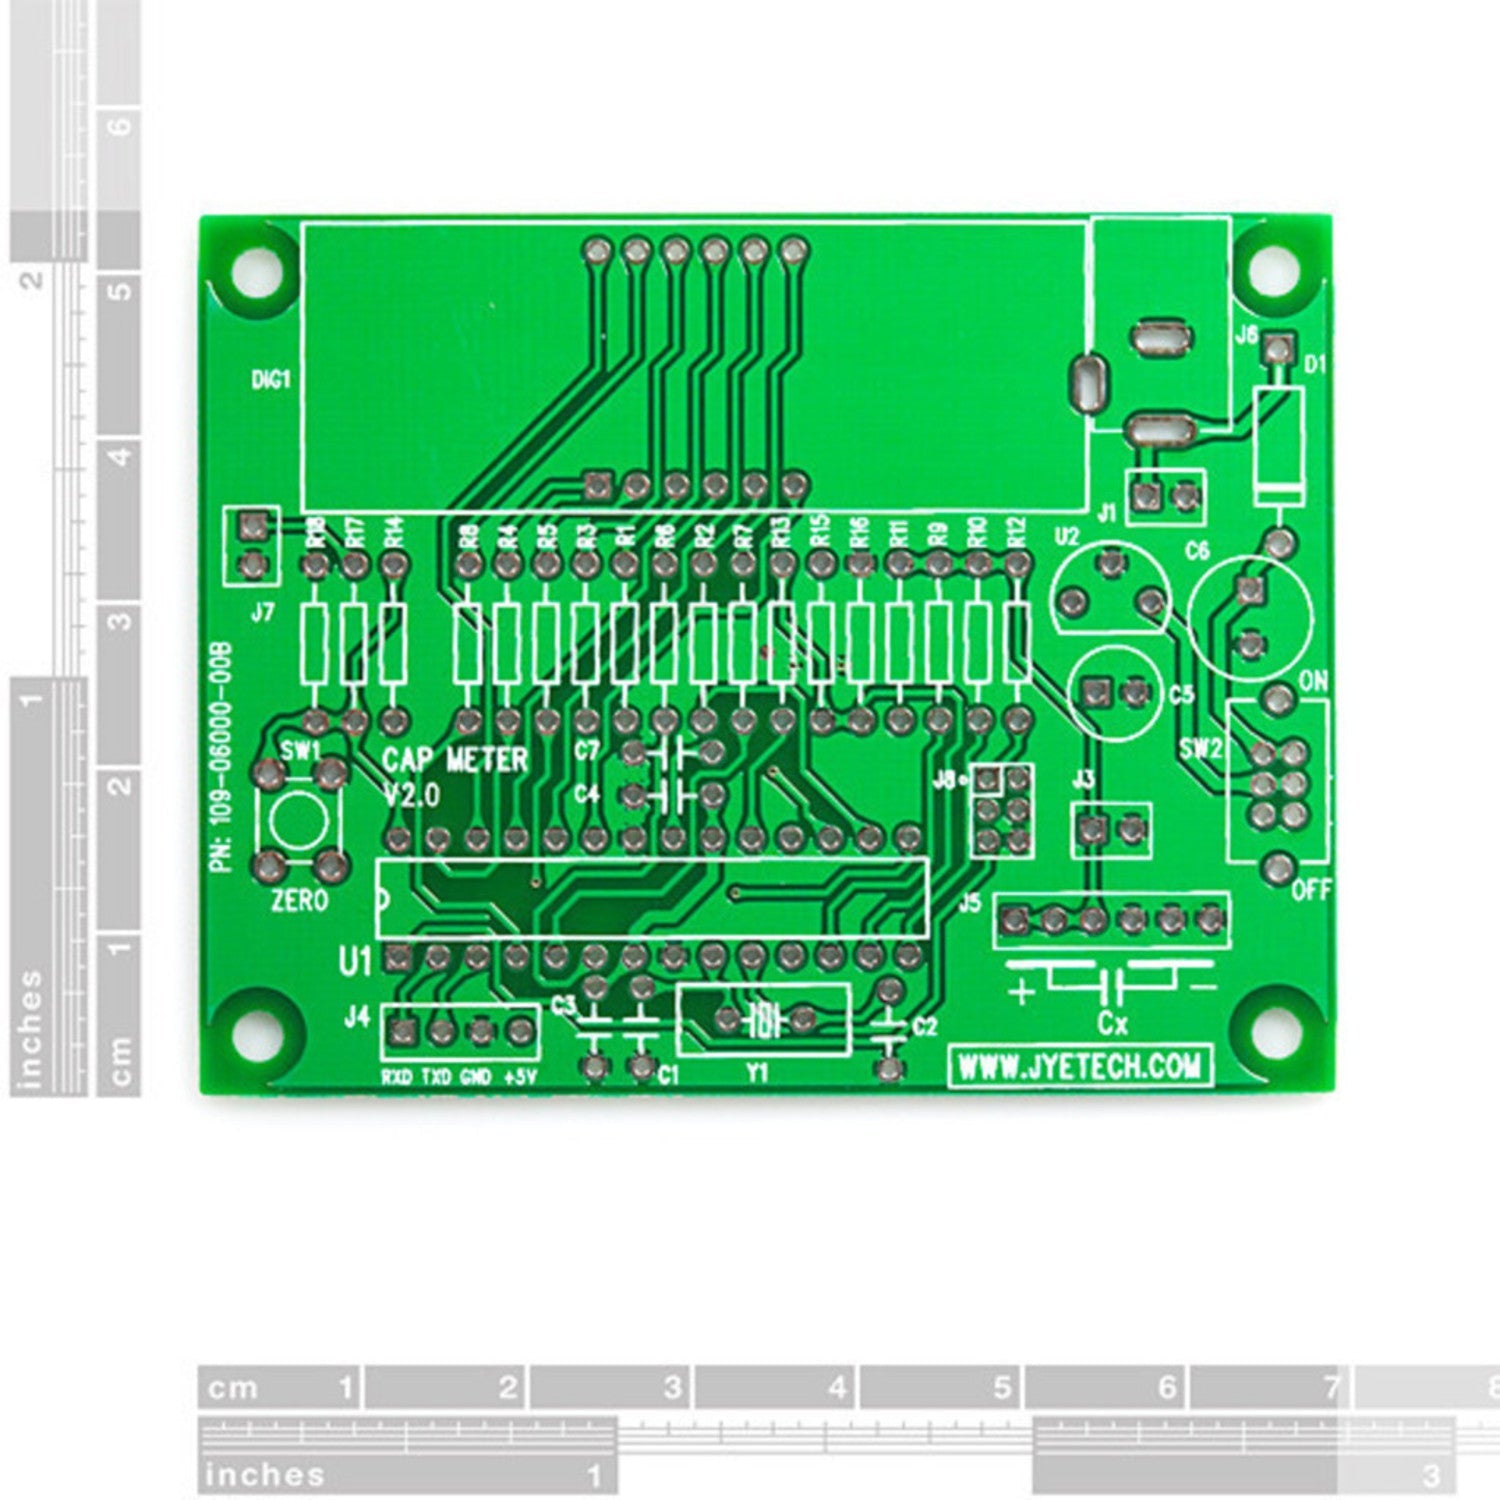
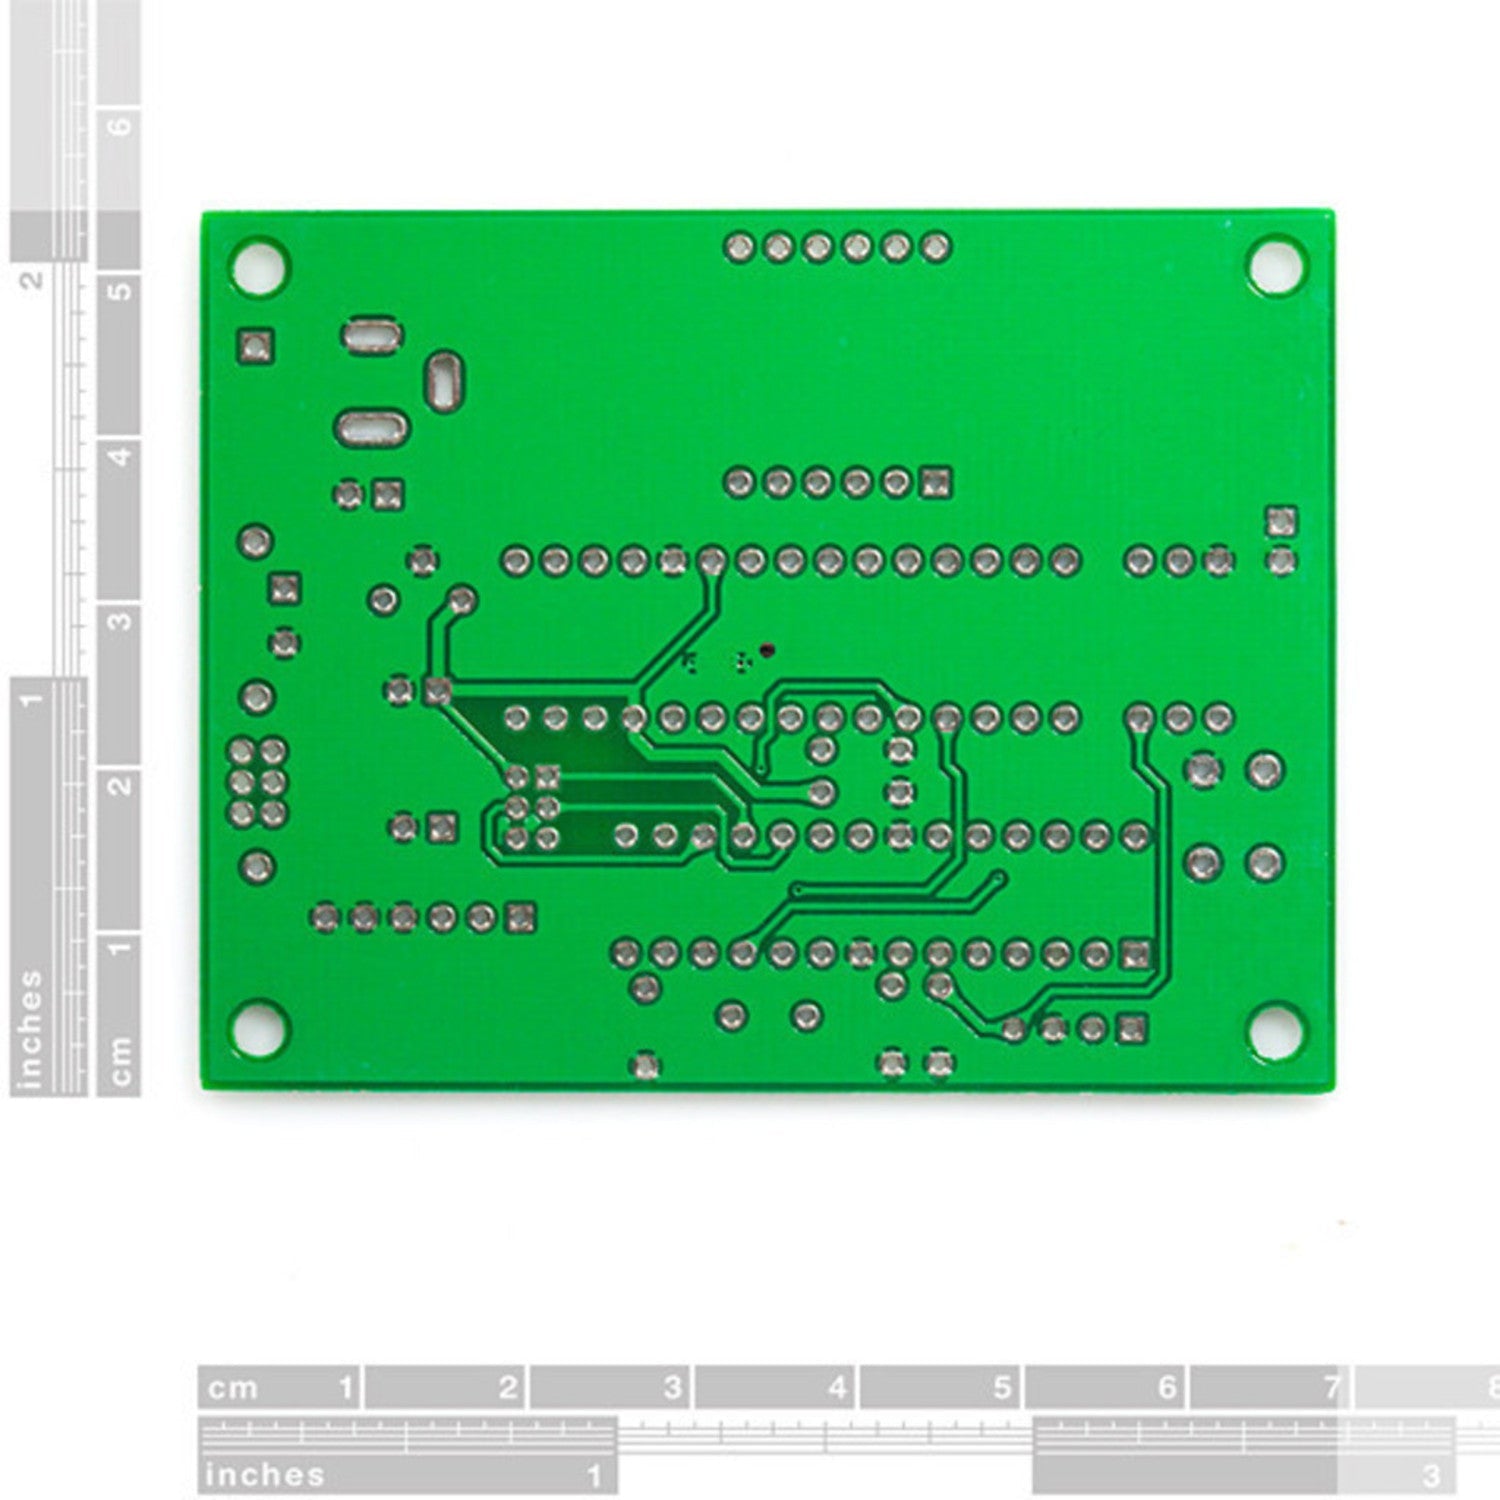
This amazing DIY kit gives you all the components to build your own capacitance meter. It can accurately measure capacitors in the wide range from 1pF to 500uF. While many multimeters can measure capacitance, this dedicated meter offers far greater precision. It's not just a kit; it's a chance to improve your soldering skills and end up with a top - notch capacitance measuring tool. Assembly is a breeze, with all through - hole components. You'll solder various parts like resistors, seven - segment LEDs, and a 28 - pin ATmega48 microcontroller. An 8 - 16VDC power supply is needed but not included. Key features are about 1% accuracy with less than 2% error, automatic range switching, zeroing option, real - time serial output of measurements with timestamps, low cost, and easy construction. The power supply voltage is 8 - 16VDC, and the current is less than 30mA. Included documents are the User’s Manual, Schematic, and Part List. Check out our Surface Mount Soldering Tutorial and SMD soldering guide for more help.


Using this capacitance meter kit is easy. First, gather all the components in the kit. Refer to the User’s Manual and Schematic to understand how to assemble the parts. Start soldering the through - hole components like resistors and LEDs one by one. Once assembled, connect it to an 8 - 16VDC power supply (you need to provide this). Then you can start measuring capacitors in the range of 1pF to 500uF. When taking measurements, make sure to zero the device if needed. The automatic range switch will make your measuring process smooth. As for maintenance, keep the meter in a dry and clean place. Avoid exposing it to extreme temperatures or humidity. If you face any issues, refer back to the User’s Manual. And don't forget to check out our soldering guides to improve your skills and ensure a successful build.


