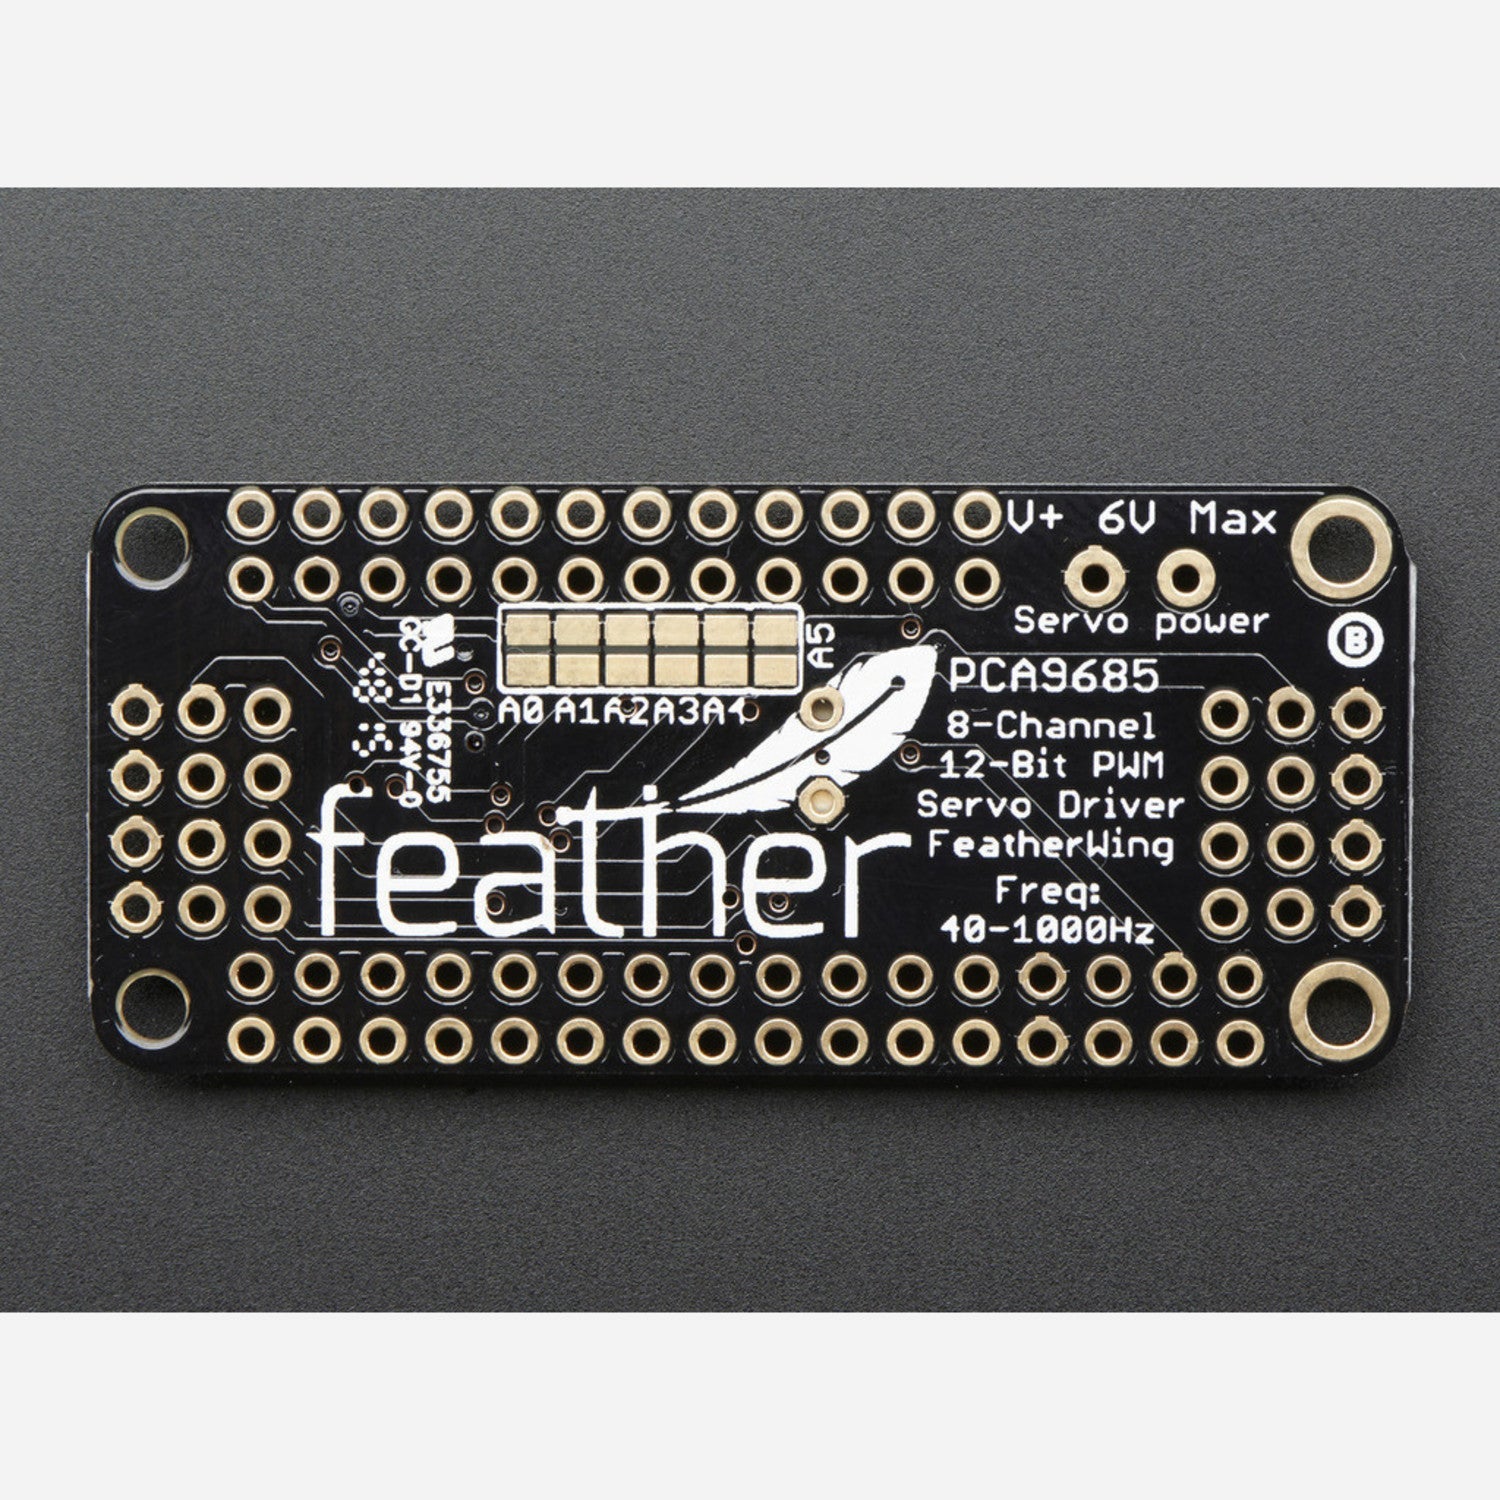
A Feather board truly comes alive with FeatherWings! Introducing the 8-Channel PWM or Servo FeatherWing. You can effortlessly add 8 x 12-bit PWM outputs to your Feather board. Using our Feather Stacking Headers or Feather Female Headers, you can connect this FeatherWing on top or bottom of your Feather board and let your projects soar! Whether you're dreaming of building a cool robot like a hexapod walker, creating a piece of art with moving parts, or driving lots of LEDs with precise PWM output, this FeatherWing is your perfect solution. It's similar to our popular PWM/Servo Shield, but with half the channels and a more compact, portable size. And the best part? It works with any of our Feather boards. Since it only uses the I2C (SDA & SCL pins), it's compatible with all Feathers. You can stack it with other FeatherWings or even multiple copies of itself, just make sure each has a unique I2C address. Check out our range of Feather boards here. Specs: It has an I2C-controlled PWM driver with a built-in clock. Unlike the TLC5940 family, you don't need to constantly send signals, freeing up your microcontroller. It's 5V compliant, allowing you to control it from a 3.3V Feather and safely drive up to 6V outputs. With 6 address select pins, you can stack up to 62 on a single i2c bus, giving you a whopping 992 outputs. The adjustable frequency PWM goes up to about 1.6 KHz, and each output has 12-bit resolution. You can also configure it for push-pull or open-drain output. We've packed this great chip into a FeatherWing with some nice extras: There's a terminal block for power input, and it has reverse polarity protection. There's a green power-good LED, and two groups of 4 outputs on either side, 8 in total. It has a stackable design, but you'll need stacking headers and right angle 3x4 headers to stack without servo connection issues. There's a spot for a big capacitor on the V+ line, and 220 ohm series resistors on all output lines to protect them and make driving LEDs easy. There are also solder jumpers for the 6 address select pins. This product comes with a fully tested and assembled wing, 2 pieces of 3x4 male straight header, a 2-pin terminal block, and a stick of 0.1' header. A bit of light soldering is needed to attach the headers, but it's a 15-minute task even for beginners. If you want right-angle 3x4 headers, we have a 4 pack in the shop. Note that servos and Feather are not included, but we have plenty of servos available. Also, the terminal blocks included may be blue or black. For more information, check out our tutorial with documented Arduino and CircuitPython libraries and PWM and Servo examples!
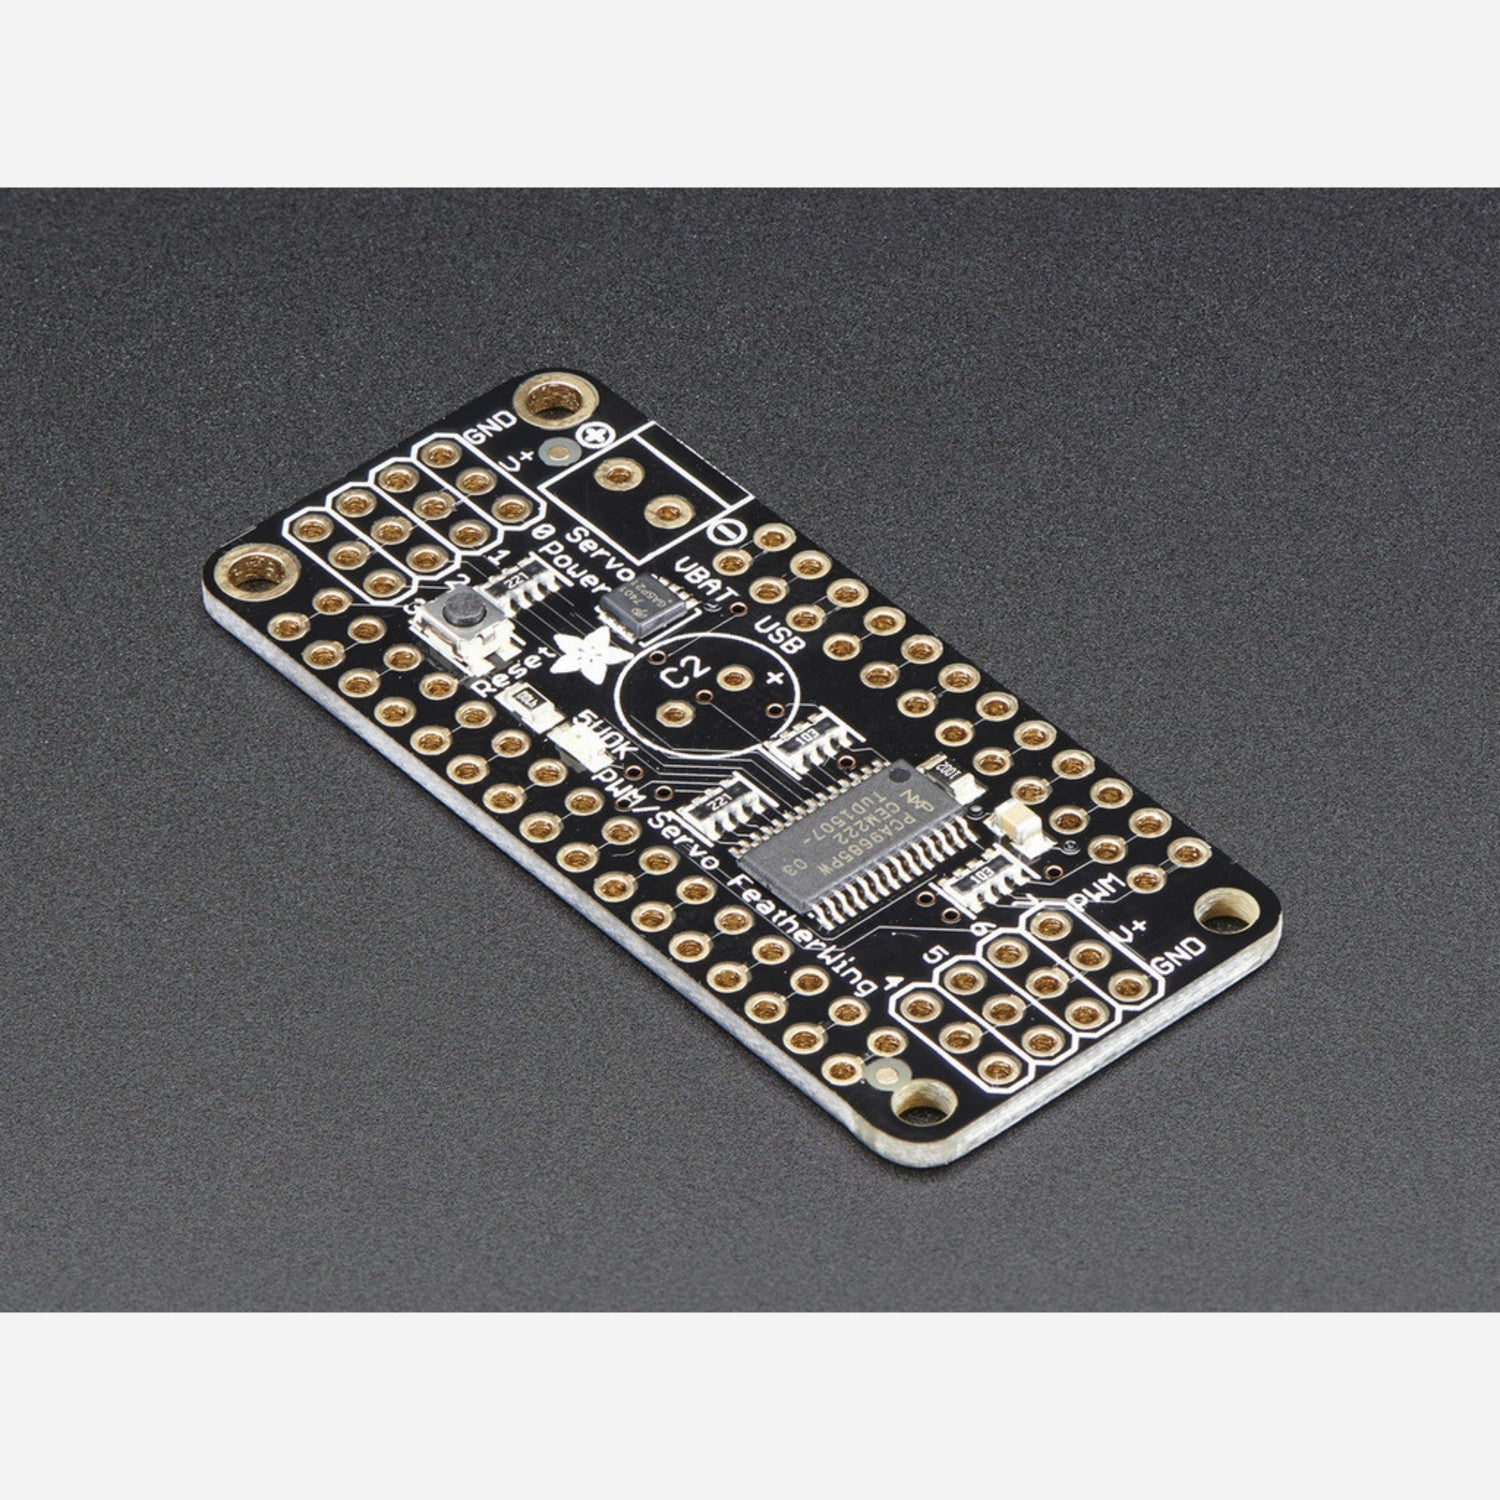
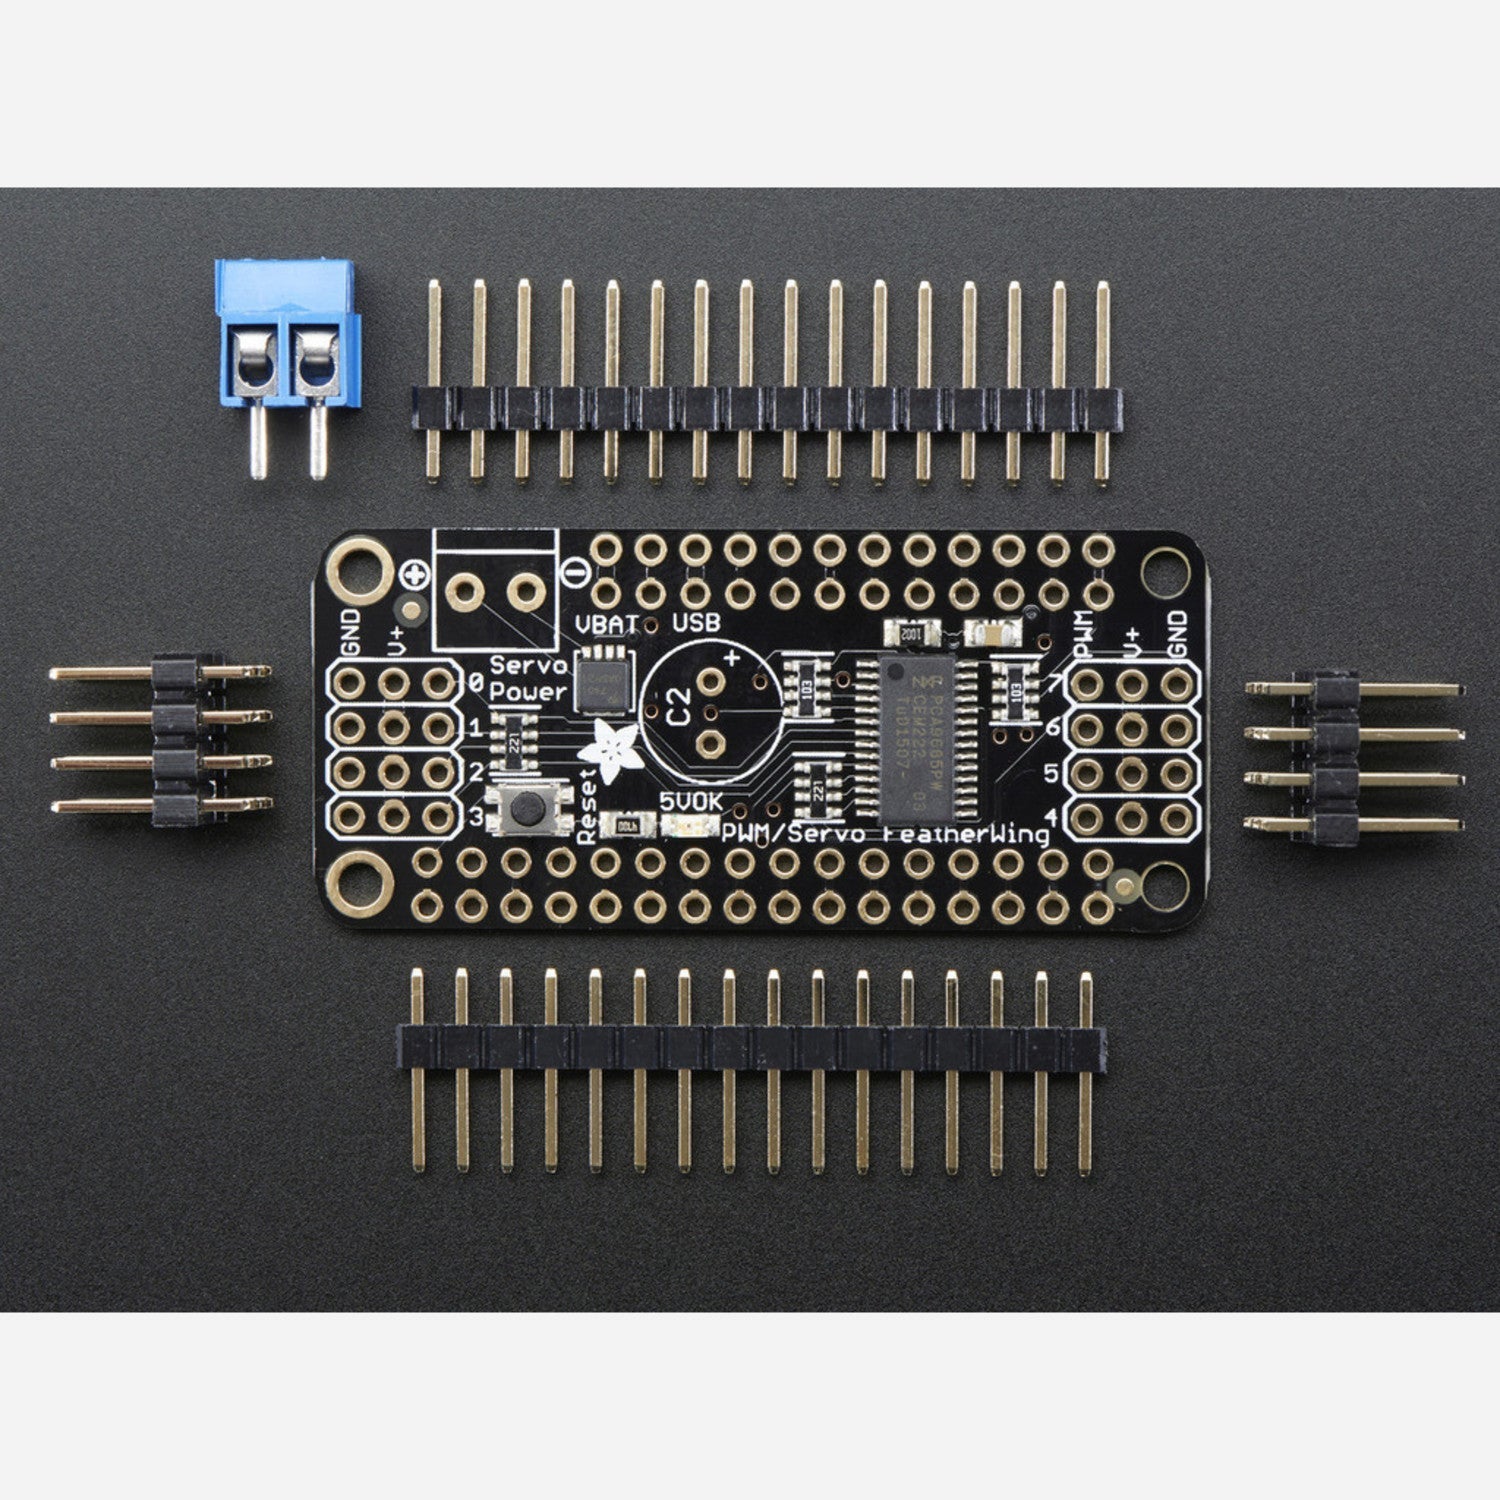
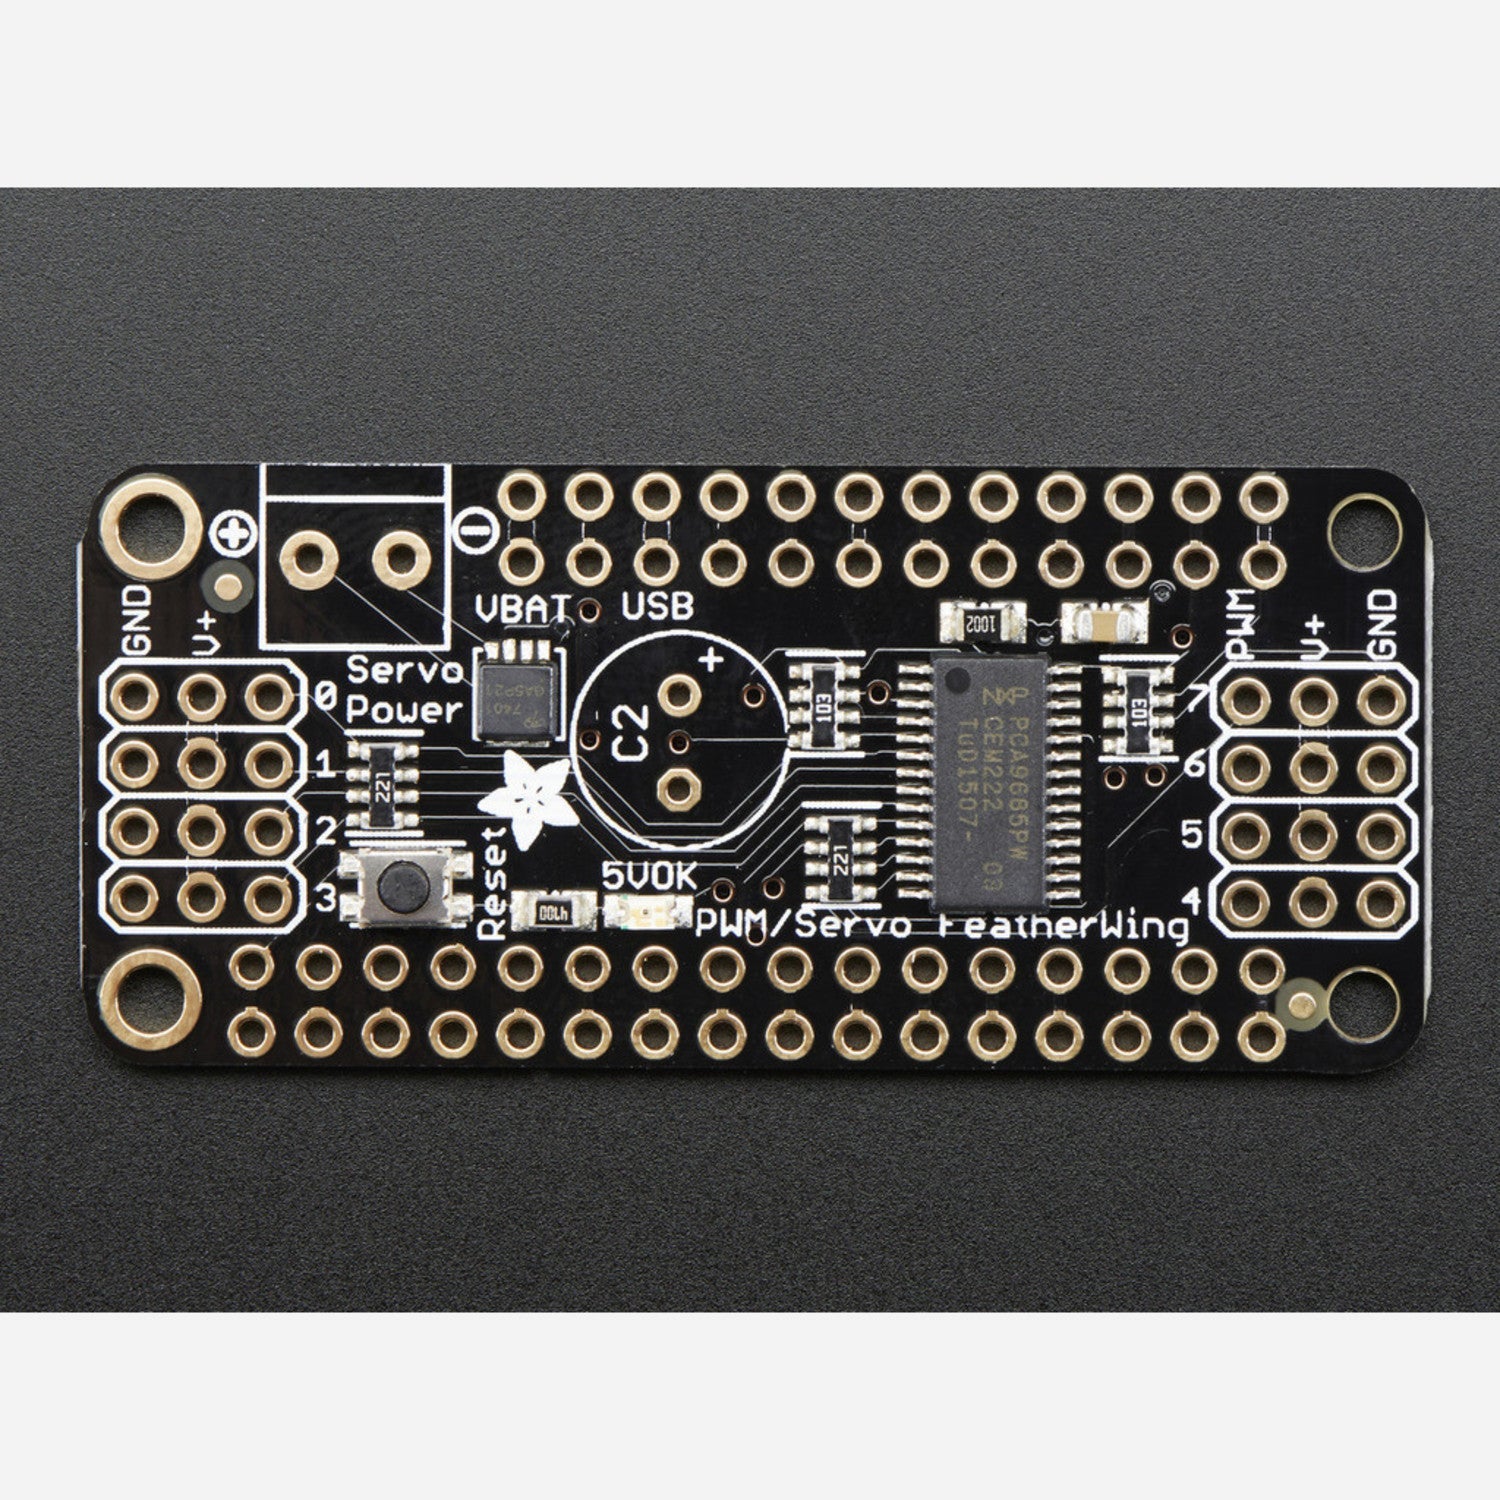
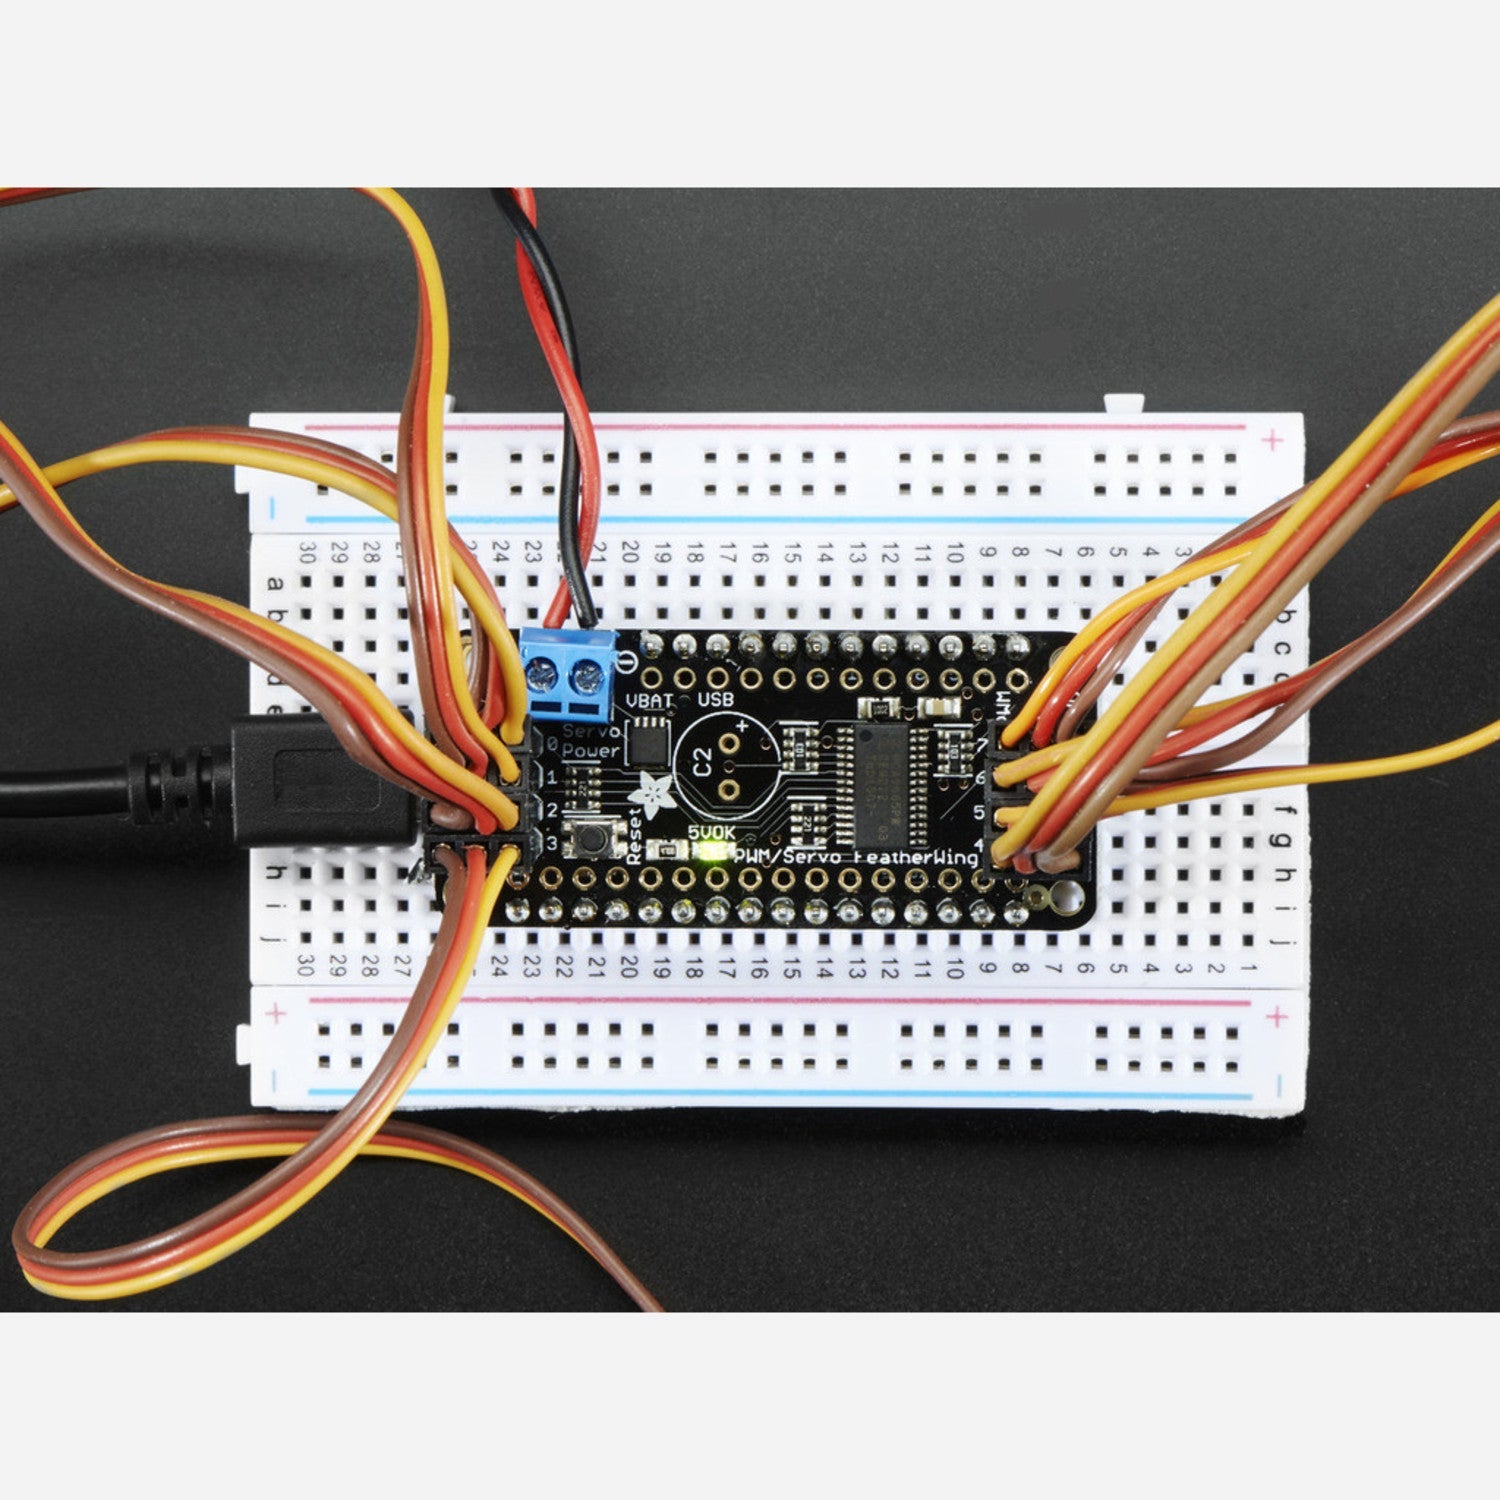
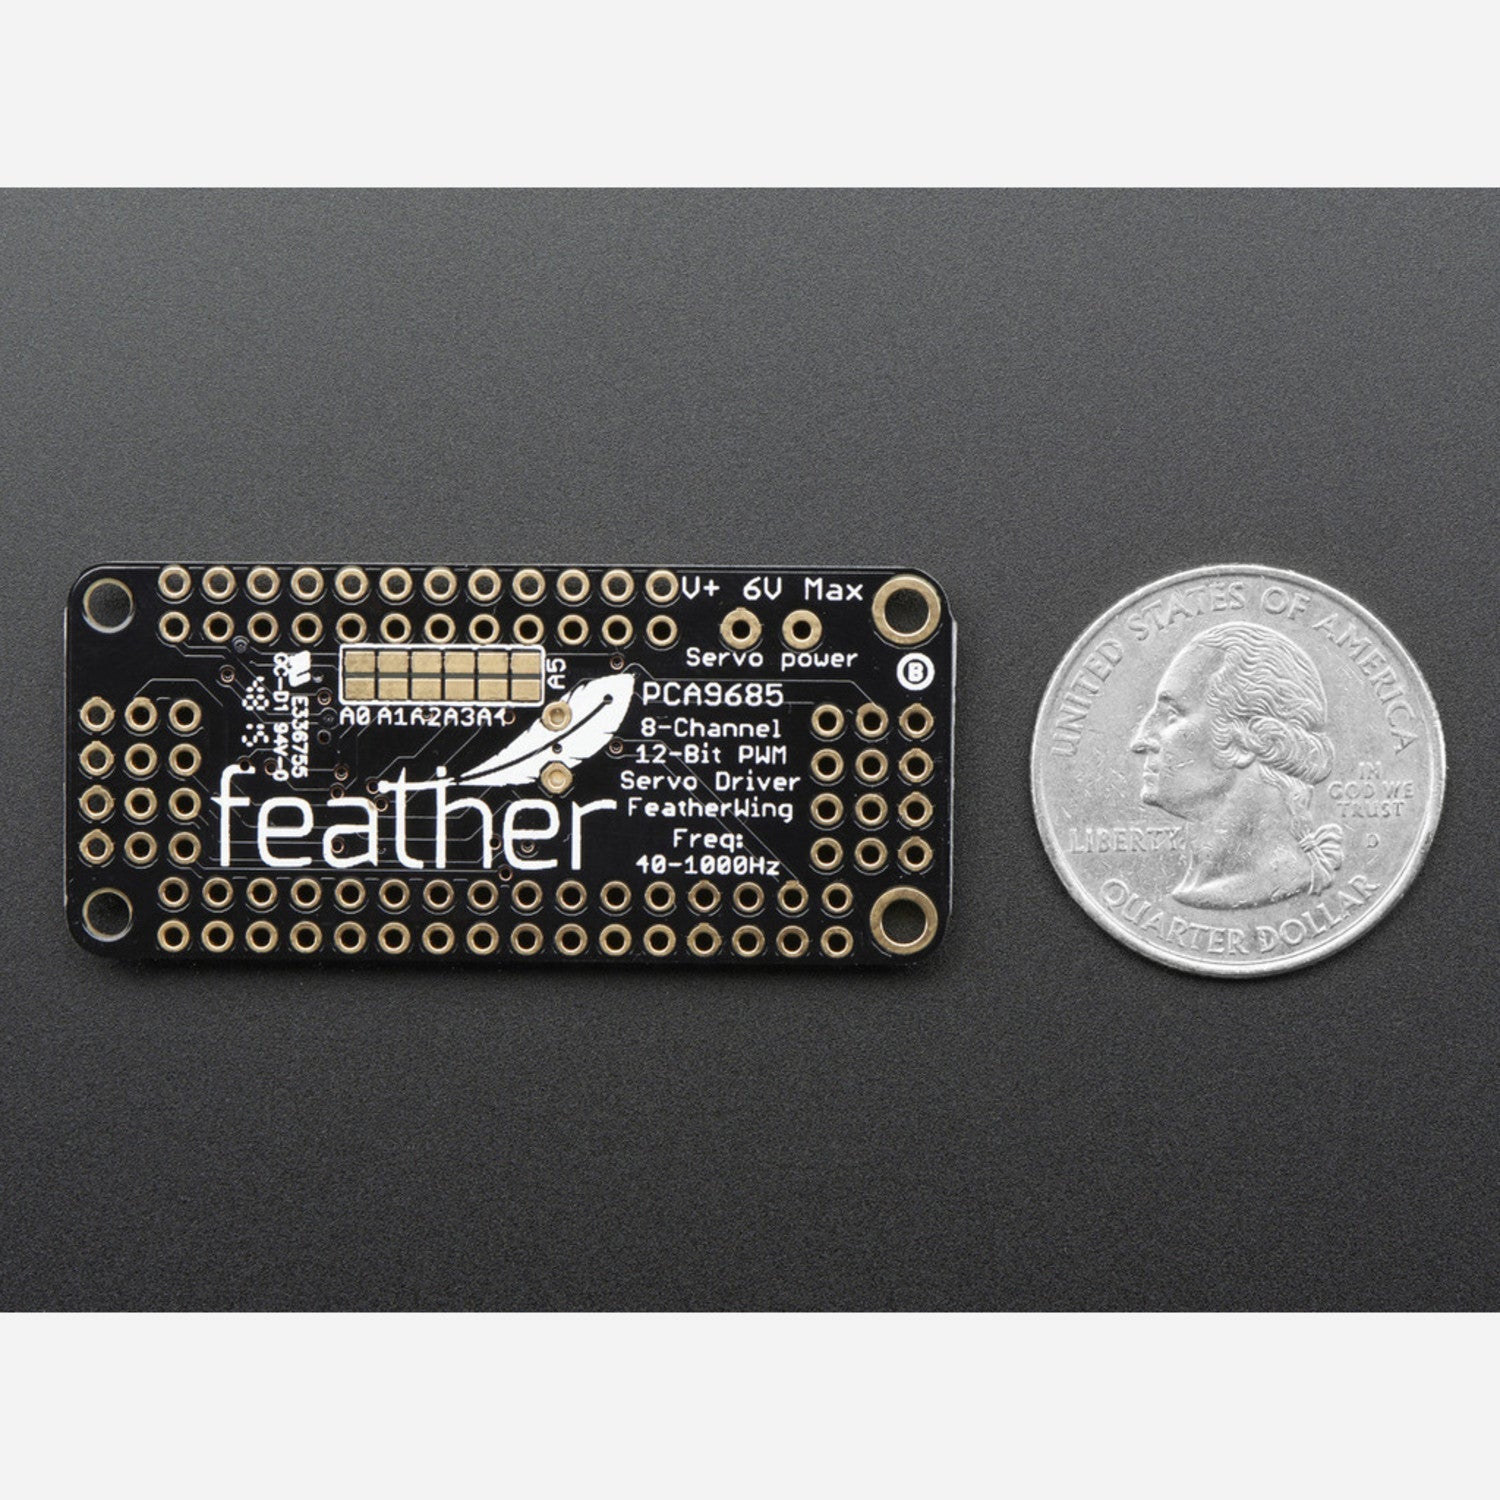
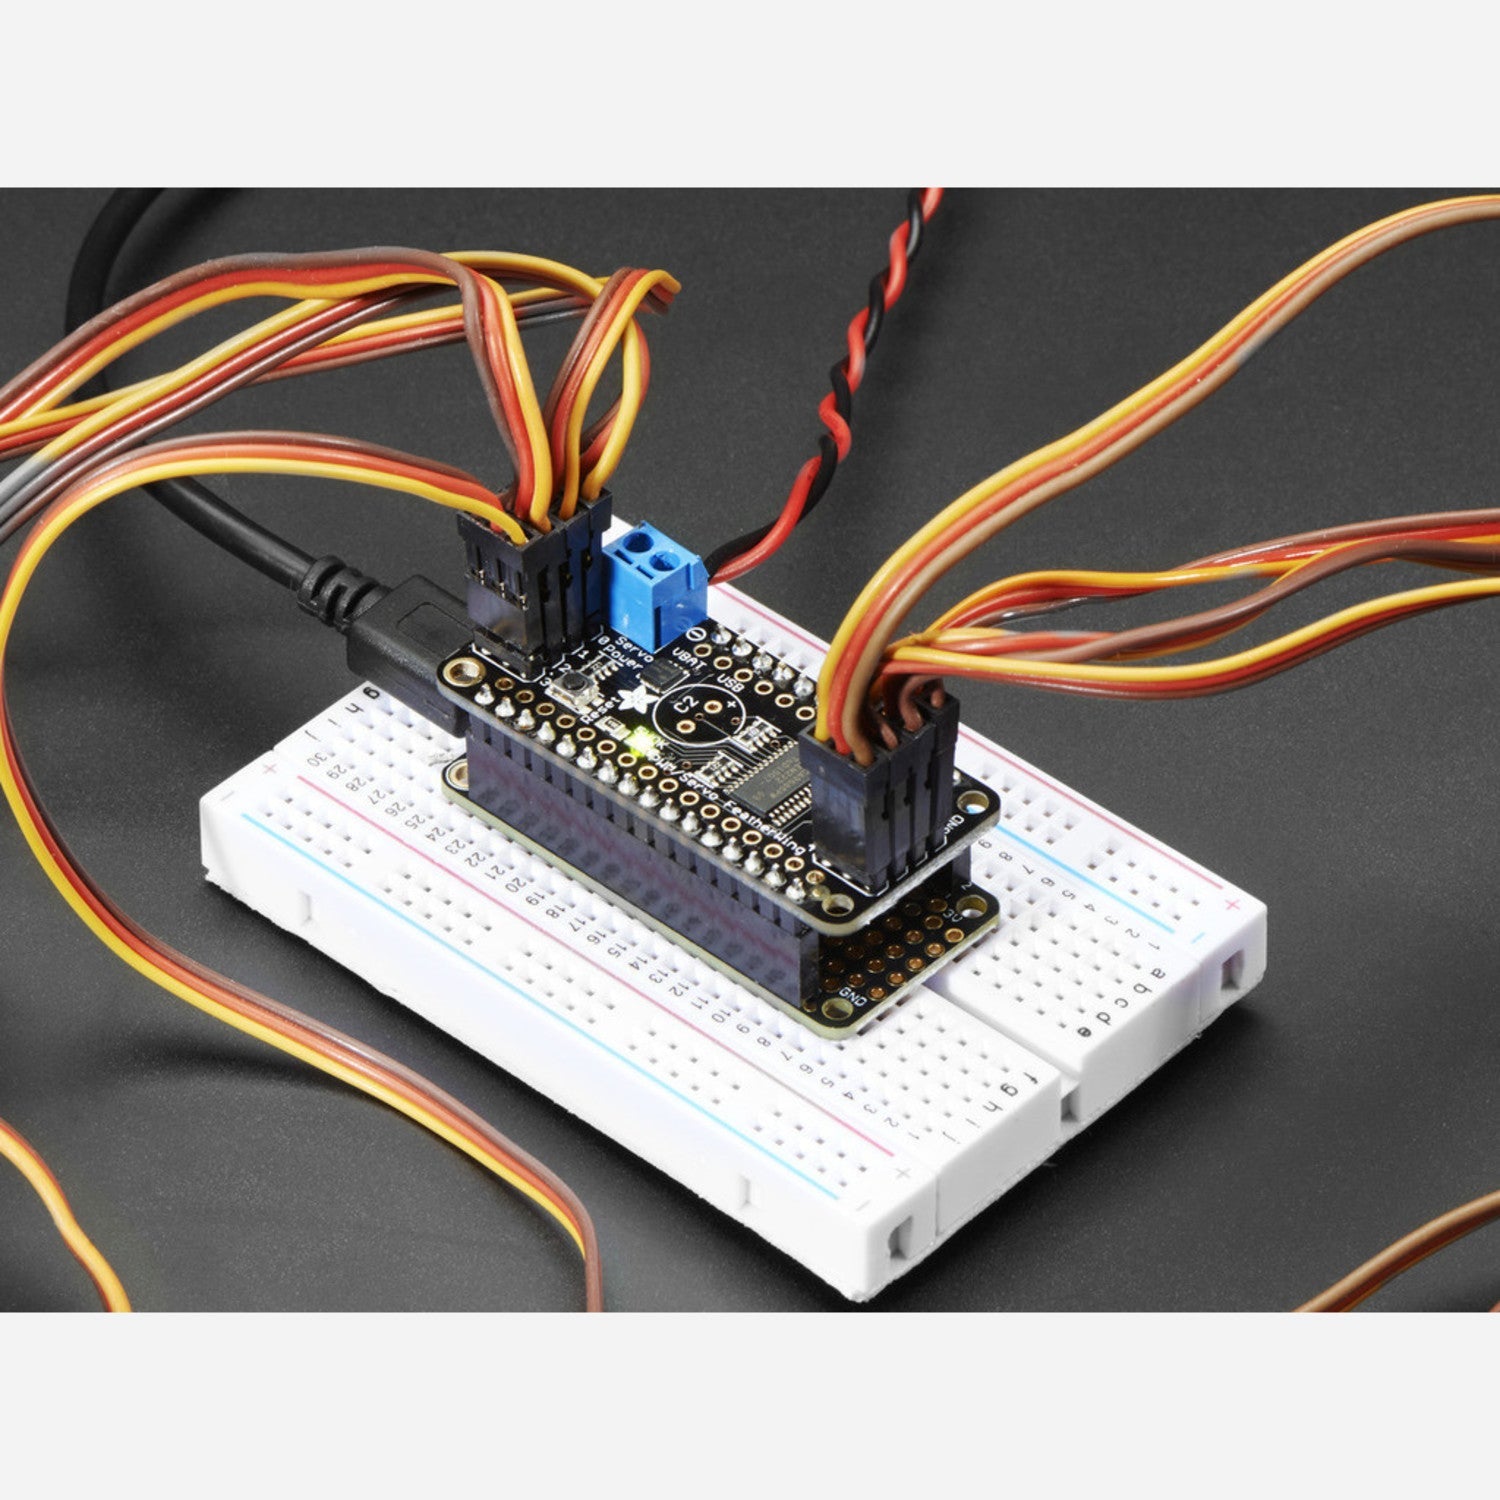
Using this 8-Channel PWM or Servo FeatherWing is a breeze. First, if you haven't already, attach the headers to the board. It only takes about 15 minutes and even beginners can do it. You'll need to do a bit of light soldering to connect the 3x4 male straight headers for servo/LED plugs, the 2-pin terminal block for power, and the 0.1' header to plug into a Feather. Once the headers are attached, you can use our Feather Stacking Headers or Feather Female Headers to connect the FeatherWing to your Feather board. You can place it on the top or bottom of the board. When you're ready to start your project, whether it's a robot or an LED display, the FeatherWing makes it easy to add 8 x 12-bit PWM outputs. Remember, it only uses the I2C (SDA & SCL pins), so it works with all Feather boards. If you want to stack multiple FeatherWings, make sure each one has a unique I2C address. Also, be aware that the terminal blocks included with your product may be blue or black. For power input, you can use the terminal block or the 0.1' breakouts on the side. The terminal block has reverse polarity protection, so you don't have to worry too much about hooking it up wrong. There's a green power-good LED that will let you know when power is properly connected. The FeatherWing has adjustable frequency PWM up to about 1.6 KHz and 12-bit resolution for each output. You can configure it for push-pull or open-drain output depending on your needs. And with 6 address select pins, you can stack up to 62 of these on a single i2c bus for a ton of outputs. To maintain your FeatherWing, keep it in a clean and dry place. Avoid exposing it to extreme temperatures or moisture. If you're not using it for a while, it's a good idea to store it in an anti-static bag. And if you have any questions, check out our tutorial with Arduino and CircuitPython libraries and examples.